by Tari Intaradonto
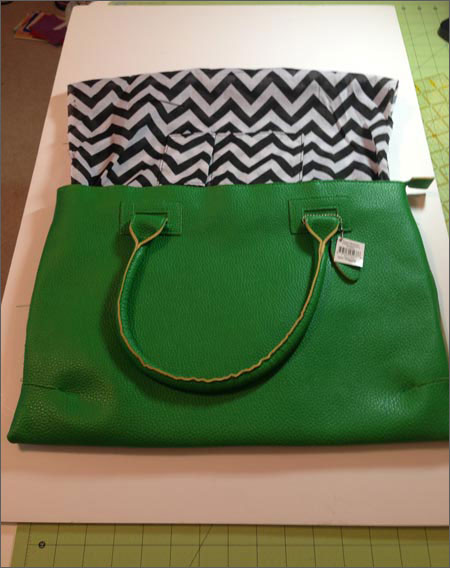
Wherever you are headed, you will look wildly stylish and carrying everything you need with this Zig Zag Animals tote. This tutorial shows you how to stitch on a pre-purchased leather bag. This design collection is a menagerie of animals created using flourishes of ornamental zigzag stitches are all easy to sew on many kinds of fabric. The minimal color scheme makes it easy to tailor this collection to match or compliment your decor. Introduce some wildlife into your next project with these zigzag animals!

Supplies
- Zig Zag Animals #12541
- Charleston Handbag from All About Blanks
- Isacord thread colors: 0015, 1755, 0713, 0704, 0932, 0934, 0651, 0112
- 90/14 leather needle
- Snap Hoop Monster by Designs in Machine Embroidery
- Thread for construction
Instructions
Step 1: Rip out the bottom seam of the lining in the handbag. Pull lining to the top and out of the bag. By not embroidering through the lining, you will be able to use the pockets in the lining after the embroidery is done.
Step 2: Rip out the seam on the left side of the handbag for hoop to be attached to the embroidery machine. Note: If stitching on both sides of the handbag, rip out both side seams. If hoop is too large, you may have to rip out the bottom seam as well.
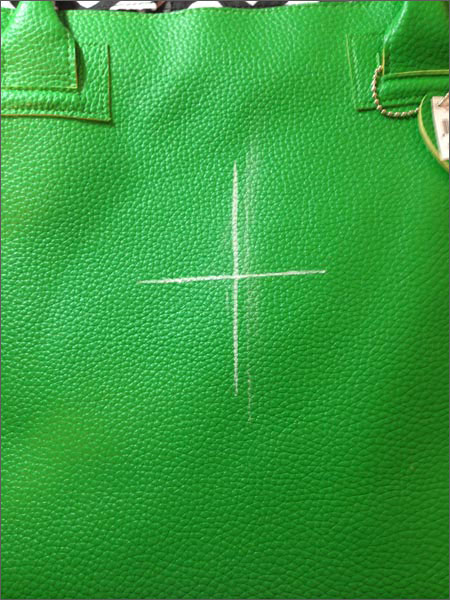
Step 3: Mark center of the handbag with chalk.
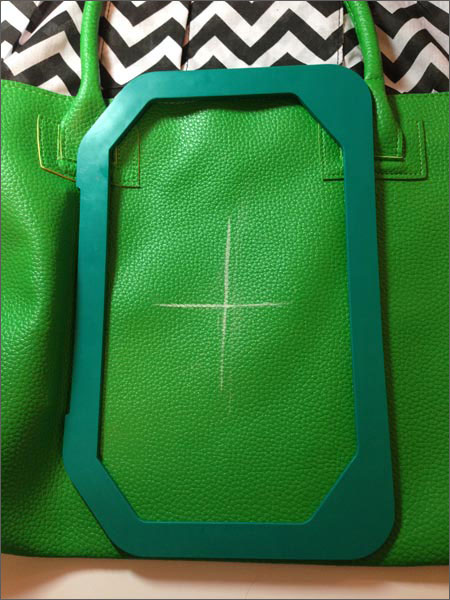
Step 4: Using the Snap Hoop Monster, hoop the handbag. The Snap Hoop Monster makes the heavy-duty imitation leather effortless to hoop. No stabilizer is needed, because the material is thick enough to hold the stitches.
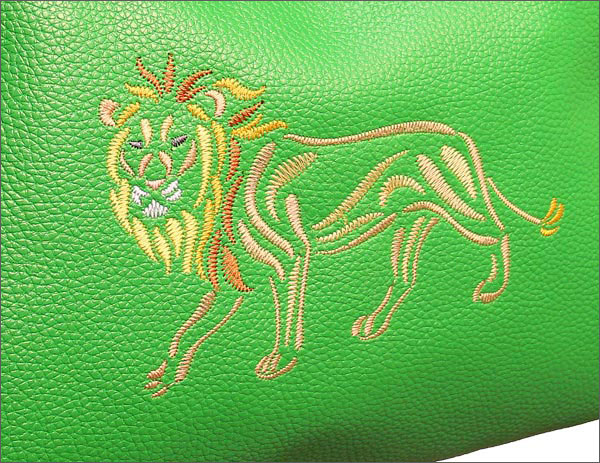
Step 5: Using a 90/14 leather needle, embroider design #12541-08 Lion Head, using suggested Isacord thread colors. This embroidery collection also contains several other animals, including elephant, elk, fox, horse, peacock and rooster. You can purchase the whole collection, or just an individual design.
If desired, stitch another design on the other side of the handbag (as we did here) following the steps above. In this case, our only change was to rotate the hoop horizontally to fit design #12541-07 Lion.
Step 6: After embroidery is complete, cut any jump threads and remove chalk mark.
Step 7: Turn handbag wrong side out. Sew handbag side(s) – and bottom if needed – closed using leather needle. Turn right side out through the lining.
Step 8: Turn under the raw edges of the lining and stitch closed. Enjoy your new tote!
This material is © OESD, LLC and may not be reproduced or published without permission.