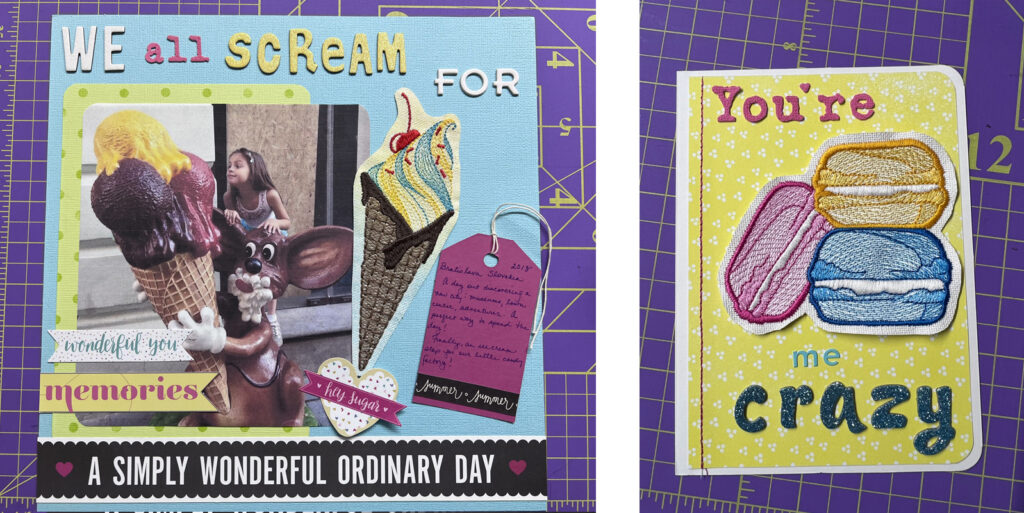
Are you a creative person with many different artsy hobbies? Have you ever thought to combine embroidery and papercrafting? Here’s some inspiration for you to create a scrapbook page and a greeting card using adorable stitched elements from our collection ‘The Sweet Life’
Supplies:
- ‘The Sweet Life’ PK50004
- OESD Fuse and Seal CutAway
- OESD Fusible Woven
- OESD Greeting Cards
- Fabric and Papercrafting supplies (cardstock, stickers, paint) of your choice
We All Scream for Ice Cream:
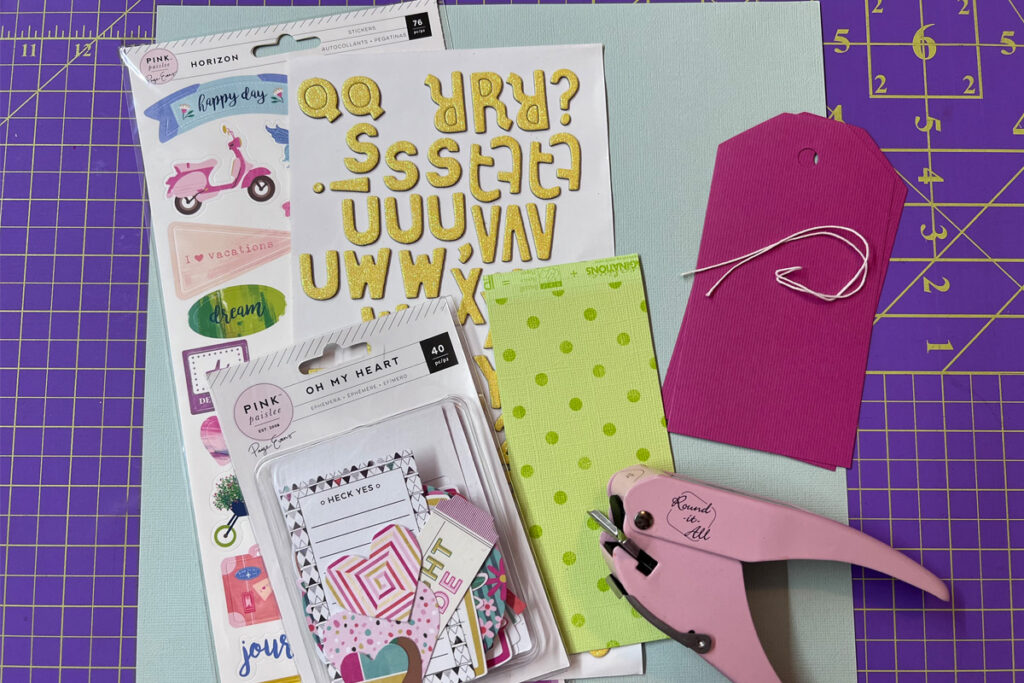
Step 1
Choose your papercrafting supplies:
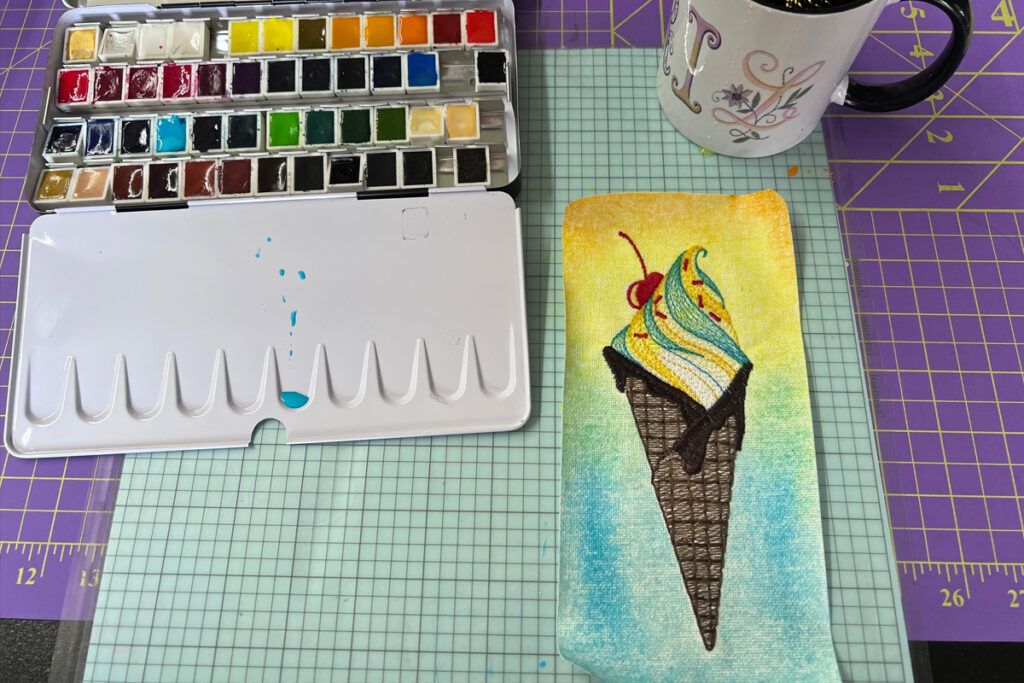
Step 2
Iron fusible woven onto the back of your chosen fabric. Stitch the ice cream cone. If desired, embellish the fabric around the embroidered design… we used watercolor! Iron Fuse and Seal to the back of the stitched design. Cut to shape.
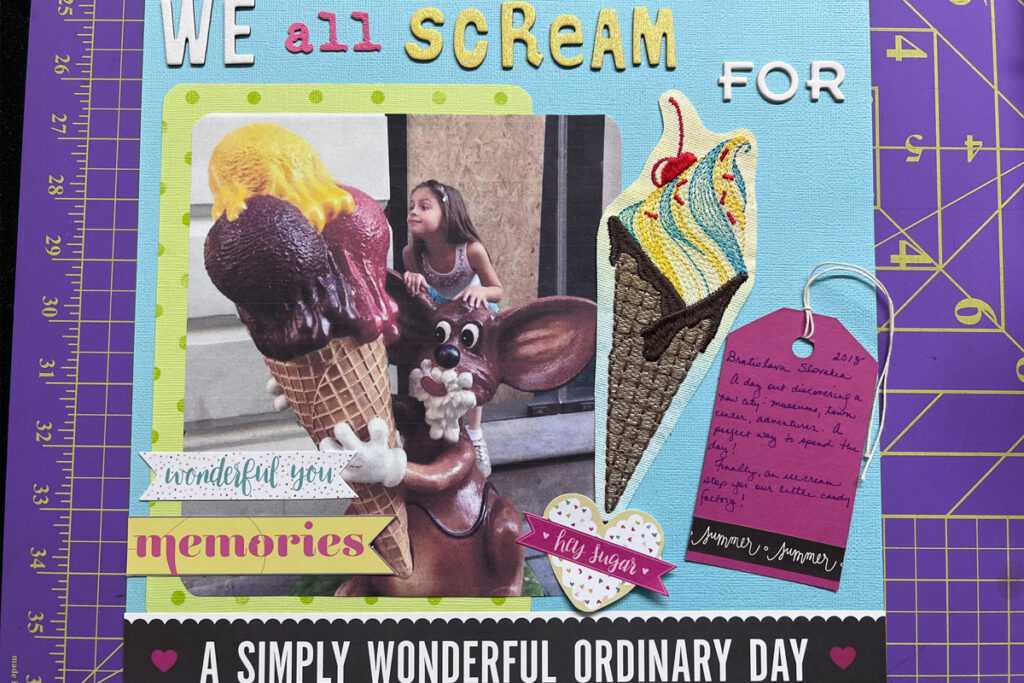
Step 3
Add your stitched fabric to the patterned papers by ironing to attach the Fuse and Seal, stickers, photos, and journaling cards you’ve assembled. Enjoy!
Macaron Card:
Step 1
Choose your favorite patterned papers and stickers to combine with OESD’s Start Here Greeting Card blanks
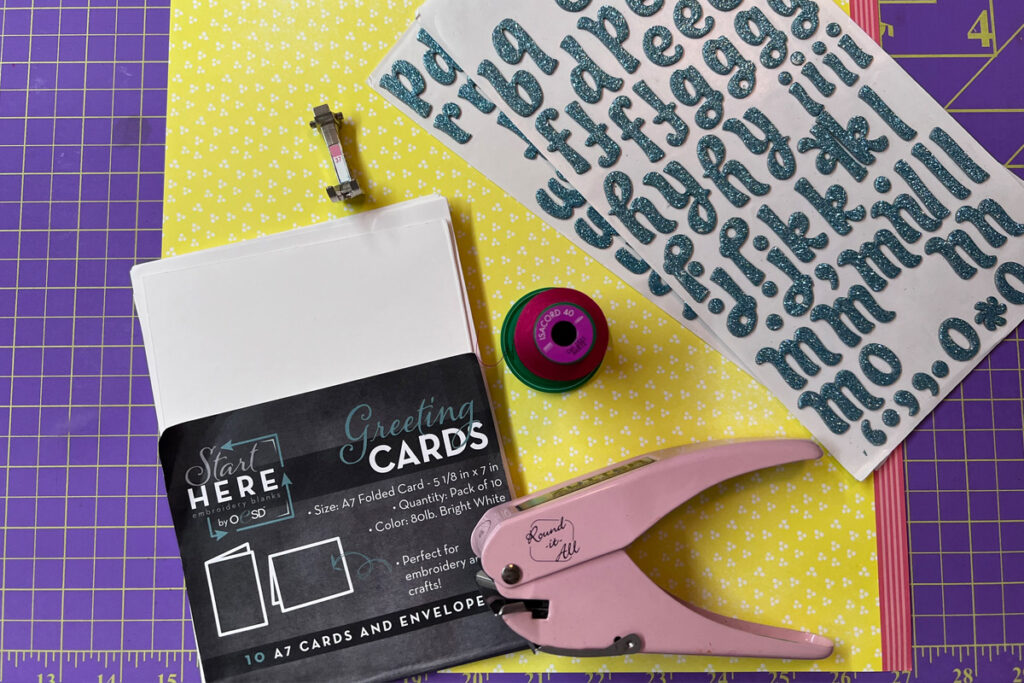
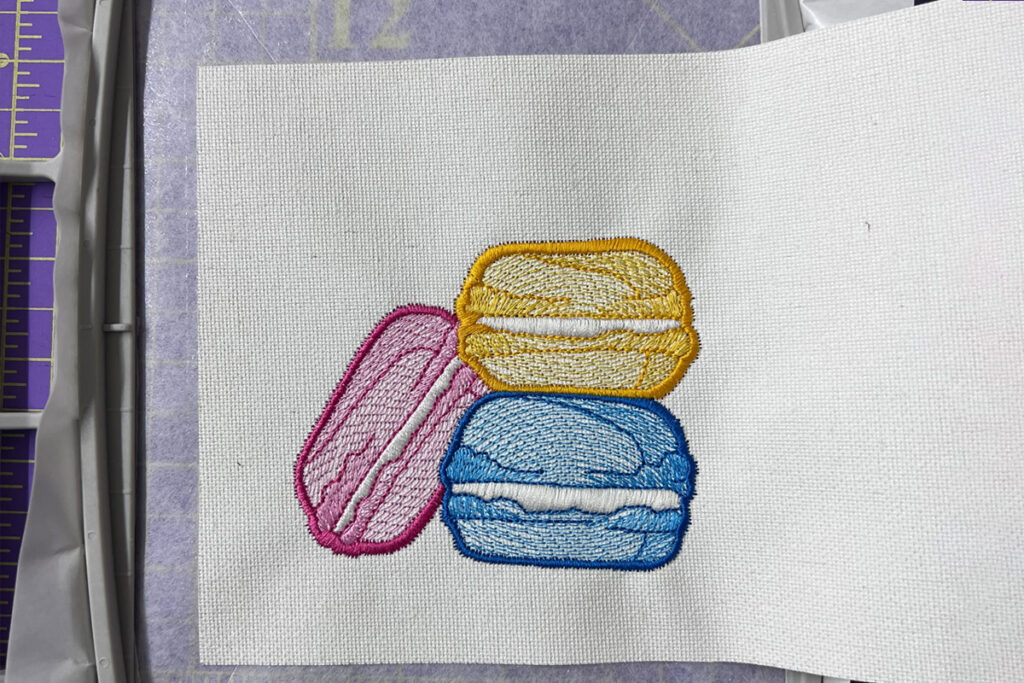
Step 2
Iron fusible woven onto the back of your chosen fabric. Stitch the macaron design. Iron Fuse and Seal to the back of the stitched design. Cut to shape and attach to your patterned paper.
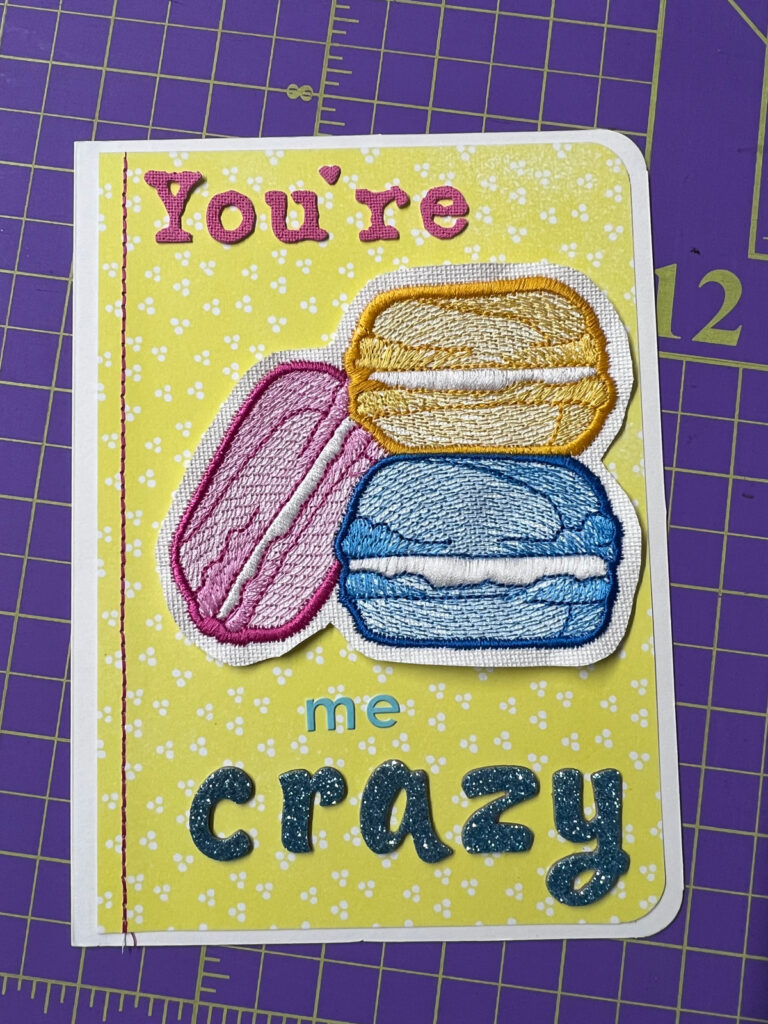
Step 3
Layer your patterned papers, adding in stitched details if you’d like. Attach to the Start Here Greeting Card and round the edges if desired. Enjoy!
JOIN US IN THE OESD COMMUNITY!
We hope you enjoyed this machine embroidery tutorial! Have you combined your embroidery projects with papercrafting? Come show off your work in our private Facebook group, The Perfect Stitch!