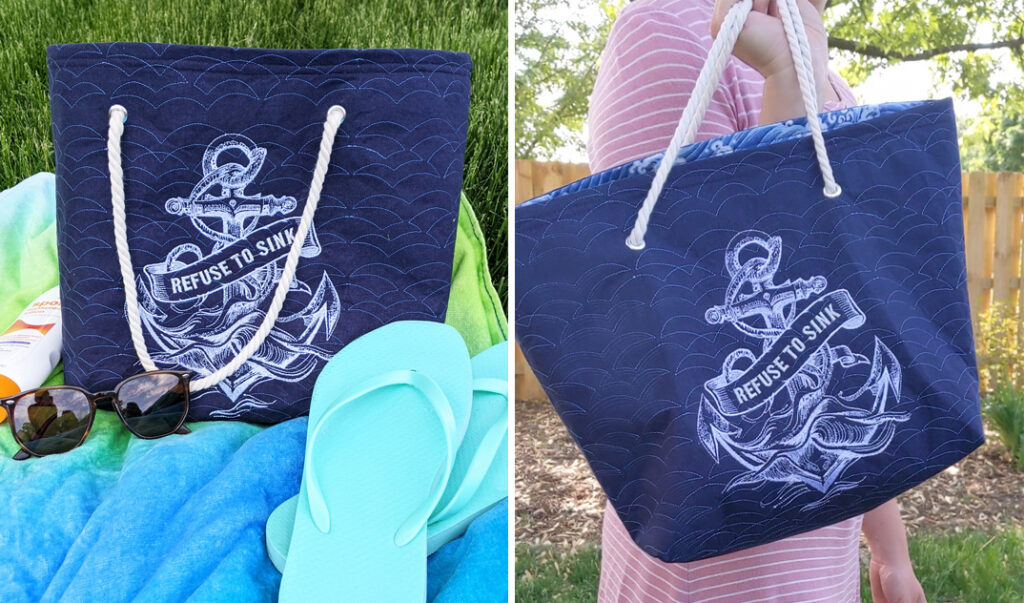
Are you looking for a new summer beach bag? Why not create your very own customized tote bag right on your embroidery machine?! This tutorial will take you through all the steps to stitch a unique nautical-themed beach tote with tons of beautiful details! You’ll learn how to sew and assemble a tote bag as well as finish it off – directions you can follow to make bags of any style and size! Read on and get ready to add a special touch of style this summer season! Watch a video of this project here.
Supplies:
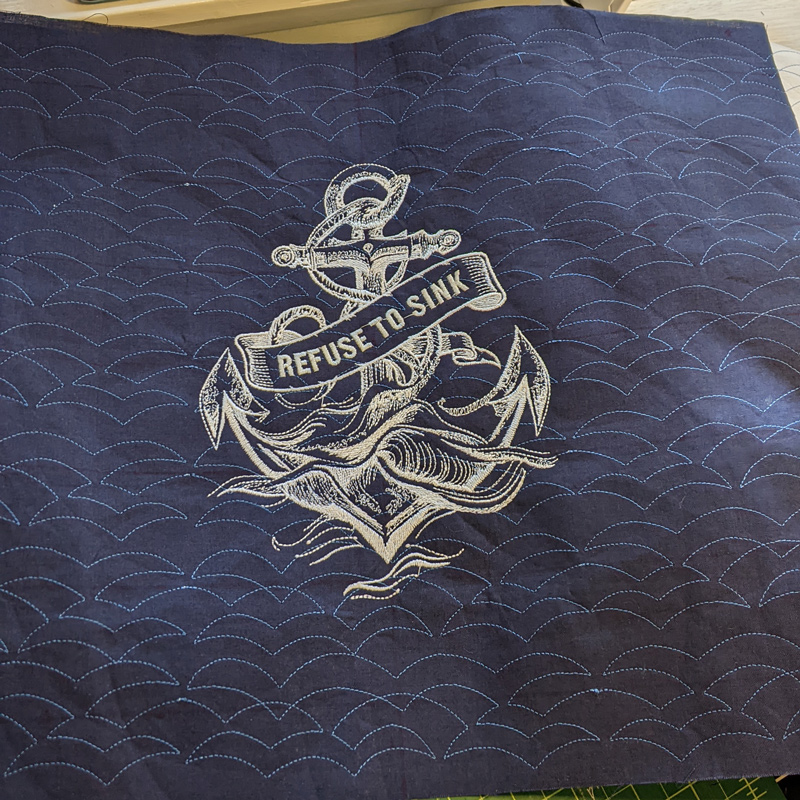
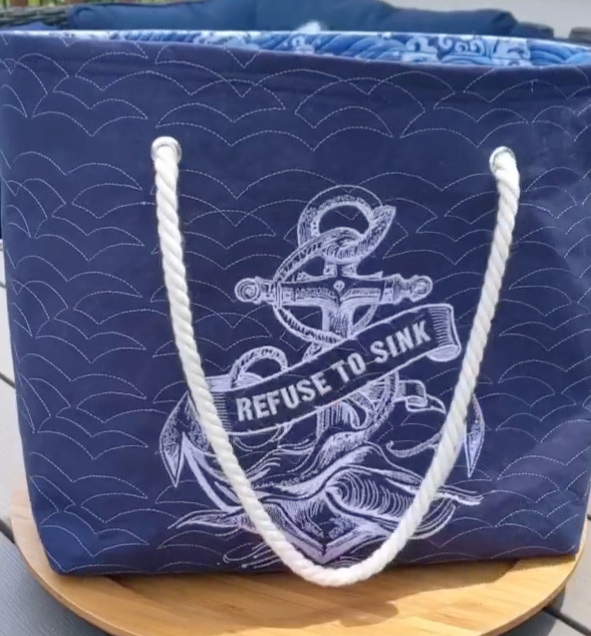
- Vintage Nautical Designs PK10027
- Lake Life Quilting Collection #12949
- OESD StabilStick CutAway
- OESD Medium Weight CutAway
- OESD Perfect Punch Tool
- OESD Point and Press Tool
- OESD MiniMAT
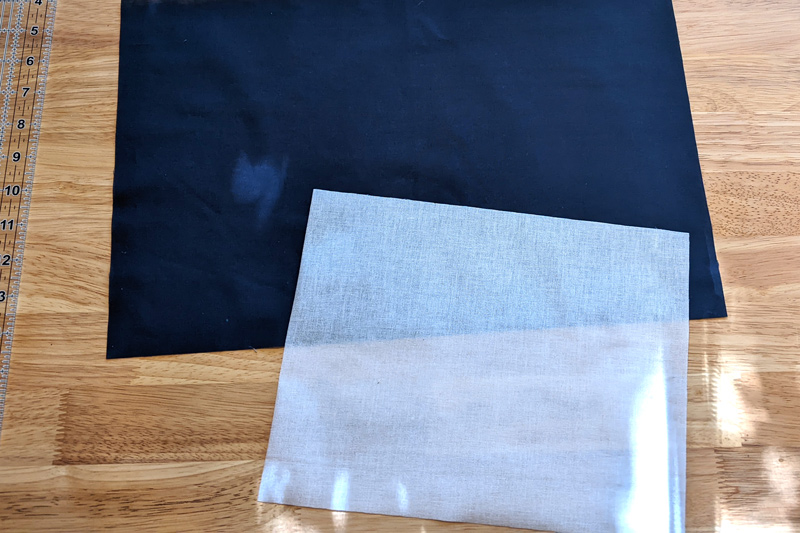
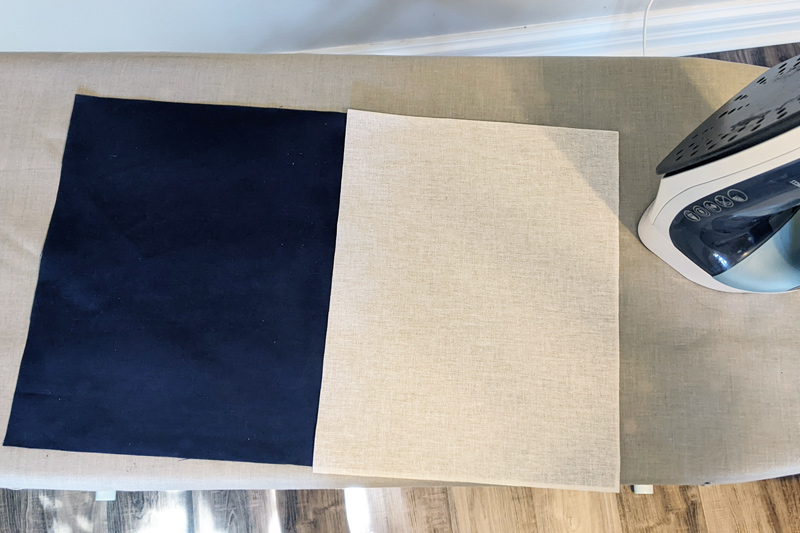
- Cotton Fabric for outside of bag – two 15″ x 18″ rectangles
- Cotton Fabric for lining – two 15″ x 18″ rectangles
- Cotton Fabric for pocket – 17″ x 11″ rectangle
- Rope and Grommets
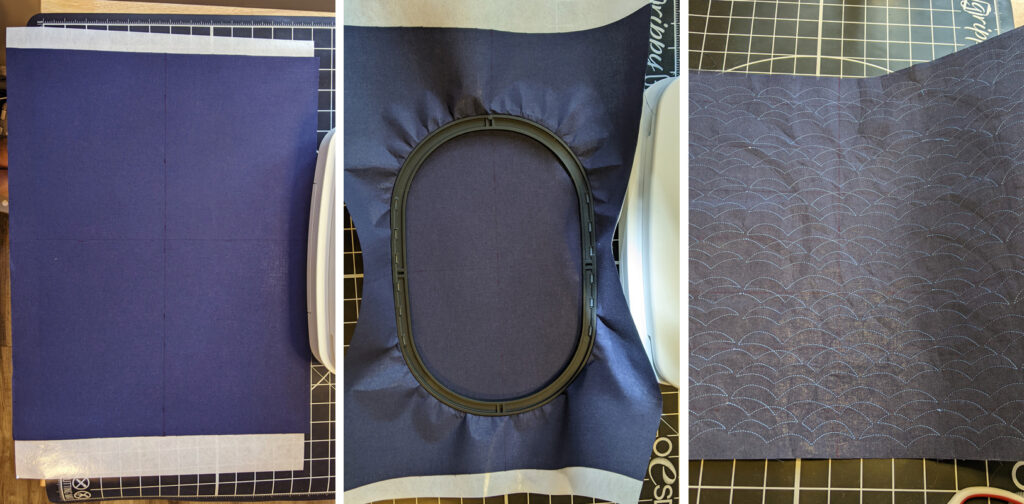
TO BEGIN: Attach StabilStick CutAway to the wrong side of all 4 pieces of fabric – outside of bag (x2) and lining (x2).
Quilting (optional):
For an in-depth look at the edge-to-edge quilting technique we used, check out Quilting with Kellie. She’ll show you how to perfectly place and align your Lake Life Quilting designs for smooth allover results! –> QUILTING TUTORIAL
Mark the center of your first piece of outside fabric. Hoop the fabric and stitch your first linework design in the center. Un-hoop and mark vertical lines every 2 inches. Re-hoop and stitch design on every vertical line. Continue each line horizontally to fill the fabric with the continuous design. Repeat with the second piece of outside fabric.
Embroidery:
Step 1
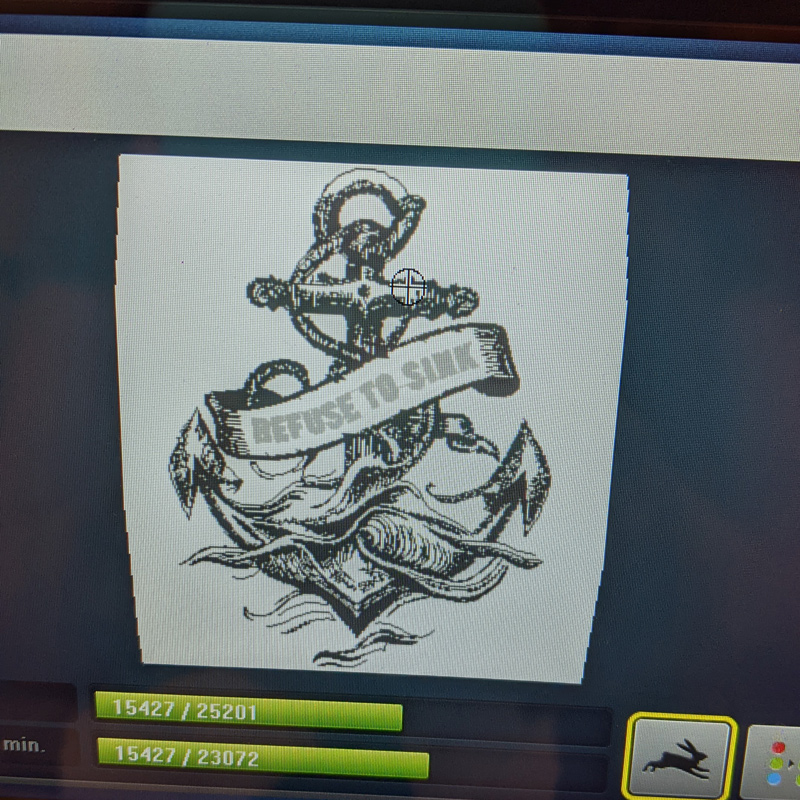
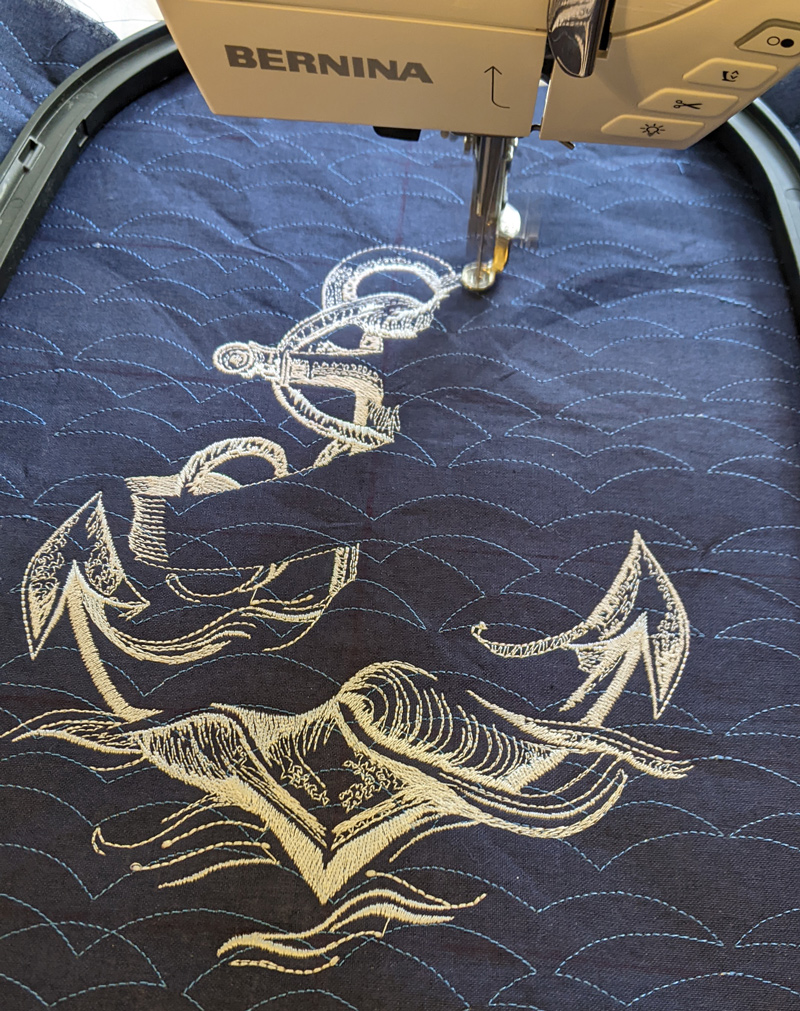
Hoop 2 layers of Medium Weight CutAway with your piece of outside fabric. Use placement tools on your embroidery machine to center your Vintage Nautical design. Move the center of your design approximately 3” higher, vertically, to accommodate the assembly of the bottom of the bag
Step 2
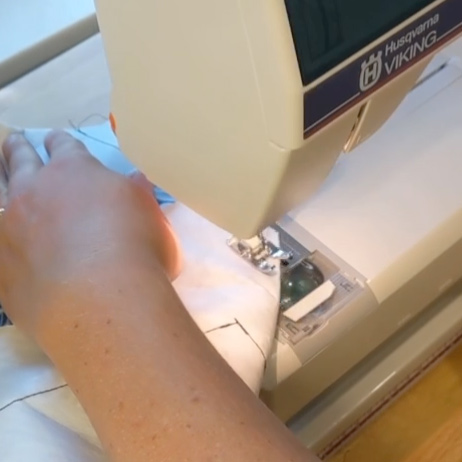
Stitch your design. Repeat on the other outside fabric if desired.

Step 3
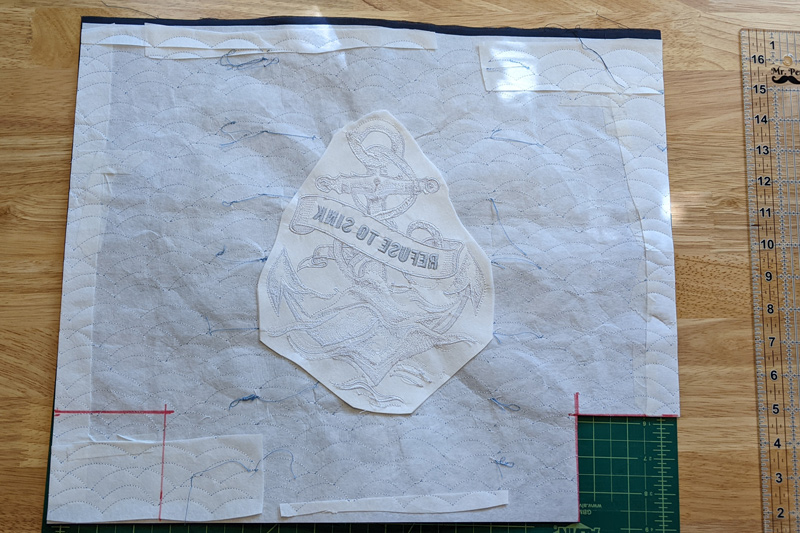
Carefully cut away stabilizer from the back of your fabric.
Step 4
Cut two 3” squares from the bottom corners of each outside panel.
Step 5
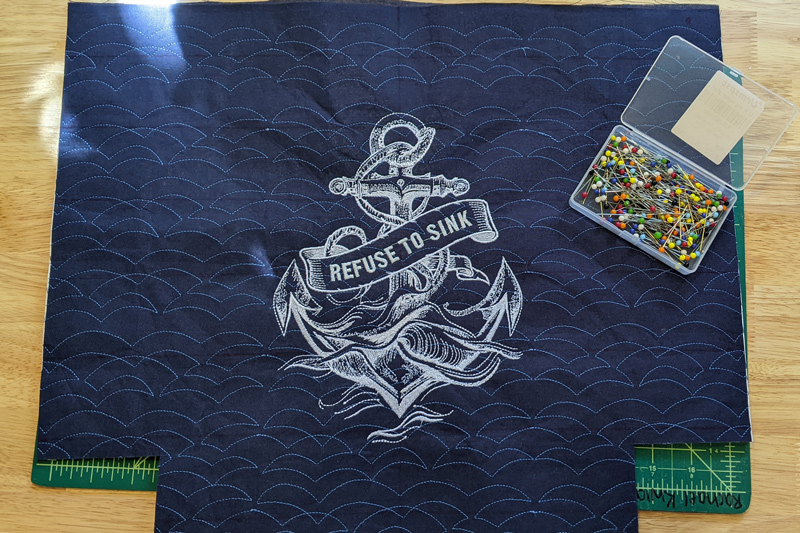
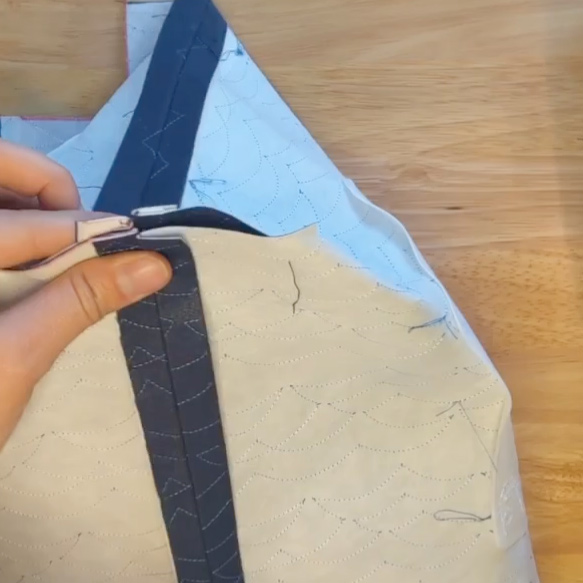
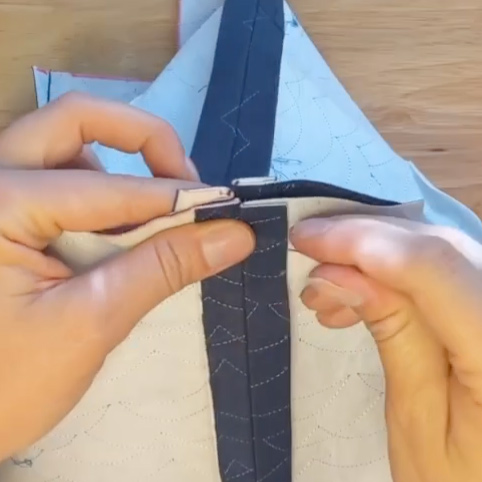
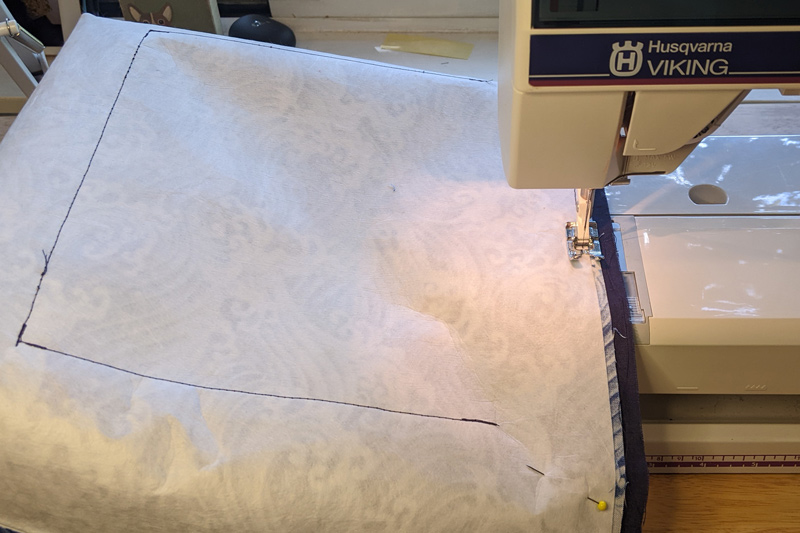
Place outside layers right sides together and pin. Sew together the left and right sides plus bottom with ½” seam allowance. Do not sew the edges of the squares you’ve cut out. Press.
Step 6
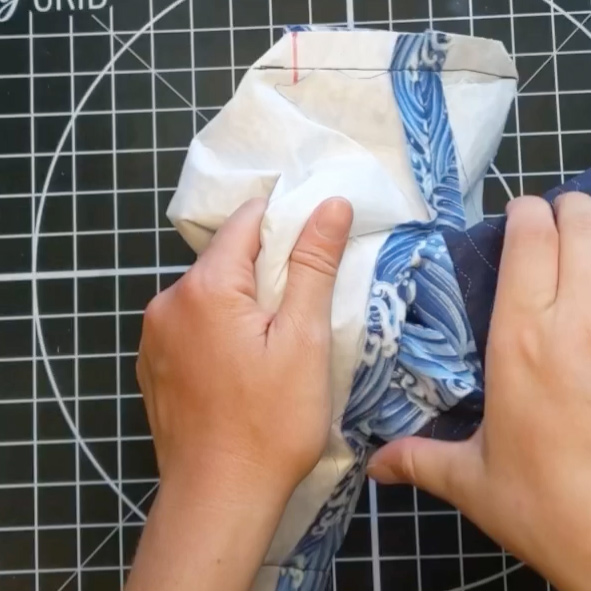
Take one corner, pinch the edges together, line up the seams, pin in place, and sew together with ½” seam allowance. Press and turn right side out.
Step 7
Repeat all steps to sew the lining of the bag, this time leaving a 4″ opening at the bottom. Do not flip right side out.
Inside Pocket:
Cut Fusible woven 11” x 8.5”. Take the 17” x 11” piece of fabric for the pocket and press Fusible Woven to the wrong side of half of the fabric.
Step 8
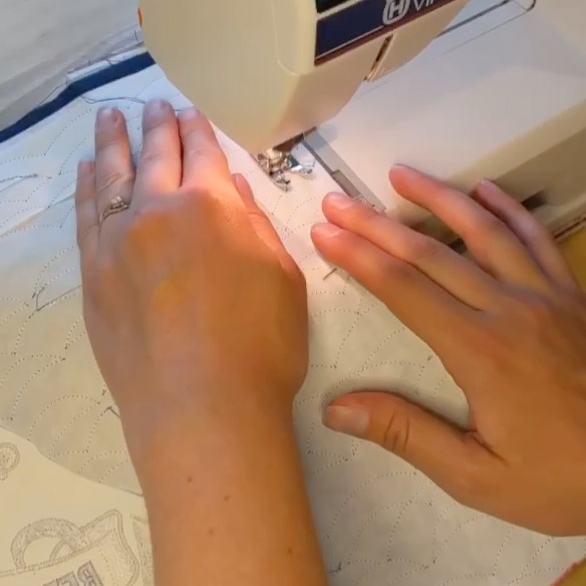
Taking a piece of your chosen pocket fabric, fold right sides together and mark a 4” opening on the opposite side of the fold. Sew all 3 sides, leaving the fold un-touched. Make sure to leave the 4” opening- this will be used to flip the pocket right side out. Trim corners and press seams. Flip right side out. Top stitch around the whole pocket with 1/8” seam allowance. Measure one piece of the inner lining fabric 5” from the bottom, and center the pocket along this line. Pin and sew on fabric.

Assembling the Bag:
Step 9
Place the outside layer INSIDE the interior layer. The right sides of the fabric should be together. Pin and sew the tops together with ½” seam allowance.
Step 10
Flip the bag right side out through the 4″ opening you created at the bottom of the interior layer. Press.
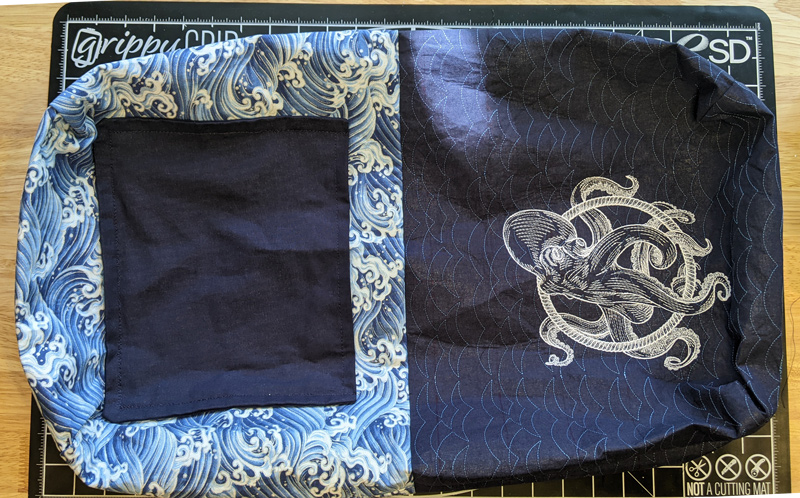
Step 11
This is how your assembled bag should look after turned right side out.
Step 12
Pull the lining out as far as it will go, then pin and stitch the hole in the bottom with 1/8” seam allowance.

Step 13
Pin the top of the bag in place so the seams are flat. Top stitch with ¼” seam allowance, then again with ½” seam allowance for a nice finish.
Adding Rope Handles:
Step 14
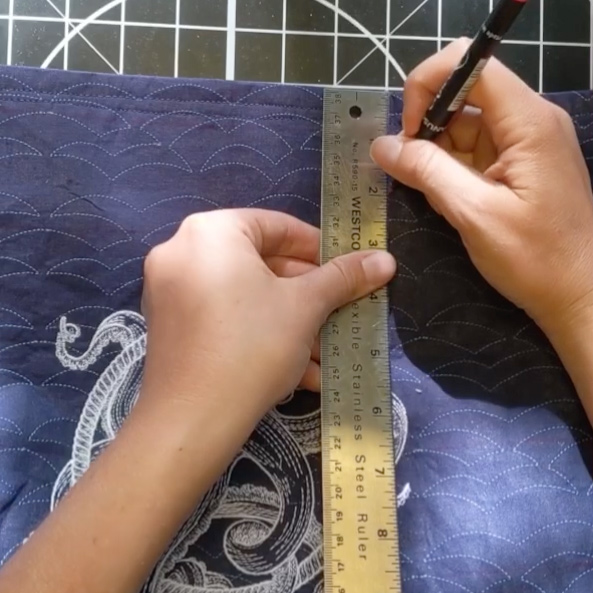
Using the vertical center mark on the bag, measure 3 inches from the center and 2 inches from the top on both sides. Make a mark to show where the grommets will go.

Step 15
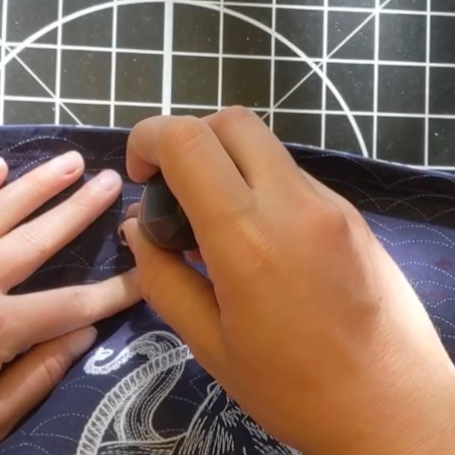
Follow the instructions on the grommet pack to assemble them – mark the position of the eyelet by tracing inside the opening. For the grommets we used: Make a hole using the OESD Perfect Punch Tool. Insert eyelet top (deep half) into the hole from the right to wrong side. On the wrong side, place the shallow half of the eyelet and hammer gently. Use an OESD MiniMat to avoid damage to your work surface
Step 16
Cut a piece of rope 26” long. Tape edges with masking tape or any other temporary tape. This will help feed the rope through the hole.
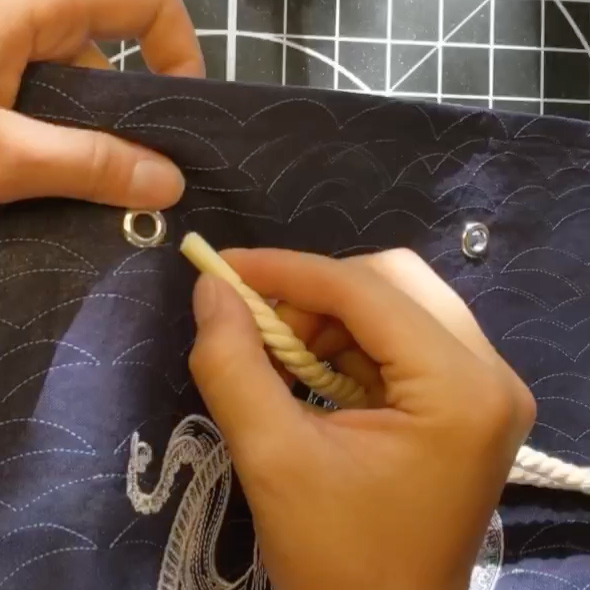
Step 17
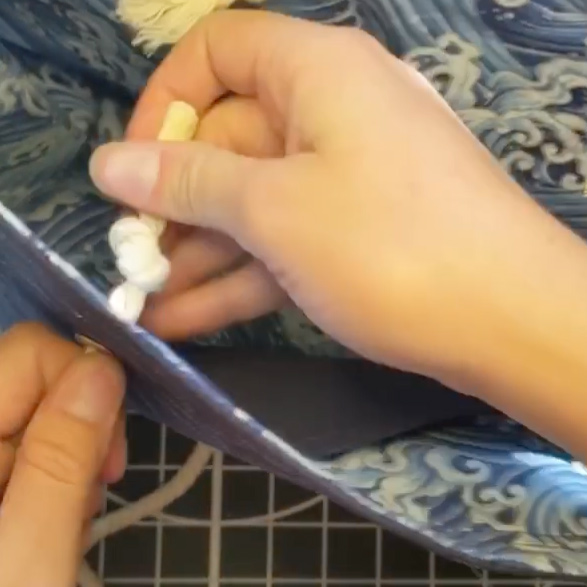
Thread the rope and tie a knot at each end. Repeat on the other side.
Step 18
Enjoy your new beach bag!

JOIN US IN THE OESD COMMUNITY!
We hope you enjoyed this machine embroidery tutorial! Have you stitched your own Summertime Beach Tote Bag? Come show off your work in our private Facebook group, The Perfect Stitch!