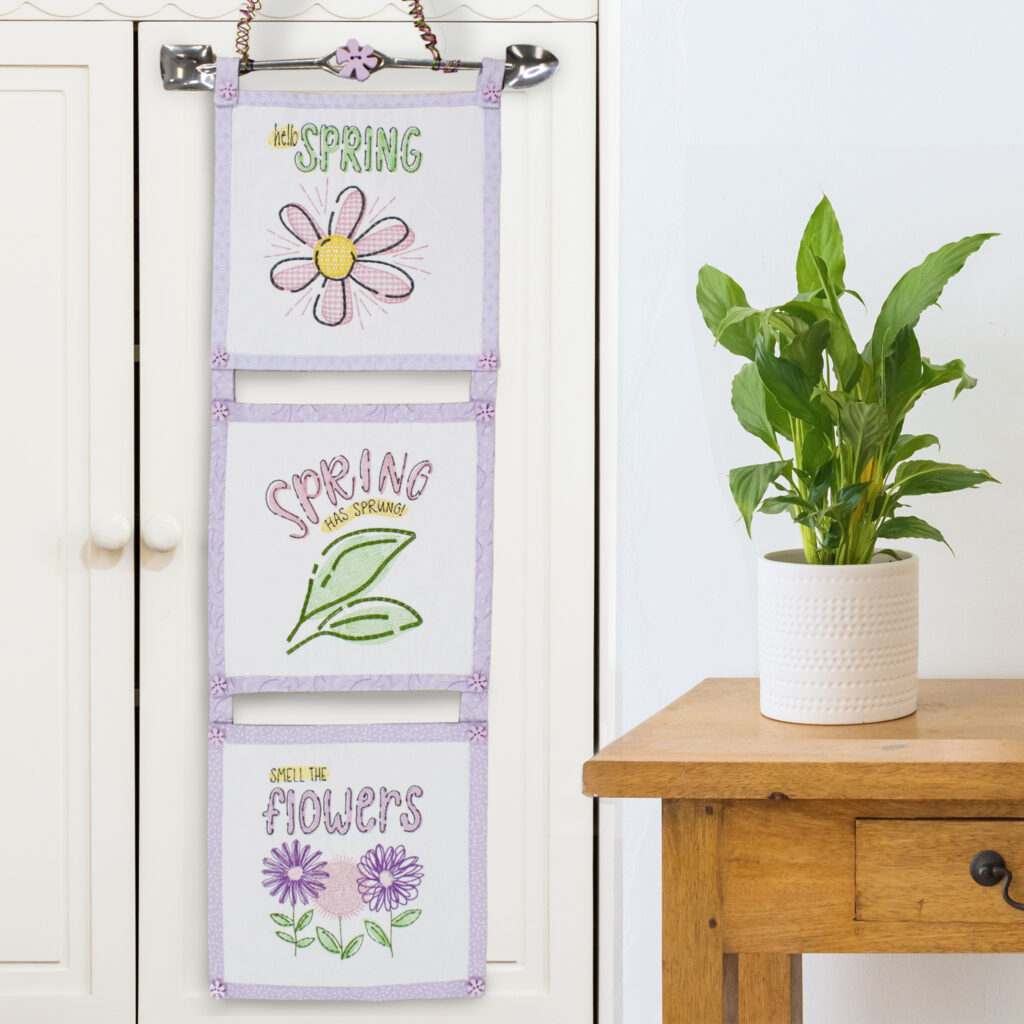
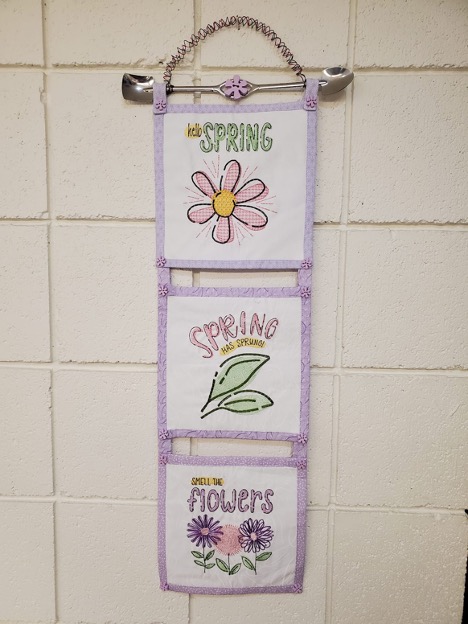
Let’s celebrate the fresh new season with this vibrant Spring Sayings Wall Hanging! It sets the stage for new growth and sunshine with its sweet floral images and little flower buttons. Hung in your home, on your deck or in your garden it is sure to attract butterflies and lots of smiles. The garden tools make an adorable hanger, but a dowel could be used just as easily.
Supplies:
- Spring Sayings PK10009
- OESD Fuse and Fleece
- OESD Fuse and Seal
- OESD Fusible Woven
- OESD Ultra Clean and Tear
- OESD Expert Embroidery Tape WashAway
- OESD Perfect Embroidery Press Cloth
- OESD Grippy Grid
Fabric and Notions:
- 1/3 yard white quilter’s cotton
- 1/2 yard quilter’s cotton for back
- 12 small flower buttons
- 1 large flower button
- Small garden tools or dowel for hanger – these are from Amazon
- Craft Wire
- Glue Stick
Instructions:
Step 1
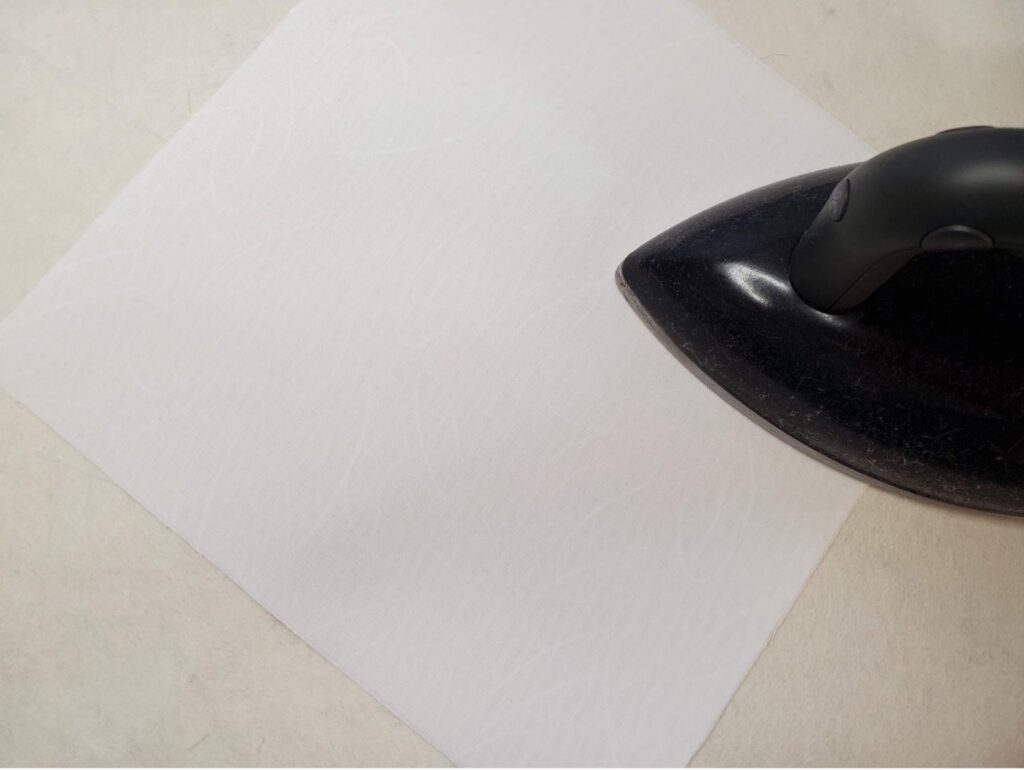
Apply Fusible Woven to the white fabric. Prep enough Fusible woven, Fabric and Ultra Clean and Tear Stabilizer for 3 hoopings.
Step 2
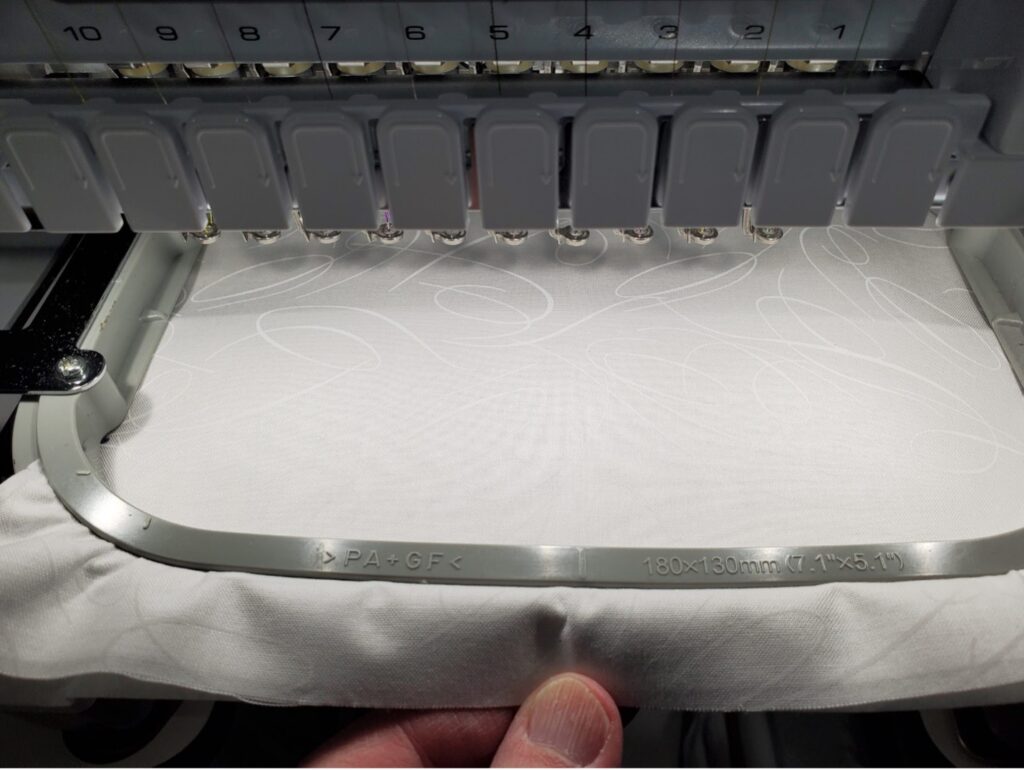
Cut 3 pieces of white fabric and Fusible Woven to fit your selected hoop. The finished square will need to be big enough to trim down to 8 ½” x 8 ½”
Step 3
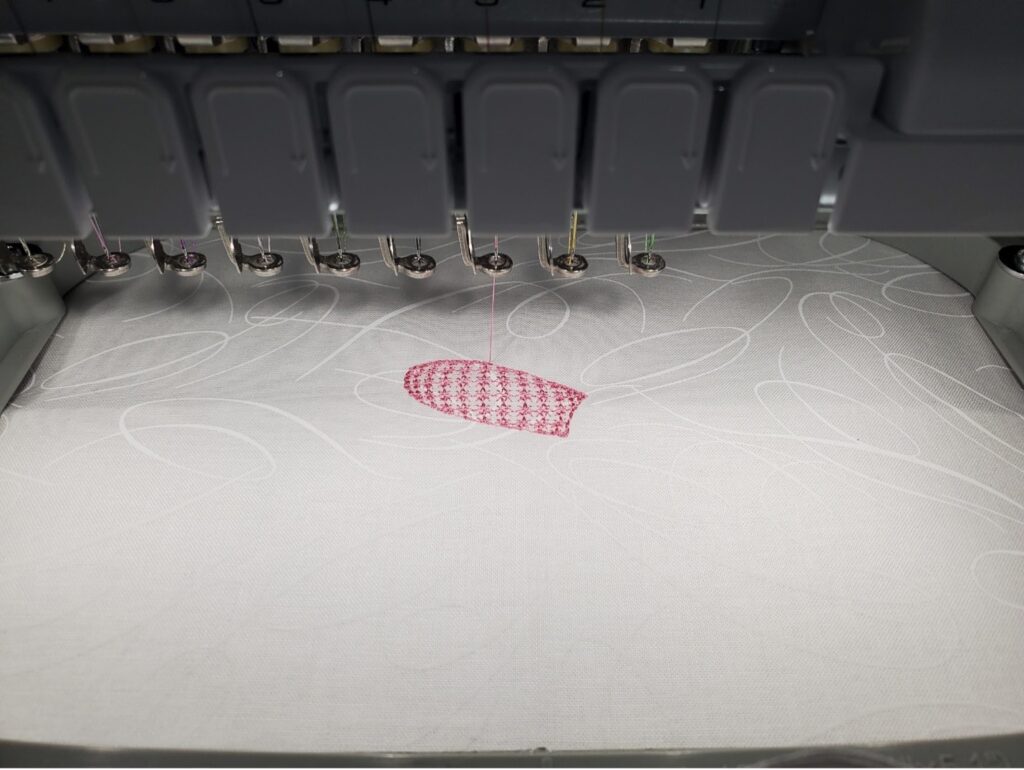
Hoop prepared white fabric with Ultra Clean and Tear. Stitch first design. Repeat with designs 2 and 3.
Step 4
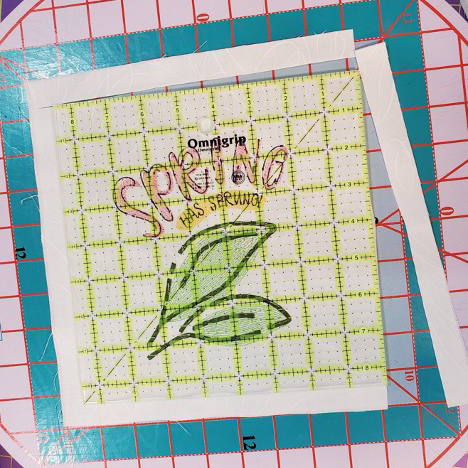
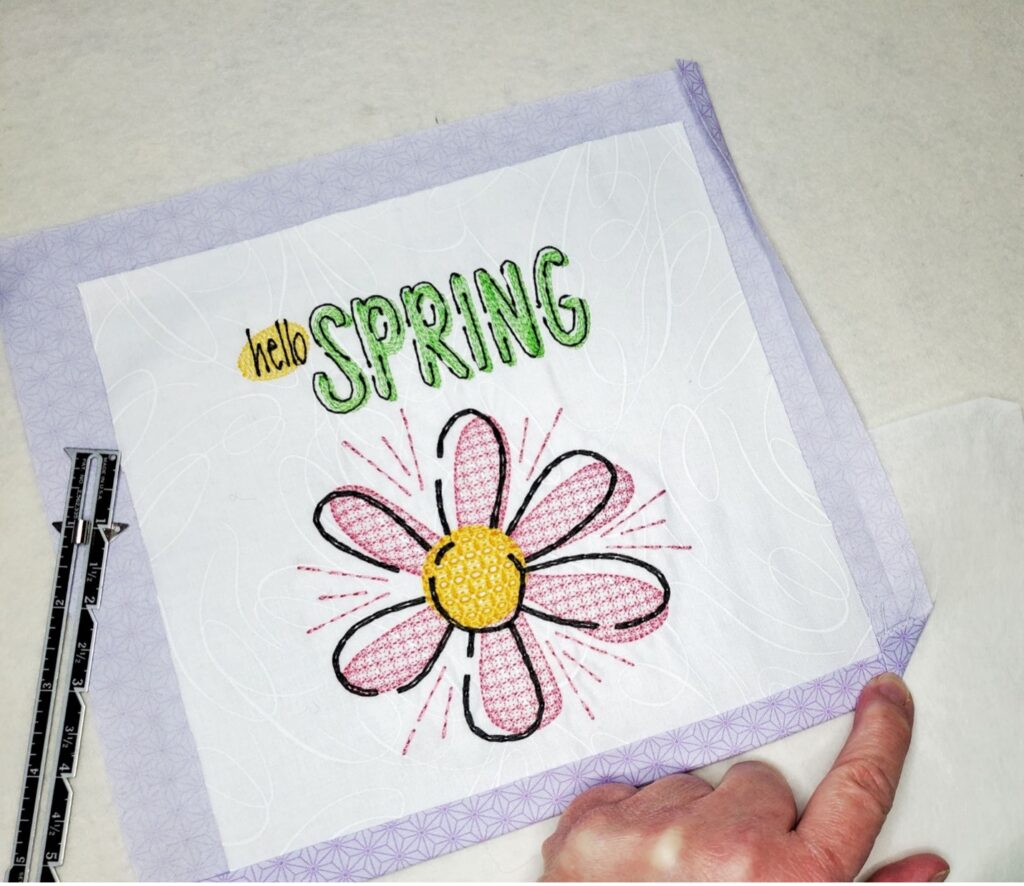
Trim embroidery to 8 ½” x 8 ½” square, centering the design in the middle of the square.
Step 5
Cut 3 pieces of Fuse and Fleece 8 ½” x 8 ½”
Step 6
Fuse embroidered fabric to Fuse and Fleece. Set aside.
Step 7
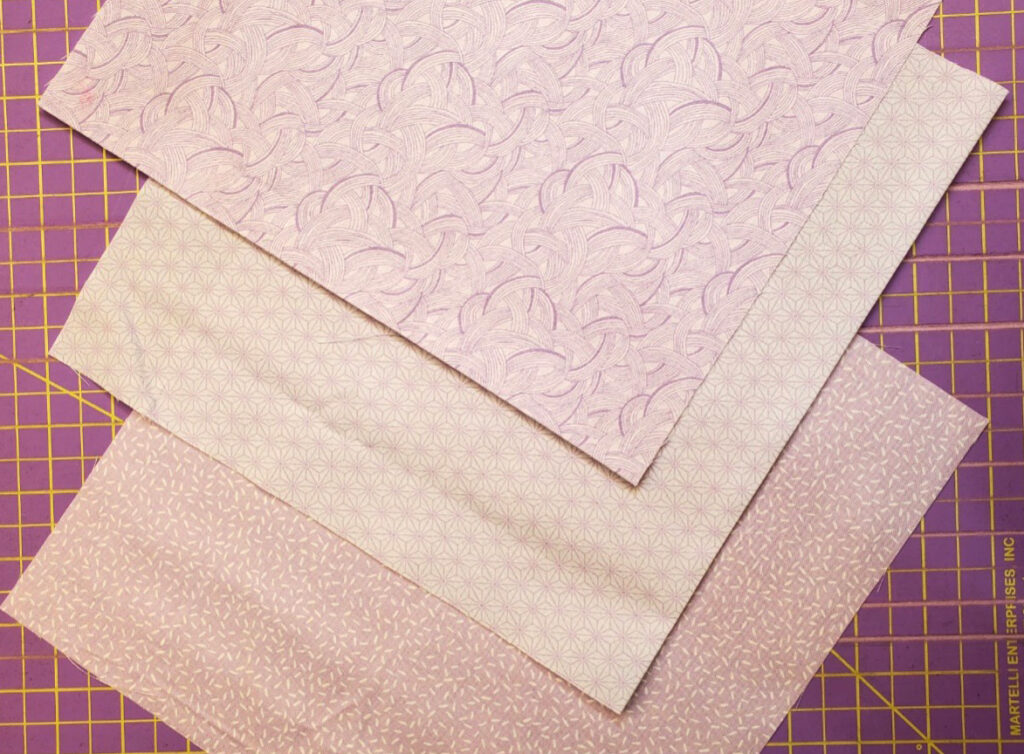
From back fabric and Fusible Woven: Cut 3 – 10 ½” x 10 ½” (we used 3 different fabrics) • Cut 2 – 2” x 4” • Cut 4 – 2” x 2 ½”
Step 8
Apply Fusible Woven to fabric.
Step 9
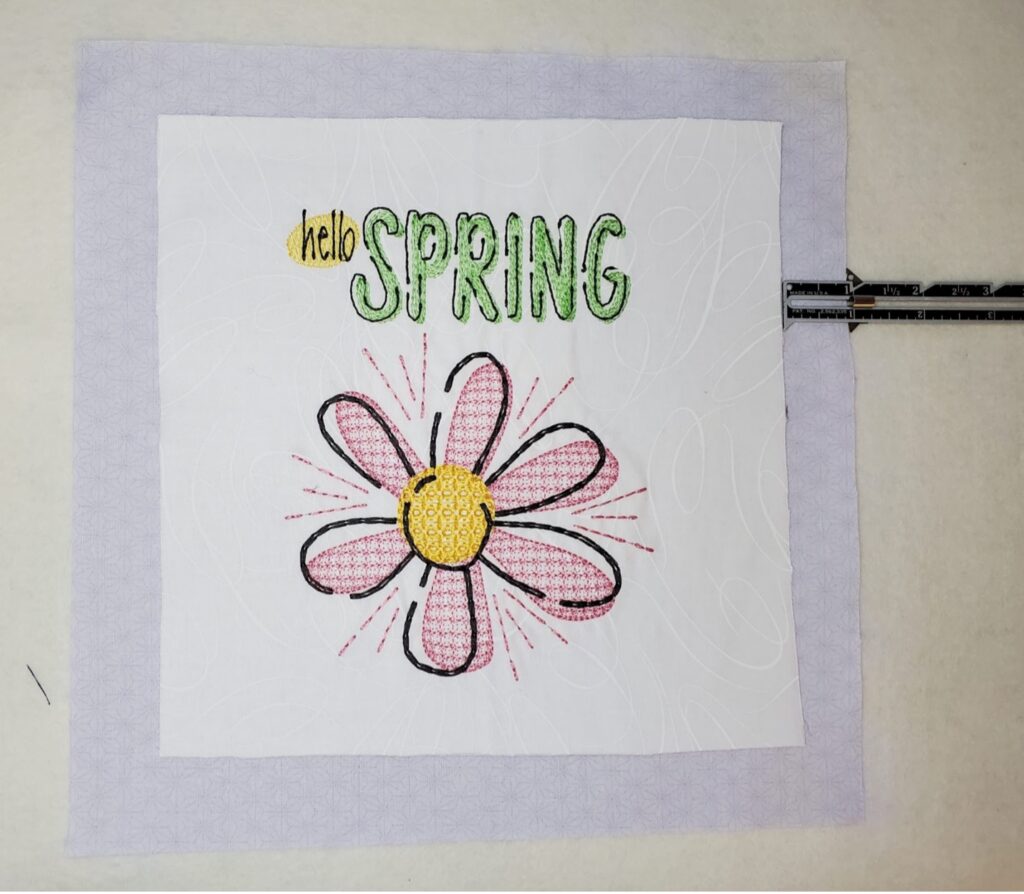
Place 10 ½”square right side down on the ironing board. Center the 8 ½” square on top of the10 ½” square. You will need 1” on each of the 4 sides of the square to make the binding.
Step 10
Fold edge of 10 ½” square to the edge of the 8 ½” square. You will now have a ½” border. Press. Fold corner so that the edge touches the inner square.
Step 11
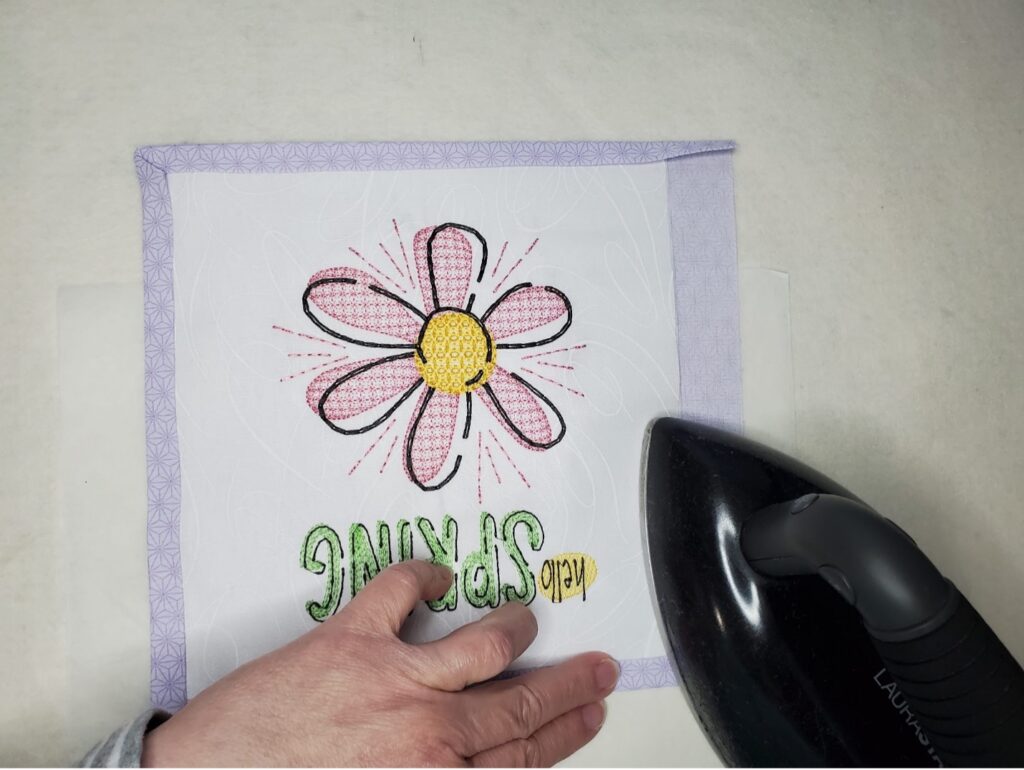
Use the glue stick on the folded edge. Fold over the white fabric. Press. Turn the square and repeat for the remaining three sides.

Step 12
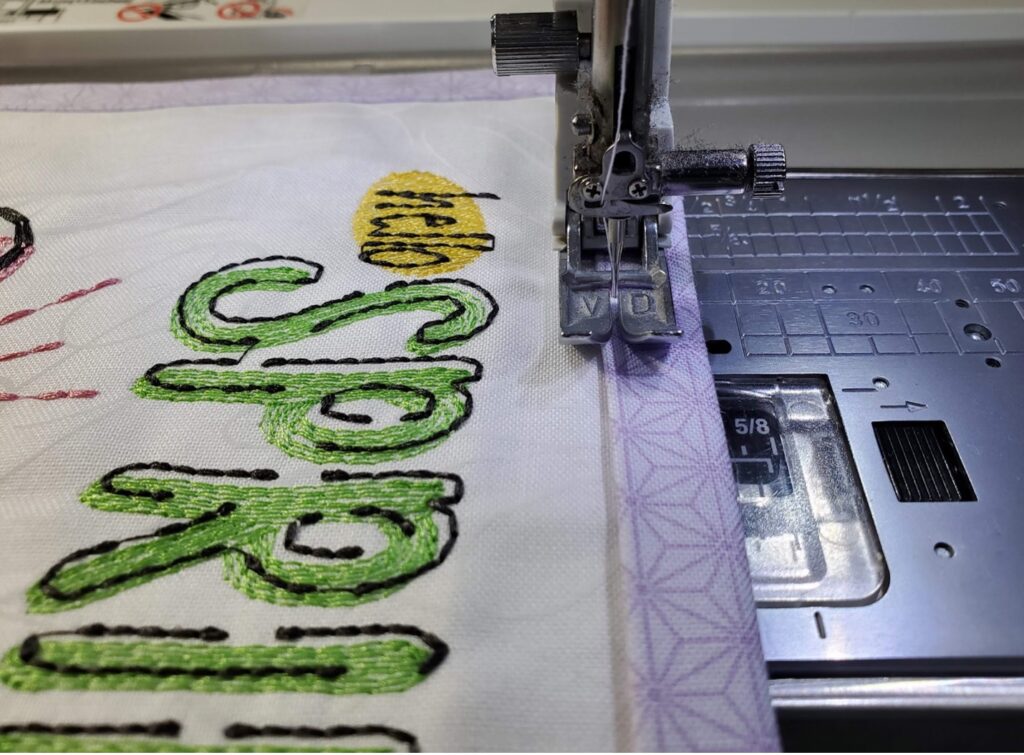
Stitch around the inside of the square at the edge of the binding. Repeat for all 3 squares.
Step 13
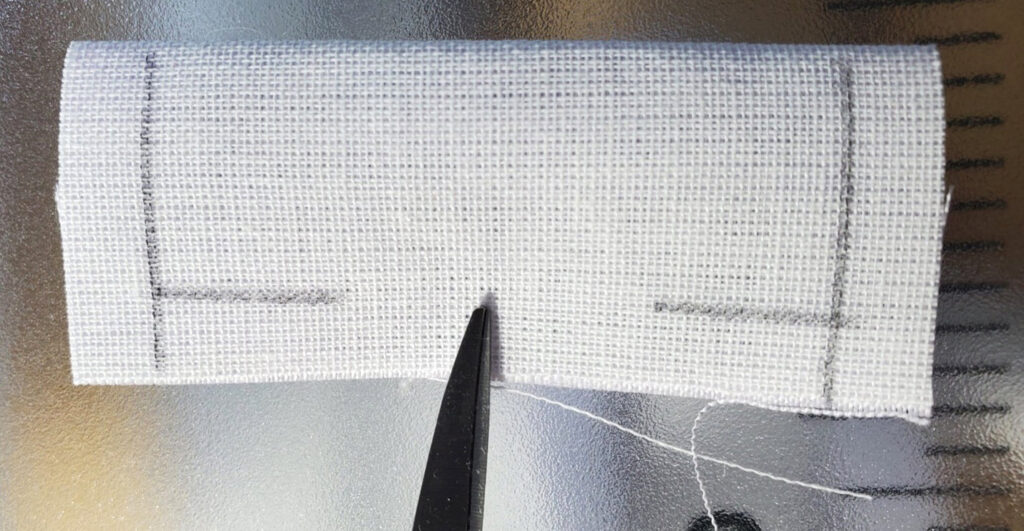
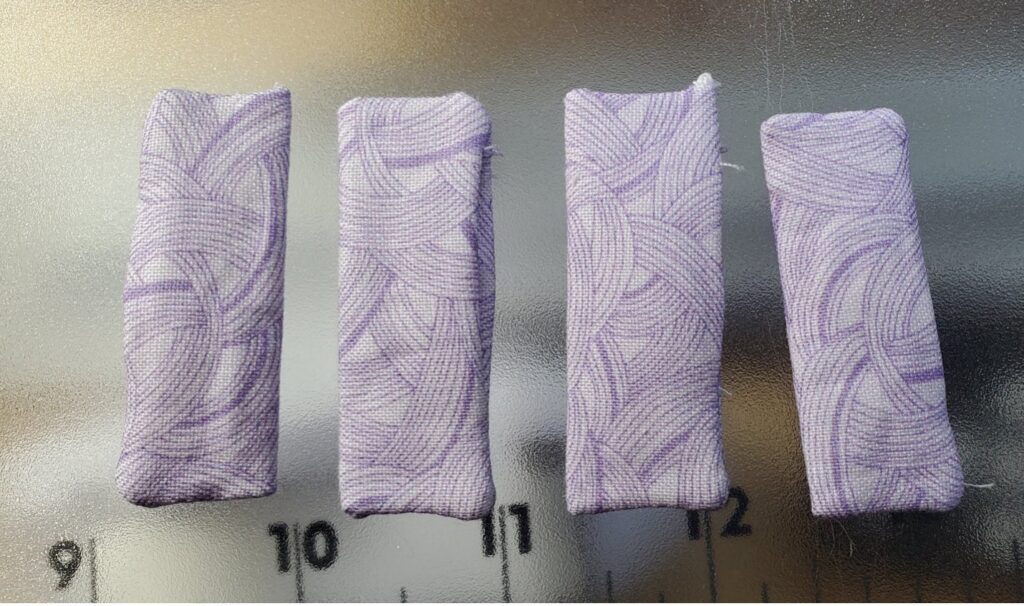
Fold the (4) 2” x 2 ½” and the (2) 2” x 4” in half lengthwise right sides together. Stitch with ¼” seam leaving a space in the middle to turn. We marked them to make it easier to see.
Step 14
Trim seam allowance close to stitching.

Step 15
Turn right side out. Press.
Step 16
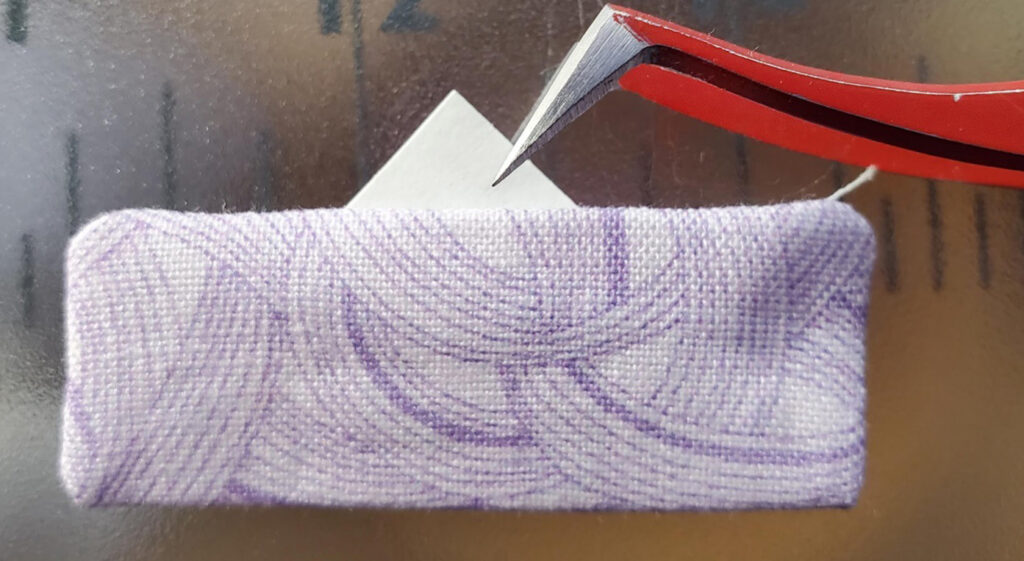
Cut a ½” square of Fuse and Seal. Remove the paper backing. Insert the Fuse and Seal into the rectangle to close. Press.
Step 17
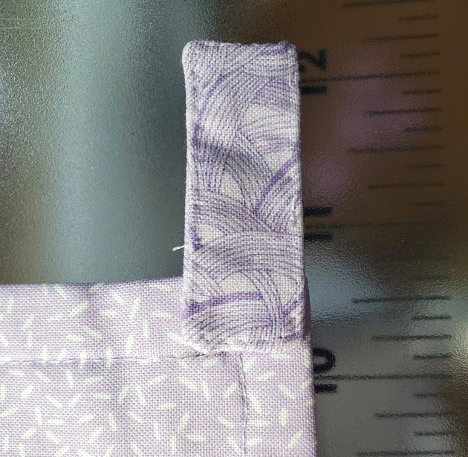
Place a rectangle on the edge of the block, ½” from the top.
Step 18
Using wash away tape, tape the rectangle to the back of the block. Turn block right side up.

Step 19
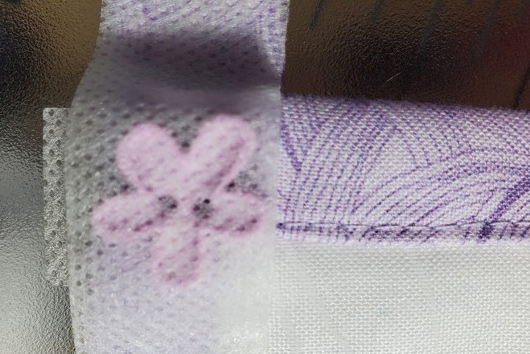
Place a small flower button on the corner of the block. Secure with tape. Stitch through all of the layers. We stitched the layers by machine. You could also stitch them by hand. After they are stitched, remove the wash away tape. Repeat for all 4 corners. Set aside.

Step 20
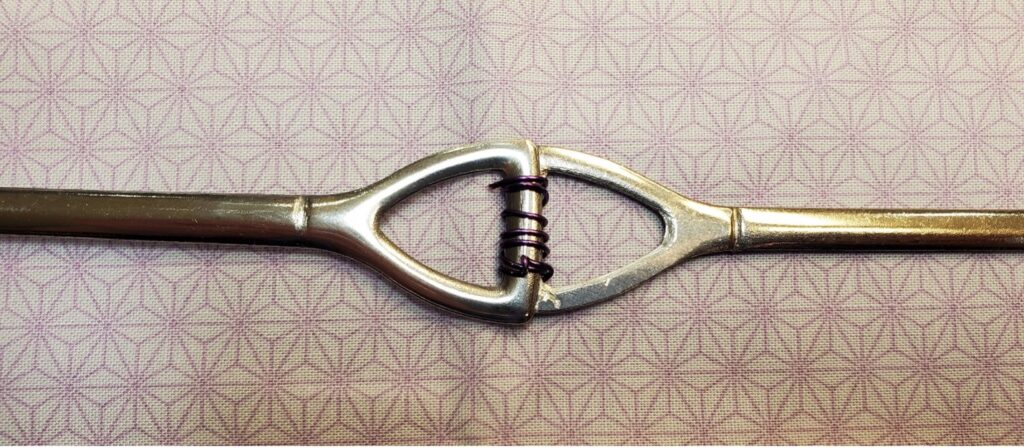
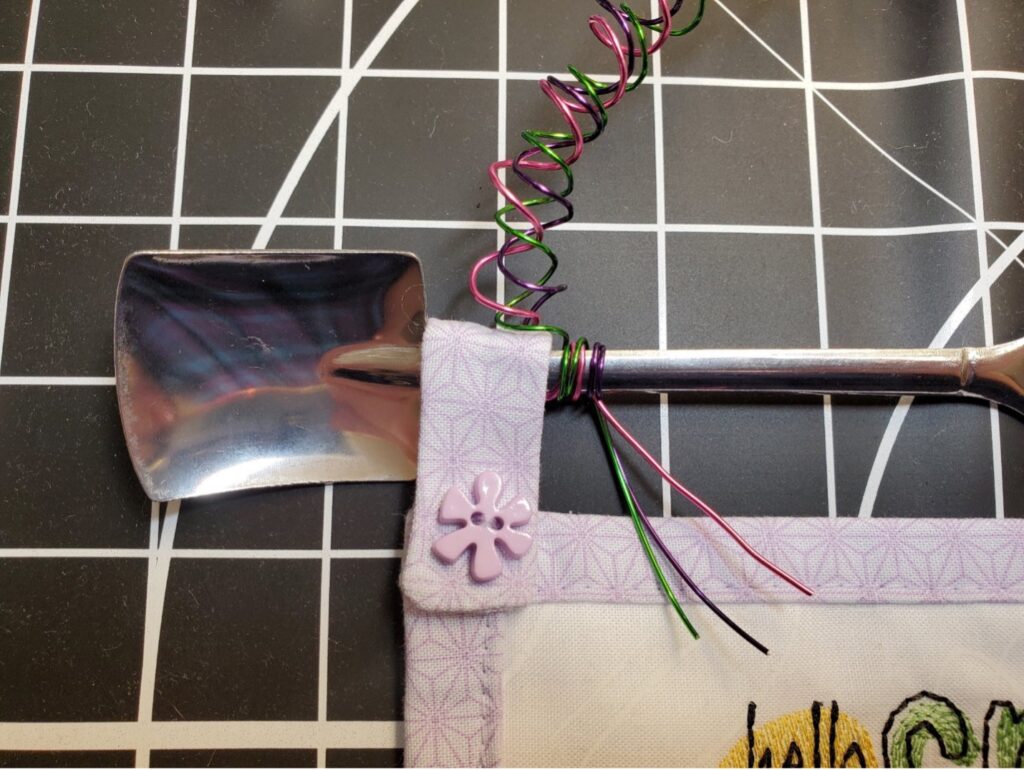
To make the hanger: Glue the small garden tools together at the handle, after the glue has dried, wrap wire around top of handles.
Step 21
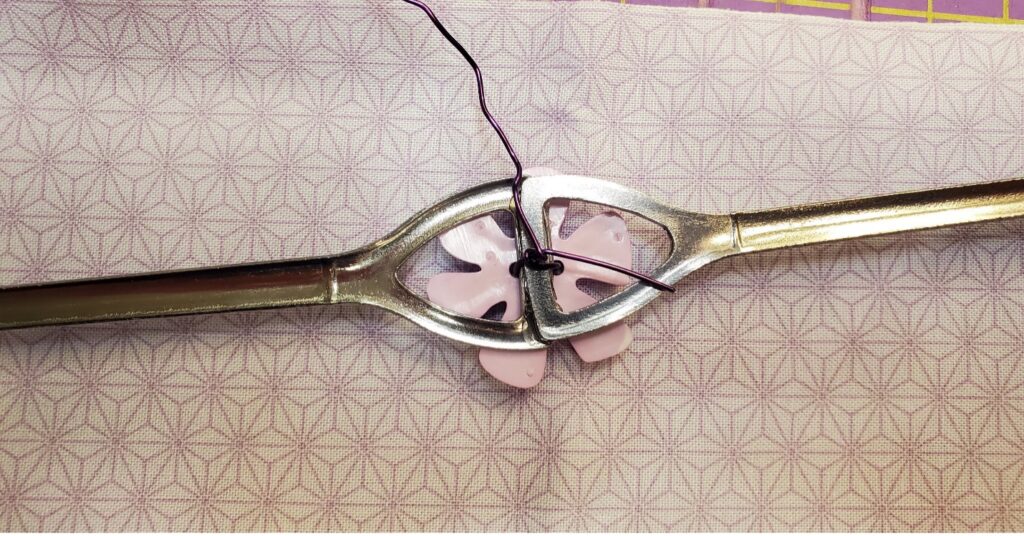
Using wire, attach a large flower button to the handles.
Step 22
Fold the 2”x4” piece over the end of the shovel and position one end of the rectangle on the back ½” down and the other end of the rectangle on the front. Tape in place and sew the button on the corner to secure the rectangle. Repeat for the other side.
Step 23
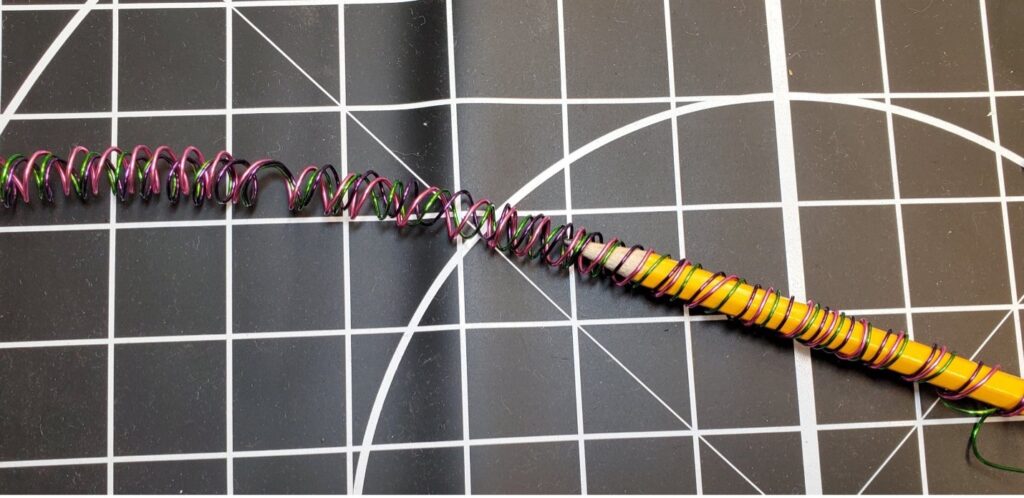
To make the hanger, twist 3 colors of craft wire over a pencil. Leave ends un-twisted so they can be twisted around the small garden tools to form the handle.
Step 24
Tuck the wire ends under the rectangles to complete the handles.
Step 25
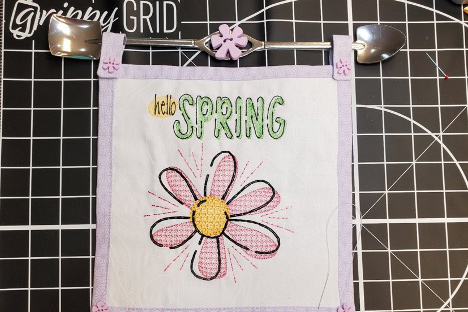
Attach the remaining 2 blocks with the rectangles. Follow the above directions on how to attach the blocks with the small flower buttons.
Enjoy your beautiful wall hanging!

JOIN US IN THE OESD COMMUNITY!
We hope you enjoyed this machine embroidery tutorial! Have you stitched your own Spring Sayings Wall Hanging? Come show off your work in our private Facebook group, The Perfect Stitch!