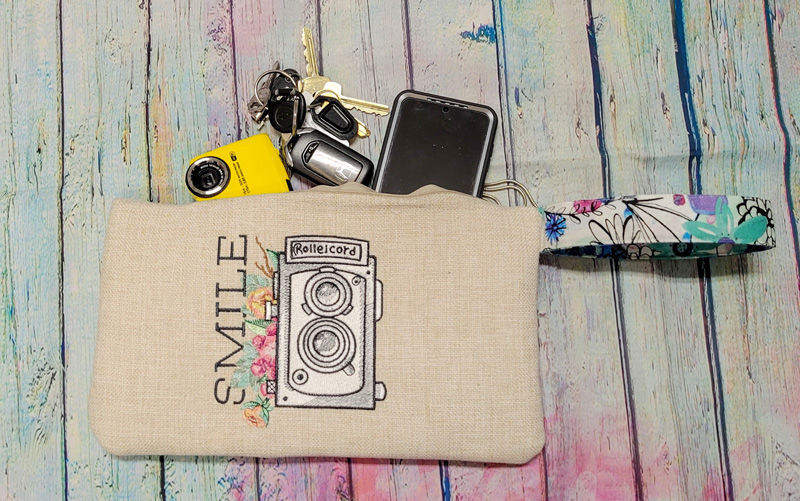
Stitch a cute clutch using the OESD Easy Sew Pillow Blank and designs from Scissortail Stitches Smile For The Camera collection. Use this clutch to protect your camera, store your sewing supplies, or organize your purse!
Supplies
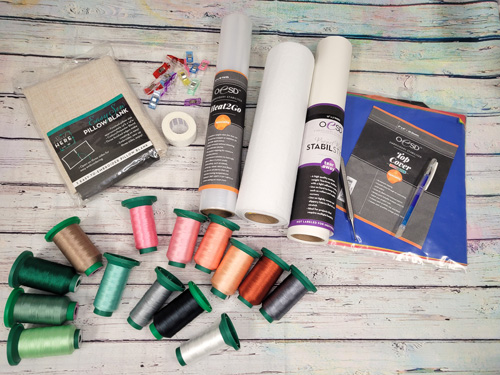
- Scissortail Stitches Smile For The Camera #51279
- Start Here by OESD Easy Sew Pillow Blank (linen color)
- OESD StabilStick TearAway
- OESD Heat2Go
- OESD Fiber Form
- OESD Top Cover Permanent Topping (white sheet)
- OESD Expert Embroidery Tape TearAway
- OESD Expert Point and Press Tool
- OESD Perfect Embroidery Press Cloth
- OESD Perfect Snip
- Embroidery Needle Titanium 75/11 sharp
- Fabric for lining 14″ x 14″
Instructions
Step 1
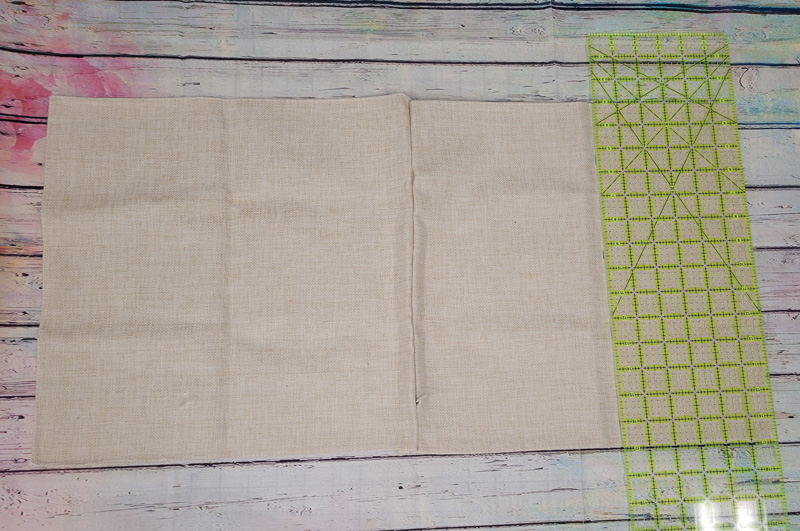
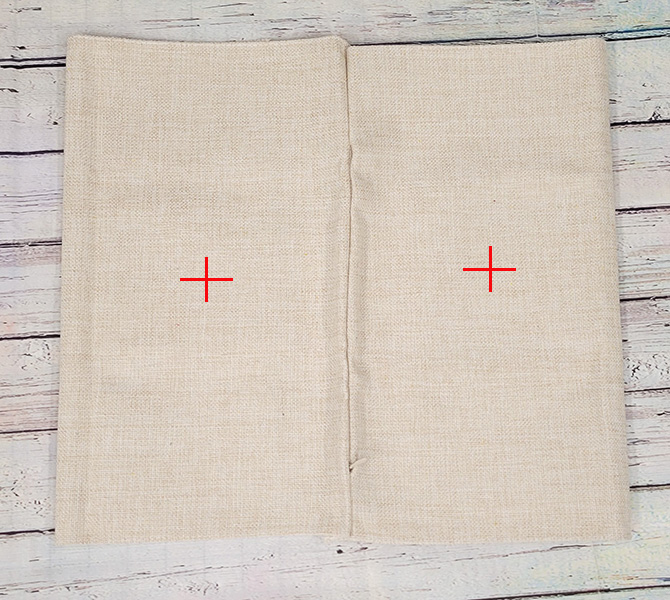
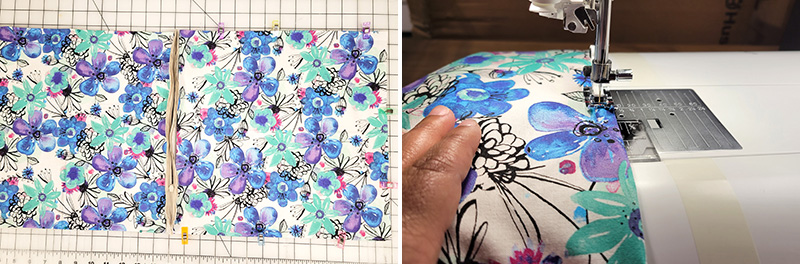
Place your pillow blank right side up. Use a water-soluble pen to mark a line 7.5” away from and parallel to the zipper. This is going to be a fold line later in the project. Fold the fabric under on the marking (wrong sides together). Mark the center of the fabric area that is facing up (closest to the zipper). This is where the designs will be stitched. Repeat on the other side.
Step 2
Load the design of your choice onto your machine. For this project, I used #51279-04 on one side and #51279-02 on the other.
Hoop StabliStick TearAway with the paper side up. Remove the paper and use the crosshairs to center the embroidery area in the hoop. Note: The zipper is the top of the project, so you may need to rotate the designs to display correctly.
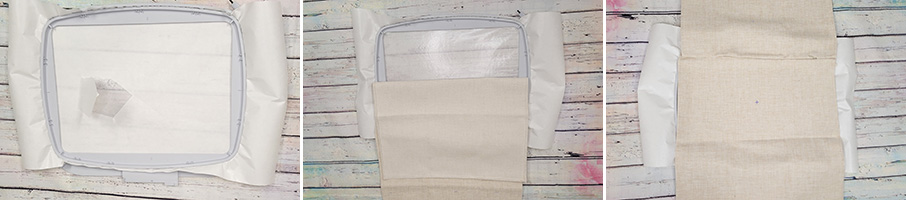
Place a piece of Heat2Go over the embroidery area. Tape it in place with Expert Embroidery Tape TearAway.

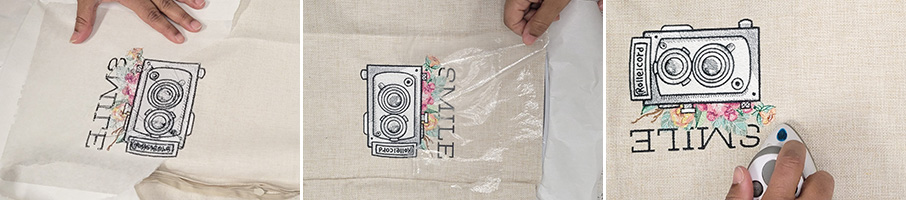
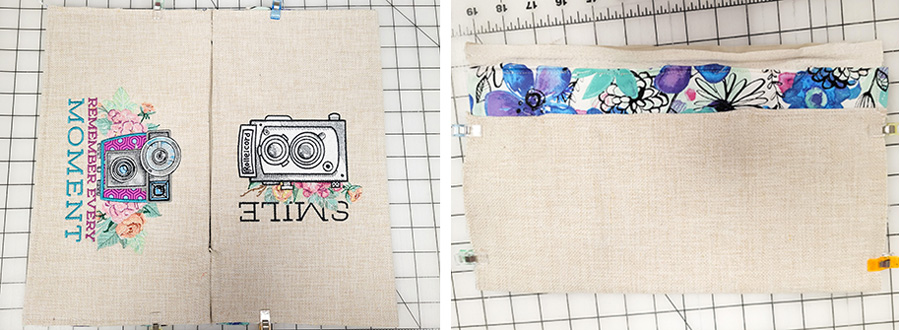
Stitch the design. I added Top Cover in white over the area of the camera that is stitched in white. I did this to make sure the blank didn’t show through the stitching, and I removed it before stitching the remaining colors around the camera.
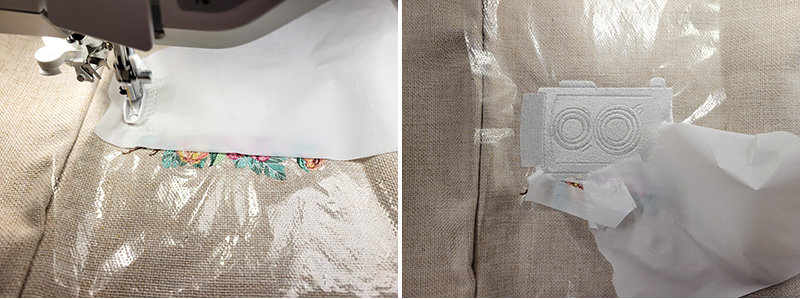
Remove from hoop from the machine and tear away all the excess StabilStick and Heat2Go. Any remaining Heat2Go can be removed with a hot iron, following the product instructions.
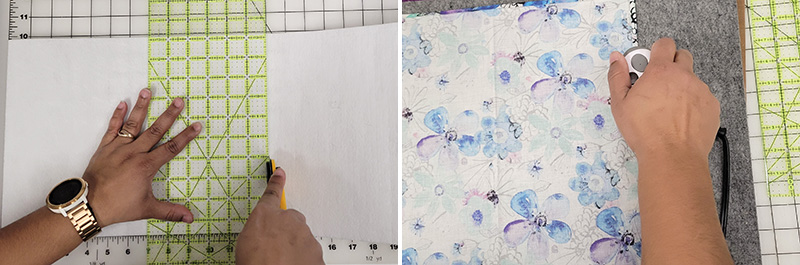
Trim the pillow blank to square it up and remove excess bulk along the edge. Trimming should only be about .25” on all three sides. After cutting, the blank should measure about 13” x 13”.

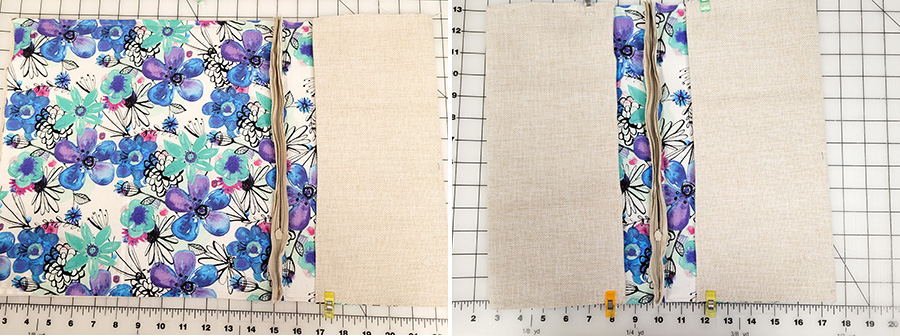
Cut two pieces of Fiber Form 13” x 7”. I cut the lining fabric 14” x 14”. For a clean look next to the zipper, fold the fabric .50” to the wrong side along one edge and iron it.
Step 4
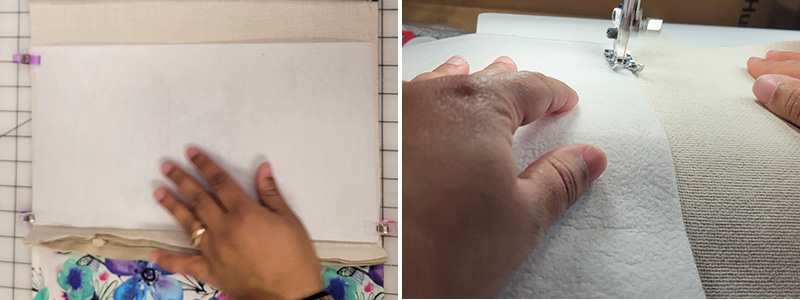
Pin or clip the Fiber Form to the pillow blank closest to the zipper. Position the Fiber Form about .50″ from the zipper, sew in place. Repeat on other side.
Step 5
Pin the lining with folded edge of fabric closest to the zipper. Sew close to the edge, across the top and the sides of the lining. Repeat on the other side. Trim excess fabric from edges if needed. On the bottom raw edges, fold over and zig-zag stitch to cover the raw edge.
Optional: Adding a wristlet. Use an extra piece of Fiber Form and cut it to 13” x 1”. Also, cut an extra piece of lining fabric to 13” x 3”. Wrap the lining around the Fiber Form, folding the fabric edges in and stitch it close to edge on the long sides. Fold in half and clip or pin to the right side of the bag, close to the zipper. The wristlet should be facing the inside of the pillow blank with the two raw edges aligned with the edge of the pillow blank. Baste in place.
Step 6
OPEN THE ZIPPER! Place the pillow blank lining side up. Fold the lining edge up and over the Fiber Form. The fold should be at the bottom edge of the Fiber Form. Once folded, you should see about 2 inches of the lining near the zipper. Pin or clip in place. Repeat for the other side.
Flip the project over to the front side embroidery. Fold again right sides together. Make sure that the edges are even. Clip together along the 3 sides leaving the zipper open. Sew the 3 sides, using a ¼” seam allowance.
Step 7
Now the clutch is inside out. So, it’s time to flip it! If it’s a little stiff, use the larger end of the Point & Press Tool along the inside seams to help get all the corners turned. Press on a Perfect Embroidery Press Cloth to make those edges nice and sharp.
Tada! You have a beautiful clutch for your camera, cell phone, or other treasures.

This material is © OESD, LLC and may not be reproduced or published without permission.