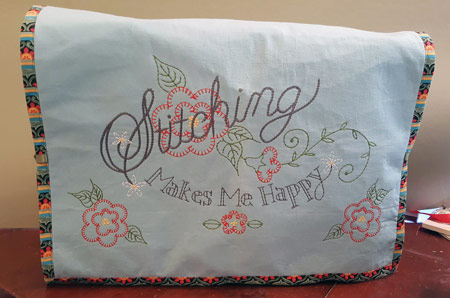
Many sewists leave their machines set up for quick access whenever the need arises; however, dust can be a major culprit in any sewing room. Keep the dust off your machines with a simple to make, but highly decorative, cover! The simple, self-binding makes this project so quick; you’ll make another for your toaster! The finished size of this project is 18” wide by 28” front to back. For best results, measure your machine (width, and front to back over the top) then adjust the lesson measurements to fit your project. This design is easily adapted to other machines, such as an overlocker machine – or, a toaster.
Supplies
- OESD’s Make, Stitch and Sew by Crabapple Hill #80284
- OESD Fuse and Fleece
- OESD Ultra Clean and Tear Fusible
- StabilStick Template Sheets
- 20” x 30” Front fabric
- 20” x 30” Backing fabric
- 40” of ½” ribbon for ties, cut into 4 10” pieces
- Removable fabric marker (such as Frixion pen, or a chalk marker)
- Isacord thread
- Embroidery Software for resizing designs and printing templates (i.e., Bernina Artlink)
Instructions
Step 1
Apply Fuse and Fleece to the entire back of the front fabric according to package instructions. Fuse Ultra Clean and Tear Fusible to the back of the front half of the front fabric. In other words, fuse the stabilizer over the Fuse and Fleece on the side of the fabric where the design will be embroidered.
Step 2
In software, increase the size of the design 80284-41 to 150% of the original size. Print a template on StabilStick Template Sheets. It will take two sheets for the entire design. Put the two pieces together and trim around the design. Save the design in the appropriate format for stitching.
In software, open design 80284-54. Print a template and save in the appropriate format for stitching. Mirror image the same design vertically (for the other side of the cover). Print a template of that design and save in the machine format for stitching.
Step 3
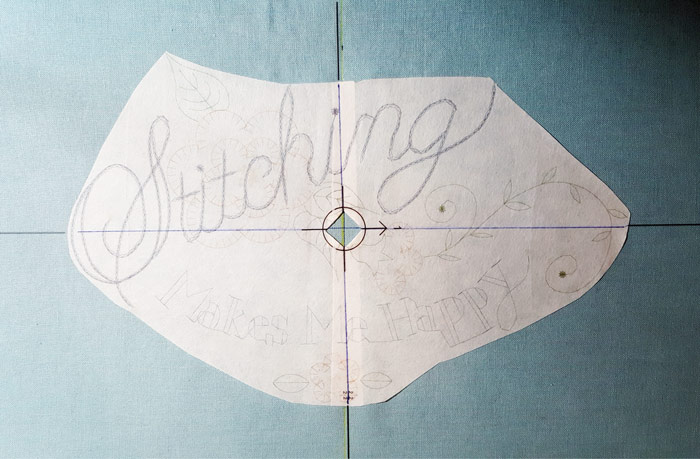
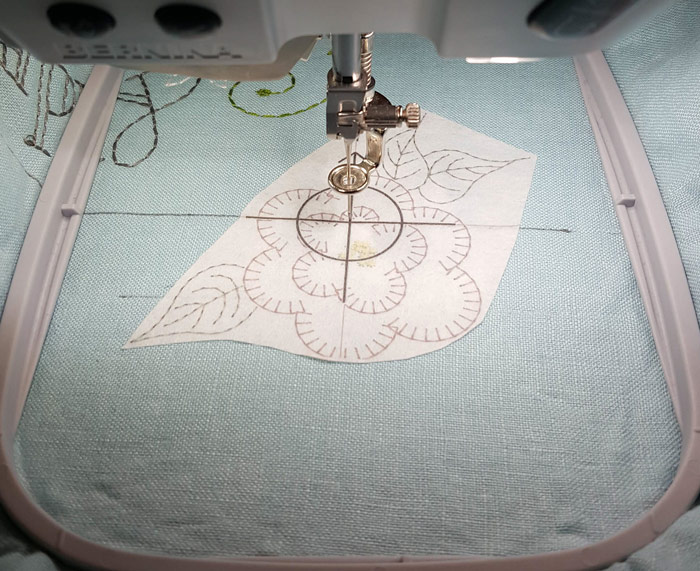
Mark the vertical center of the front half of the fabric with an erasable marking pen. Mark the horizontal placement line 8” from the bottom of the fabric. This marking will position the design slightly above center for better visibility. Position the design template with the marked lines on the fabric as shown.
Step 4
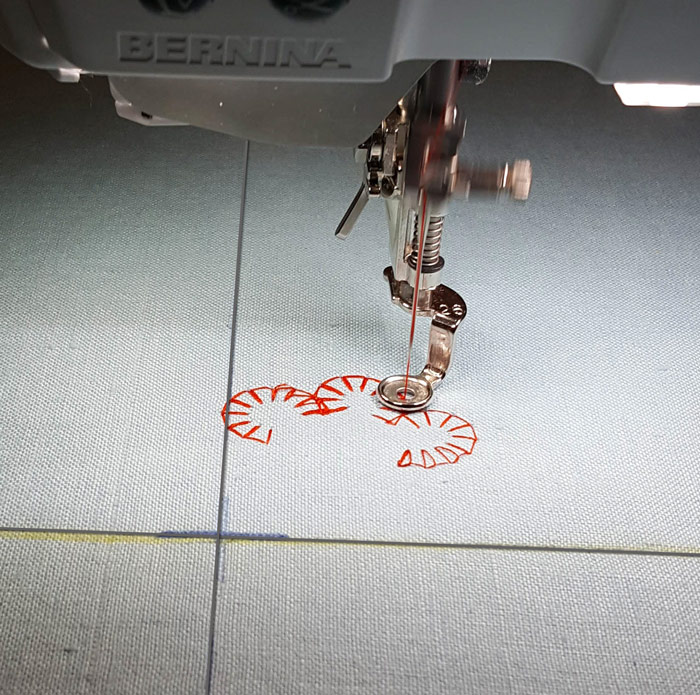
Hoop the design. For perfect placement, use Pinpoint placement, if available. If not, use the hoop template to position the design square in the hoop. Gently remove the template before stitching. Change colors as required. Remove from hoop. Press.
Step 5
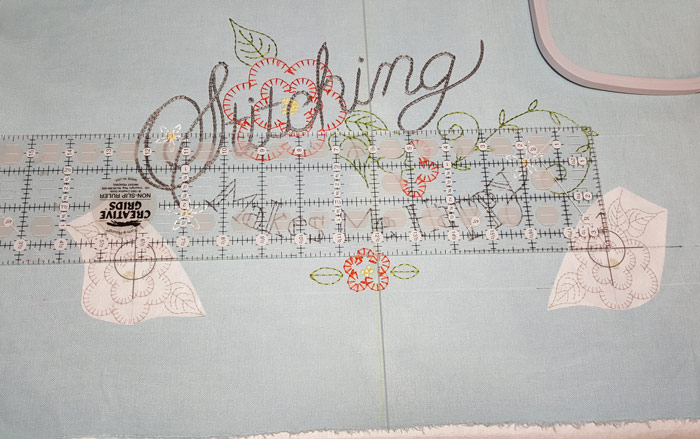
Remark the vertical center of the design if necessary. Place one of the templates in a visually appealing place on the lower side of the design. Use a quilter’s ruler to match the position for the other design on the same horizontal line, equidistant from the vertical center. These are 6” from the vertical center to design center.
Step 6
Hoop each of the side designs separately. If available, use Pinpoint Placement to rotate the design perfectly. If not available, use the hoop template to hoop the fabric square in the hoop. After the alignment is complete, remove the template before stitching. Stitch each side design.
Step 7
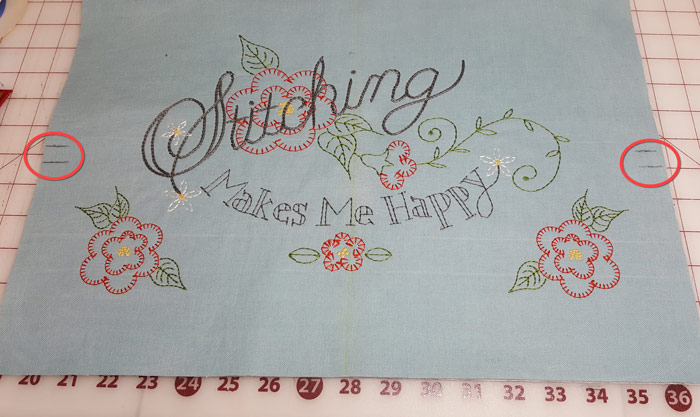
Press the embroidered front fabric. Trim all edges 1” for a final size of 18” by 28”. On front and back make a mark at 6” and 6.5” from the bottom edges of the fabric. These are the placement lines for the ribbon tie. Pin the ribbon (right side to the fabric, if there is a right side) and pin in place. Do this for both sides of the front fabric.
Step 8
Place a pin at the centers of each side of the front fabric and the lining. Match the pins, right sides together. The lining will be 1” larger than the front fabric on each edge. This extra fabric creates the self-binding.
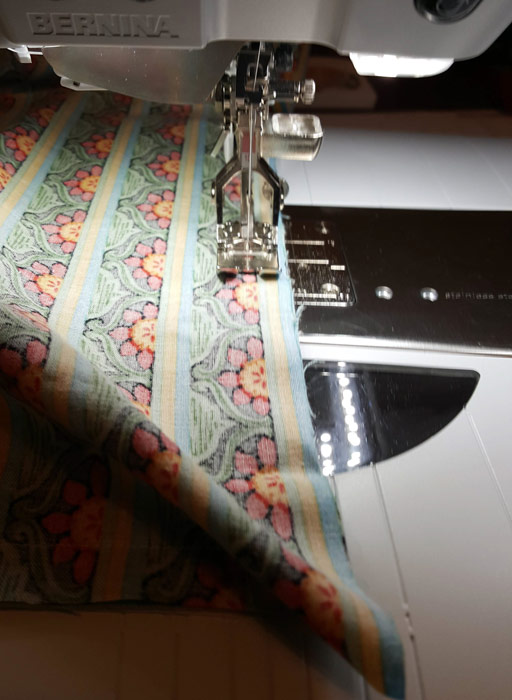
Using a ½” seam allowance, stitch from the center out to the corner, stopping ½” from the edge. Do this for the two long sides and the front bottom edge. On the back bottom edge, leave an opening in the center of 6”-8” for turning.
Step 9
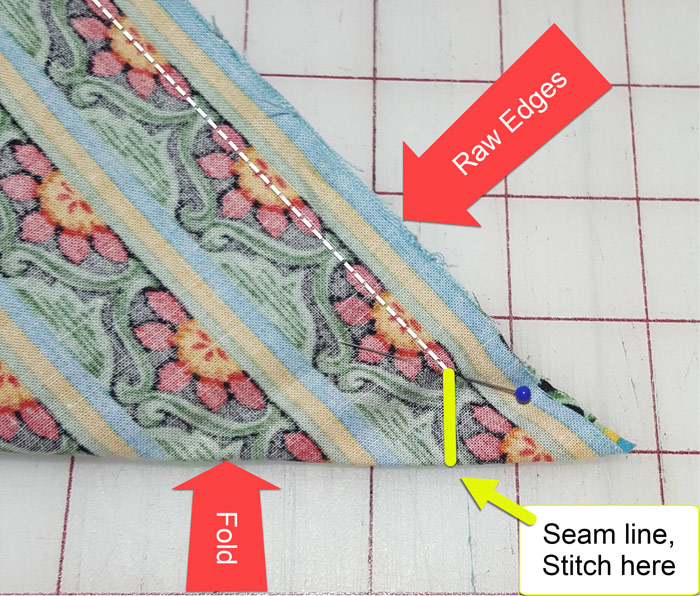
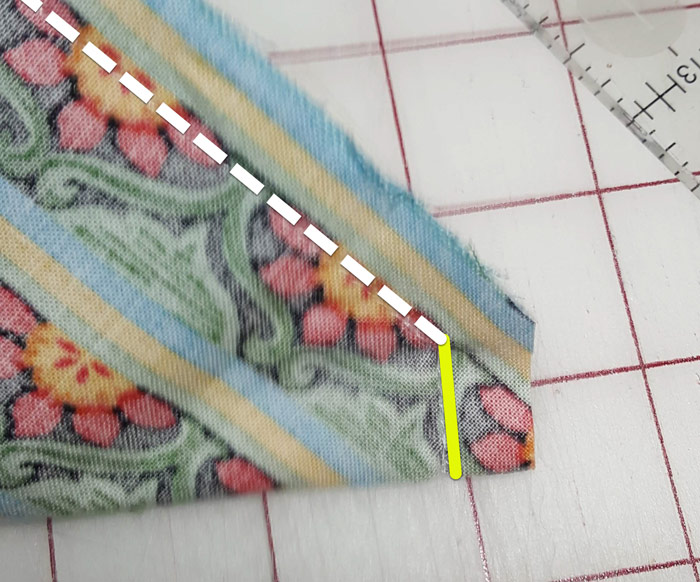
At each corner, match the raw edges together and stitch the corner perpendicular (90º angle) from the fold to the stitch line of the sides. This method creates a mitered corner.
Step 10
Trim each mitered corner about ¼” from the stitching line to remove the excess fabric.
Step 11
Turn right side out through the opening in the bottom edge. Push corners out with a stylus or point turner. Press to set the self-binding at ½” around the perimeter of the cover. For best results use an edgestitch foot and move the needle to the far right position to secure the self-binding in place around the perimeter of the cover.

This material is © OESD, LLC and may not be reproduced or published without permission.