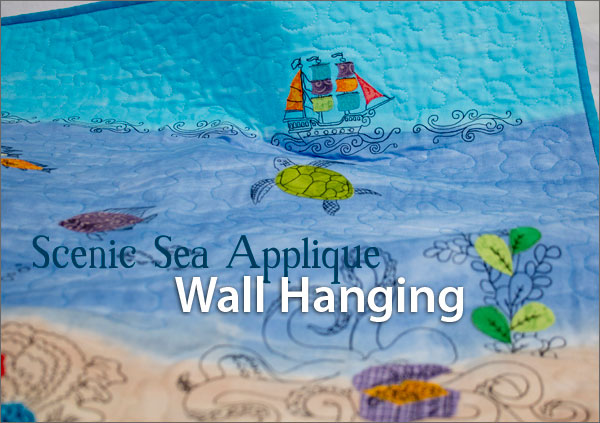
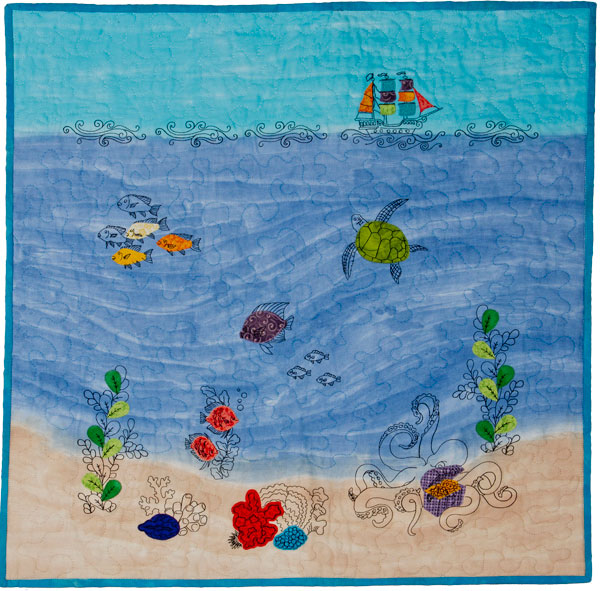
Create this fantastic underwater scene using the Scenic Sea Applique embroidery collection. This tutorial teaches you how to custom dye your fabric for a unique masterpiece.
Supplies
Embroidery:
- OESD’s Scenic Sea Applique #12496
Dying Supplies:
- 3 foam brushes
- 3 plastic cups
- Plastic tablecover
- Rit Dye in Aquamarine, Tan and Royal Blue
Fabrics:
- 1 yard Background fabric – white 100% cotton fabric such as Kona Cotton
- 1¼ yard Backing and binding fabric – cotton fabric of your choice
- Scrap of golden yellow (2, for fish, and treasure)
- Scrap of dark orange (3, for fish and two sails)
- Scrap of medium orange (1, for fish)
- Scrap of bright green (7, for sea plants and one sail)
- Scrap of medium green (6, for sea plants)
- Scrap of swirly green (1, for turtle shell)
- Scrap of dark purple (1, for clam)
- Scrap of coral red (1, for coral)
- Scrap of blue (1, for coral)
- Scrap of salmon/pink (3, for fish and one sail)
- Scrap of medium purple (1, for treasure chest)
- Scrap of swirly purple (3, for fish and two sails)
- Scrap of teal (2, for two sails)
Stabilizer and Batting:
- 31” square lightweight cotton batting
- 14 pieces of OESD Medium Weight TearAway stabilizer large enough to hoop in a 5” by 7” hoop
- 1 piece of OESD Medium Weight TearAway stabilizer large enough for a larger hoop (Design size is 8.59″ by 7.45″)
- 3 pieces of OESD Applique Fuse and Fix
Thread:
- Embroidery thread to match applique fabrics
- Black embroidery thread
- Quilting thread to match dyed fabric background (royal blue, aquamarine, and tan)
- Quilting bobbin thread to match backing fabric
Instructions
STEP ONE: DYE THE FABRIC
Wash the fabric before beginning.
Cut the fabric 36” square (Finished quilt will be 30” square)
Print templates of designs – 1 each of all 11 designs in the “Sea” collection, plus 3 more (for a total of 4) of Design #2
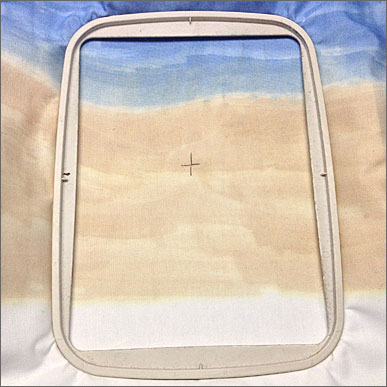
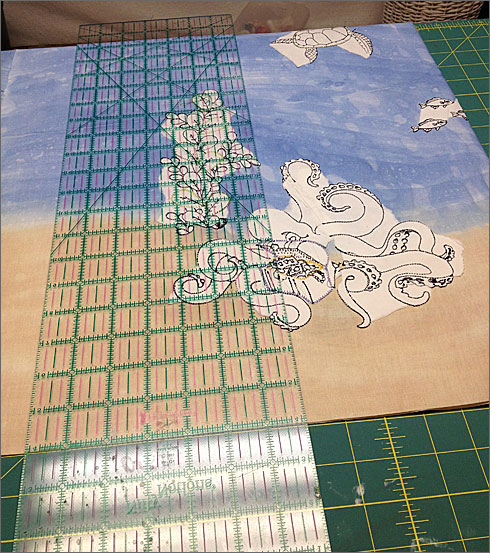
Arrange printed templates on your fabric. See Photo.
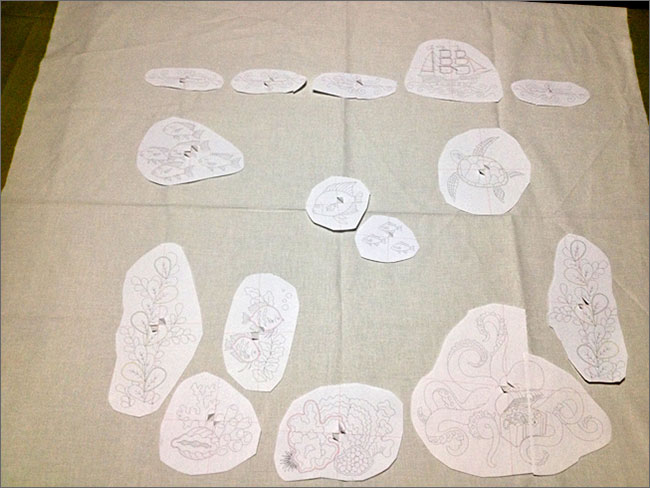
Use the following diagram to aid in placing your designs.
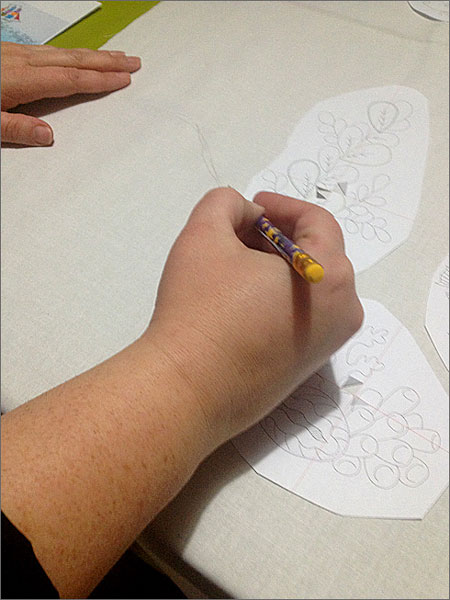
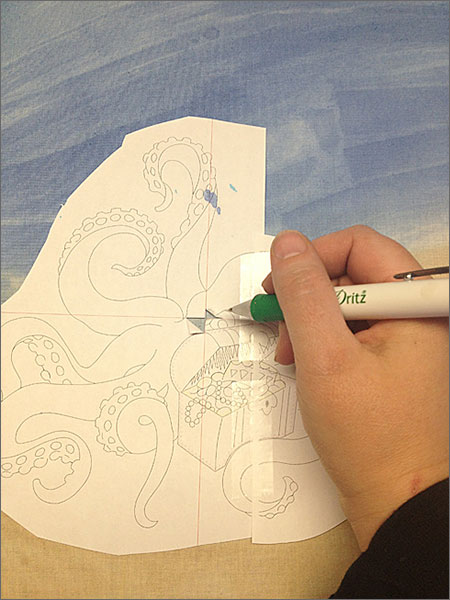
Mark the center of each design lightly with a pencil. Because of the dyeing process, a pencil is the recommended marking tool. Other marking types will disappear too soon. Pencil will wash out when the project is complete, but will not disappear with water or heat, both of which are used in this project.
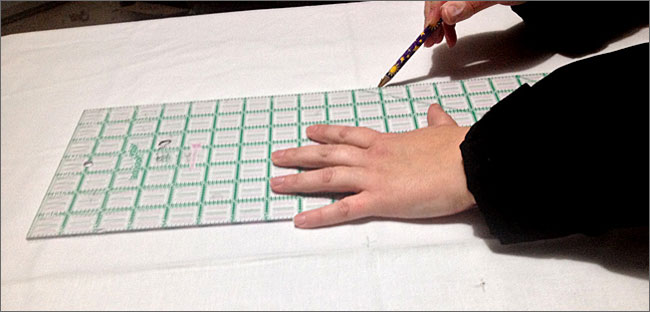
Now lightly mark the dye lines. Draw a gently sloping line (for the ocean floor) approximately 11” from the bottom of the fabric, and a straight line (for the ocean surface) approximately 11” from the top of the fabric square. Use your templates as a guide for marking your dye lines and refer to the diagram above.
Cover your workspace with a plastic dropcloth.
Place the fabric onto your workspace.
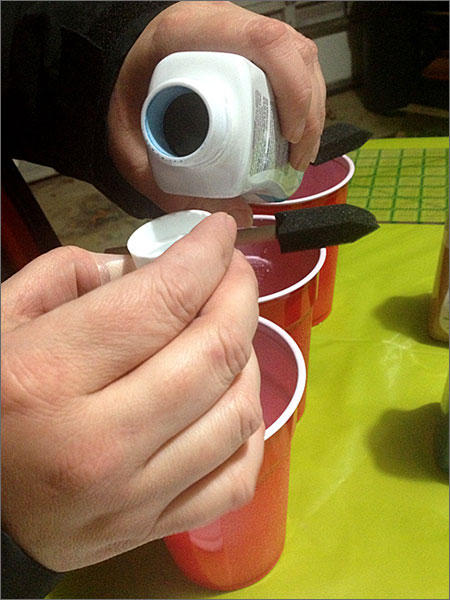
Prepare the dye by adding one capful of dye to approximately one cup of warm water in a plastic cup. Stir with a foam brush.
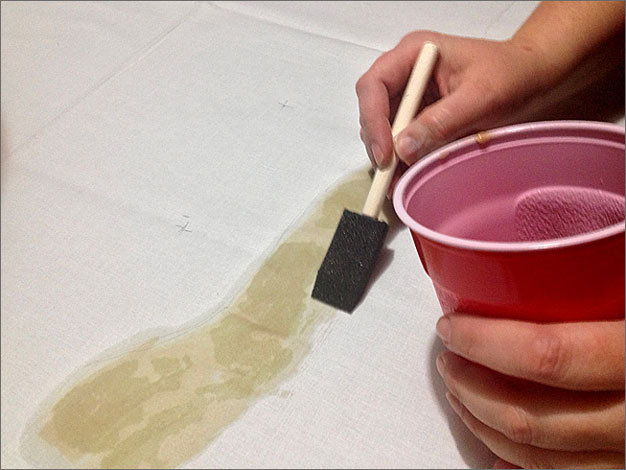
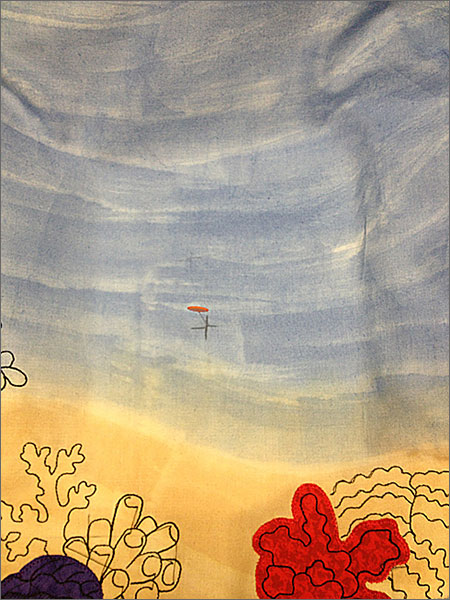
Using a foam brush, paint the tan dye onto the fabric below the curved line. The brush marks will show when the project is complete, so apply dye accordingly.
Next dye the middle section, between the curved and straight lines, using the royal blue dye and a separate foam brush.
Use the tan dye and brush to blur and blend along the curved line to create a smooth transition between the colors.

Finally, dye the top section, using the aquamarine dye and a separate foam brush. Use the royal blue dye to blend along the line separating the colors.
Allow the fabric to air dry in place overnight or several hours.

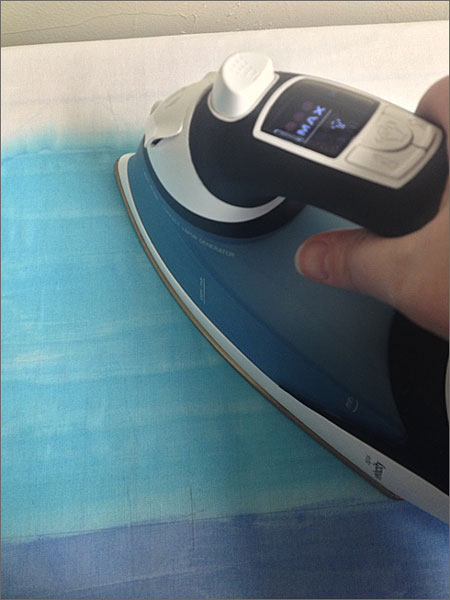
Heat set the dye permanently with a hot iron.
STEP TWO: EMBROIDER YOUR DESIGNS
If needed, trace and/or re-mark the design placements with a marking pen of your choice.
Prepare your fabric for embroidery using either the Hooped or Hoopless method:
Hooped:
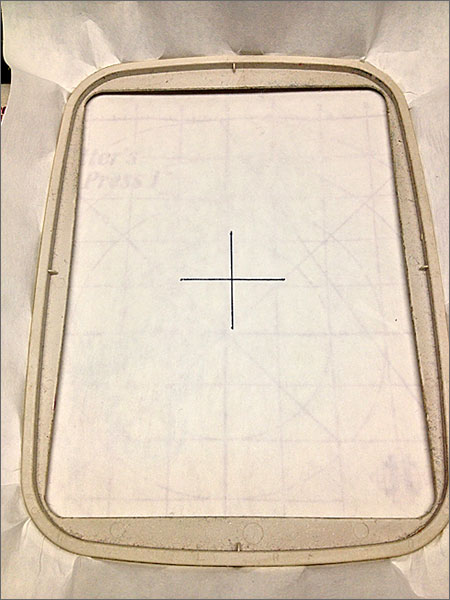
Spray a piece of medium weight tear-away stabilizer with temporary adhesive spray. Center it under one of your embroidery design centerpoints and smooth fabric onto stabilizer.
Hoop the stabilizer and fabric together, centering the marked centerpoint in the center of the hoop.
Hoopless:
Hoop a piece of medium tear-away stabilizer. Mark the center of the hoop.
Spray the hooped stabilizer with temporary adhesive spray.
Align the marked center of one of your designs with the center of the stabilizer. If needed, use a straight pin to check placement.
Smooth fabric onto stabilizer.
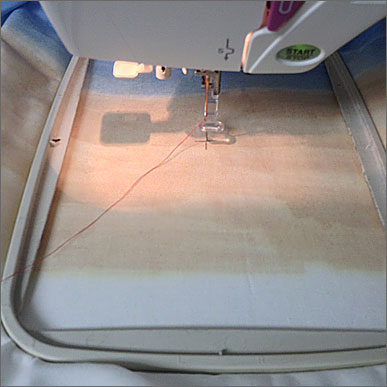
Place the hoop on the machine and select the appropriate design. Check the center placement of the design and adjust position of design within hoop as needed to align with marked centerpoint.
NOTE: Because there are many designs in this project, be careful to choose the correct design!
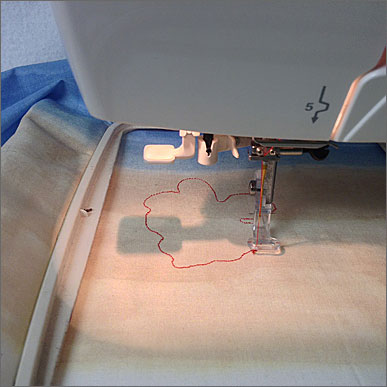
Stitch the applique guideline.
Iron a piece of Fuse & Stick to the back of your applique scraps. Use the applique patterns provided with the collection PDF to cut out the applique fabrics for your design.
Peel away the paper backing of the applique fuse & stick and stick into place within the stitched guideline.
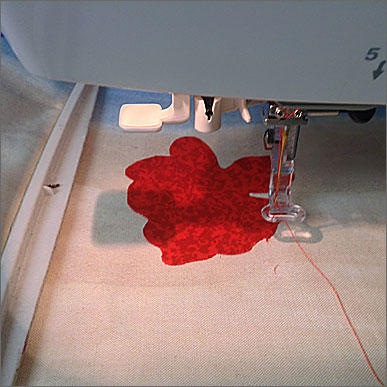
Stitch the tackdown stitch, choosing a color that matches the applique fabric as closely as possible.
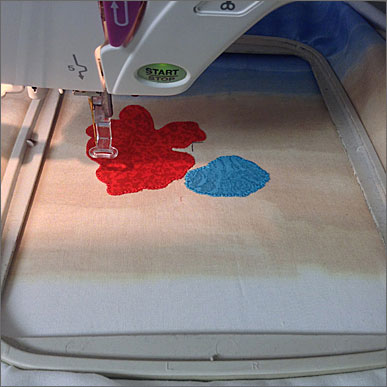
Repeat for any additional appliques in the design.
Stitch the black details of the design.
Remove the hoop from the machine and the fabric from hoop.
Tear away the excess tear away and trim any jump stitches.
Repeat for the remaining designs on your project.
STEP THREE: FINISH THE QUILT:
When all designs have been embroidered, trim the finished top to 30” square.
TIP: To make the trimming process easier, fold the fabric in half, right-sides together, aligning the outermost embroidery designs with each other. Trim at 15” from the fold. Repeat for the other direction, ensuring your cut is perfectly perpendicular to the first one.
Cut a 32” square from your backing fabric. Place it right side up on your work surface and lightly spray with temporary adhesive spray.
Place the 31” square of cotton batting on top of the backing fabric and smooth into place.
Lightly spray the cotton batting with temporary adhesive spray.
Place the quilt top on top of the cotton batting and smooth into place.
Thread your machine’s bobbin with a thread matching the background fabric, and the needle with a thread matching the royal blue dyed fabric.
Free motion quilt the center section, quilting around the embroidered designs.
Change your top thread to a tan matching the tan dyed fabric and free motion quilt.
Repeat for the top section, using a thread matching the aquamarine dyed fabric.
Trim the batting and backing layers to match the top 30” square.
Cut 4 2½” strips from the binding fabric and sew together to form one long strip.
Fold in half and press lengthwise.
Sew the binding to your quilt, using a ¼” seam, aligning the raw edges of the binding to the raw edges of the quilt.
Wrap the folded edge of the binding to the backside of the quilt and pin or clip in place.
Machine or hand-stitch the wrapped binding in place.
This material is © OESD, LLC and may not be reproduced or published without permission.