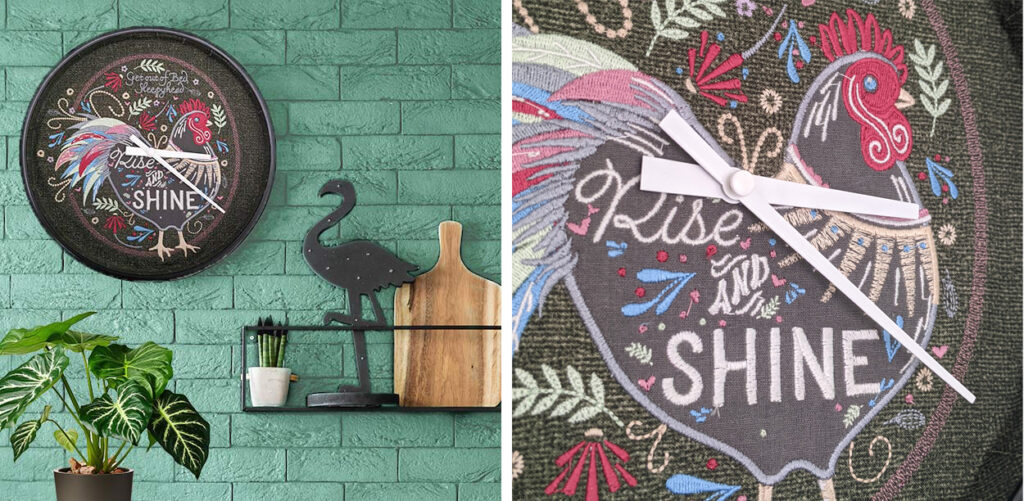
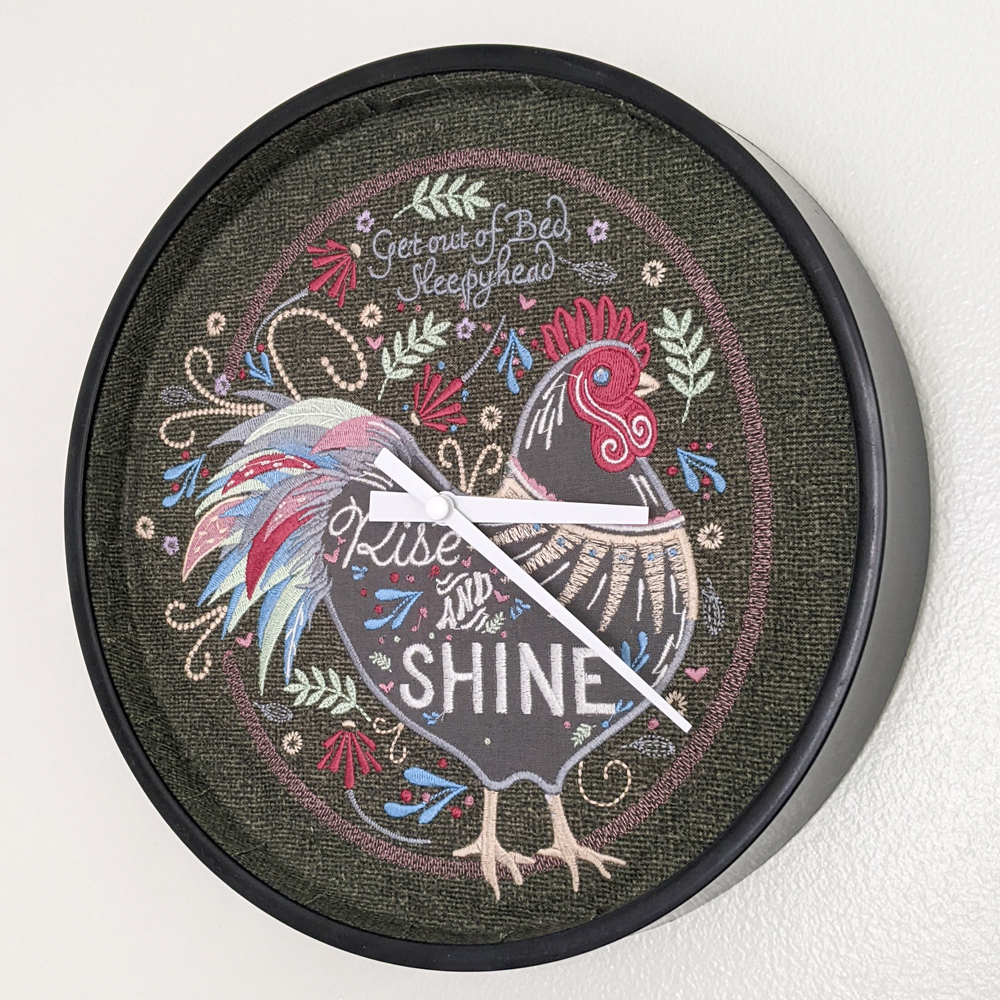
Are you looking for a way to spruce up your farmhouse-style home décor with a modern twist? You’re in luck! Nothing says ‘farmhouse’ quite like the rooster crowing at dawn, and now you can bring this classic symbol into your home with our Rise and Shine Rooster Clock! In this step-by-step machine embroidery tutorial, we’ll show you how to make this fun project that you can adapt to feature your favorite designs and timepieces. Show off your creativity and personality while earning compliments from guest after guest! Grab your supplies, and let’s get stitching!
Supplies:
- 22023-04 Rise & Shine Rooster Applique by Lori Nawyn
- OESD Heavy Weight CutAway
- OESD StabilStick CutAway
- OESD Fusible Woven CutAway
- Clock
- Fabric to cover the clock – we used a 13″x13″ square
- Small piece of applique fabric
- OESD Perfect Punch Tool
- OESD MiniMAT
- OESD Perfect Pencil
- Spray Adhesive
- Hot Glue
Instructions:
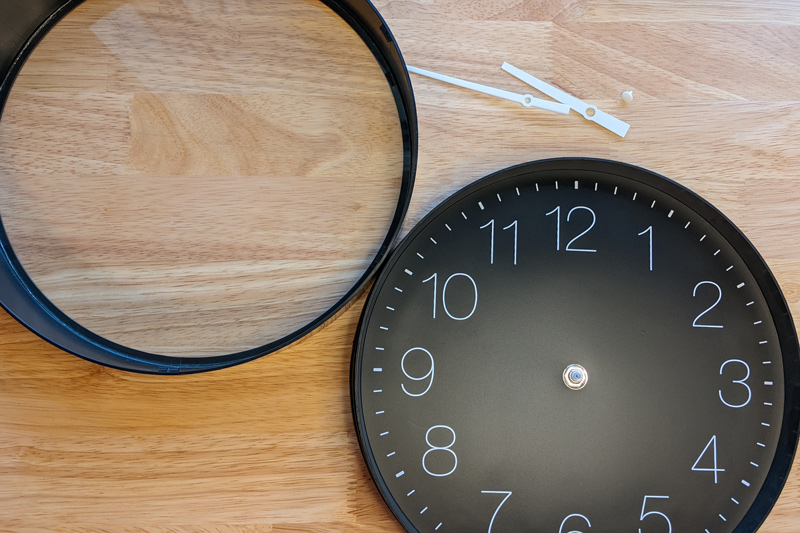
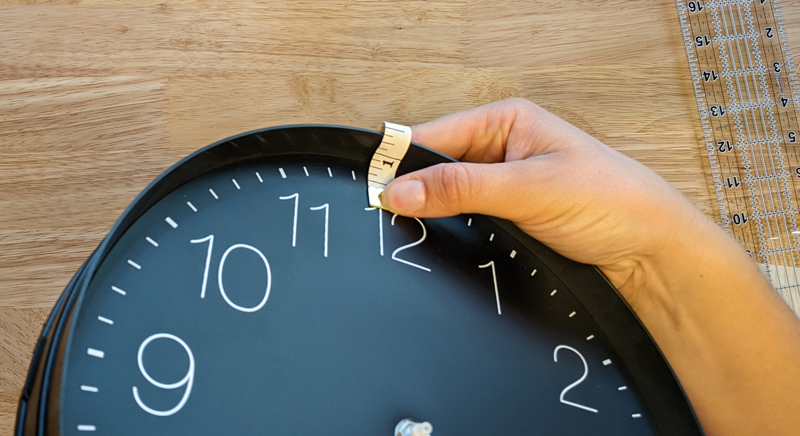
Step 1
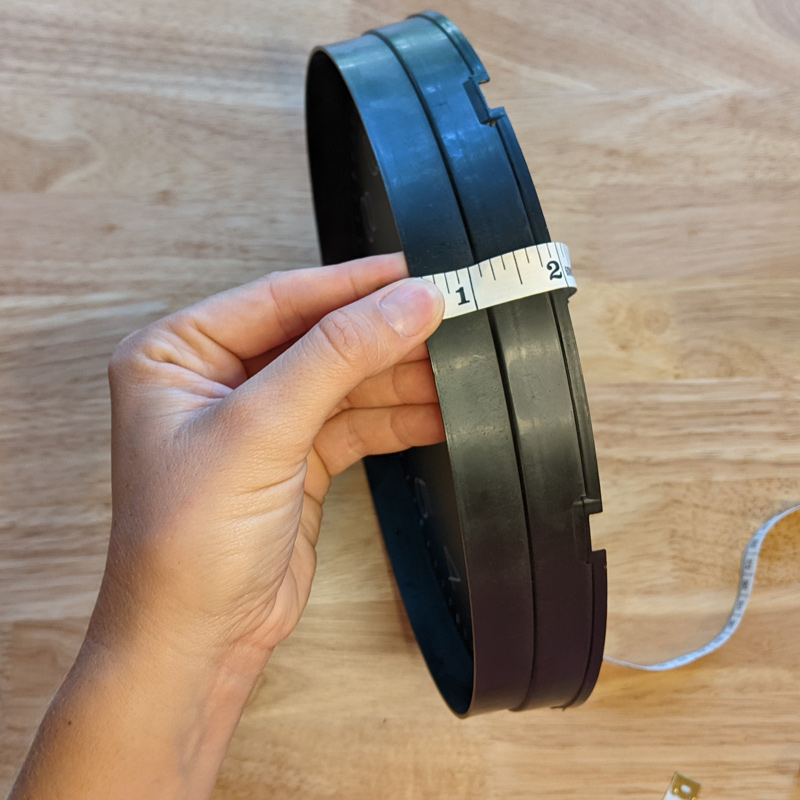
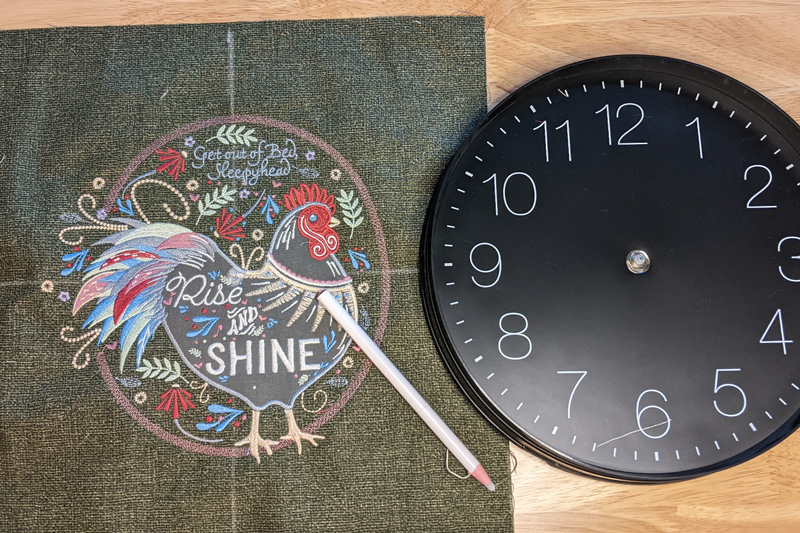
Carefully take the clock apart, removing its hands. Measure its face. The design used for the clock should be 1/2″ smaller than the face of the clock.
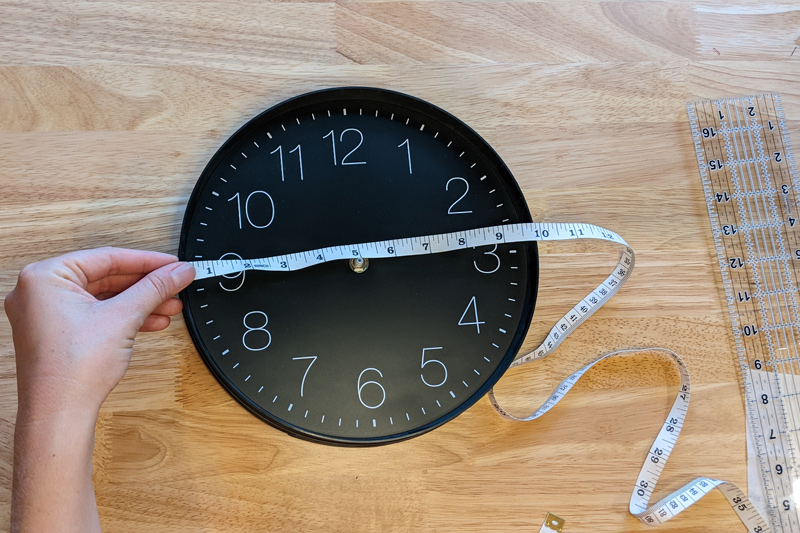
Step 2
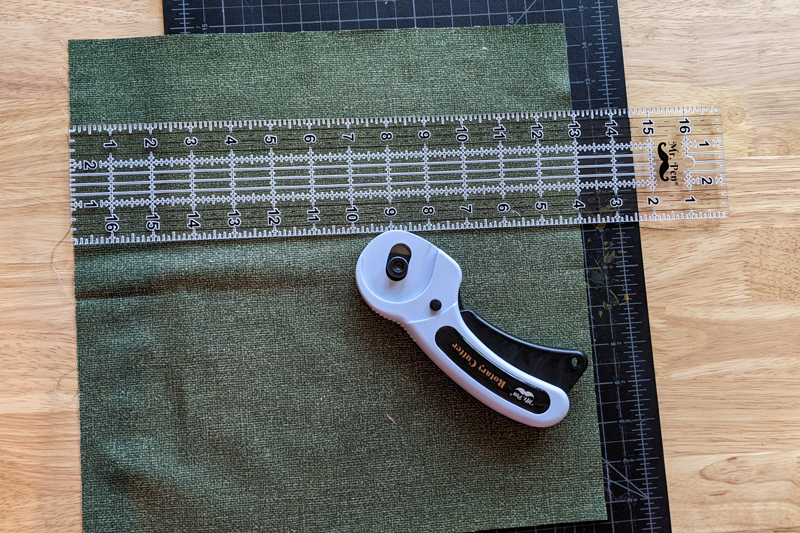
Cut your fabric. Our clock face was 9″ x 9″ with an inside lip of 1″ and an outside lip of 1.5″. Leave a little extra room to adjust. In the end, our fabric was 13″ x 13″
Step 3
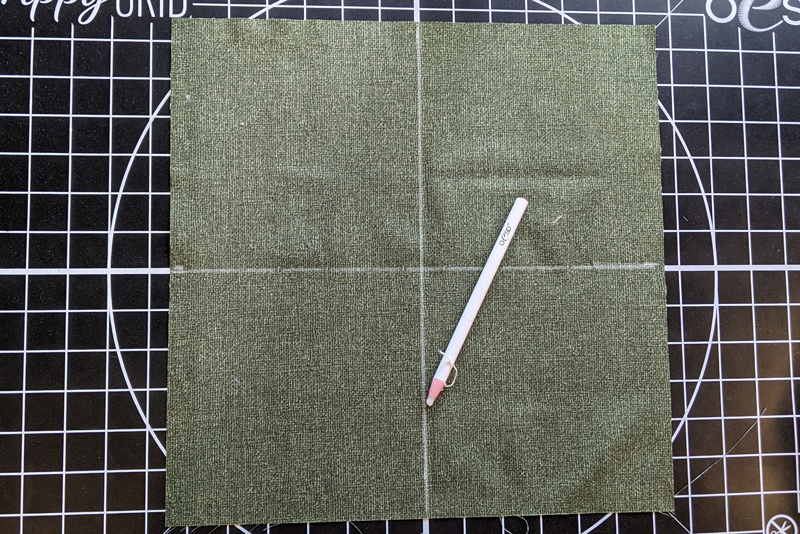
Mark the center of your fabric.
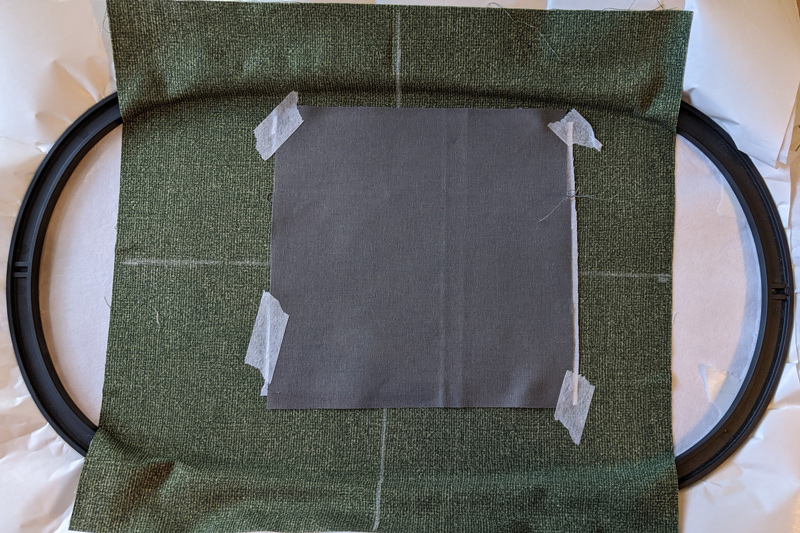
Step 4
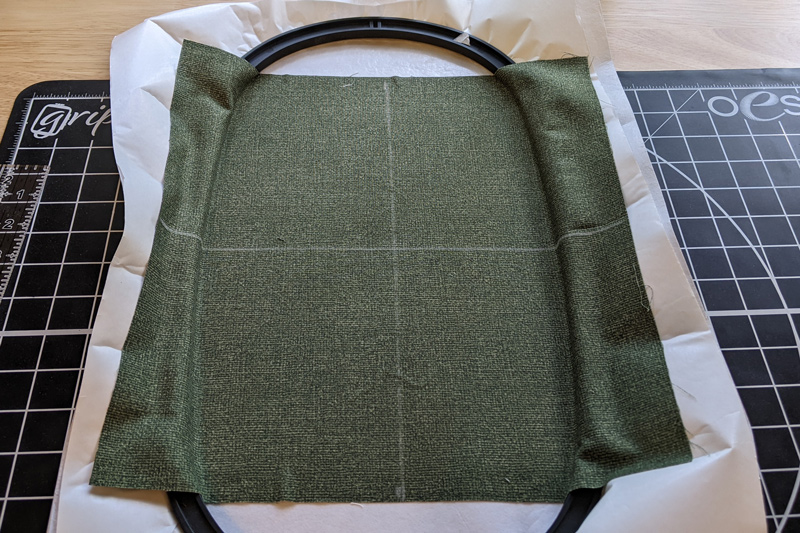
Hoop 1 layer Heavy Weight CutAway and 1 layer StabilStick CutAway. Adhere your fabric to the hooped stabilizer.
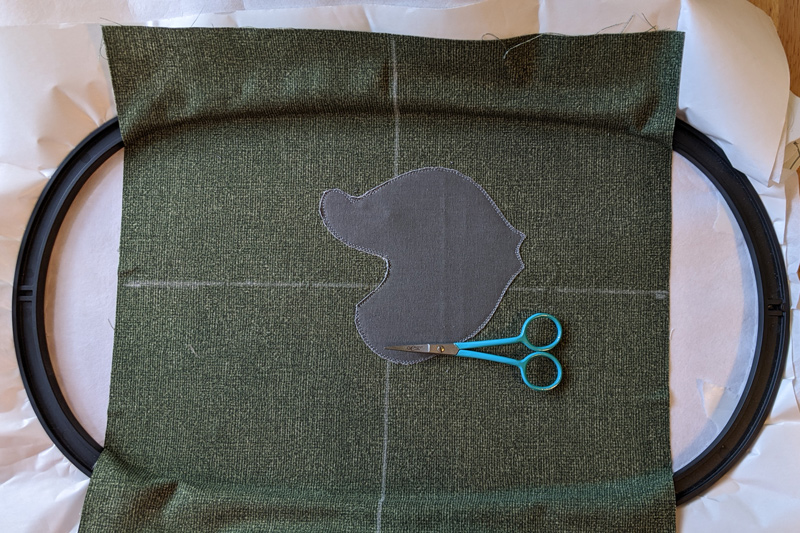
Step 5
Attach 1 layer of Fusible Woven to the back side of the fabric used for the applique portion of the design, then stitch and trim.
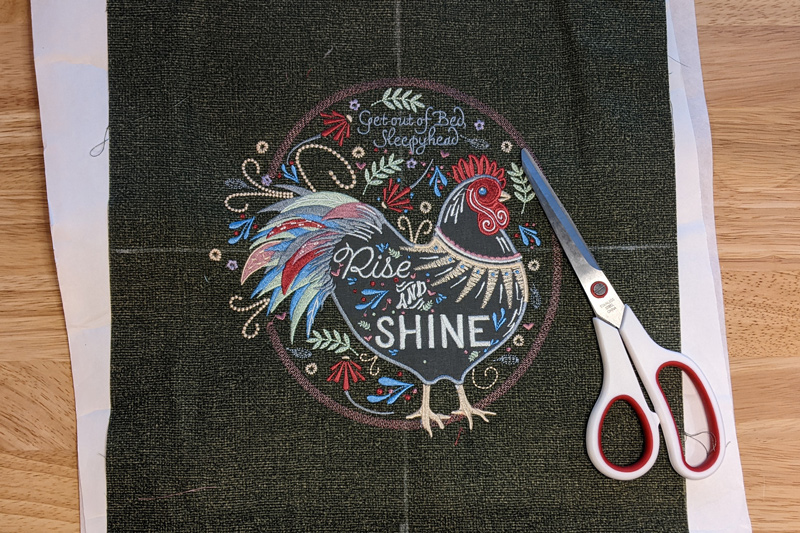
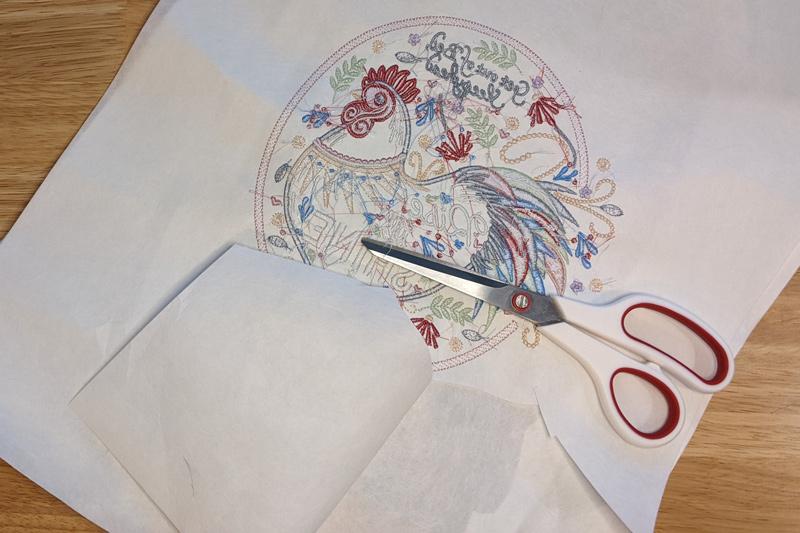
Step 6
Stitch out your design and remove excess stabilizer.
Step 7
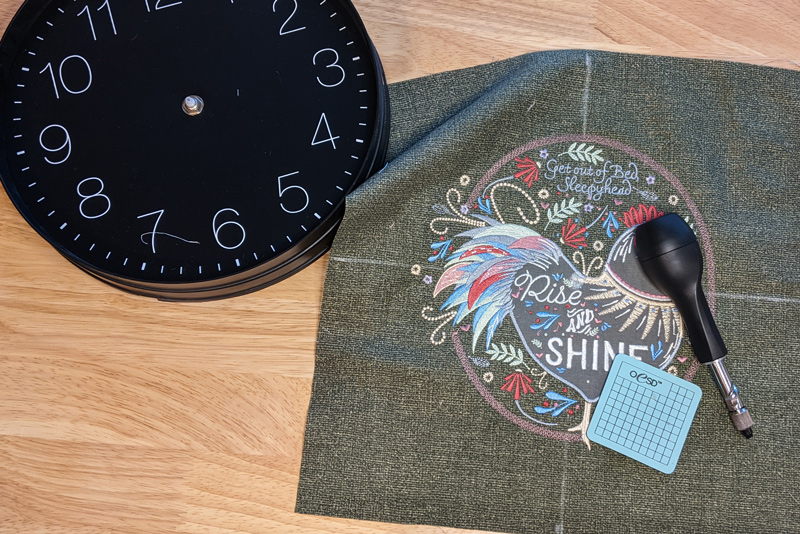
Place your stitched out design on the clock face and mark the center. This will be where the clock hands attach.
Step 8
Use the Perfect Punch Tool to make a hole on this mark. Use scissors, if necessary, to enlarge this hole slightly.
Step 9
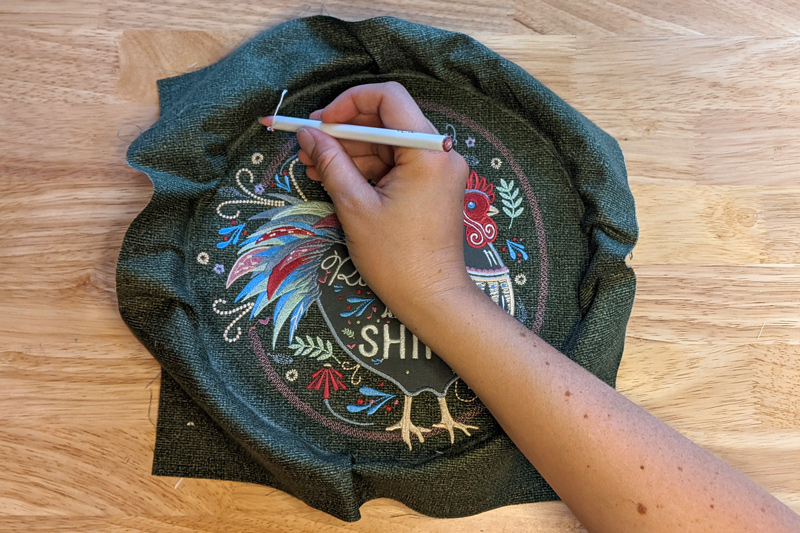
Place the design back on the clock face and use the Perfect Pencil to mark where the inside of the wall meets the clock face.
Step 10
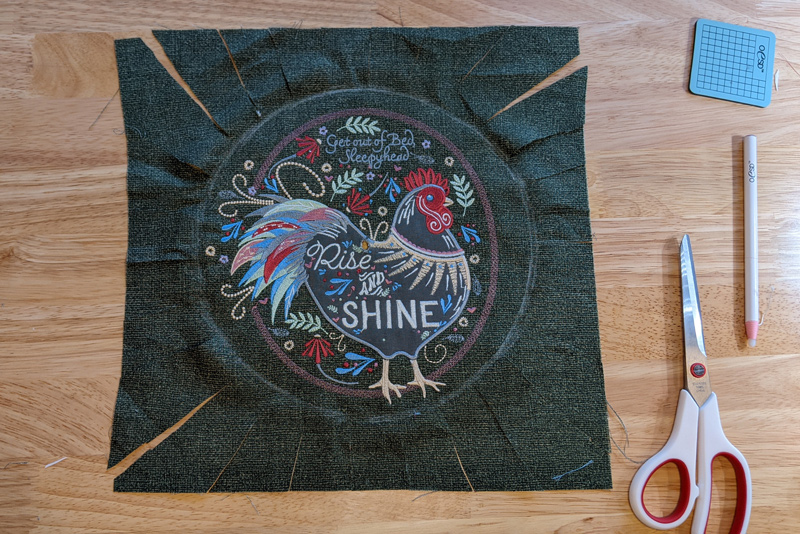
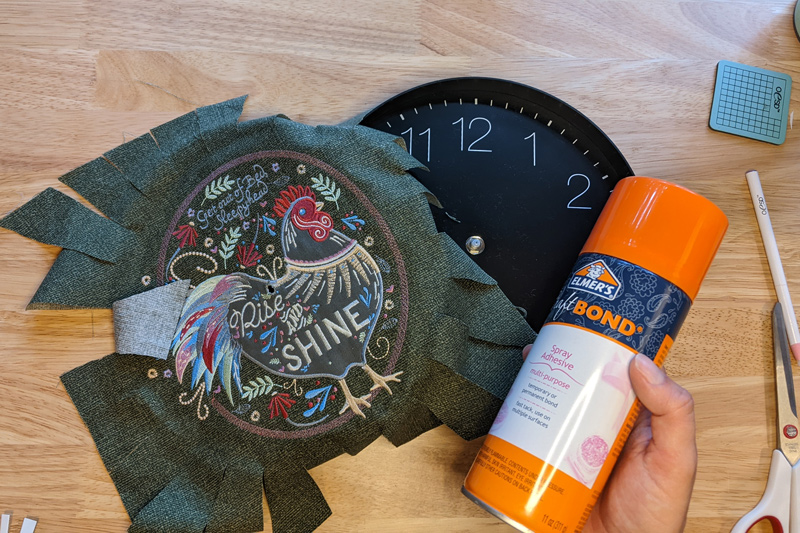
About every inch or so, cut from the outside of the fabric to the line you just created. These strips help the fabric lay flat when you re-assemble.
Step 11
Spray the wrong side of the center of the design with spray adhesive, avoiding the strips. Adhere the middle section of the fabric to the clock.
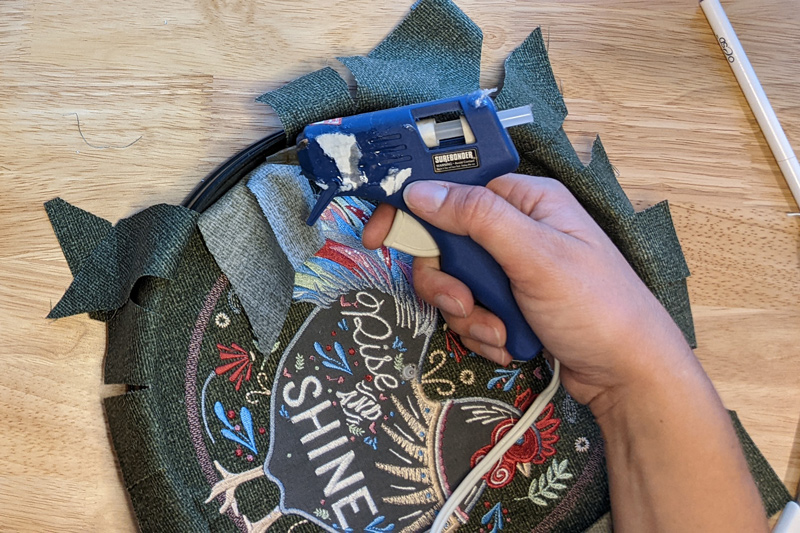
Step 12
Using a hot glue gun, glue the strips to the inside lip of the clock, then fold them over and glue to the outside. Work slowly and make sure the fabric stays smooth.
Step 13
Trim any excess fabric that is longer than the outside of the clock.

Step 14
Once complete, re-attach the hands and re-assemble the clock. The outside rim should hide the folded-over fabric. Hang up and enjoy!

JOIN US IN THE OESD COMMUNITY!
We hope you enjoyed this machine embroidery tutorial! Have you stitched your own Rise and Shine Rooster Clock? Come show off your work in our private Facebook group, The Perfect Stitch!