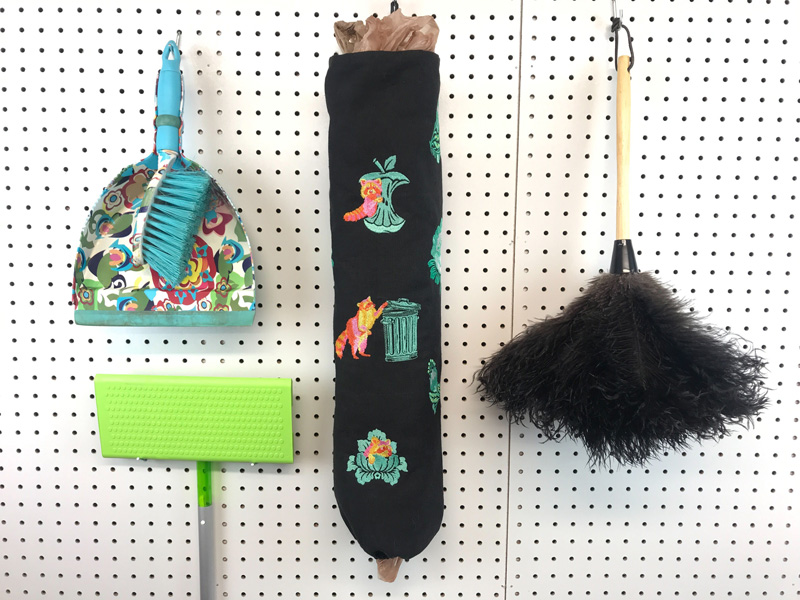
Wrangle those plastic grocery bags with a stylish holder. This quick holder will keep them organized and nearby when you are ready to reuse them.

Supplies
- Tula Pink Tiny Beasts #90034 by Scissortail Stitches
- OESD Fusible Woven – Black
- OESD Heavy Weight CutAway – Black
- Start Here by OESD Tea Towel Black
- Isacord embroidery thread, per the thread chart
- 1 – 8” piece of ¼” Elastic
- Tailor’s Chalk or Fabric Marker
- 1 – 8” piece of Ribbon or Twill Tape
- Small Safety Pin
- Straight Pins
- Scissors
- Iron
- OESD Perfect Embroidery Press Cloth
- Embroidery Needle 75/11
Instructions
Step #1
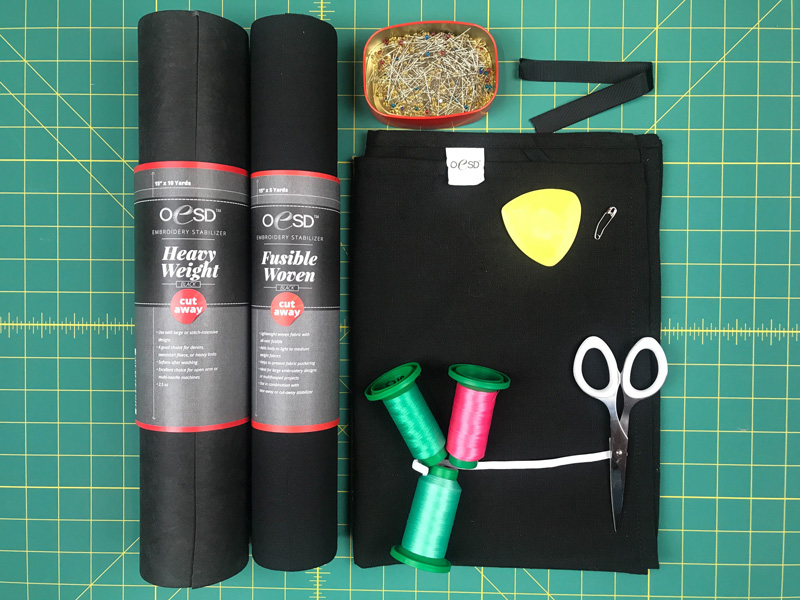
Gather all the supplies to get started.
Step #2
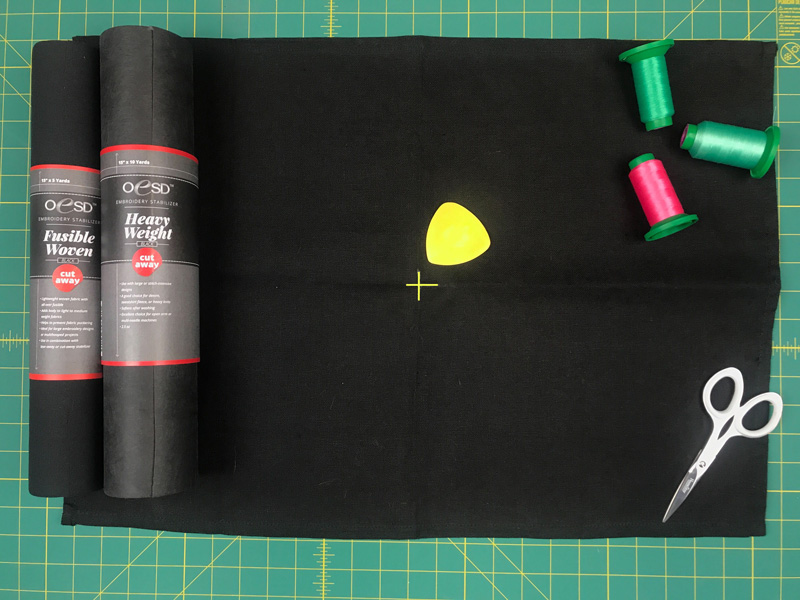
Fold tea towel into quarters and finger press. Open and mark center using the creased lines on the FRONT of the tea towel.
Step #3
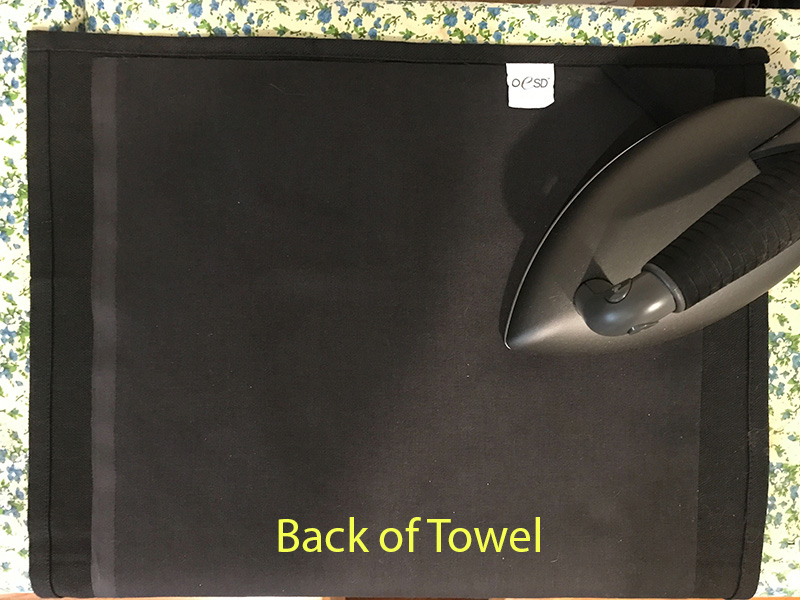
Using a warm iron, follow the instructions on the package, fuse the fusible woven to the BACK of the tea towel. This will give the grocery bag holder a little more body.
Step #4
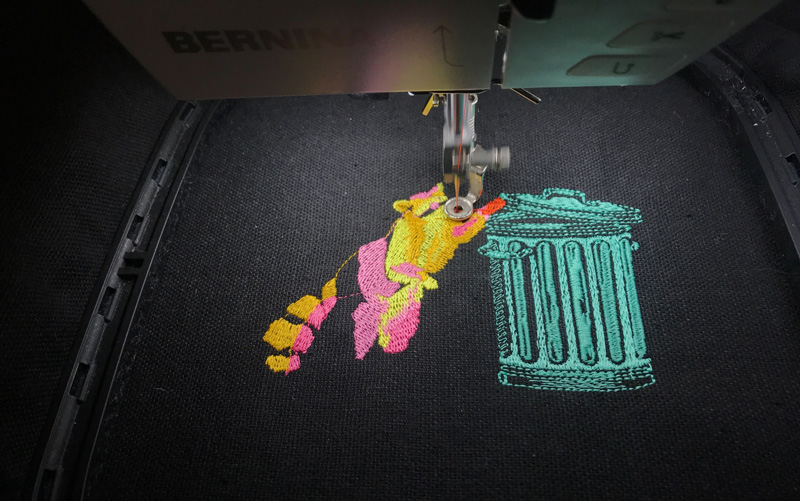
Hoop one layer of Heavy Weight CutAway and tea towel prepped with Fusible Woven. Embroider design. Place the hoop on the machine and stitch the design following the thread chart.

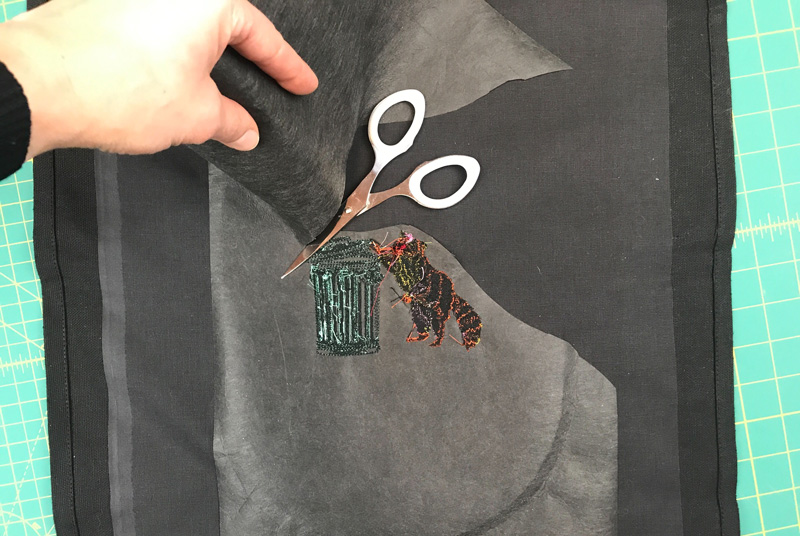
Step #5
Trim Heavy Weight CutAway stabilizer roughly ¼” from finished embroidery. Add more embroidery to make it lots of fun! I wanted the raccoon designs to be scattered all over the bag holder. I placed them on the tea towel like I placed cookie dough on a cookie sheet.
Step #6
When you’re finished with all the embroidery designs, place the tea towel face down onto the OESD Perfect Embroidery Press Cloth and press. I do this to remove any wrinkles near the embroidery.

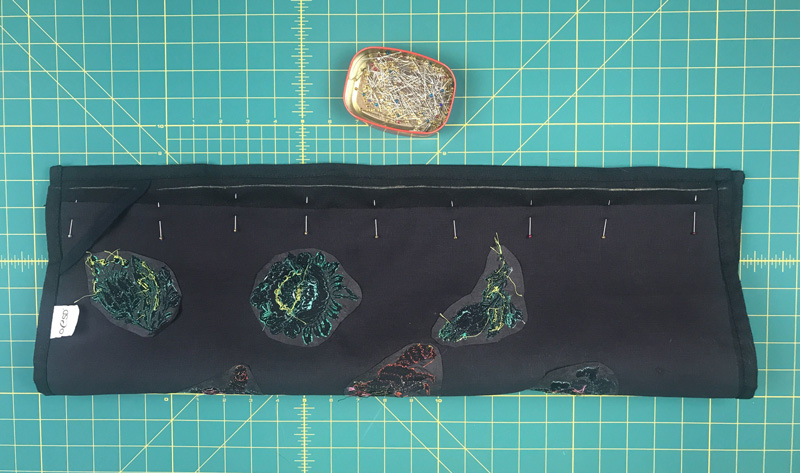
Step #7
Let’s create the grocery bag holder. Fold the tea towel in half lengthwise, right sides together, and pin. Feel free to use as many pins as you want; I usually place them every 2-3 inches.
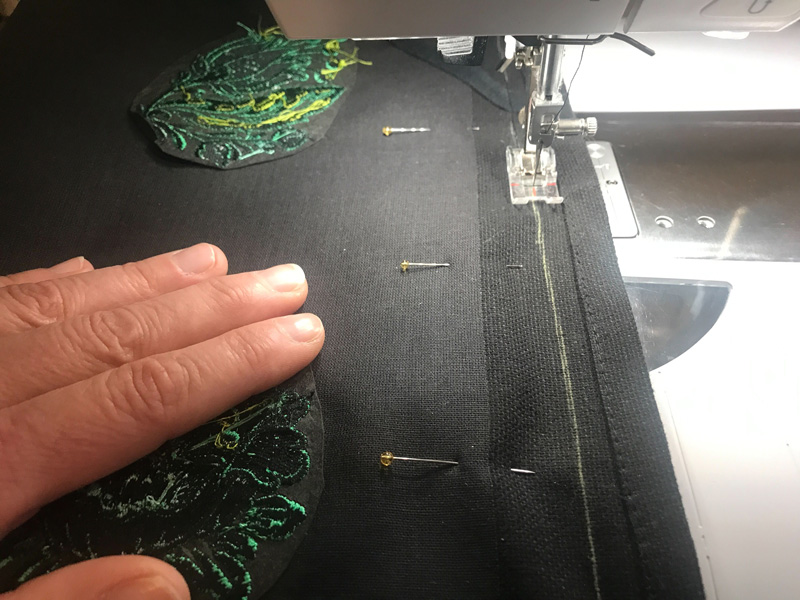
Step #8
Stitch about ¾” from the edge to avoid stitching through existing hems. Press seam open. I used chalk so you could see the stitching line but don’t worry about marking the ¾” stitching line; you can use a guide or the marking on your machine to stitch a ¾” seam.
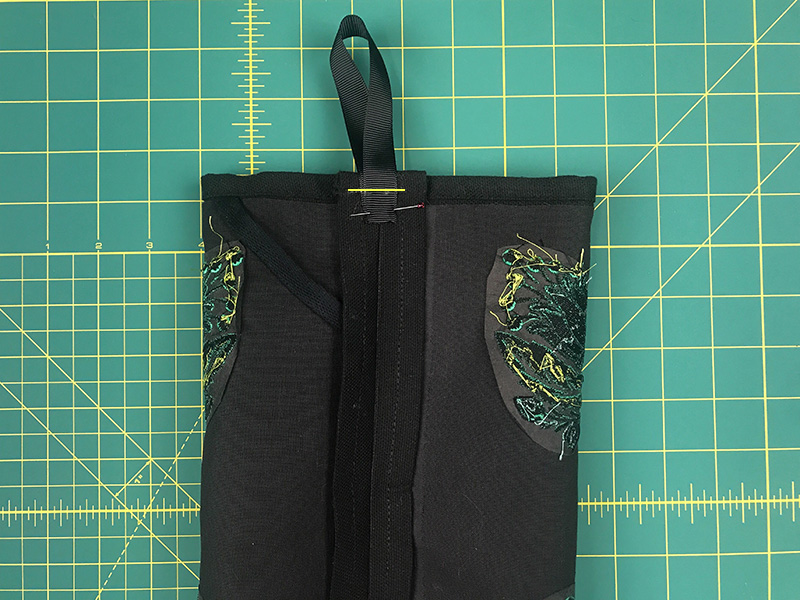
Step #9
Fold the ribbon in half and stitch to top back inside of tea towel on the newly sewn seam. This will be the hanger for the grocery bag holder.
Step #10
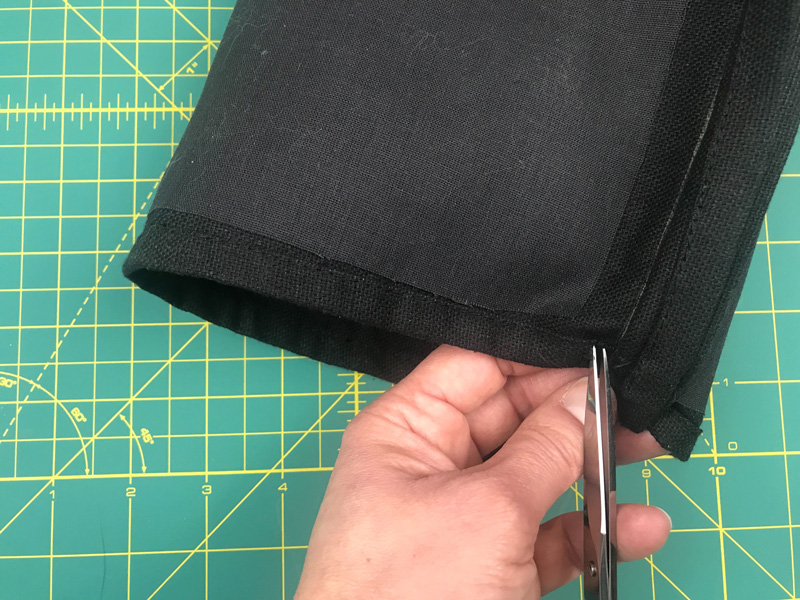
Cut slits into the bottom hem, just inside the stitch line. We will use the existing hem to create a casing for the elastic.
Step #11
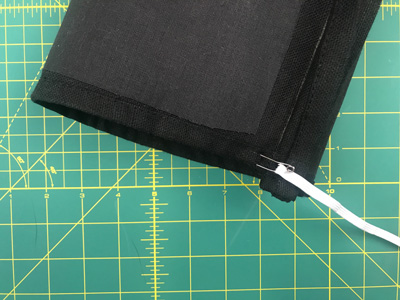
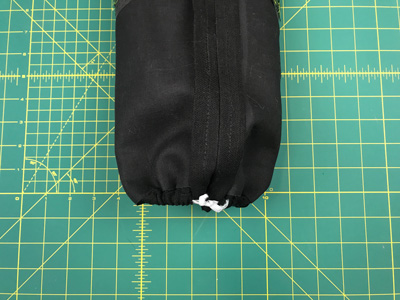
Use a safety pin to thread elastic through the bottom hem. Knot ends of the elastic together to create an elastic loop. This should make the bottom of the holder scrunch in. If you want it tighter or looser, adjust your elastic loop.
Step #12
Turn right side out, fill with grocery bags and hang.
This material is © OESD, LLC and may not be reproduced or published without permission.