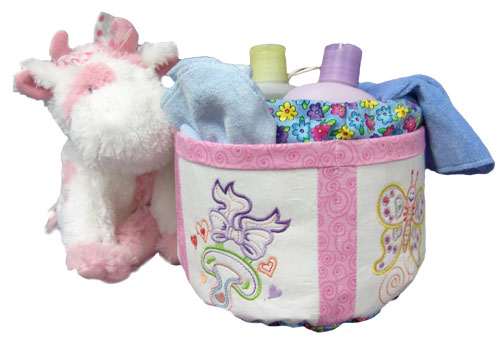
Create a gift for your favorite child by making a wrap to cover an ordinary container used to hold anything from nursery supplies to toys.
Supplies
- OESD’s Baby 11 #12139 embroidery collection
- Plastic container – approximately 7” tall and 5½” in diameter
- 4 – 8” x 10” rectangles of fabric for embroidery
- 5 – Assorted 2” x 4½” fabric strips
- 5 ¾” x 24” strip for pocket lining
- 15” x 24” for bottom binding and back
- 7½” x 24” rectangle of low loft polyester batting
- OESD Heavy Weight CutAway Stabilizer
- Temporary Spray Adhesive
- Isacord Thread
- OESD Bobbin Thread
- 30” lengths 1/4” ribbon
Instructions
• Spray two layers of OESD HeavyWeight Cut-Away together with Temporary Spray Adhesive. Spray the top of the stablizers with Temporary Spray Adhesive and adhere to the wrong side of the 8” x 10” rectangle of fabric.
• Hoop the three layers as one and attach the hoop to the machine. Embroider design of your choice.
• Remove the fabric from the hoop and clip thread tails. Do not remove stabilizer from the back of the project—it will act as an interfacing for the pockets.
• Repeat for each with more designs of your choice.
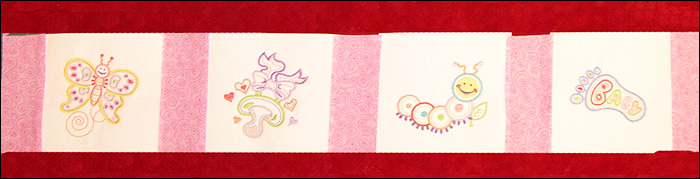
• Trim each embroidered rectangle to a 4½” square, keeping the designs centered.
Assemble the Pockets
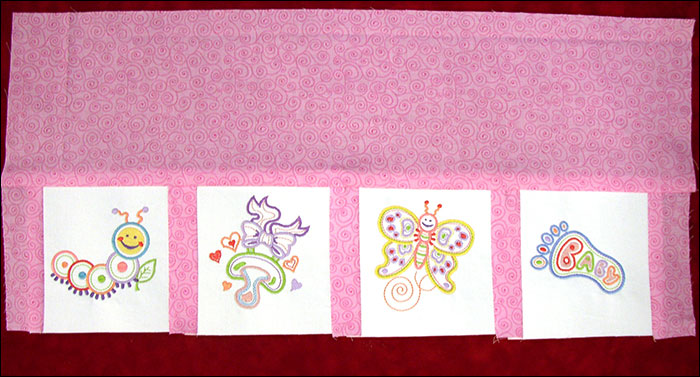
• Lay the designs out as desired on a flat surface and place a 2” x 4½” strip between each design, and a 2” x 4½” strip on each end.
• Stitch the strips to the embroidered squares with right sides together and using a ½” seam allowance.
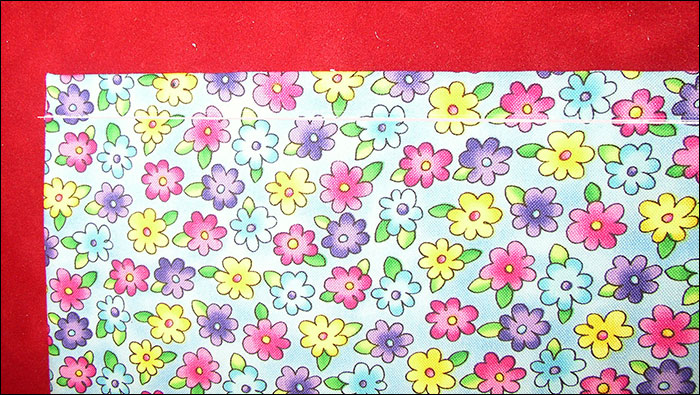
• Place the 5¾” x 24” strip of pocket lining fabric along the top of the embroidered strip with right sides together. Stitch together with a ½” seam allowance.
• Fold the pocket and lining in half lengthwise with right sides together. The bottom cut edges should align, and the lining will fold back on itself at the top corner.
• Stitch both ends with a ½” seam allowance.
• Turn right side out. Wrap the lining over the top and behind the piece. The raw edges should align at the bottom of the project. Press well.

Assemble the Back Lining
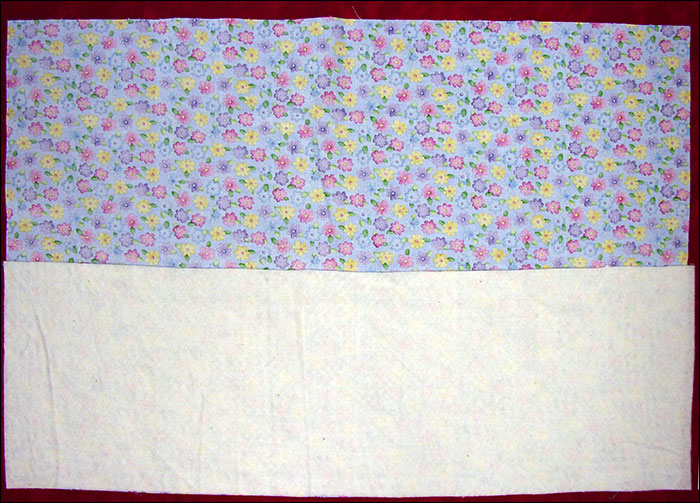
• Spray the 7½” x 24” rectangle of polyester batting with Temporary Spray Adhesive and place on the lower half of the 15” x 24” strip.
• Fold this strip in half with right sides together and stitch ¼” seams at each end. Leave an opening ½” from the top folded edge.
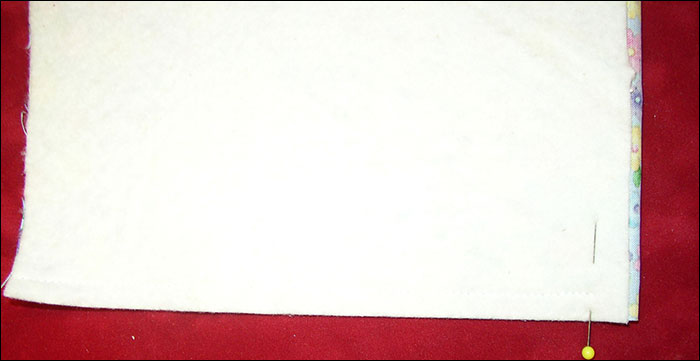
• Turn right side out and press.
• Stitch ½” from the top fold to form a ribbon casing.
• Use a bodkin or other method to insert the ribbon through the casing.
• With right sides together, stitch the long raw edge of this piece to the bottom raw edge of the embroidered pocket strip using a ½” seam allowance.
• Wrap the lining fabric around the seam allowance to the wrong side of the embroidered pocket strip.
• Stitch in the ditch along the seam line to secure the lining to the embroidered pocket and form a channel for the ribbon to be inserted. HINT: You may find it easier to place the ribbon in the fold of the fabric and allow the ends to extend beyond the project before stitching in the ditch.
• Insert ribbon into the channel formed by this stitching if you did not already do this.
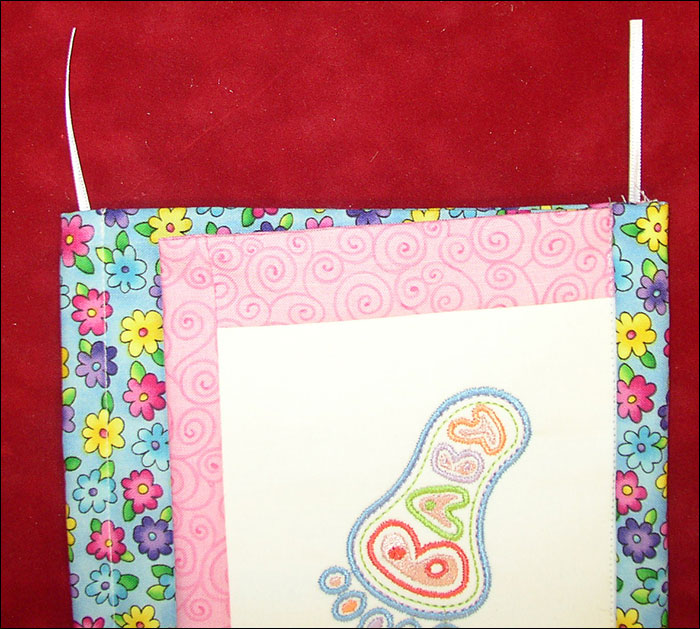
• Attach the pockets to the back lining by stitching in the ditch along each vertical seam line between and at the ends of the designs squares. Begin the stitching at the top of the pocket, but DO NOT stitch through the casing along the bottom edge.
• Thread the both ends of the upper ribbon into the hole and slide the ribbon through to position and tie.
• Place the pockets around the container and pull tie the ends tight.
• Your nursery organizer is complete! Add assorted nursery supplies or accessories for your favorite child!
Variation
• Use this for a bathroom organizer. Change the fabrics to match any color scheme and stitch different designs to match your decor.
This material is © OESD, LLC and may not be reproduced or published without permission.