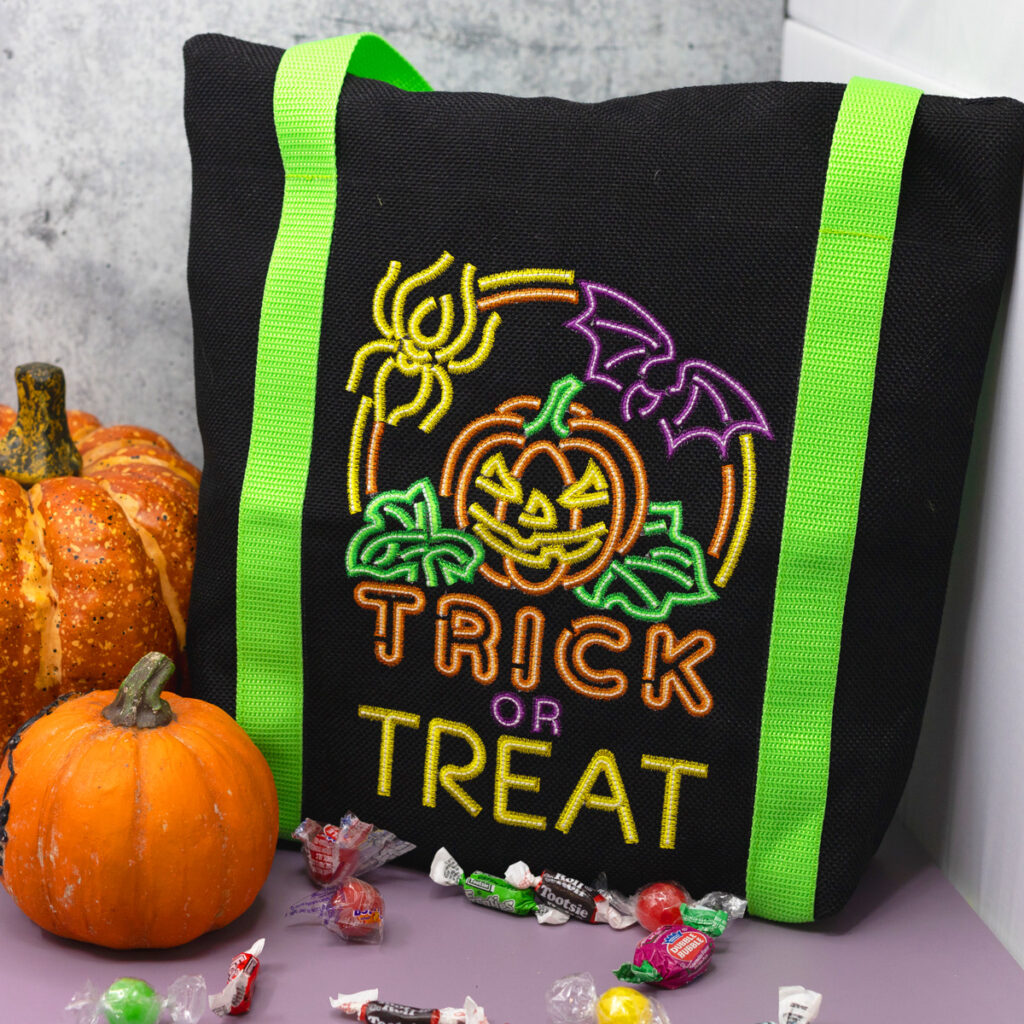
Nothing screams Halloween like bright neon colors and spooky designs! Up your trick or treating game this year by making your own Neon Halloween Treat Bag using some awesome machine embroidery! In this tutorial, you’ll find step by step instructions on how to make the perfect festive bag for collecting candies and goodies – it’s surprisingly quick and easy to stitch using one of our Start Here Pillow Blanks and just a few embroidery supplies. Let’s get ready to stitch your own stylish Halloween masterpiece!
Supplies:
- Neon Halloween PK50032
- OESD Fusible Woven
- OESD StabilStick CutAway
- OESD StitcH2O Topping
- Start Here by OESD Pillow Blank – Black
- OESD Expert Point and Press Tool
- OESD Perfect Embroidery Press Cloth
- OESD Perfect Pencil
Instructions:
Step 1
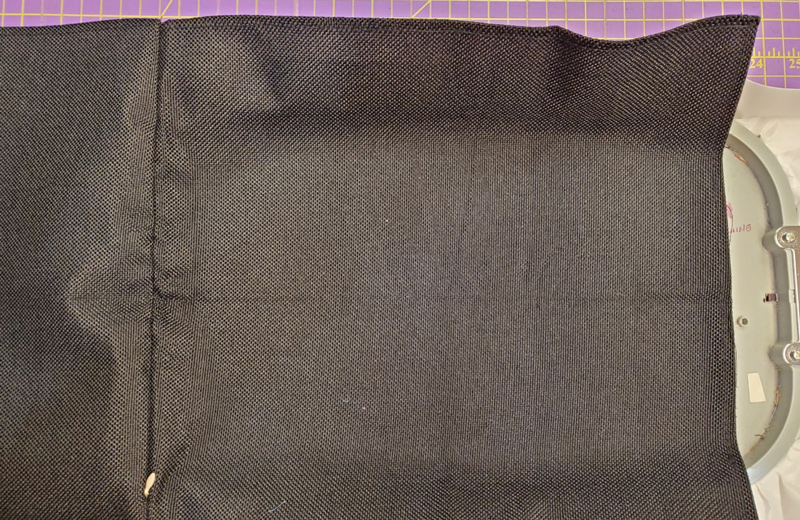
Cut 2 pieces of Fusible Woven 12” x 12”. Press onto wrong side of pillow blank.
Step 2
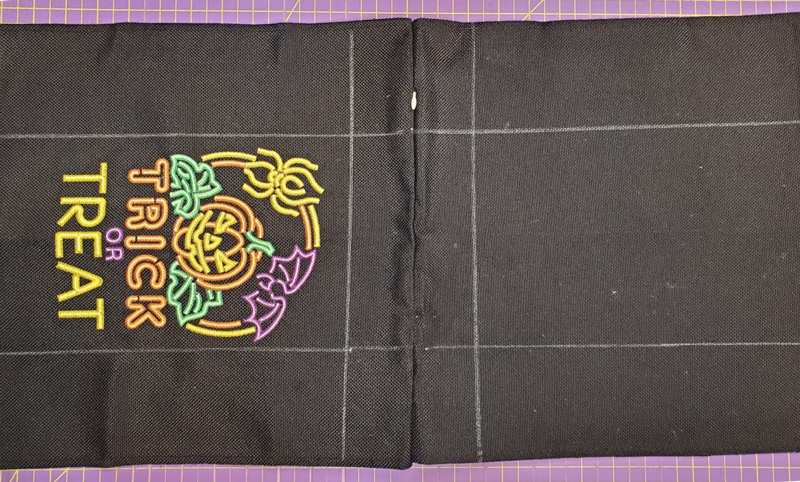
To find the center of the pillow blank: fold in half lengthwise, then fold the bottom up to the zipper.

Step 3
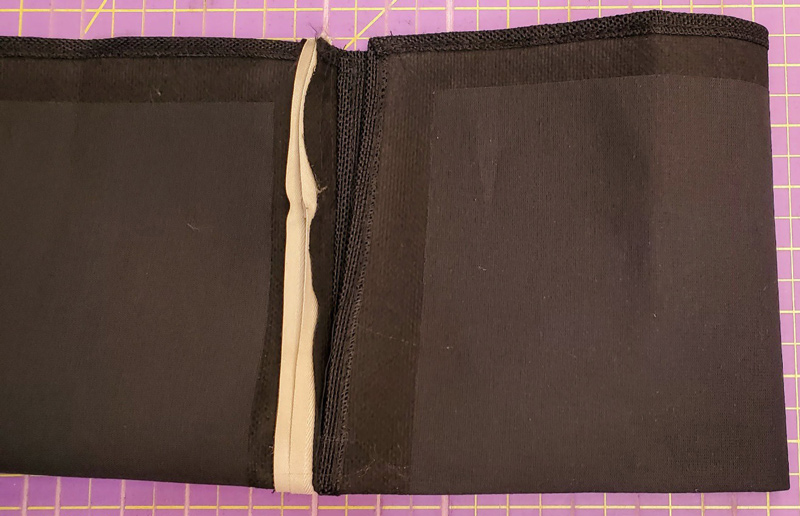
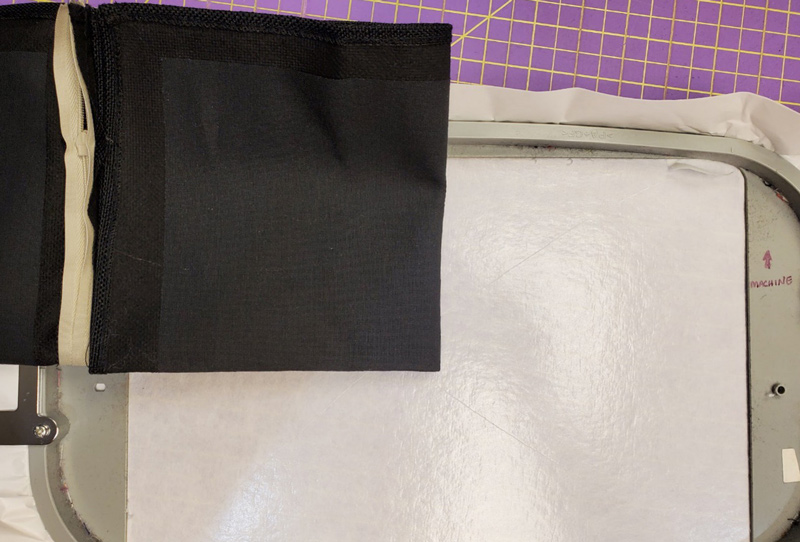
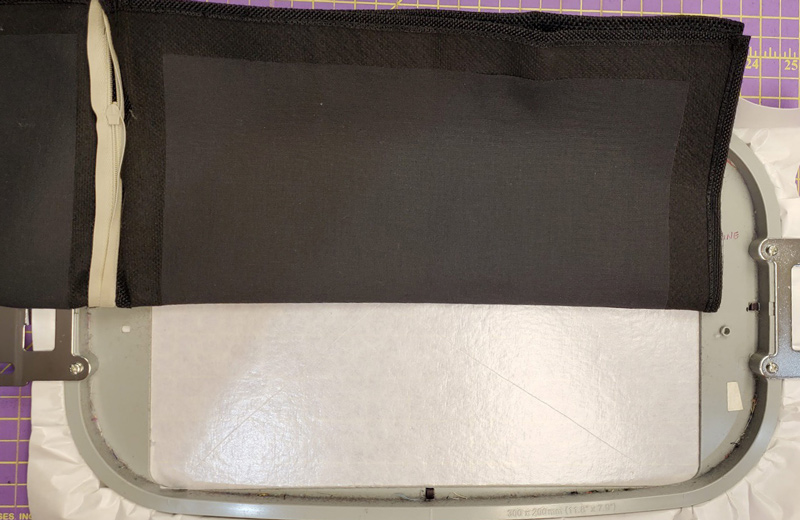
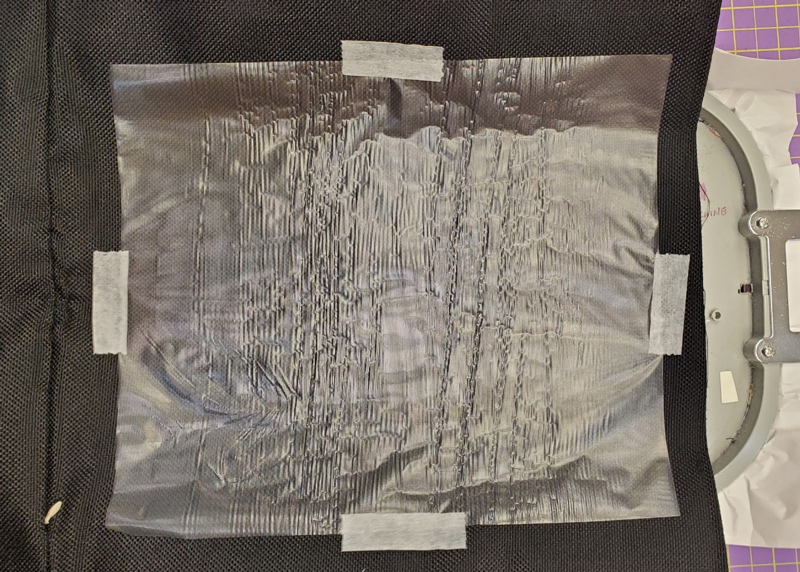
Hoop the Stabilstick Cutaway. Using the center marks on the side of the hoop, position the pillow blank in the hoop. Make sure you position the pillow blank so the zipper will be at the top of the design.
Step 4
Place StitcH2O on top of the pillow blank and tape in place.
Step 5
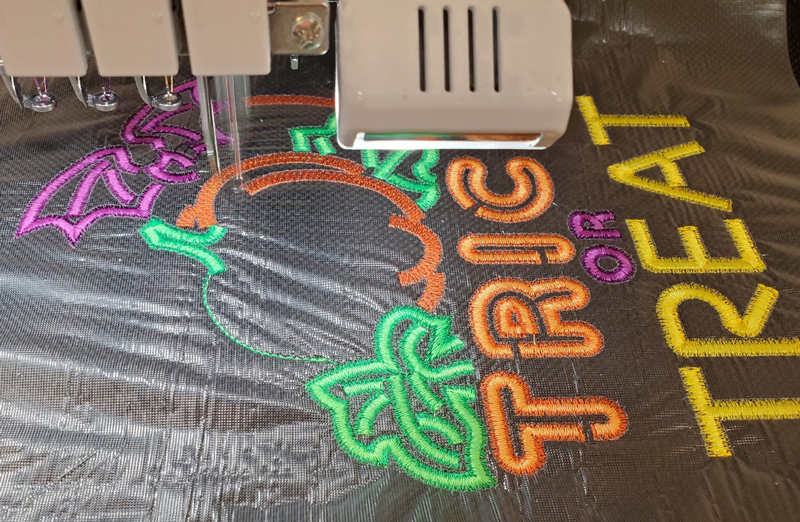
Stitch the design. Remove from hoop.
Step 6
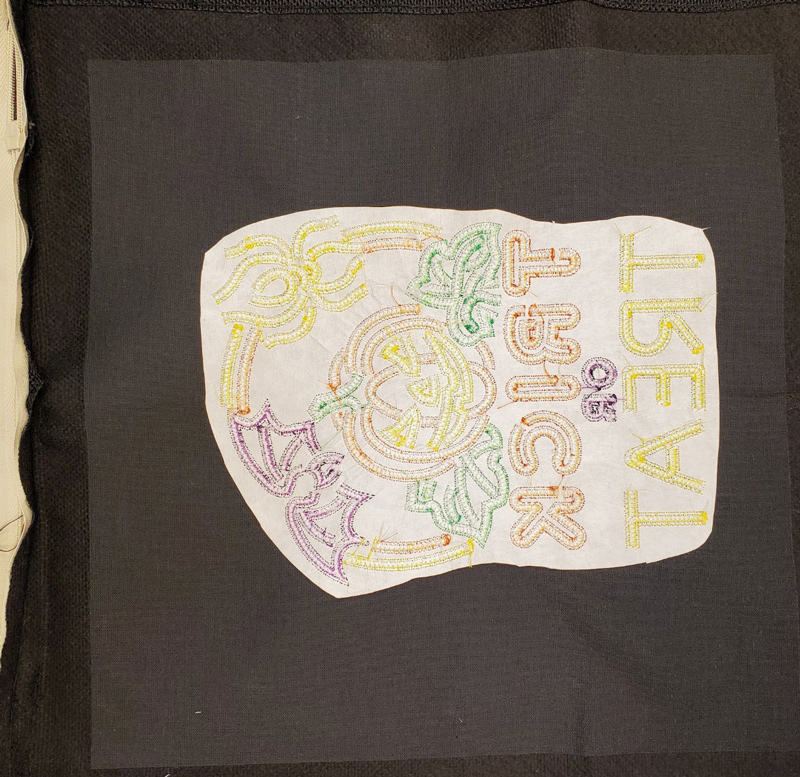
Trim stabilizer. Remove StitcH2O.
Step 7
For the strap placement, using the Perfect Pencil, measure in 3-1/2” from both the right and left side. Measure down 2” from the zipper on both sides of the zipper.
Step 8
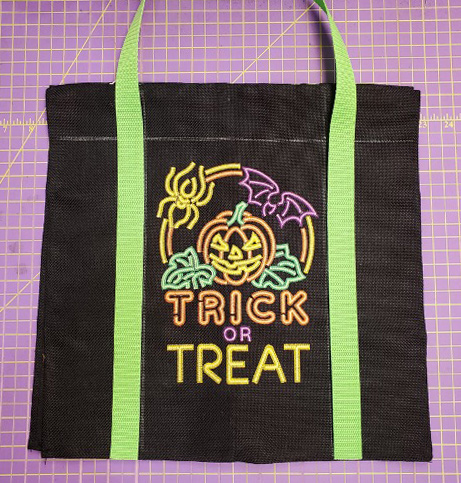
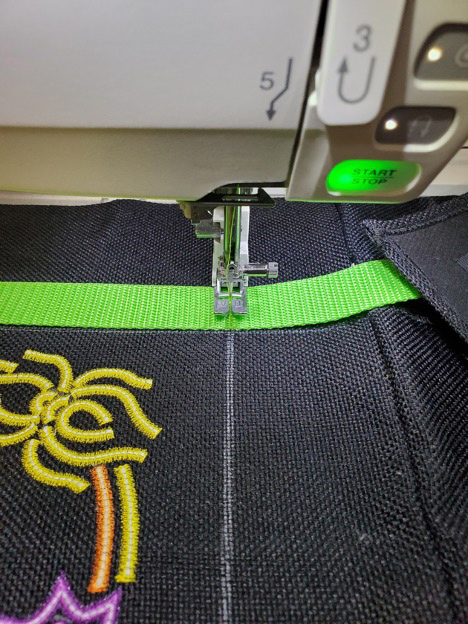
Place one end of the strap on the outside of the placement line matching the end of the strap to the bottom of the pillow form. Pin in place. Place the other end of the strap on the opposite side of the design, making sure not to twist the strap and matching it to the bottom of the pillow form. Repeat for side 2.
Step 9
Stitch the straps to the bag. At the top placement line (the mark that is 2” down from the zipper), stitch back and forth a couple of times. This will add a little strength to the strap. (It needs to be extra strong to hold all of the candy!)
Step 10
After you stitch the handles on, use the iron to remove the placement lines.

Step 11
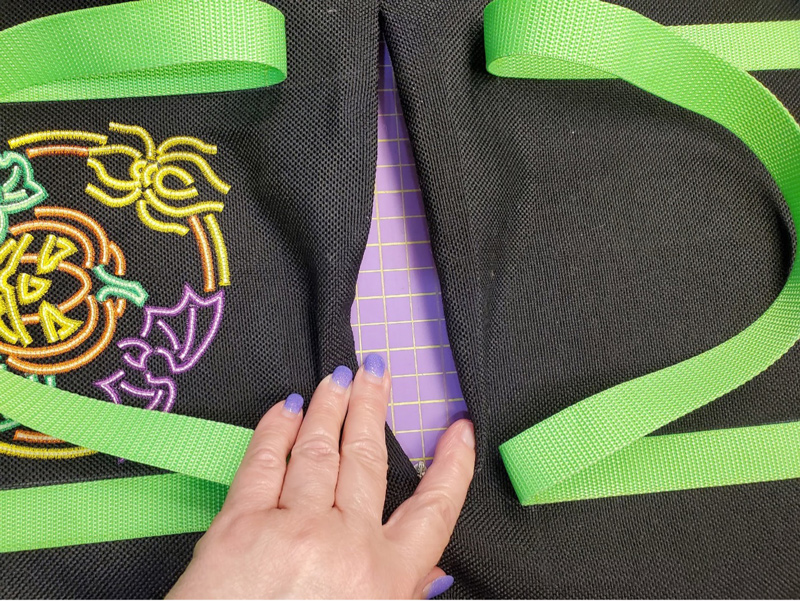
Now the most important part… UNZIP THE ZIPPER BEFORE SEWING THE SIDES AND BOTTOM! Stitch the sides and bottom together.
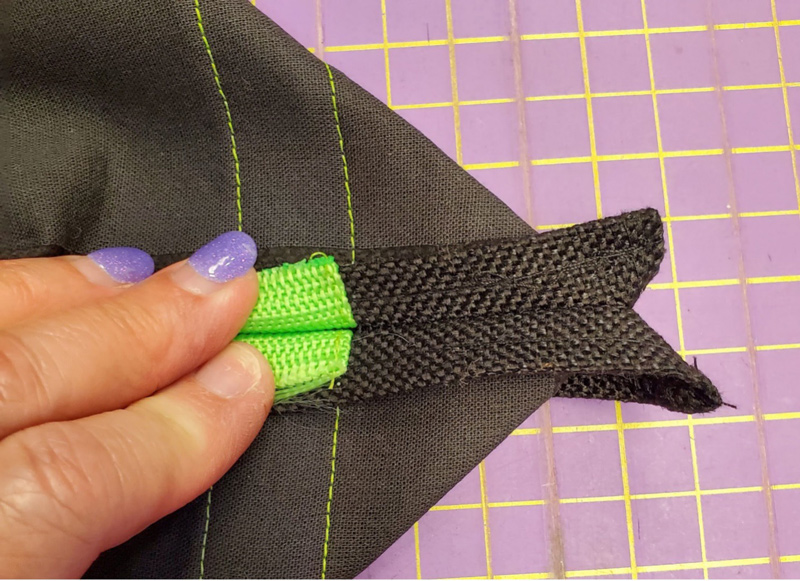
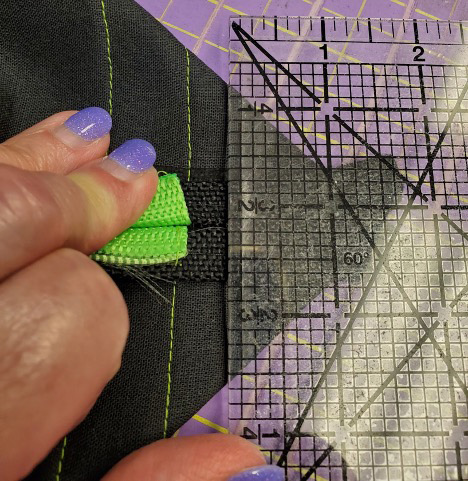
Step 12
To box the bottom, match the bottom and side seam, measure 1-1/2” from the point. Mark the line. Stitch on the line. Repeat for other side.
Happy Trick or Treating!


JOIN US IN THE OESD COMMUNITY!
We hope you enjoyed this machine embroidery tutorial! Have you stitched your own Neon Halloween Treat Bag? Come show off your work in our private Facebook group, The Perfect Stitch!