
Every sewist, no matter what they like to sew, can always use a project tote. Using machine embroidery, we can take a pre-made tote, and turn it into a personalized gift!
Supplies
- OESD’s Needle and Thread by Angela Anderson #80130 embroidery collection
- 1 purchased tote bag
- OESD StabilStick TearAway
- Spool of matching all-purpose thread
- Isacord threads for design
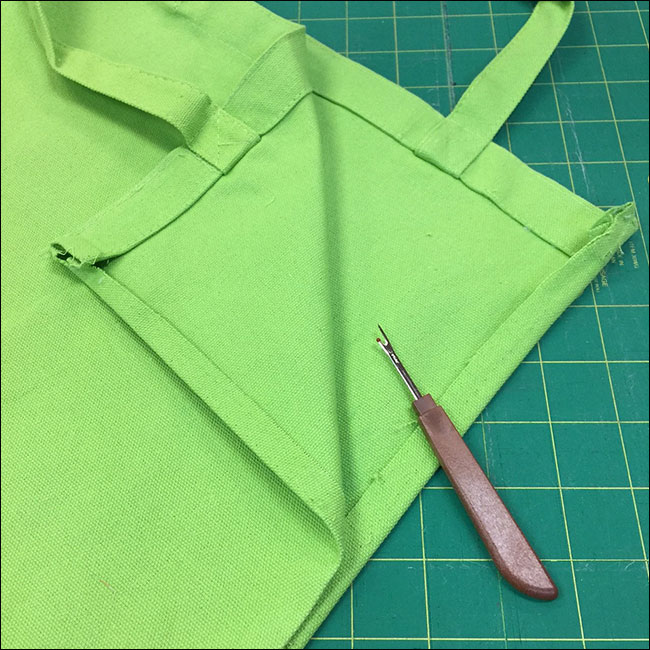
- Seam ripper
- Fresh embroidery needle
- Air erasable marker
- Trimming scissors
Instructions
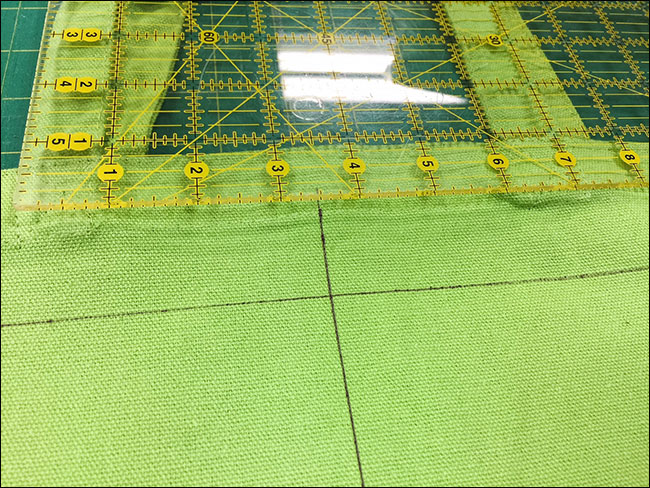
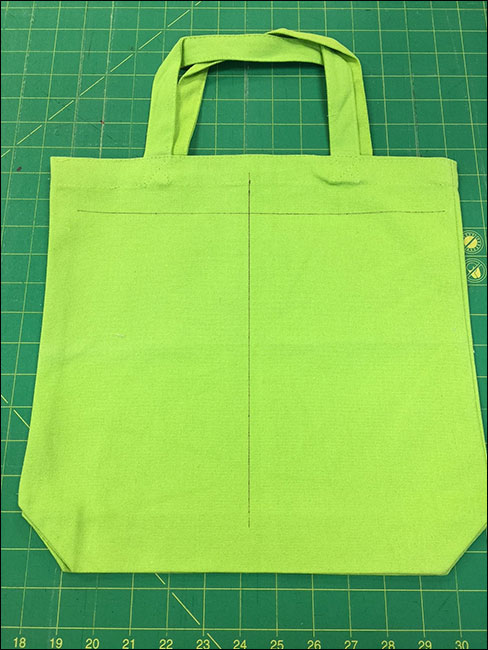
• Measure 1″ down from the top stitching on the upper edge of the tote, mark the line with your air erasable pen or a chalk.
• Mark the center line of the bag. When using pre-made totes, mark center at the middle of the handles. Sometimes these totes are made to be inexpensive and they are a little crooked. Placing the center in the middle of the handles will make sure your design appears centered and your tote appears square.
• Print the design using your embroidery software for your machine. Print the design at 100% with no scaling, with centers marked.
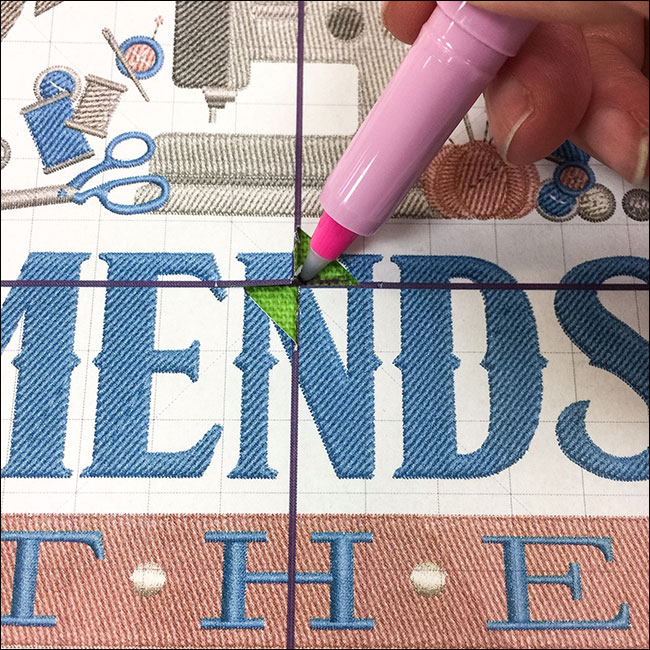
• Fold the paper and cut the center marks as shown in the photo below. This will help you mark the center of the design.
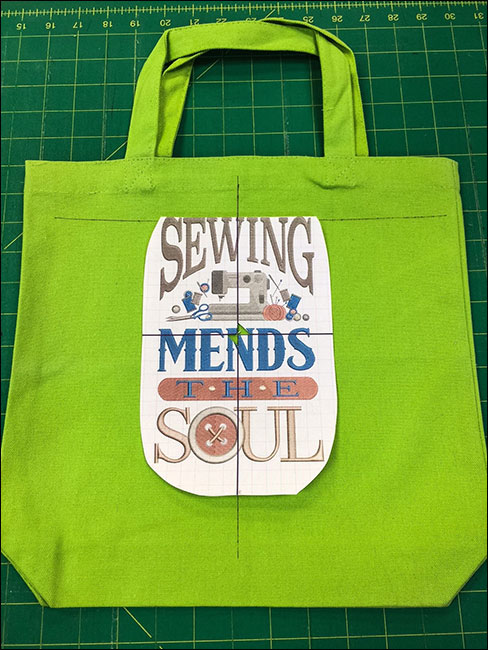
• Audition the full-size design on your project. I placed mine with the top of the lettering just barely below the 1 inch mark across the top of the bag. Mark the center with your air erasable pen or chalk.
• Open one side of the tote using a seam ripper. Take care to avoid disturbing the seams for the boxed corners. This will lessen the amount of sewing you must do at the end of the project. If your machine can sew with an open arm, you can skip this step and follow the manufacturer’s instructions for hooping over the open arm.
• Hoop a piece of OESD StabilStick Tear-Away with the paper side up. Mark the center with hoop template on the underside of the hoop with a dark pen so you can see it on the top of your hoop to help line up your design. Tear the paper off the stabilizer so the sticky side is showing.
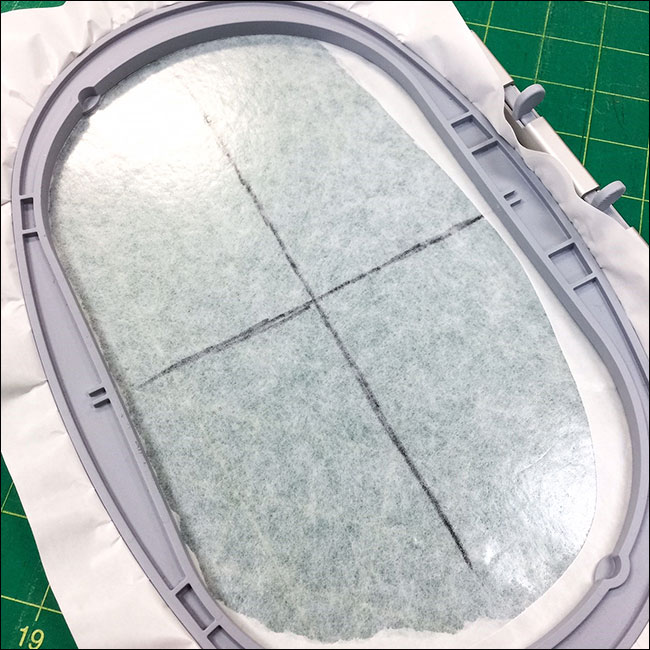
• Turn the tote inside out so the wrong side of the area to be embroidered can be placed flat against the stabilizer. Take care to line up the centers and to check that it is square with the hoop template. Smooth the tote onto the stabilizer.
• Stitch the design using your embroidery machine’s instructions, taking care to hold the excess tote out of the way during stitching.
• Remove from hoop and trim threads. Tear stabilizer away from the back of the design as much as possible.
• Re-stitch the tote along the opened side.
• Give this tote to your favorite sewing friends!
This material is © OESD, LLC and may not be reproduced or published without permission.