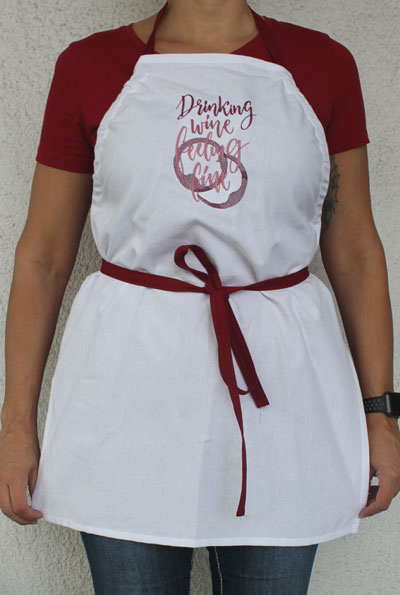
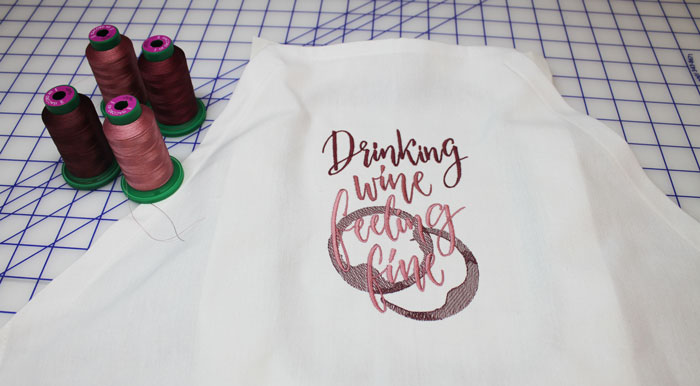
Learn how easy it is to stitch an apron from a tea towel, featuring embroidery from You Had Me At Merlot #51235.
Supplies
- Scissortail Stitches’ You Had Me At Merlot #51235
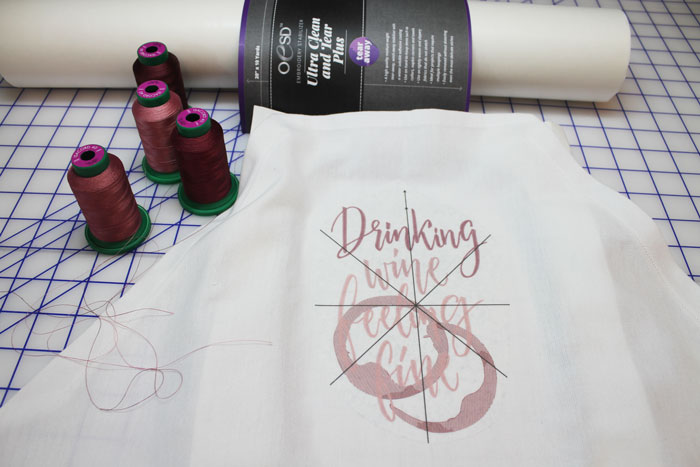
- OESD Ultra Clean and Tear Plus
- OESD StabilStick Template Sheets
- Alligator Clamps
- OESD Perfect Embroidery Press Cloth
- Isacord thread per thread chart
- Removable fabric marking pen
- Tea towel
Instructions
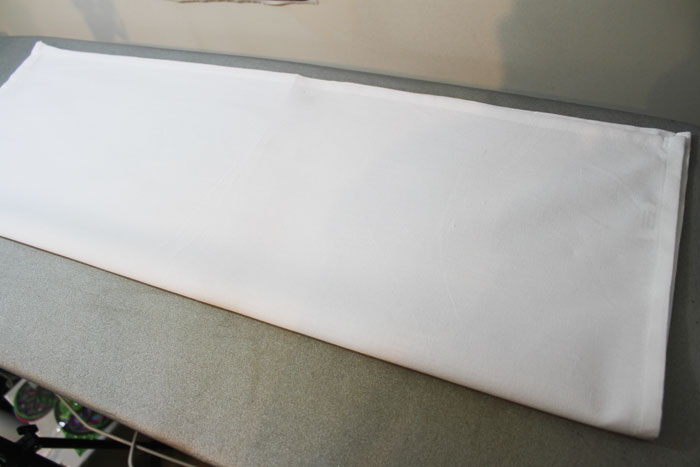
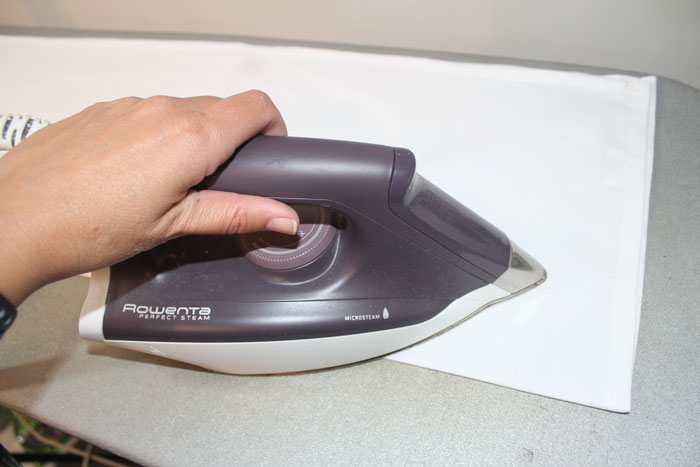
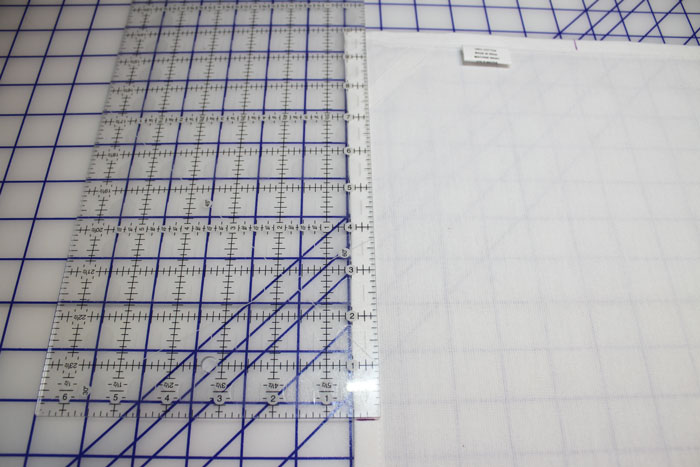
Wash, dry and press Tea Towel. Fold in half horizontally (hotdog style) wrong sides together (WST) and press with iron.
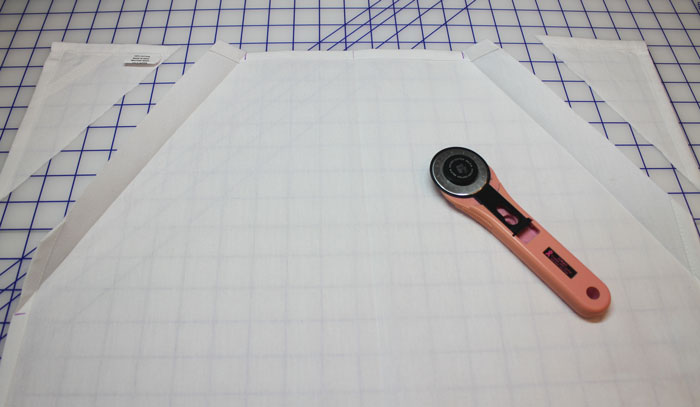
Open towel. Use the side with the tag or hanger as the Top of the apron. Remove the tag or hanger. Measure and mark 4” to the left AND right of the center fold crease.
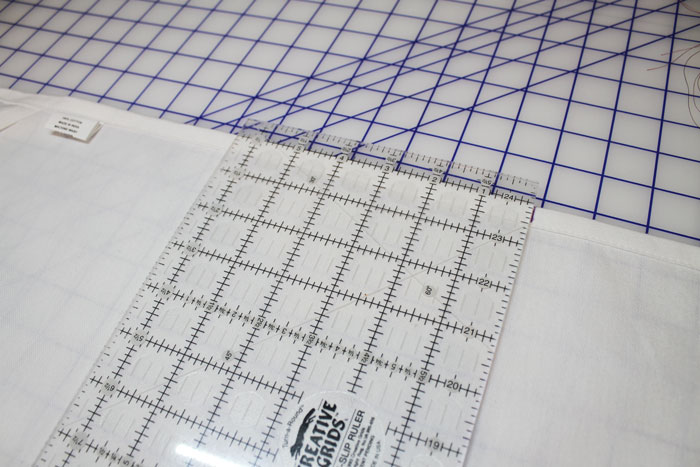
Measure 10” down from the top of the apron & mark both sides of the towel.
Fold the top corners diagonally toward the wrong side of the towel on the marks you made and press with iron.
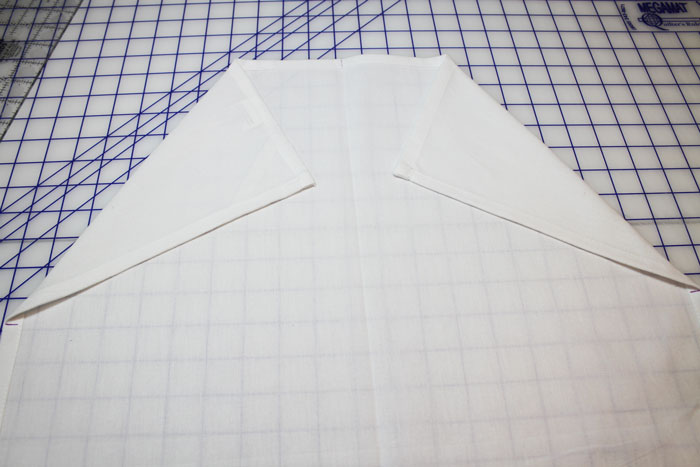
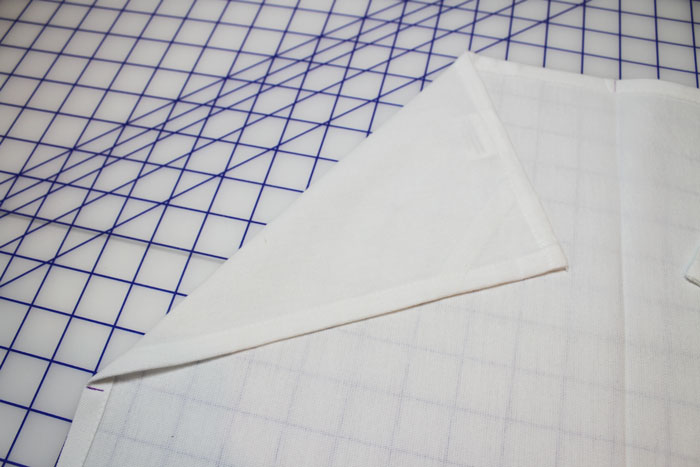
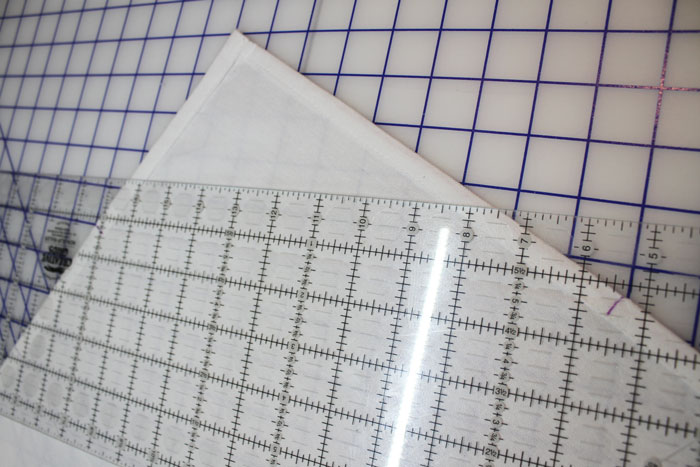
Open each fold & cut 1¼” away from the fold toward the corner on each side.
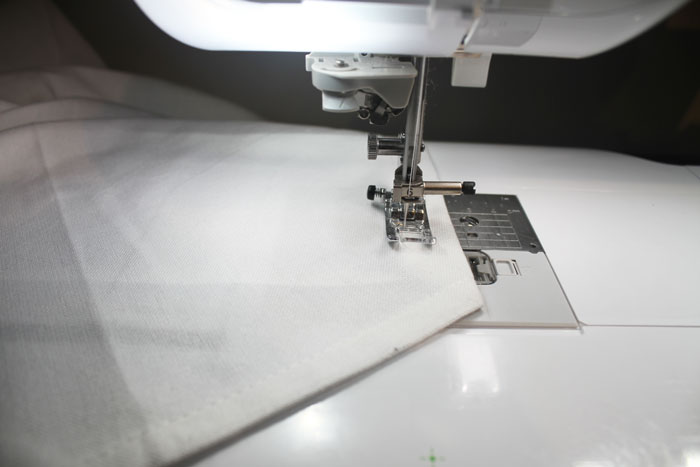
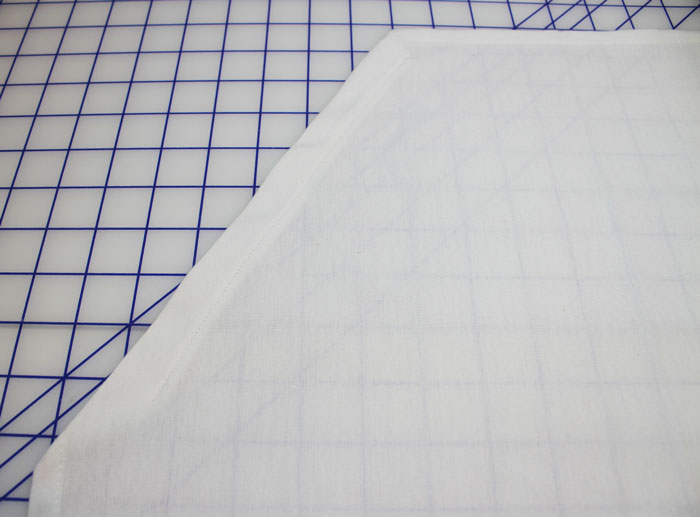
Fold ¼ from crease, press, and then again on fold to create a casing and hide the raw edge. Repeat this on the other side.
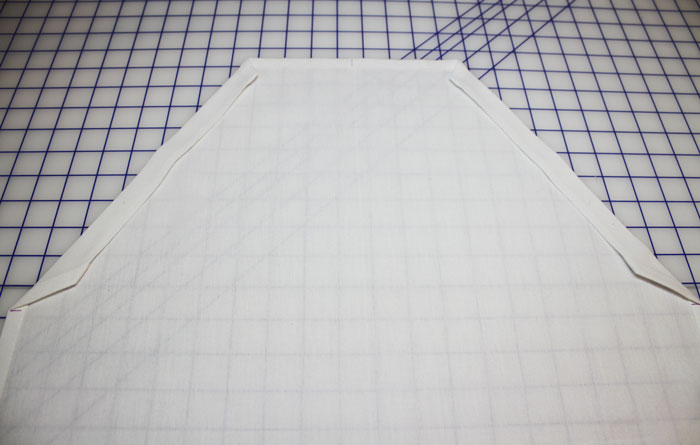
Top Stitch down both corners of the apron from the right side of the apron on your sewing machine.
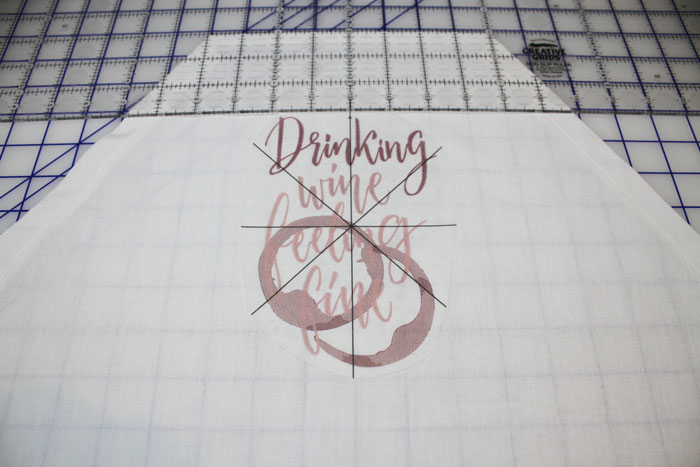
Print a template of your chosen embroidery design on StabilStick Template paper. Position template with top of the embroidery design is 3” from the top of the apron and aligned on the center fold line.
Hoop Ultra Clean And Tear Plus in appropriate embroidery hoop with the paper side up.
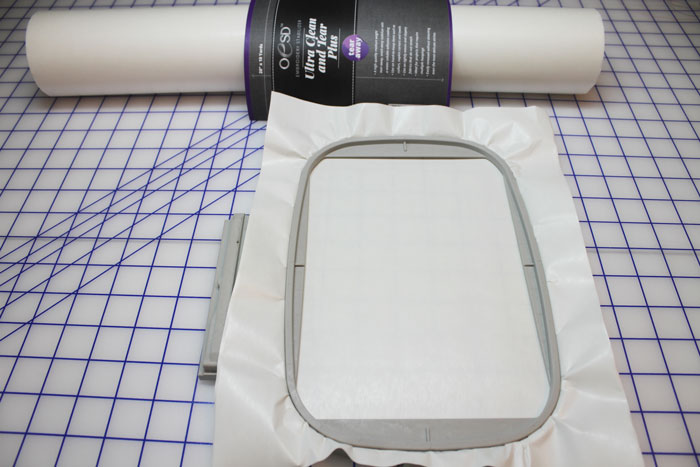
Score paper to remove and expose the adhesive.

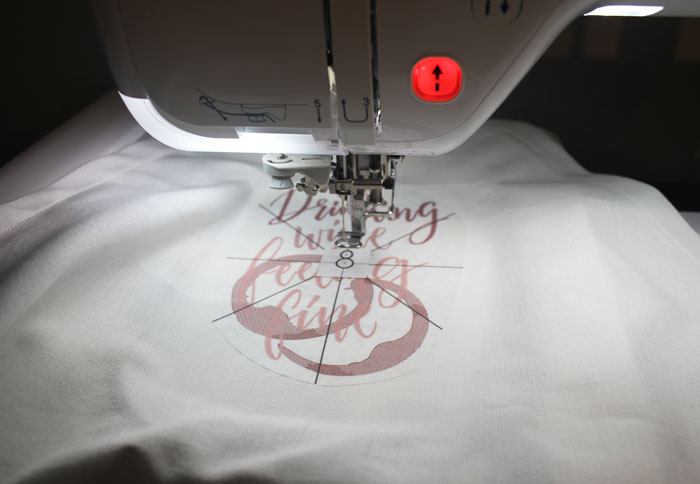
Align embroidery design in the center of the embroidery hoop and follow color chart to embroider design.
Use the positioning tools on your embroidery machine to align the design in the hoop.
Remove the StabilStick template. HINT – Peel from the back to the front and return to the paper carrier sheet because the template can be used repeatedly.
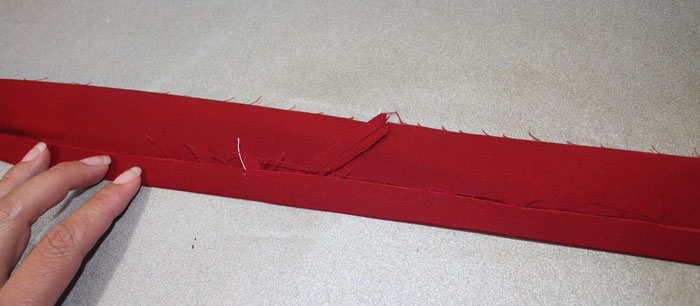
Make the straps for the apron by cutting at least 3 – 3” width of fabric strips (depending on how long you want the tie of your apron and if you plan on tying in the front or back of your apron).
‘
Ribbon can also be used for the straps.
Sew the strips together as you would a quilt binding. Fold the strap in half wrong sides together. Open. Press each side to that center fold wrong sides together and press. Then fold in half and top stitch down both sides.
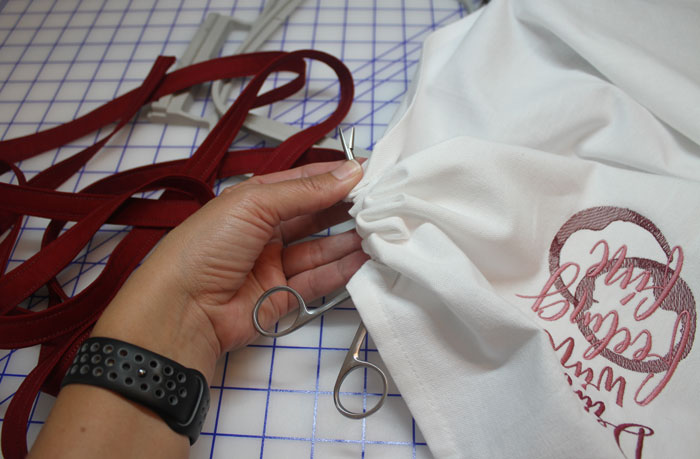
Using Alligator Clamps, thread the strap from the top casing of one side of the apron and then again from the bottom side of the other side. Adjust the strap, as necessary.
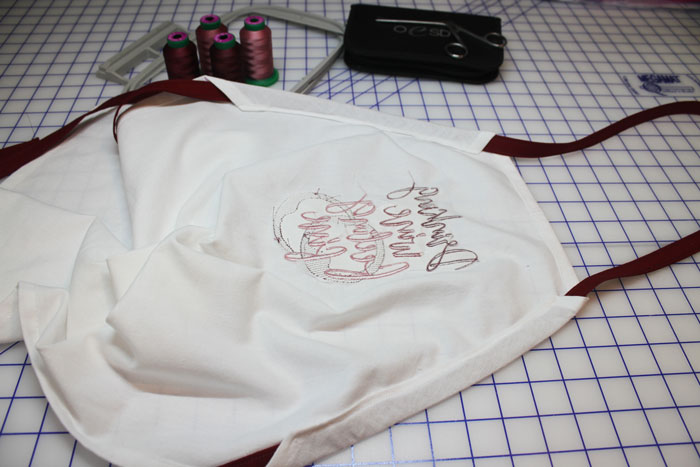
Apron is completed. Note – A pocket or trim can be added to the bottom of your apron. Be creative!
This material is © OESD, LLC and may not be reproduced or published without permission.