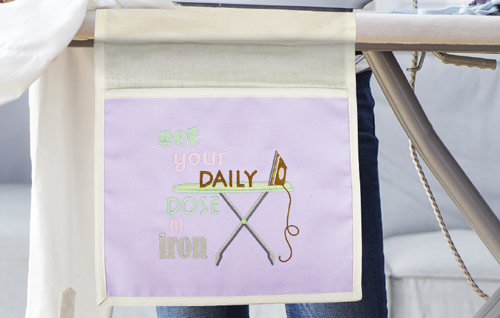
Often the ironing board is the “kitchen table” of the sewing room; it is used for a lot more than just ironing. Whether it’s used for hooping, pinning, measuring and/or marking, there are always tools that should be in easy reach. I didn’t realize how great it was to have a tool pocket on my ironing board until I bought a new cover without one. Michelle has created this adorable Ironing Board Fanny Pack to keep all your tools at hand when and where you need them! The perfect embroidery design is from Cherry Guidry’s My Happy Place; a collection of sewing inspired sayings and quips.
Supplies
- OESD’s My Happy Place by Cherry Guidry #80289
- OESD Heavy Weight CutAway Stabilizer
- OESD Fusible Woven Stabilizer
- Isacord Thread
- Organ 80/12 or 75/11 Sharp Embroidery Needle
- 1 Fat Quarter Fabric – Light Purple
- ½ yd of 45” wide Muslin (Increase width of Muslin 5-6” for professional boards)
- 1 Package of Extra Wide Double Fold Bias Tape in a coordinating color (2 Pkgs for professional boards)
- 1 ½” X 2 yd Belting or Strapping
- Rotary Cutter and Ruler
- Removable Fabric Marking Pen/Pencil
- Pins
- Dritz Ironing Board Cover Fasteners (4 pc)
- 505 Temporary Spray Adhesive
- OESD Expert Embroidery TearAway Tape
- OESD Perfect Embroidery Press Cloth (optional)
- Loop and Tail Wand (optional)
Instructions
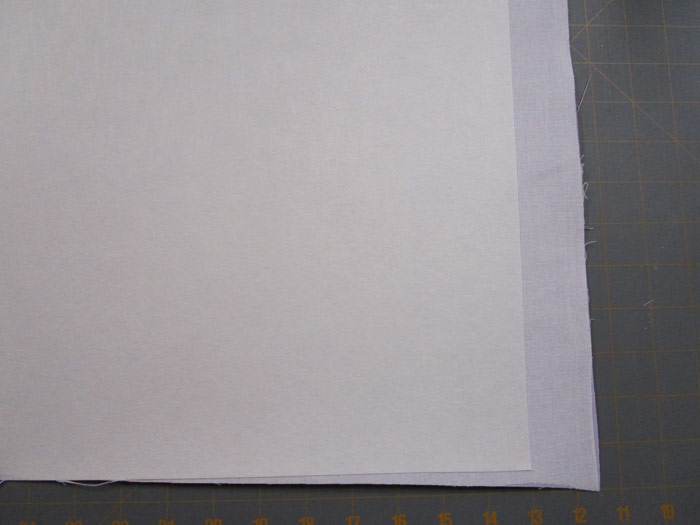
• Apply one piece of the Fusible Woven to the wrong side of the fat quarter.
• Cut Heavy Weight same size as the fat quarter.
• Spray with 505 Temporary Spray Adhesive
• Place fusible woven side of the fat quarter on to the sprayed side of the heavyweight stabilizer and smooth out any bumps or wrinkles.
• Hoop all layers together. Place the hoop on the machine.
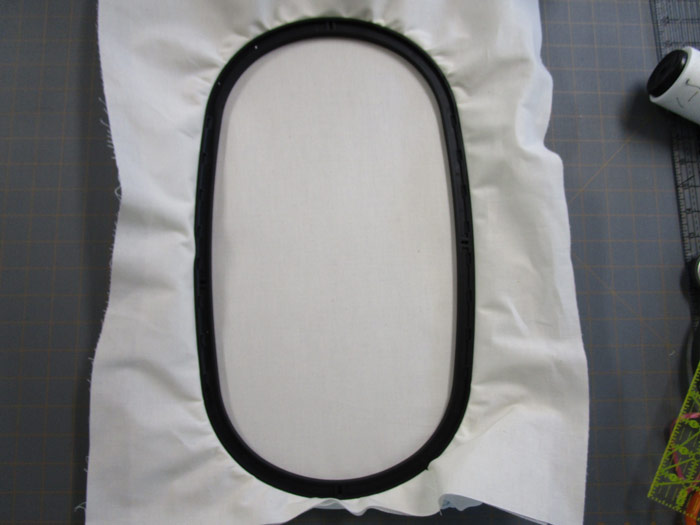
• Load the design 80289-02 into the machine.
• Baste around the design following the machine manufacturer’s directions.
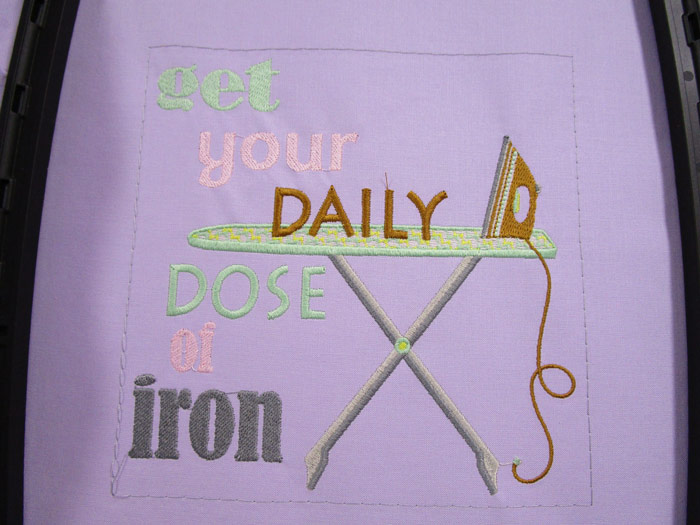
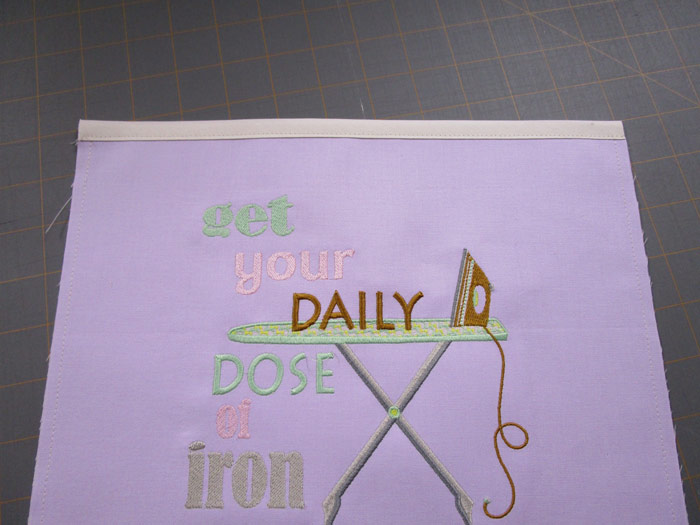
• Follow the thread chart to embroider the design on the hooped fabric.
• Remove the hoop from the machine when the design is complete.
• Do not remove the basting stitching until after step 6 below.
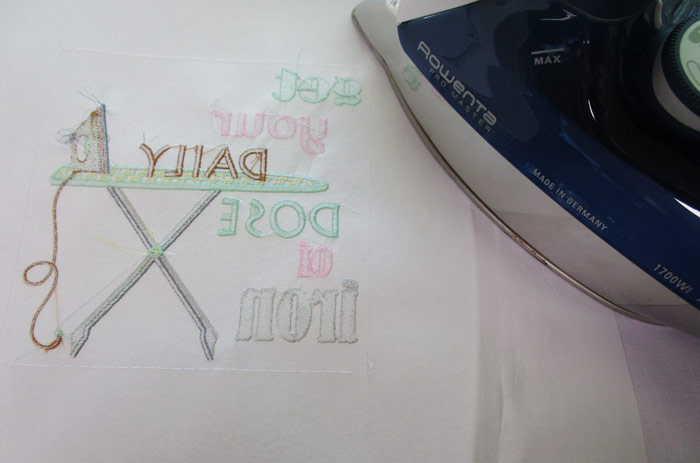
• Press embroidery side down using an OESD Pressing Cloth or OESD Ironing Board Cover.
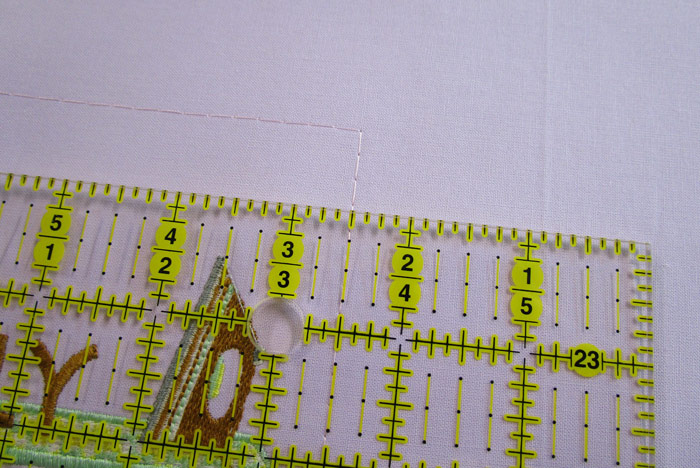
• Using the basting stitches as a guide, trim 2 ½” away from the right and left side basting stitch lines of the design.
• Trim 1 ½” away from the top and the bottom basting stitch lines of the design.
• Remove basting stitches.
• The muslin is cut the width of the pocket by the full width of the fabric. Use rotary cutter and ruler to true up (straighten) one edge of the muslin.
• Measure the width of the pocket (approximately 11 ½”). Use this measurement to cut the opposite edge of the fabric.
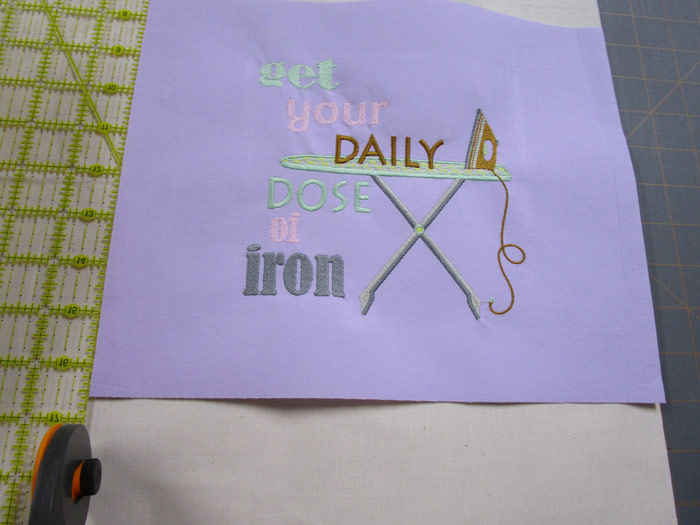
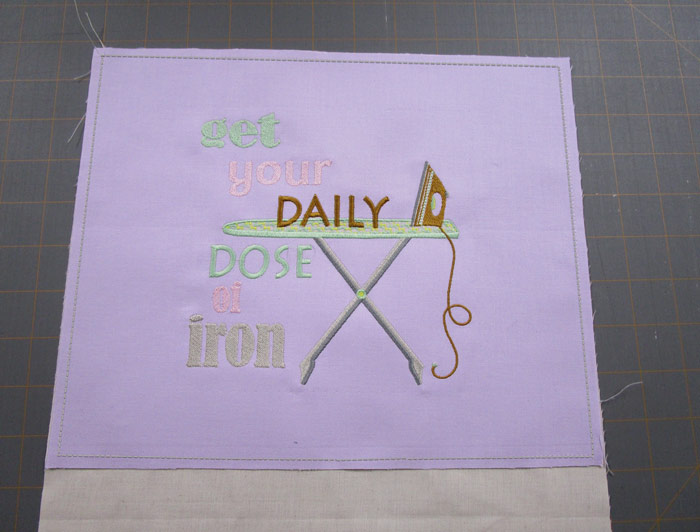
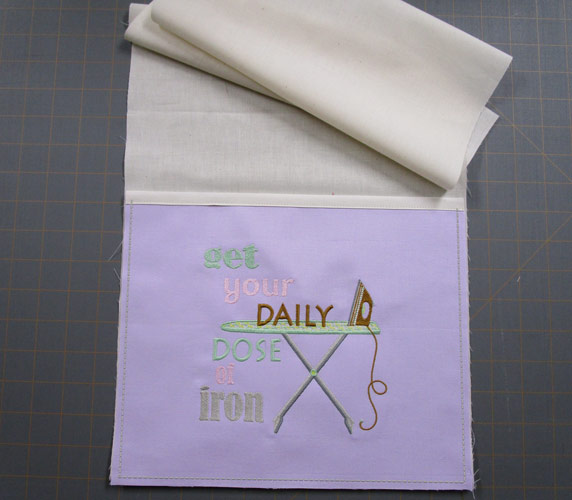
• Place embroidered pocket right side up on one end of the muslin fabric with the bulk of the muslin at the bottom of the design as shown. Baste ¼” around all edges.
• Apply bias tape to the top of the fabric sandwich as shown.
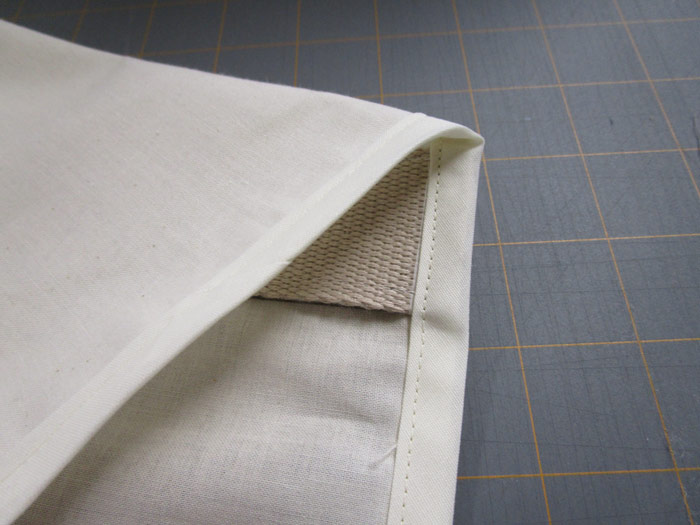
• Fold muslin toward the back side of the embroidered area keeping the fold of the muslin even with the bottom edge of the embroidery fabric.
• Baste in place ¼” from the right and left sides of the pocket and across the bottom edge.
• Mark the belting/strapping with a fabric marker the width of the pocket to cut two pieces.
• Wrap OESD TearAway Tape over the lines before cutting to prevent unraveling.
• Cut the belting on the tape covered lines (two pieces of belting/strapping approximately 11 ½” each).
• Baste the first piece in place on the end of the fabric on the opposite side from the pocket.
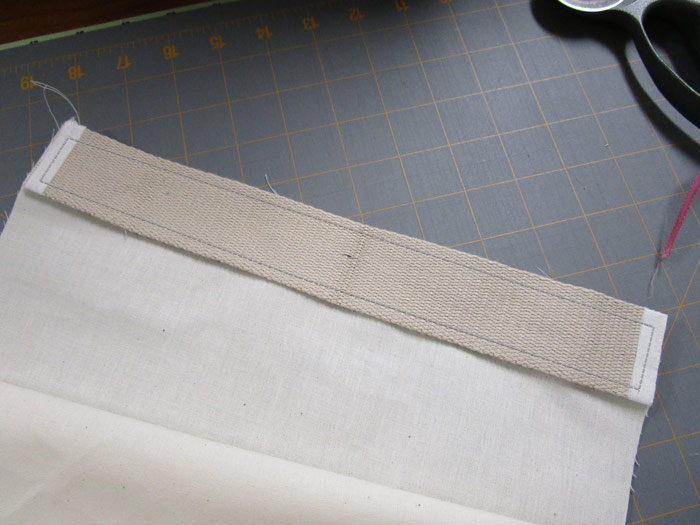
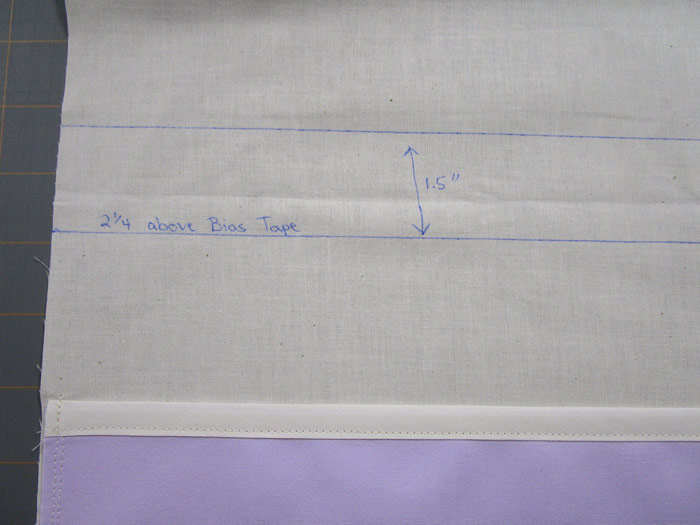
• Baste the second piece 2 ¼” above the top of the pocket on the pocket side (Use fabric markers, if desired, to assist with placement).
• Begin sewing the bias tape to the fabric edge in the middle of the end with the belting/strapping, mitering the corners.
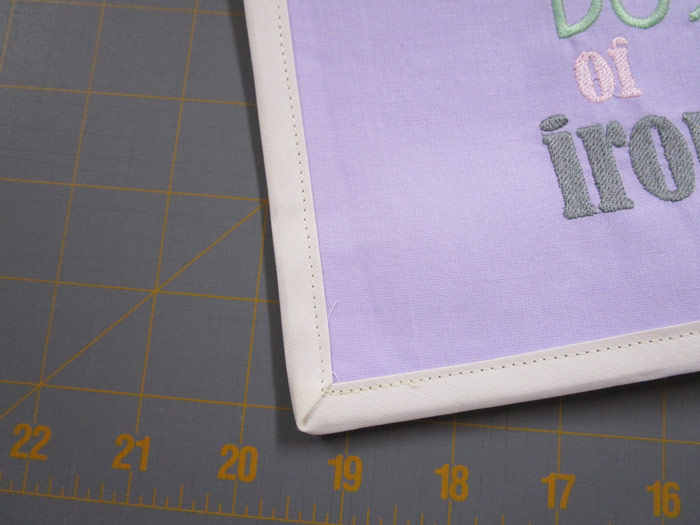
• Finish binding. (The edges in project shown were overlapped 1” with the top layer pressed under ½” before stitching in place.)

• Lay the project pocket side up.
• Fold the fabric from the edge opposite to pocket down until it covers the belting/strapping just above the pocket and pin, if desired, to hold the layers in place.
• Sew just below the now covered belting/strapping using a zipper foot or foot of choice.

• Remove ironing board cover(s). Wrap the pocket around the ironing board.
• Attach the Dritz Ironing Board Cover Fasteners (4 pc.) underneath the ironing board between the belting area near the pocket to the belting area on the opposite side.
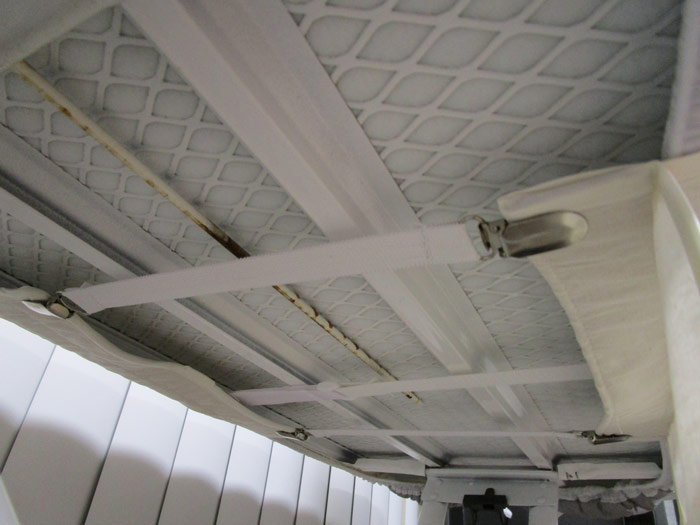
• Replace ironing board covers.
• Fill with items you want to keep handy and enjoy!
This material is © OESD, LLC and may not be reproduced or published without permission.