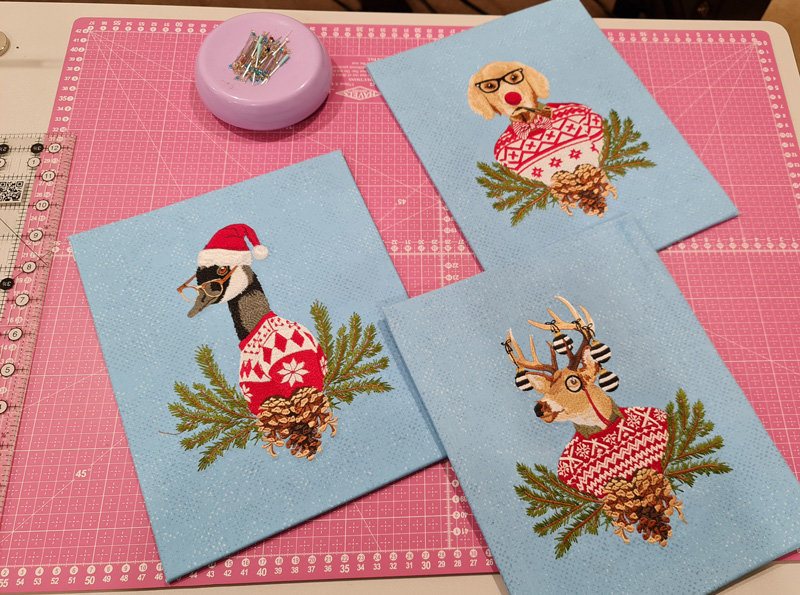
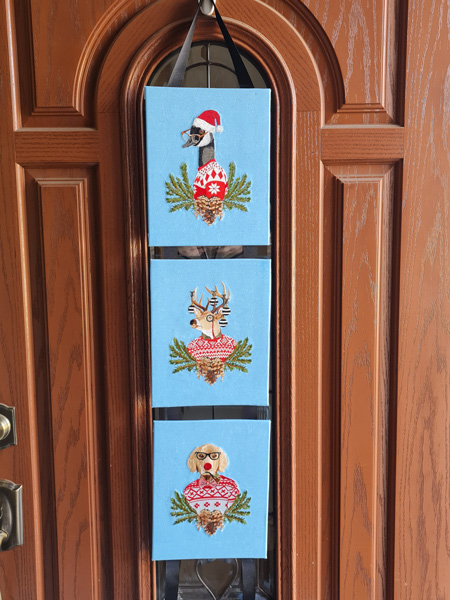
Welcome holiday visitors with this door decoration using the eclectic designs of Tula Pink.
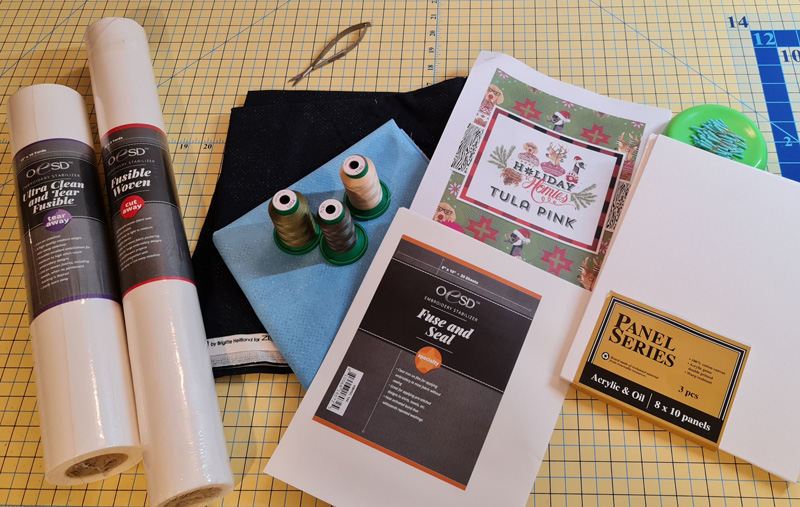
Supplies
- Scissortail Stitches’ Holiday Homies by Tula Pink #90022
- OESD Fuse and Seal CutAway Sheets 8″ x 10″
- OESD Fusible Woven CutAway
- OESD Ultra Clean and Tear Fusible
- OESD Heavy Weight TearAway
- OESD Perfect Embroidery Press Cloth
- Embroidery Needle Titanium 75/11 Sharp
- ½ yard cotton fabric
- 2¾ yards 7/8” ribbon
- 3 – 8×10” canvas artboards
Instructions
Step 1
Cut 3 pieces of fabric at least 10” x 12”. Note: You may need to cut them larger to fit your hoop.
Step 2
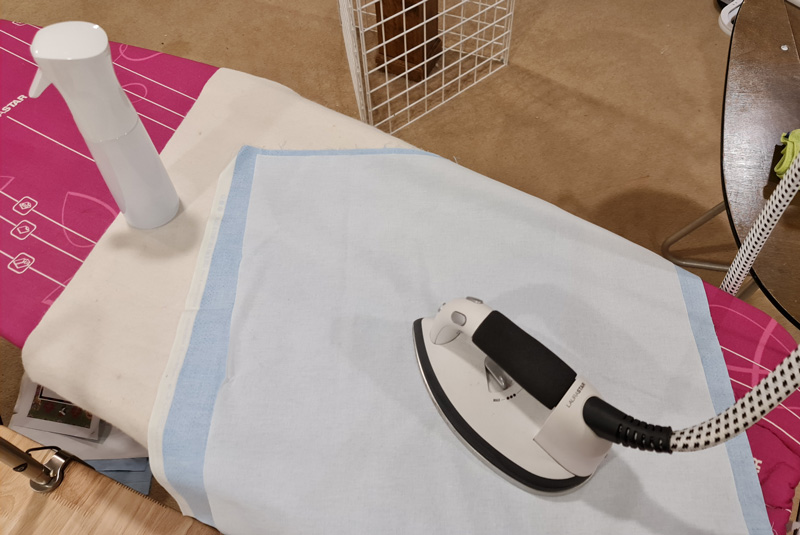
Fuse OESD Fusible Woven Stabilizer to the wrong side of all 3 pieces of fabric.
Step 3
Fuse one layer of OESD Ultra Clean and Tear to the wrong sides of all 3 pieces of fabric.
Step 4
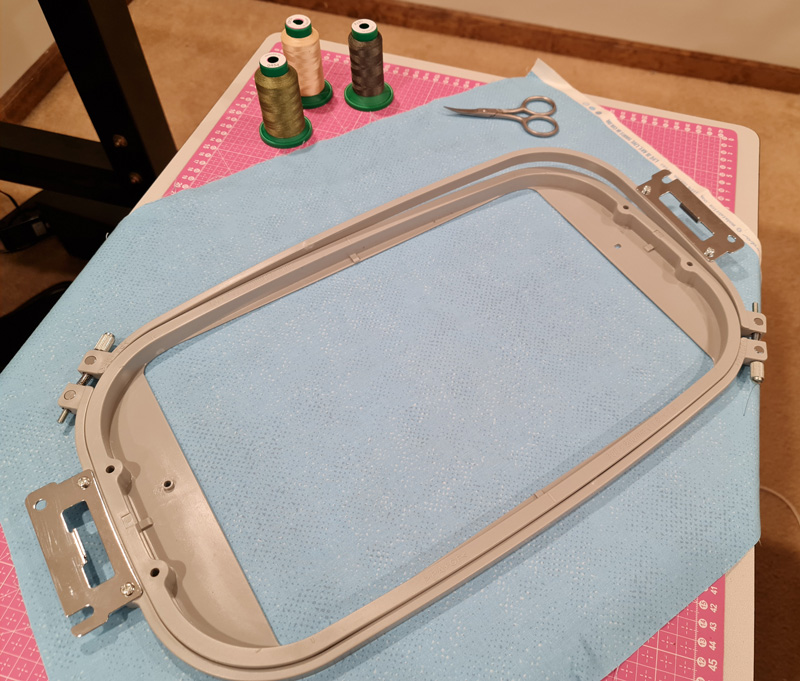
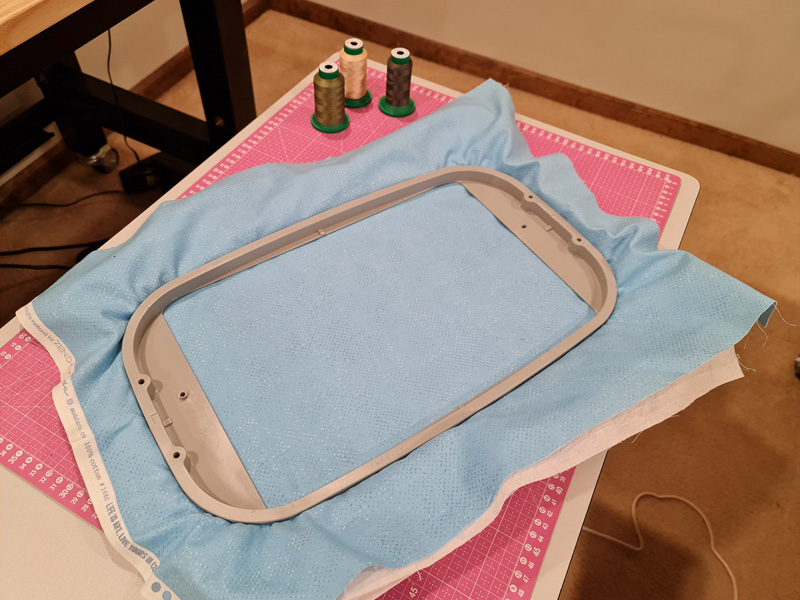
Hoop one layer of OESD Heavy Weight TearAway and the stabilizer-fused fabric. Embroider the design.
Note: Holiday Homies features dense-stitch designs. Hooping two layers of stabilizer and the fabric will help reduce puckering and keep the fabric from drawing up and becoming misshapen.
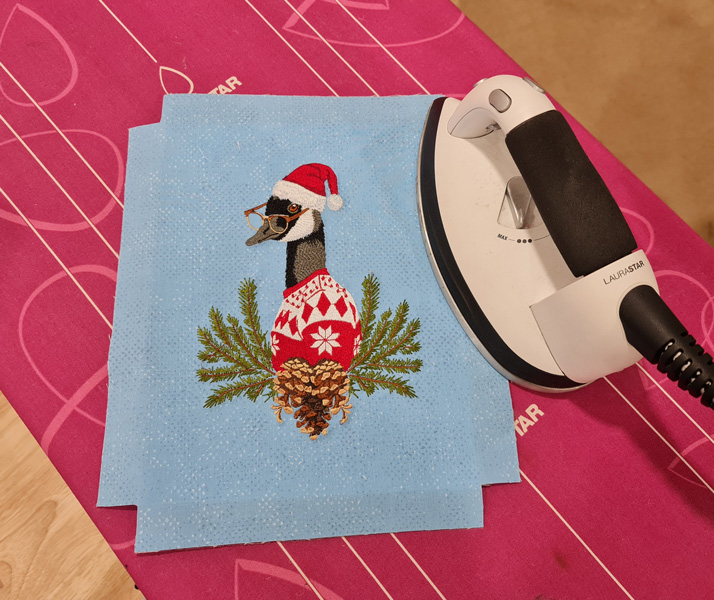
Step 5
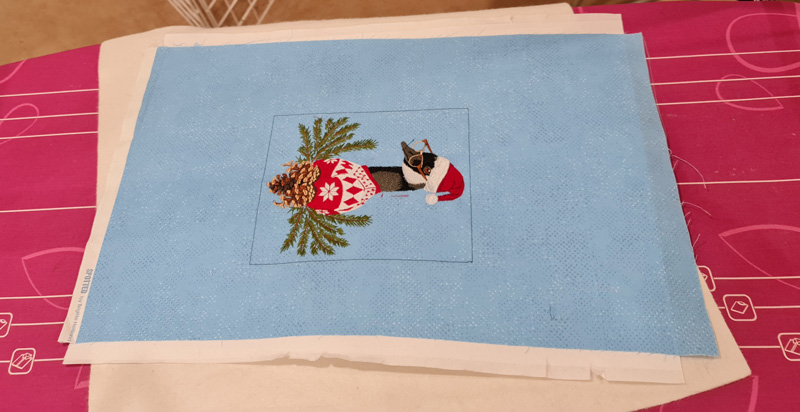
Remove the design from the hoop. Press right side down on the OESD Perfect Press Cloth. This will remove any marks from your hoop, eliminate any mild puckering, and keep your embroidery from being crushed.
Step 6
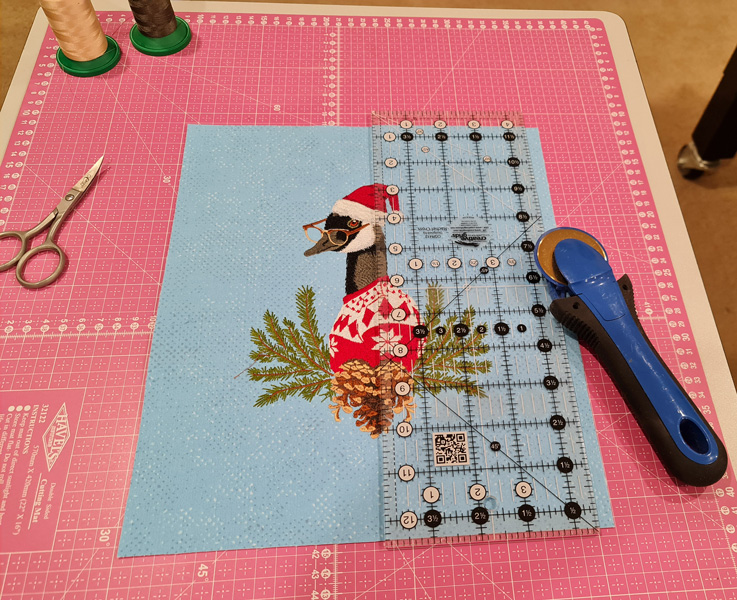
If you cut your fabric larger than 10” x 12”, square up your fabric. If your fabric was cut 10” x 12”, skip this step.
Step 7
Tear away the stabilizer completely. You’ll want to tear away as much of the stabilizer as possible so that the Fuse and Seal will firmly adhere the fabric/design to the canvas.
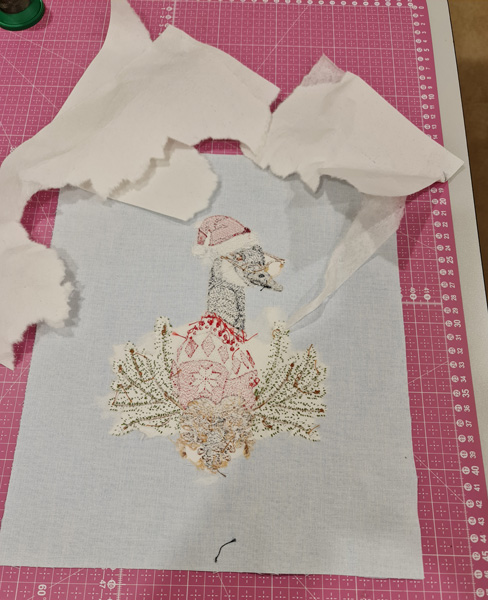
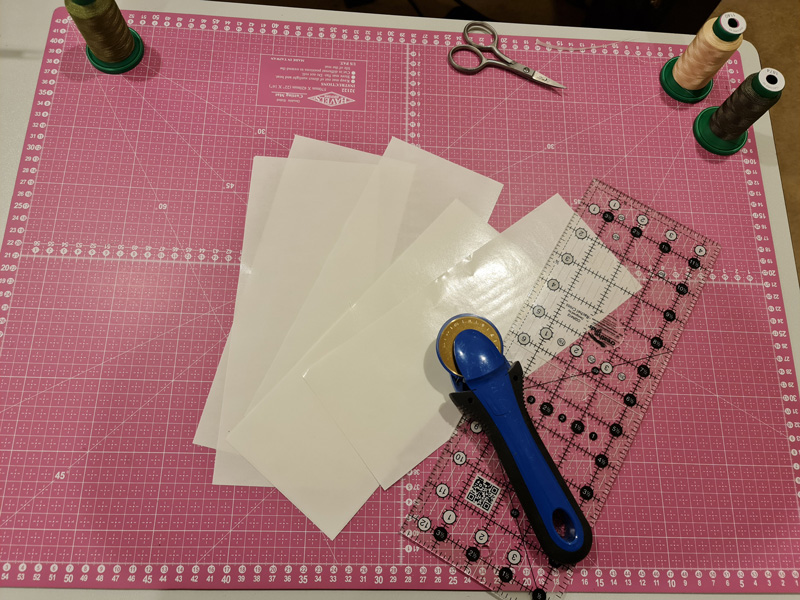
Step 8
Cut 3 pieces of OESD Fuse and Seal 4″ x 10″.
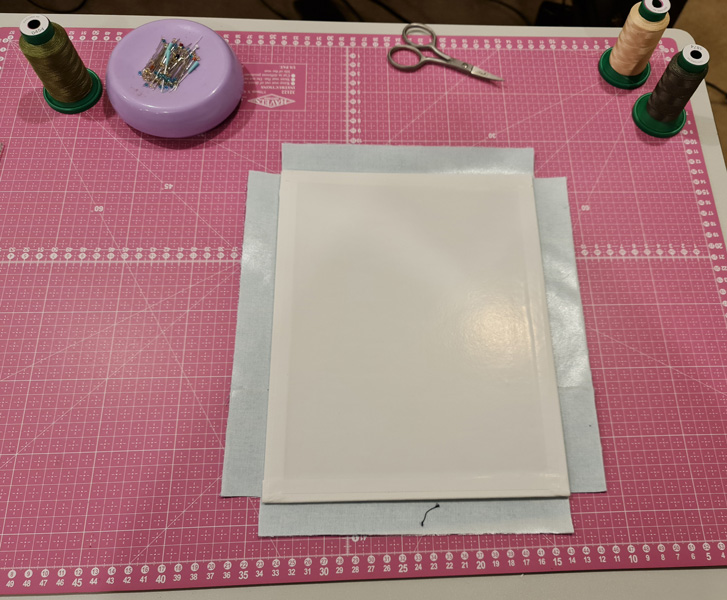
Step 9
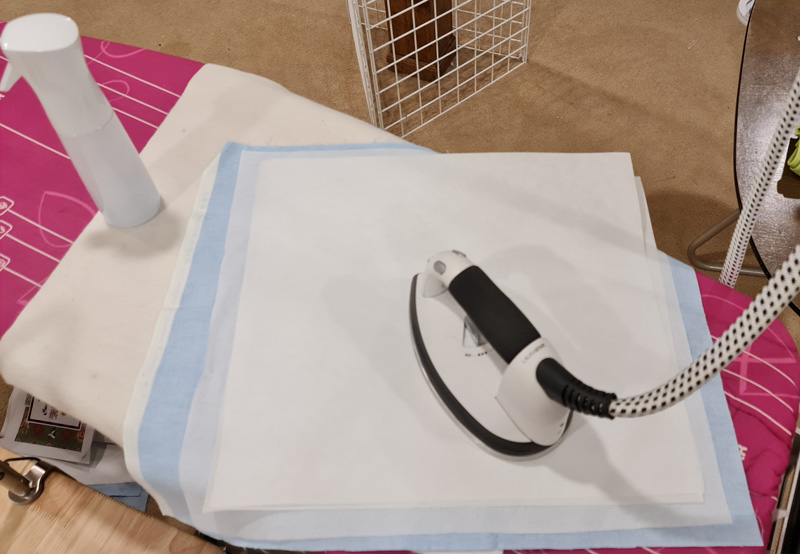
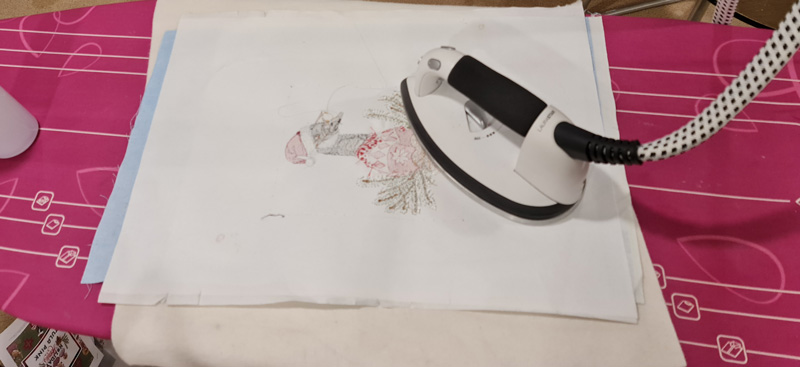
Fuse one full sheet (8×10″) and the 4″ piece you just cut of OESD Fuse and Seal to the wrong side of the embroideried fabric.

Step 10
On the back of the design draw a line 1” from each side of the design from top to bottom. Draw 2 more lines 1” from the top and 1” from the bottom.
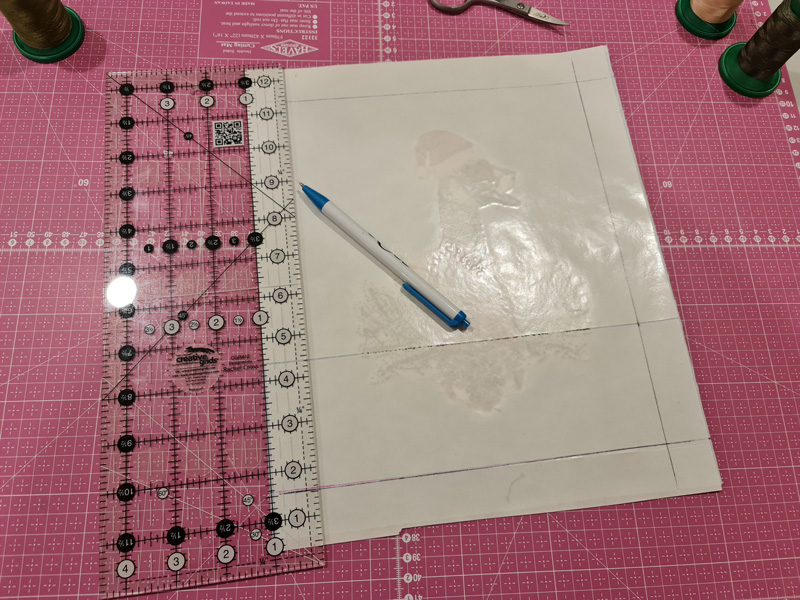
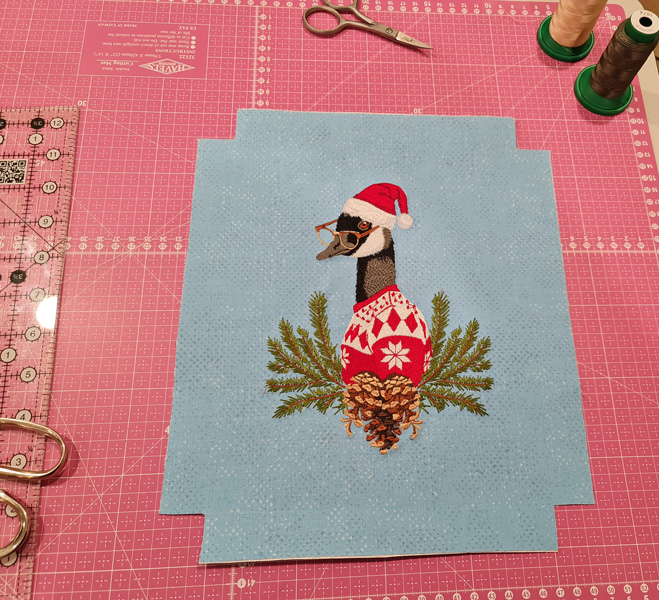
Step 11
Cut each of the corners of the fabric along the lines you just marked.
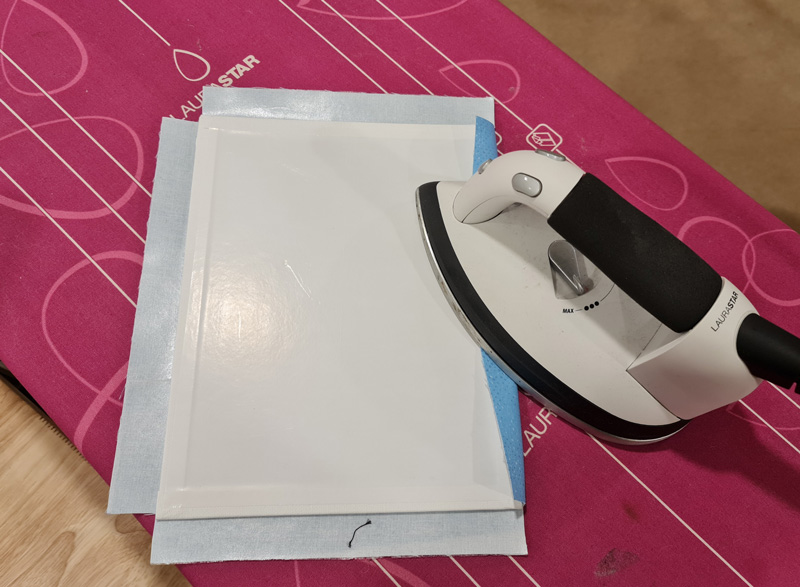
Step 12
Peel the protective paper off both pieces of the OESD Fuse and Seal that is fused to the wrong side of your stitched design.

Step 13
Center your fabric on the canvas board. This should be easy to do using the corners that you cut out as a reference.
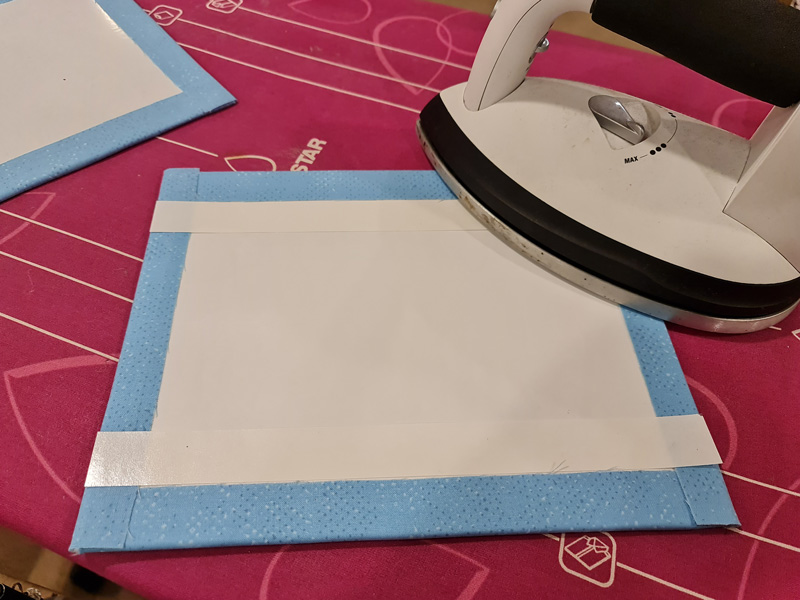
Step 14
Fuse the fabric with the design on the canvas board. Fuse carefully around the design. It is not necessary to fuse the actual design area.
Step 15
Once the front is fused, turn the canvas board over and fold the fabric around the back and fuse it on the backside of the canvas board. You will notice there are raw edges on the fabrics fused to the back. The OESD Fuse and Seal will keep these from fraying so there is no need to treat them.
Step 16
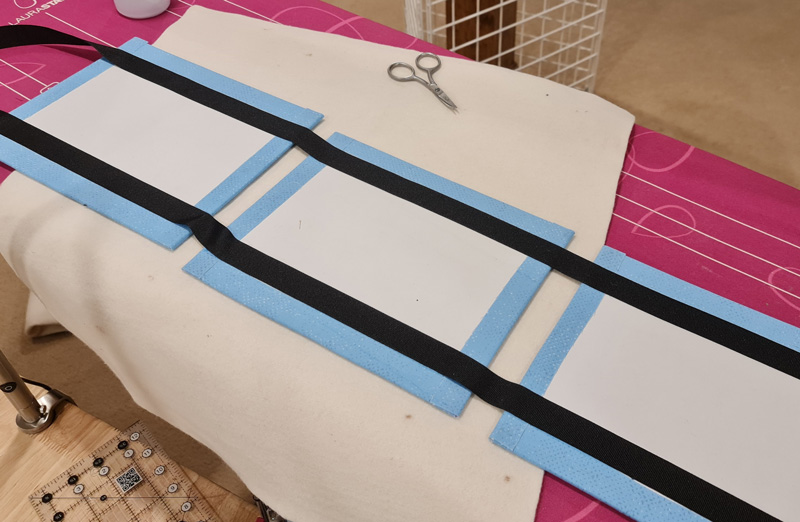
Cut 6 – ¾” x 10” strips of OESD Fuse and Seal if you are using 7/8” wide ribbon. If you are using a different size, you will need to cut your OESD Fuse and Seal about 1/8” smaller than your ribbon width.

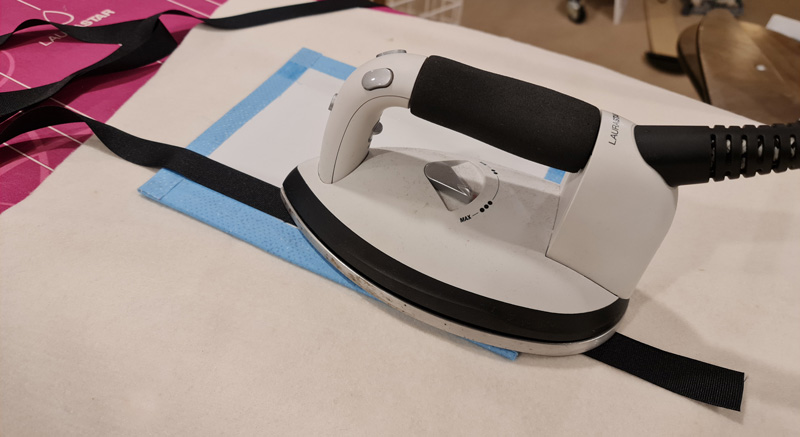
Step 17
Fuse the strips of OESD Fuse and Seal to the back of the canvas board where the riboon will be placed. I used the edge of the fabric that is folded over as a reference. I placed the strip next to it and fused it to the board.
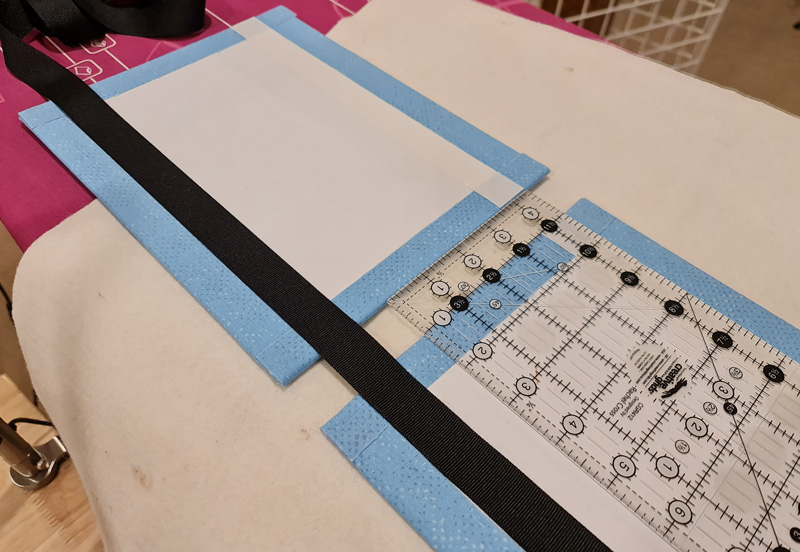
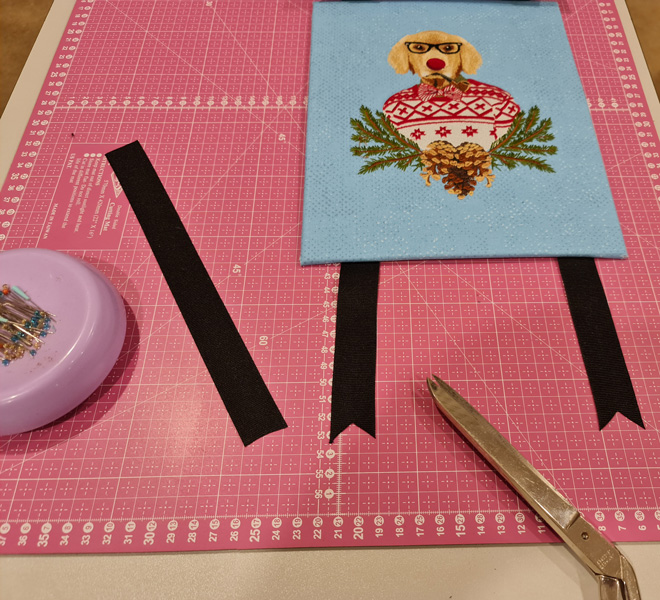
Step 18
Choose which design will be at the bottom. Peel the protective paper off the OESD Fuse and Seal. Place your ribbon leaving 4” hanging at the bottom and fuse the ribbon to the wrong side of the canvas board.
Step 19
Place the second (middle) canvas board down leaving a 1” gap between boards and fuse the ribbon to its wrong side. Repeat for the 3rd canvas board – the top one.
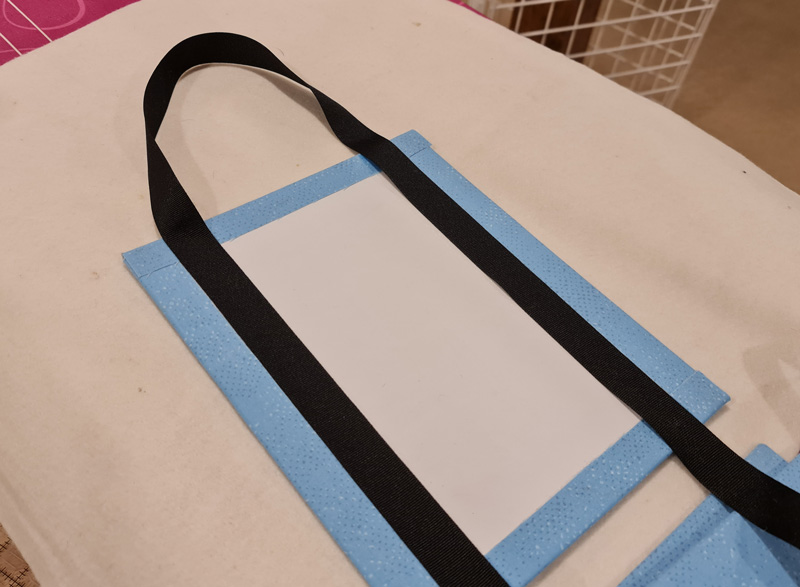
Step 20
Wrap the ribbon around top keeping it from twisting and fuse it to the other side of the top canvas board.
Step 21
Repeat with the second canvas board keeping the 1” gap between the boards. Repeat for the third board.
Step 22
Trim the ribbon at the bottom to even it up and treat it with a product that will help with fraying.
Step 23
Hang on your wall or door and enjoy your new holiday decor!
This material is © OESD, LLC and may not be reproduced or published without permission.