
Bring a classy touch to your holiday home decorating with this tutorial on creating chair scarves.
Supplies
- OESD’s Holiday Couture #12471
- Medium Weight TearAway Stabilizer
- Temporary Spray Adhesive
- 1¼ yards off-white cotton fabric
- Khaki cotton fabric scraps for appliqué
- 14″ x 2″ piece coordinating printed khaki fabric
- 14″ x 2″ deep red cotton fabric
- 14″ x 4″ off-white satin fabric
Instructions
Embroider
- Cut an 18″ x width of fabric strip of off-white cotton fabric for embroidery.
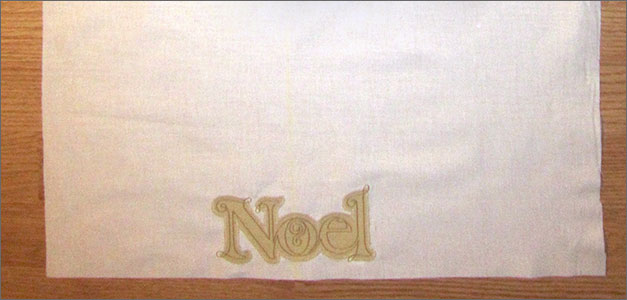
- Keeping the design centered, embroider design(s) of your choice close to the edge of one selvage end of fabric. Our sample uses design #12471-19 Noel Applique.
- Appliqué using the khaki cotton fabric as needed, following the Cut-in-Place Appliqué Instructions below.
- Trim loose threads from embroidery design and carefully remove excess stabilizer from the back.
Cut
- Cut remaining off-white cotton fabric into (3) 12½” x 36½” strips.
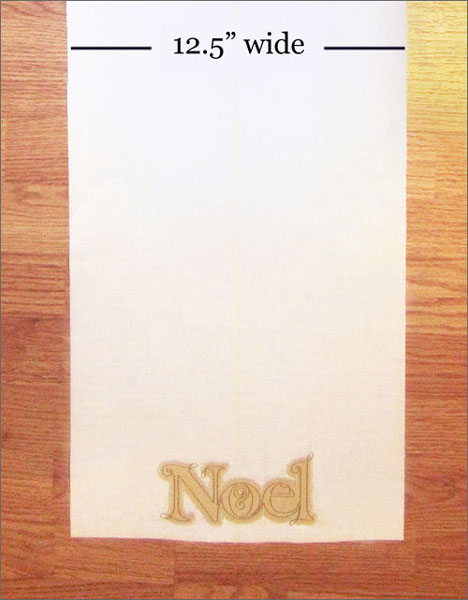
- Trim embroidered fabric ½” below the embroidery.
- Keeping the embroidery centered, cut the embroidered 18″ strip of fabric to 12½” wide.
Assemble
Use ¼” seams unless otherwise noted.
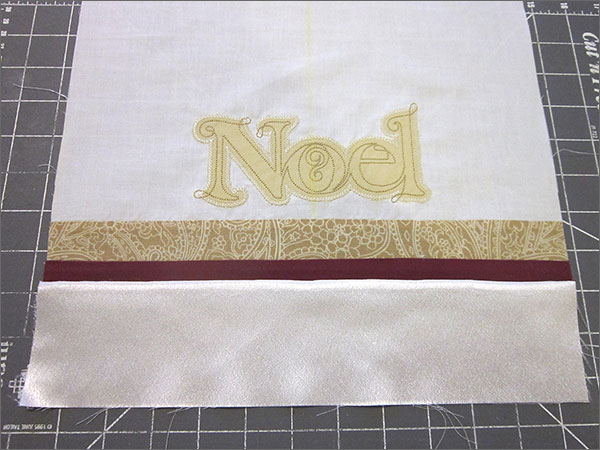
- With right sides together, stitch the 14″ x 2″ piece of coordinating printed khaki fabric to the embroidered fabric (below the embroidery).
- Press seams toward the khaki fabric.
- Trim sides of khaki fabric to 12½”, matching the width of the embroidered fabric.
- Trim the khaki fabric to 1¼” below the seam.

Note: Sew the stripes longer than needed and trim them to the desired size to ensure they remain straight. If the first stripe is uneven by a small amount, by the time the second and third stripes are attached, the unevenness will be more obvious. This method will better hide any imperfections in your seams.
- With right sides together, stitch the 14″ x 2″ piece of deep red fabric to the khaki fabric.
- Press seams toward the red fabric.
- Trim sides of red fabric to 12½”, matching the width of the embroidered fabric.
- Trim red fabric to ¾” below the seam.

- With right sides together, stitch the 14″ x 4″ piece of off-white satin fabric to the red fabric.
- Press seams toward the red fabric.
- Trim sides of satin fabric to 12½”, matching the width of the embroidered fabric.
- Trim satin fabric to 2¾” below the seam.
- Trim the embroidered front half of the scarf to 12½” x 36½”, measuring from the bottom edge of the satin fabric.
- With right sides together, attach one of the 12½” x 36½” to the non-embroidered edge of the scarf, to create the 12½” x 72½” scarf front.
- Press seam open.
- With right sides together, stitch the remaining two 12½” x 36½” strips of fabric along the short sides to create the 12½” x 72½” backside of the scarf.
- Press seam open.
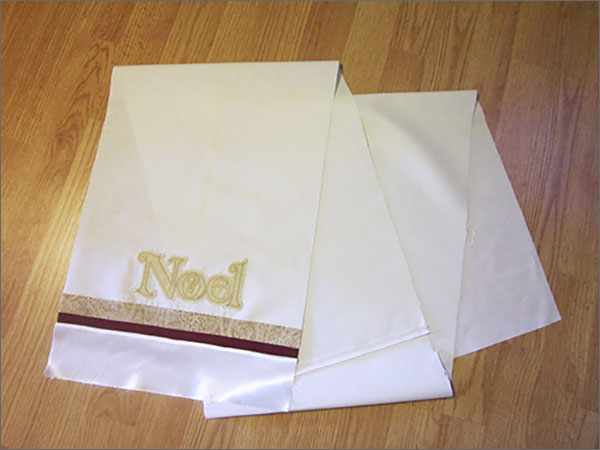
- With right sides together, stitch the front of the scarf to the back of the scarf. Leave an opening at the opposite end from the embroidery for turning.
- Clip corners, turn and press.
- Whip stitch opening closed.
- Edge stitch if desired.
- Fold scarf in half and drape over the back of a chair.
Refer to the PDF of this collection for the Cut in Place Appliqué instructions.
This material is © OESD, LLC and may not be reproduced or published without permission.