
Make this padded hanger to help keep clothing from slipping off the hanger. The zipper opening at the bottom conceals jewelry or valuables.
Supplies
- OESD’s Flying Colors by Laurel Burch #75600 embroidery collection
- One 10” X 20” fabric for embroidery
- One 8” X 20” fabric for back
- Two 8” X 19” rectangles batting
- One 16″-18” zipper (depending on hanger size)
- Isacord Thread
- OESD Bobbin Thread
- Temporary Spray Adhesive
- OESD Heavy Weight CutAway Stabilizer
Instructions
Make the Pattern
Make a pattern for the cover by tracing around a sturdy clothes hanger.
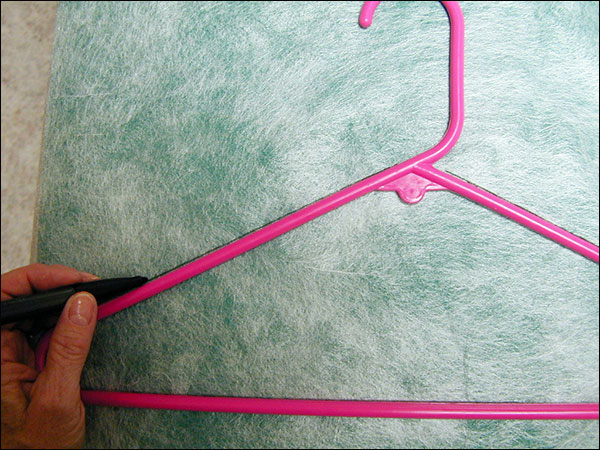
Add 5/8 inches on all sides. (This will be for 1/2 inch seam allowance and ease.)
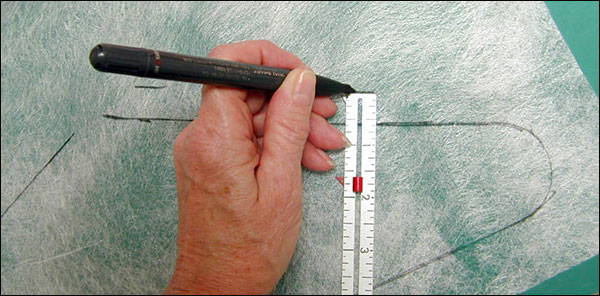
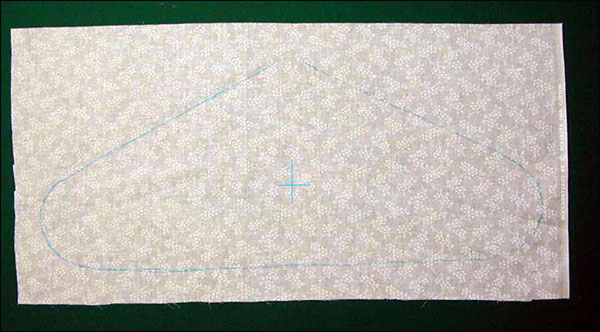
Trace the pattern onto the 10” x 20” rectangle of fabric, but DO NOT cut out.
Mark the horizontal and vertical centers of the cover front for the embroidery. (When placing embroidery on an item that is smaller than the hoop size, it is easier to trace a line around the pattern on the fabric, then embroider the fabric and cut out after the embroidery is completed.)
Embroider the Design
Adhere two layers of OESD Heavy Weight CutAway Stabilizer together with Temporary Spray Adhesive.
Spray the top of the stabilizer and adhere to the wrong side of the 20” X 10” fabric for embroidery.
Hoop the three layers as one and attach the hoop to the machine.
Select and embroider the design.
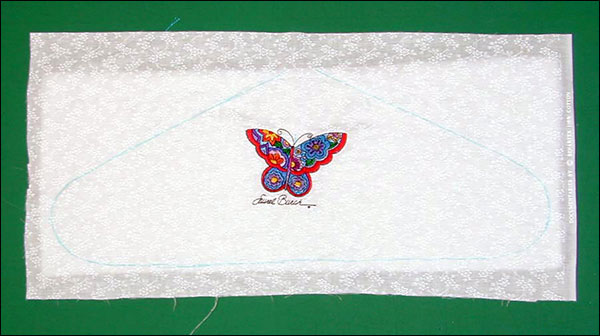
Remove the hoop from the machine and the fabric from the hoop.
Carefully tear away the stabilizer from the back.
Construct the Hanger Cover
Place the front fabric with the wrong side down on top of the batting rectangle and baste or zig-zag around the entire hanger shape. This allows the layers to be treated as one and overcasts the edges at the same time. Repeat with the back fabric.
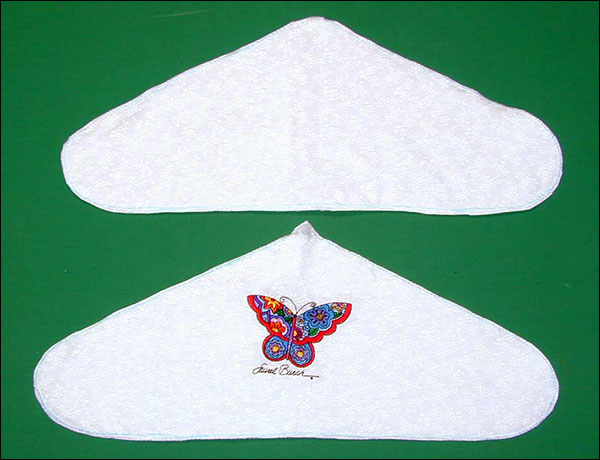
Place the pattern piece onto each section and cut out the shape of the hanger.
With right sides together, baste the lower edges together.
Stitch the zipper in place at the lower edge and remove the basting stitches.
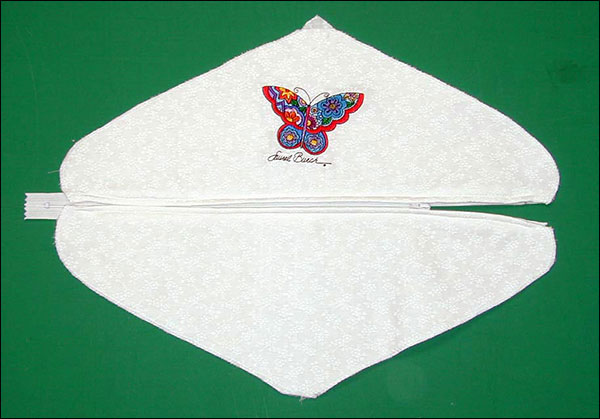
Fold the top curved edge to the wrong side and stitch along the fold.
Unzip the zipper a short distance, place right sides together and stitch along the two sides leaving the neck opening unstitched.
Turn right side out at the zipper opening.
Insert the hanger inside the cover. Your hidden pocket closet hanger is complete!
This material is © OESD, LLC and may not be reproduced or published without permission.