By Lisa V.
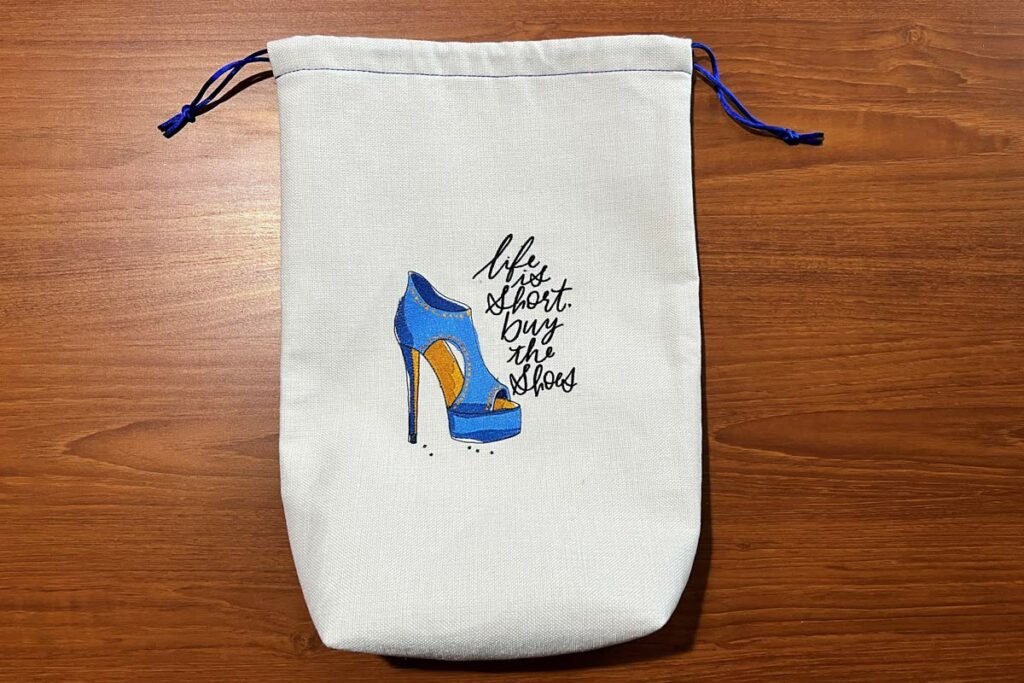
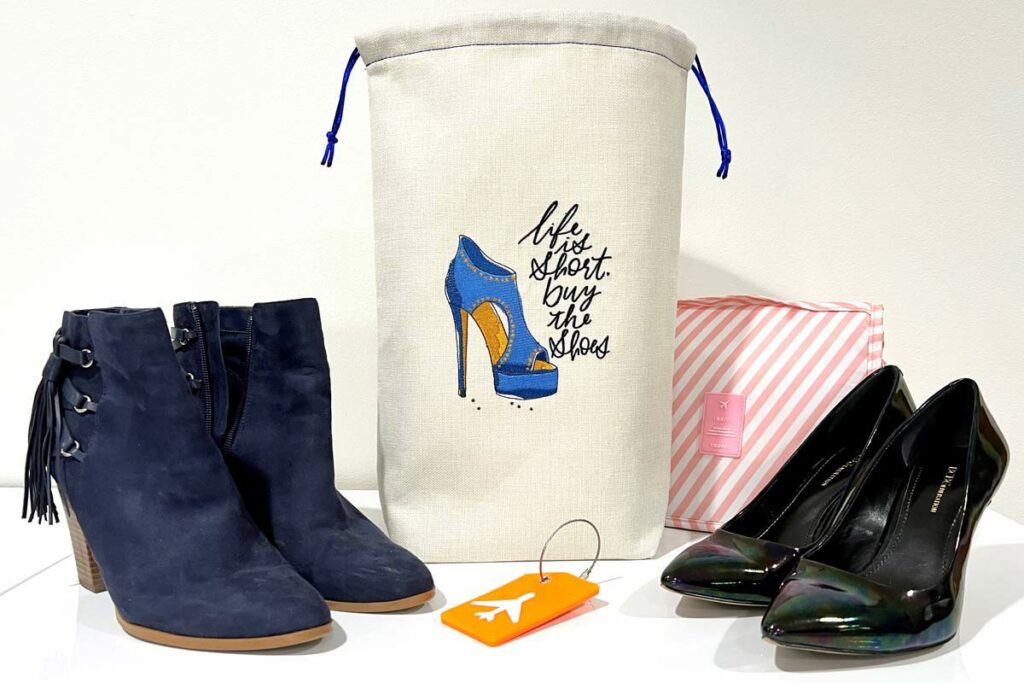
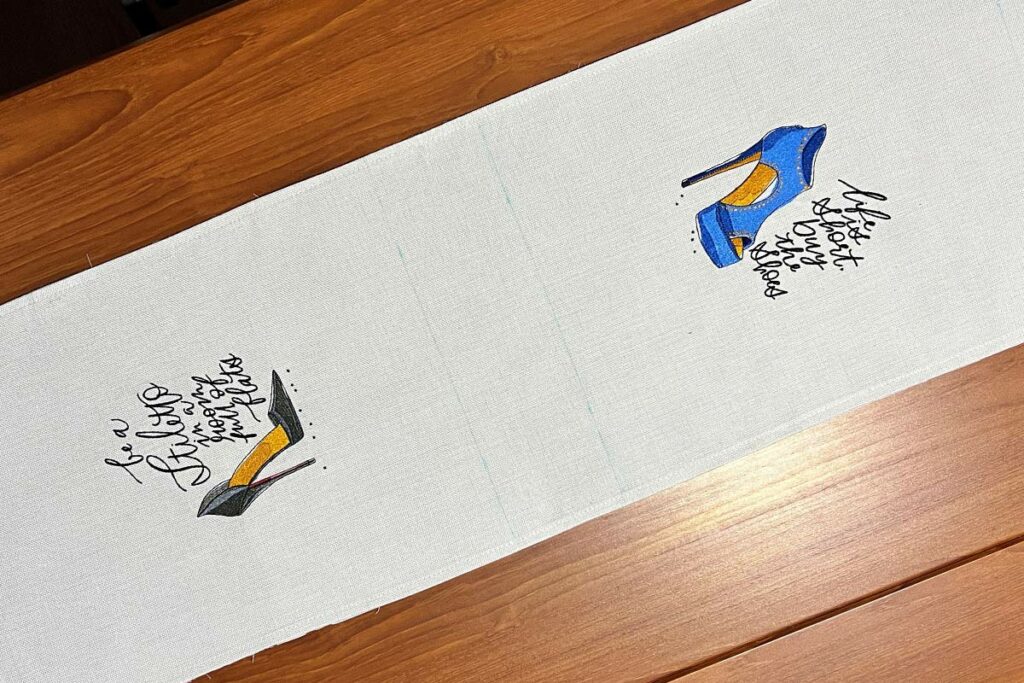
When I travel with my shoes, especially my heels I like to put them in a shoe bag. I used the Hello Heels collection (#90033) and one of OESD’s table runner blanks to create a beautiful shoe bag! It’s so easy and takes no time at all! – Lisa
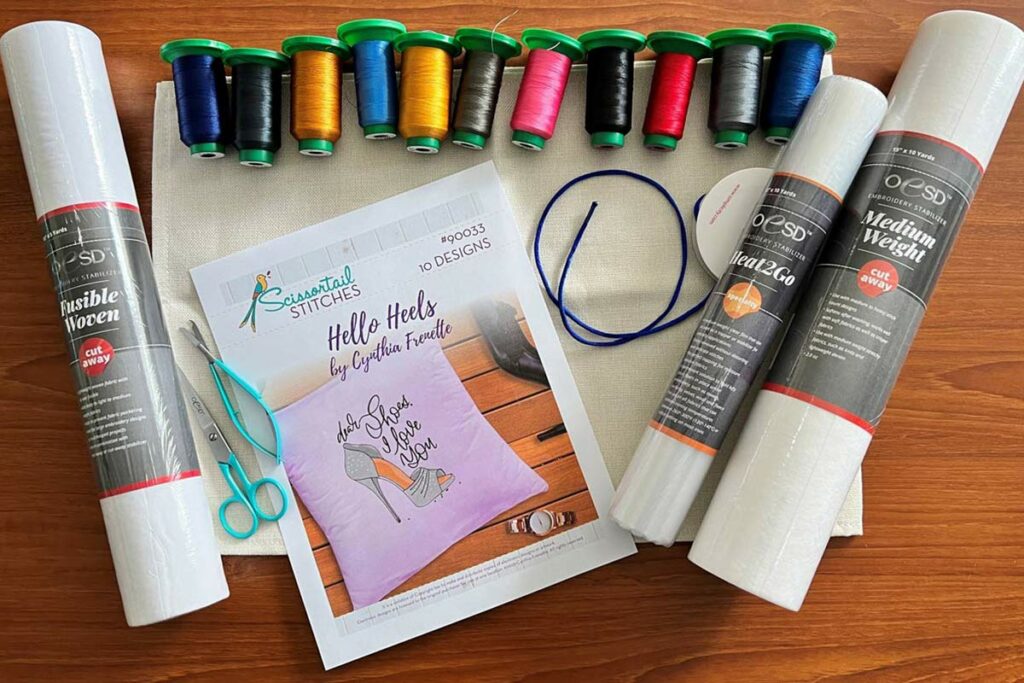
Supplies
Instructions
Step 1
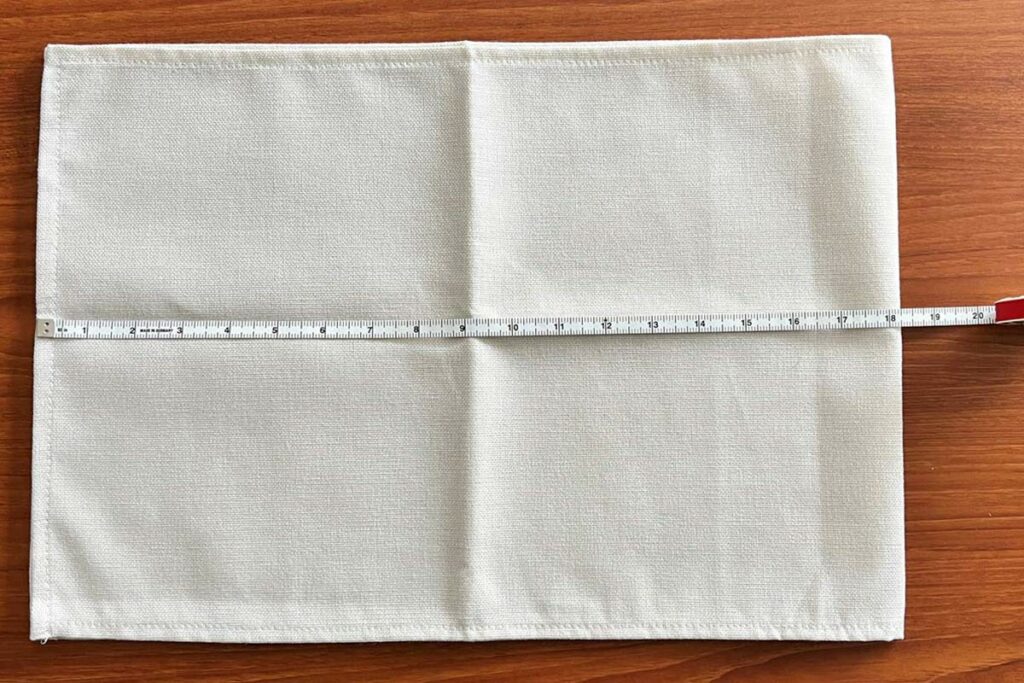
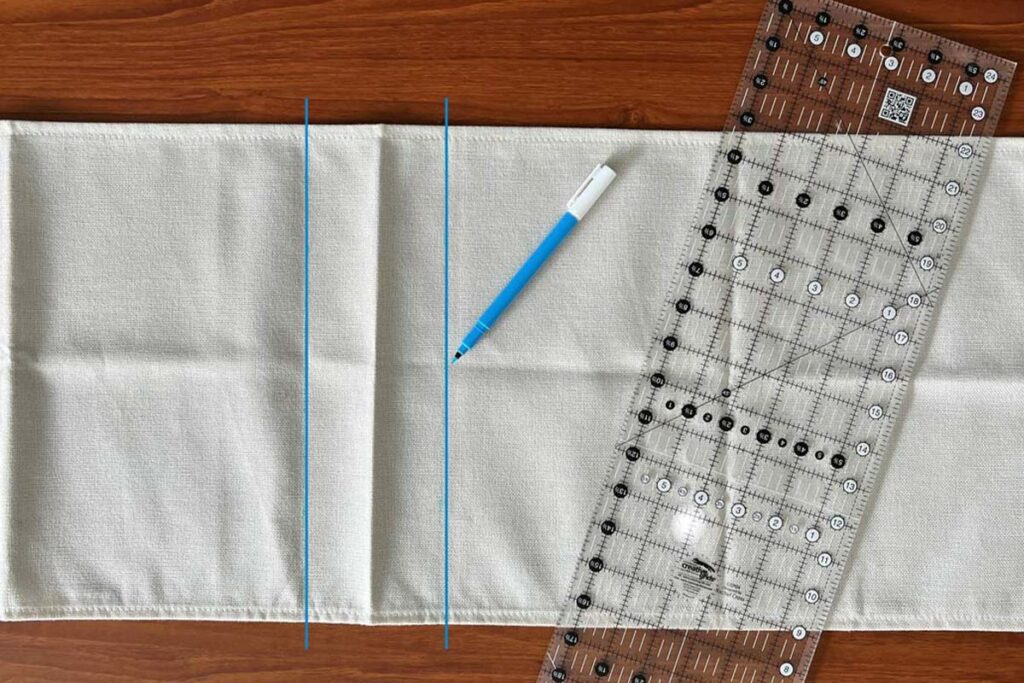
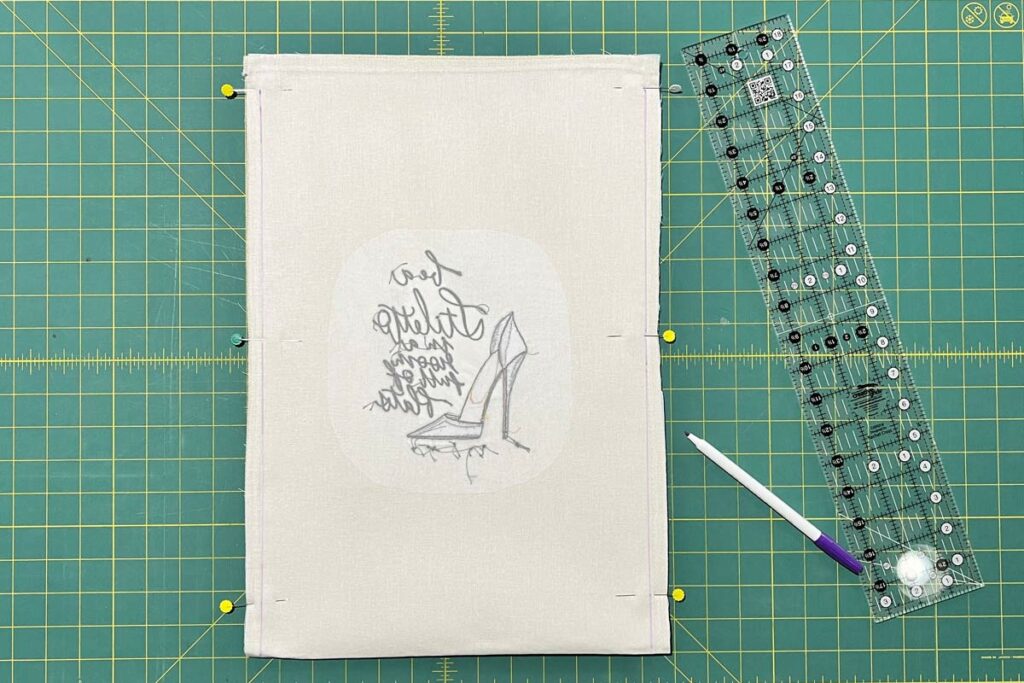
Gather all of your supplies and get ready to stitch! The table runner is 36 ½” long, so fold it in half so that both sides measure 18 ¼”.
Step 2
The bottom of the shoe bag will measure 3 ½”. Mark 16 ½” in from the left and right sides.
Step 3
To create the fold line for the drawstring casing, I measured back towards the edge from the 16 ½” mark to 15 1/2”, to ensure the two sides of the bag are exactly the same.
Step 4
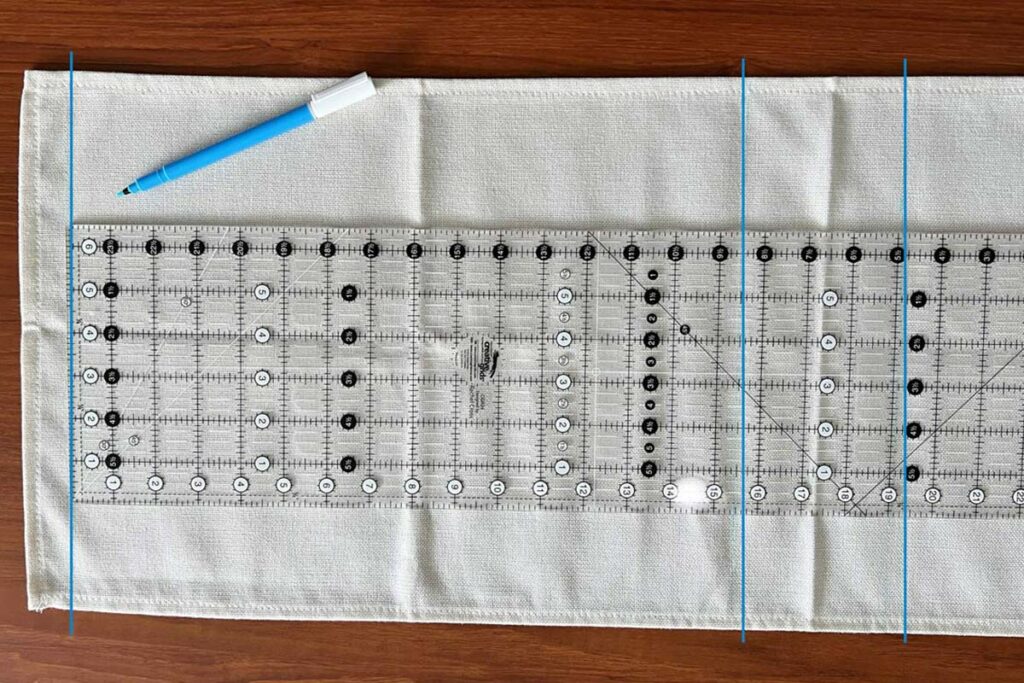
Mark the center between the drawstring and the bottom. In this image, the horizontal area is 15 ½” so half is 7 ¾”. The vertical area is 12 ½” so mark the 6 ½” center.

Step 5
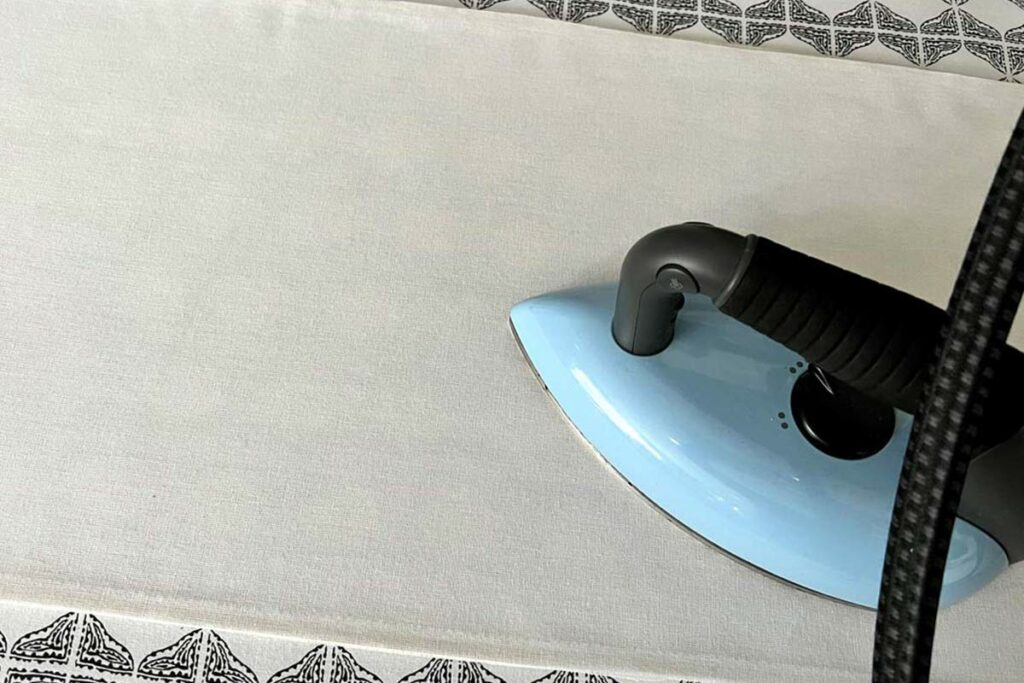
Cut a piece of Fusible Woven the size of the table runner. Press to the back side of the table runner with a medium setting.
Step 6
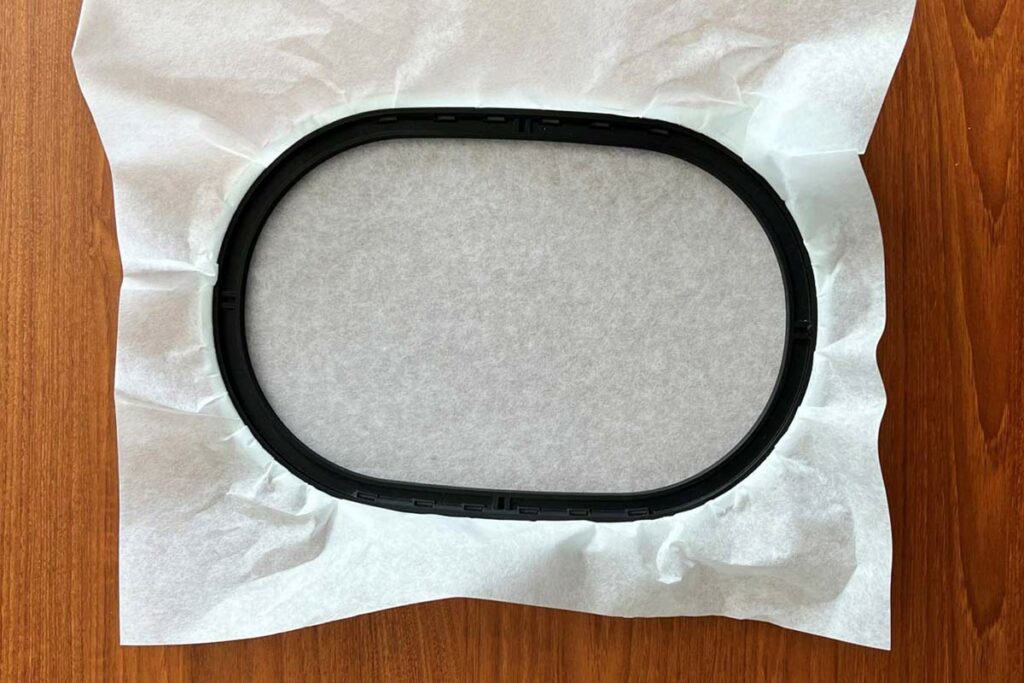
Hoop Medium Weight Tear Away stabilizer.
Step 7
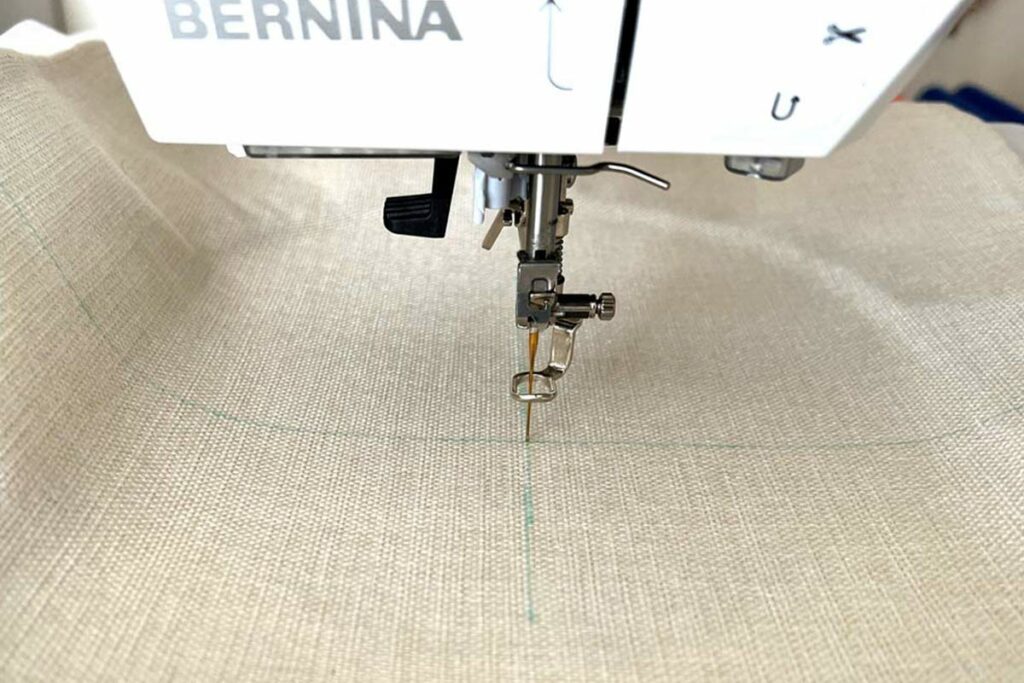
Use the embroidery machine to line up the center of the design.
Step 8
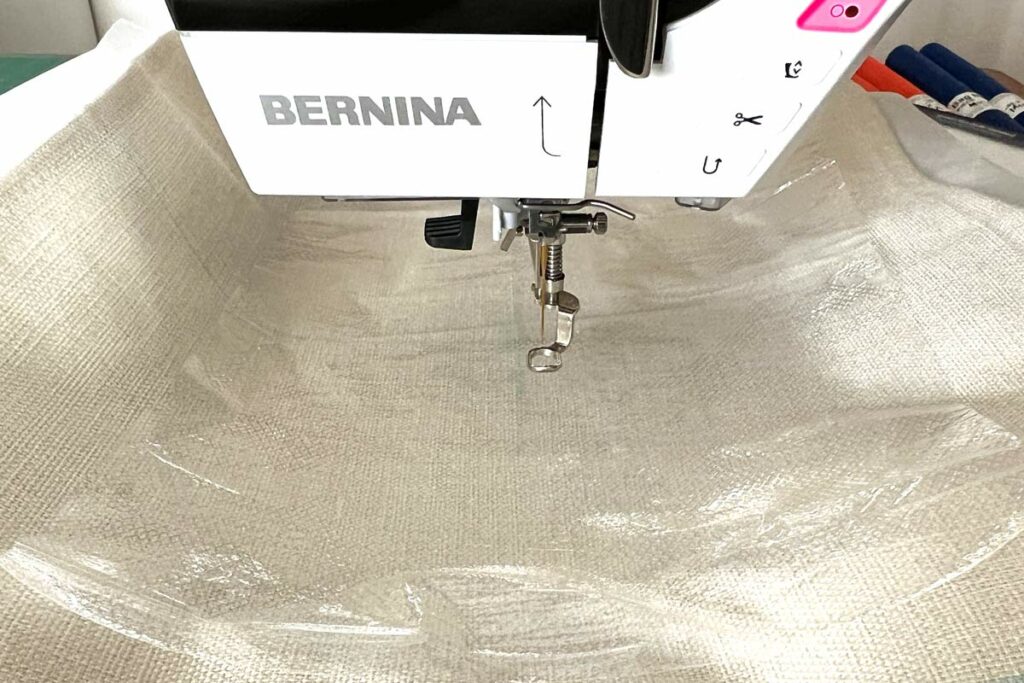
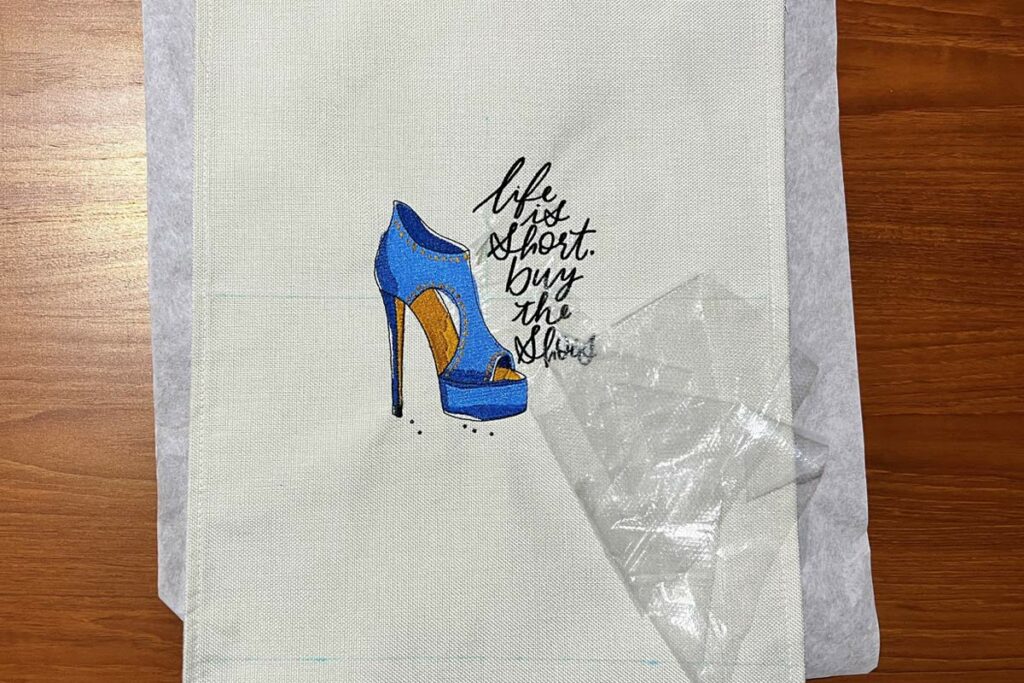
Place Heat2Go on top of the table runner.
Step 9
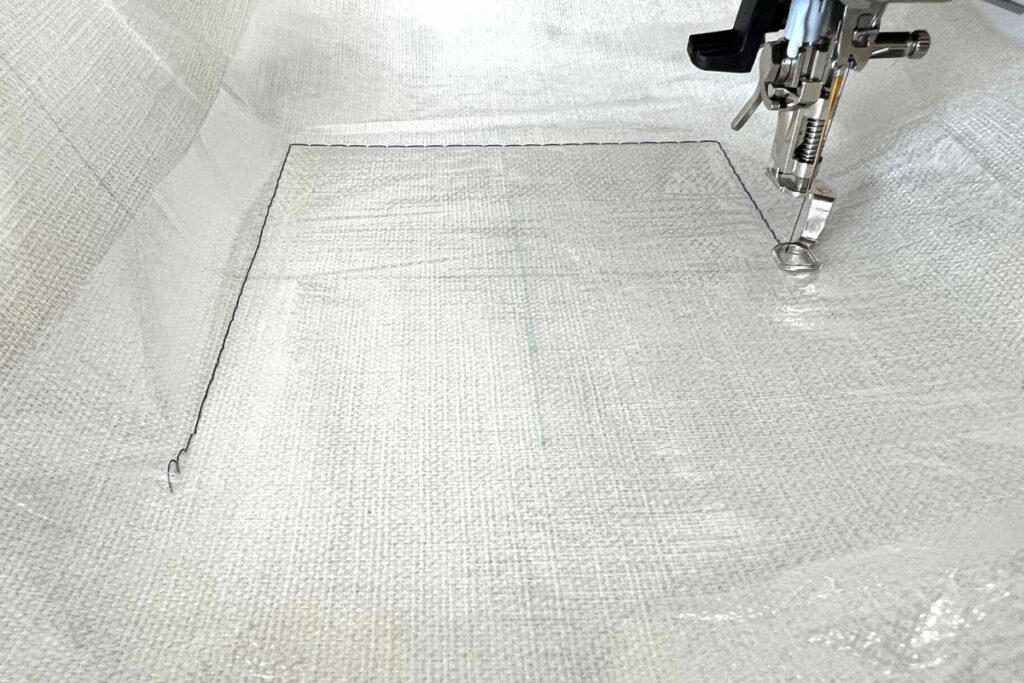
Place the table runner on the stabilizer (you can choose to hoop it all if you like) and baste.
Step 10
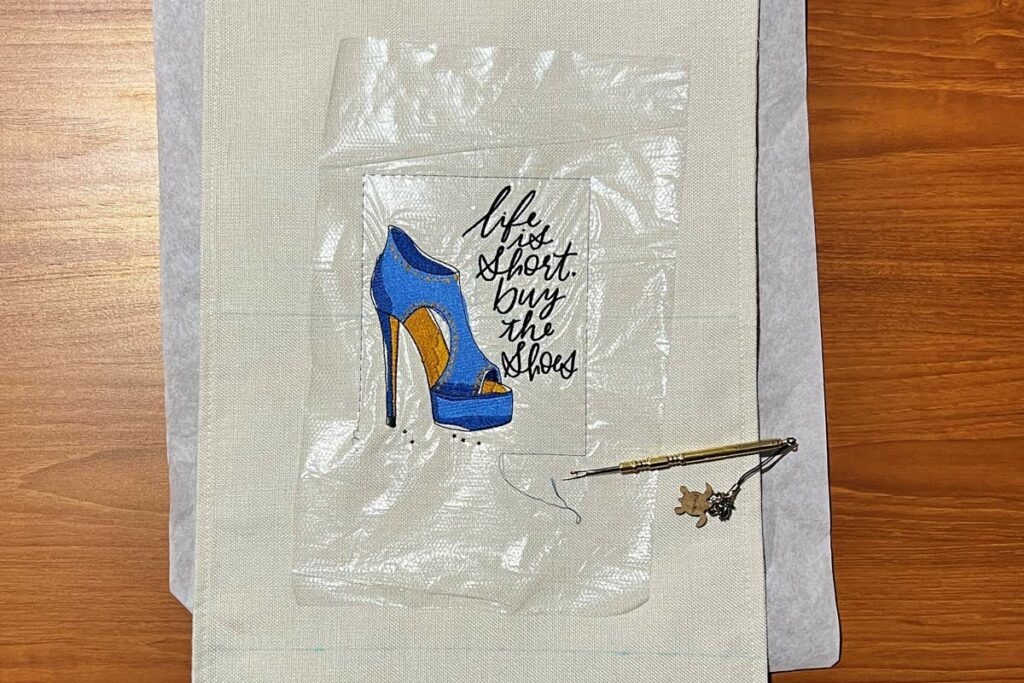
Stitch out the design. Remove the hoop from your machine, then remove the table runner from the hoop. Remove basting stitches.
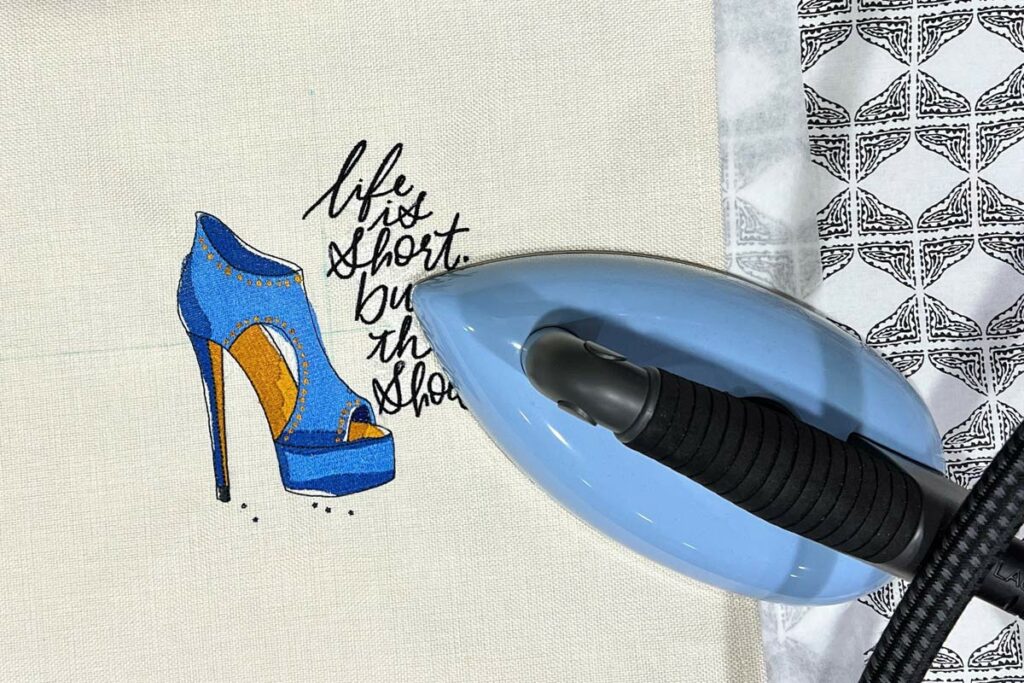
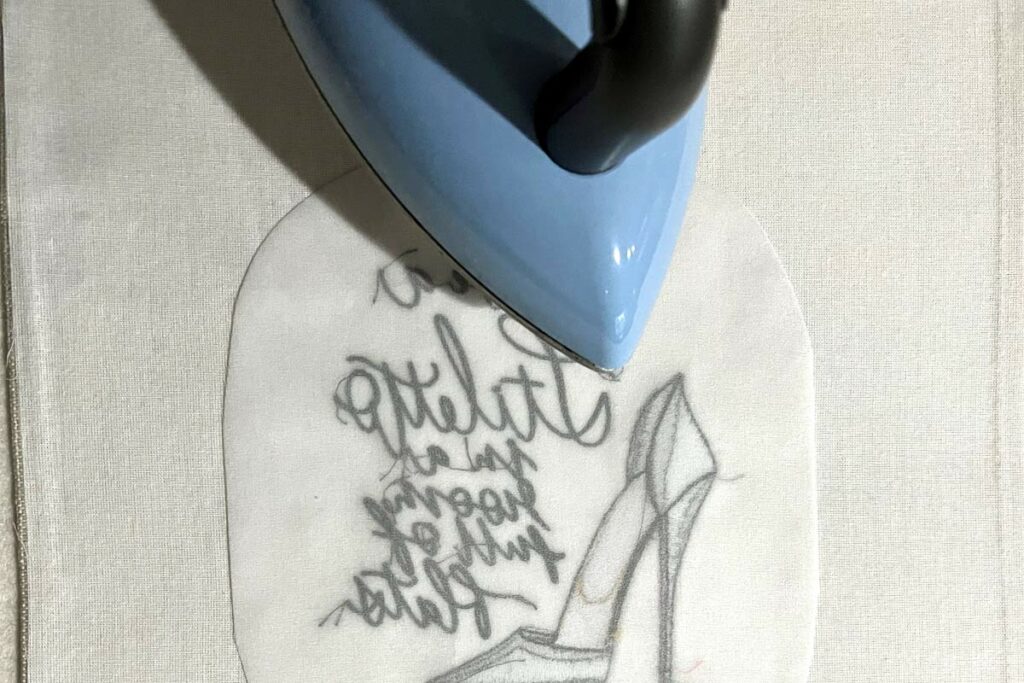
Step 11
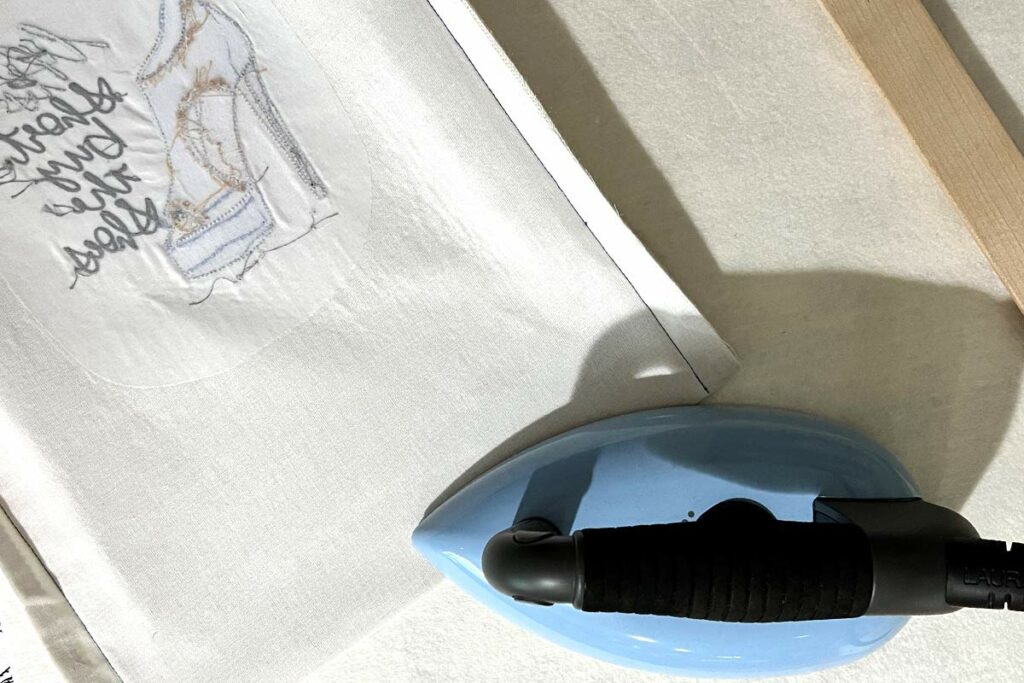
Remove excess Heat2Go by hand, then use an iron to remove the rest.
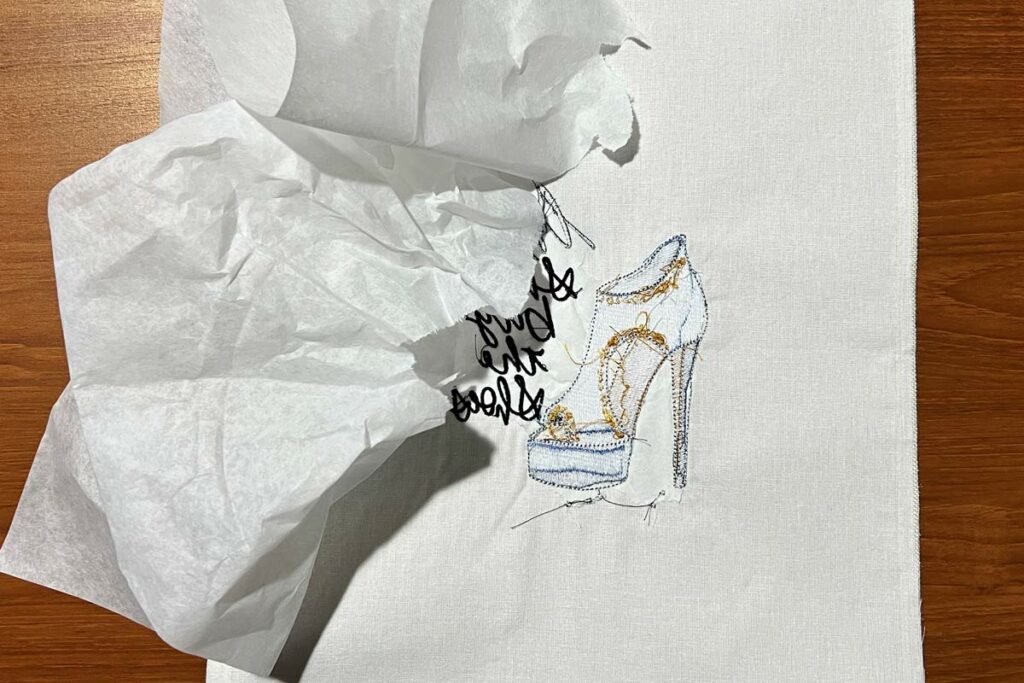
Step 12
Carefully remove the excess Medium Weight TearAway stabilizer.
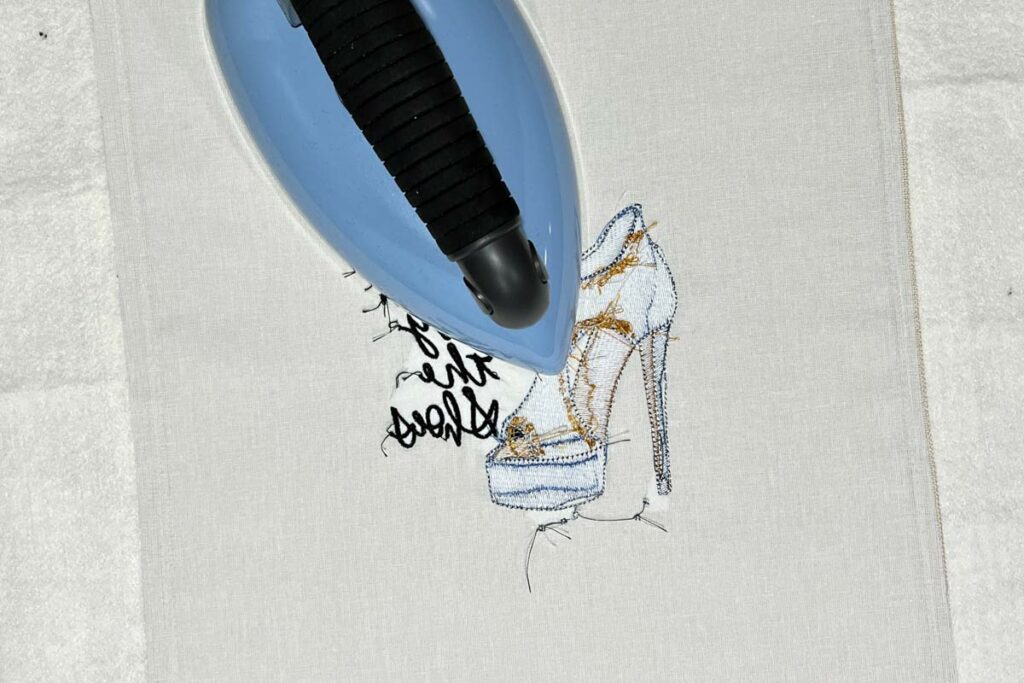
Step 13
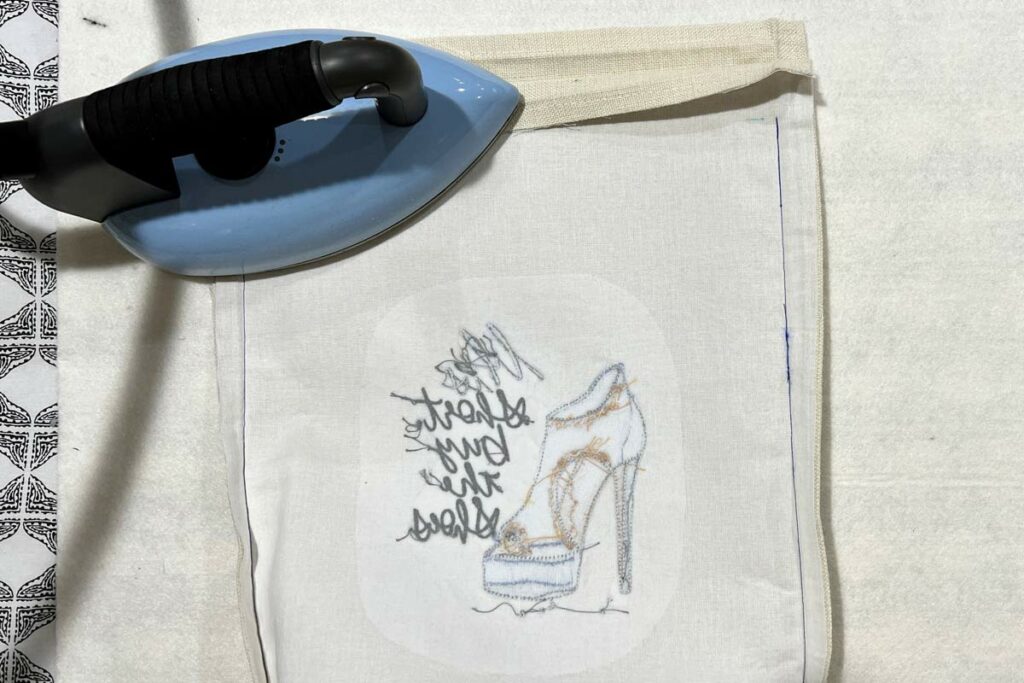
Place the embroidery face down on the Perfect Embroidery Press Cloth and iron.
Step 14
Repeat on the other side of the table runner.
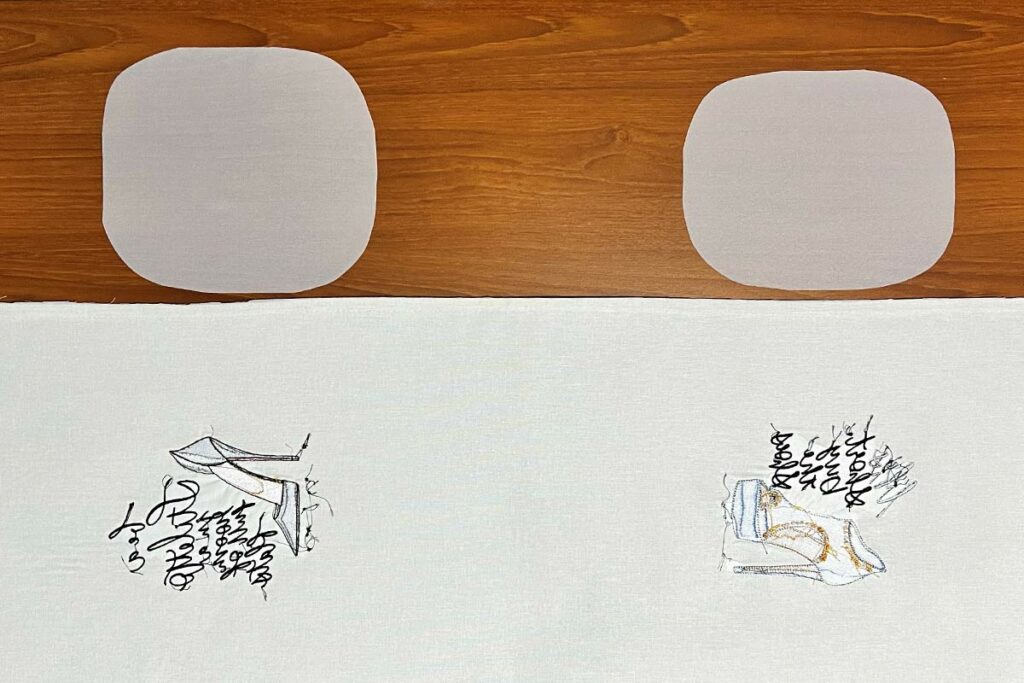
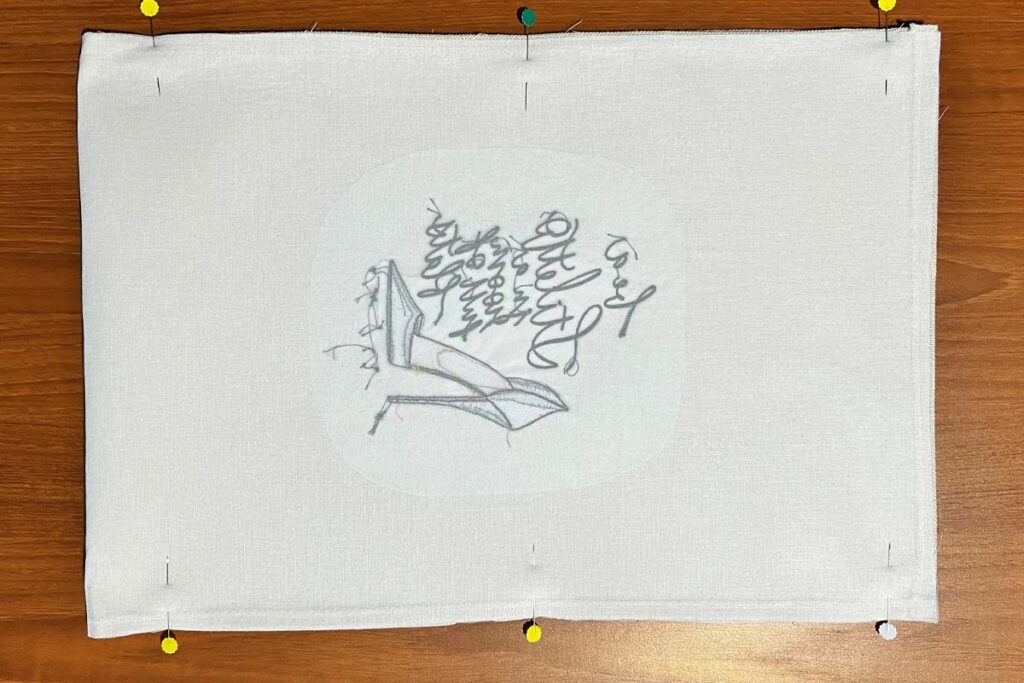
Step 15
Adding Gentle Touch Backing will protect the back of your embroidery designs within the shoe bag. Cut pieces that are large enough to cover the embroidery and curved at the corners. Placing the fusible side on to the back of the embroidery and press the Gentle Touch to the fabric with a warm iron.
Step 16
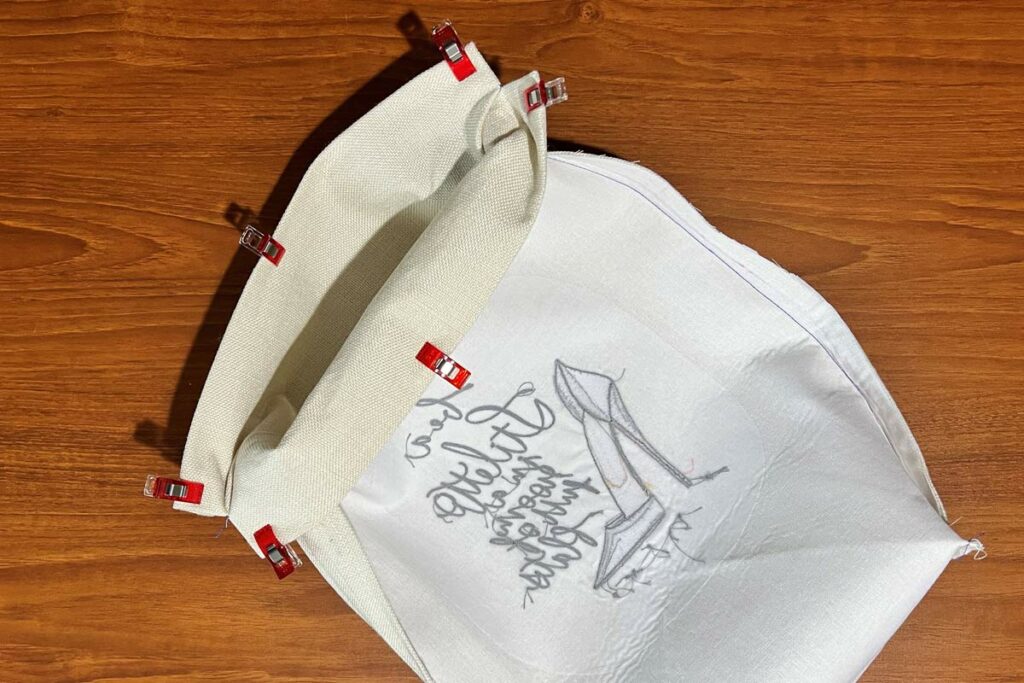
Pin the sides together, matching up the drawstring and hem lines.
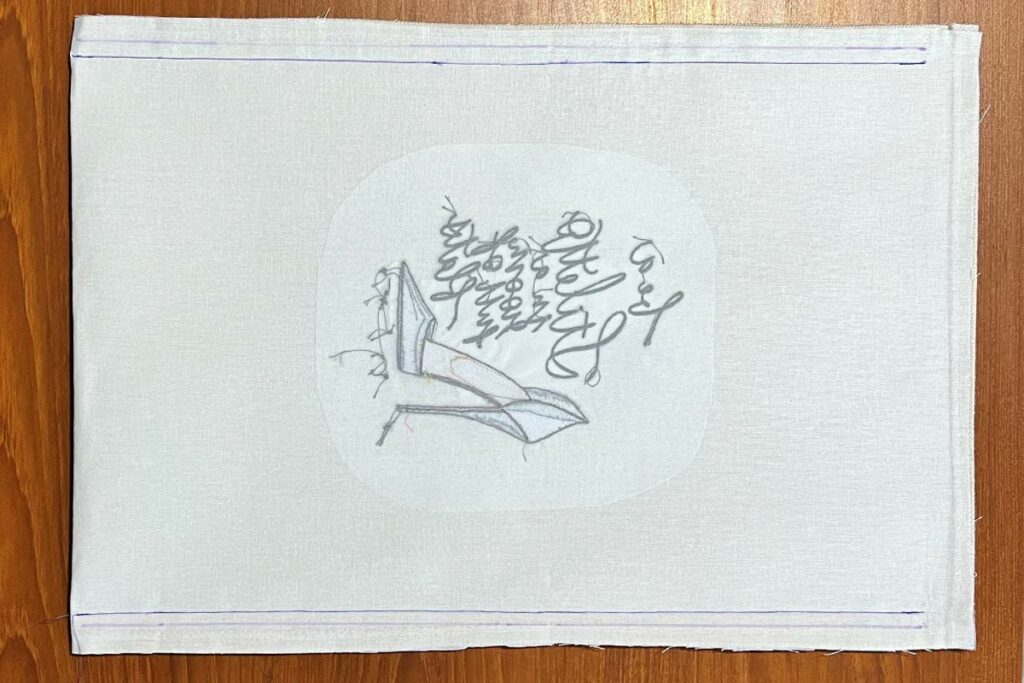
Step 17
Place the bag on the cutting mat. Line the bottom of the bag with a horizontal line. Line up the left side of the bag with a vertical line. The goal is to mark the side seams. You will want to mark the seam wide enough so that the previous seams and table runner hem is enclosed by the new seam.
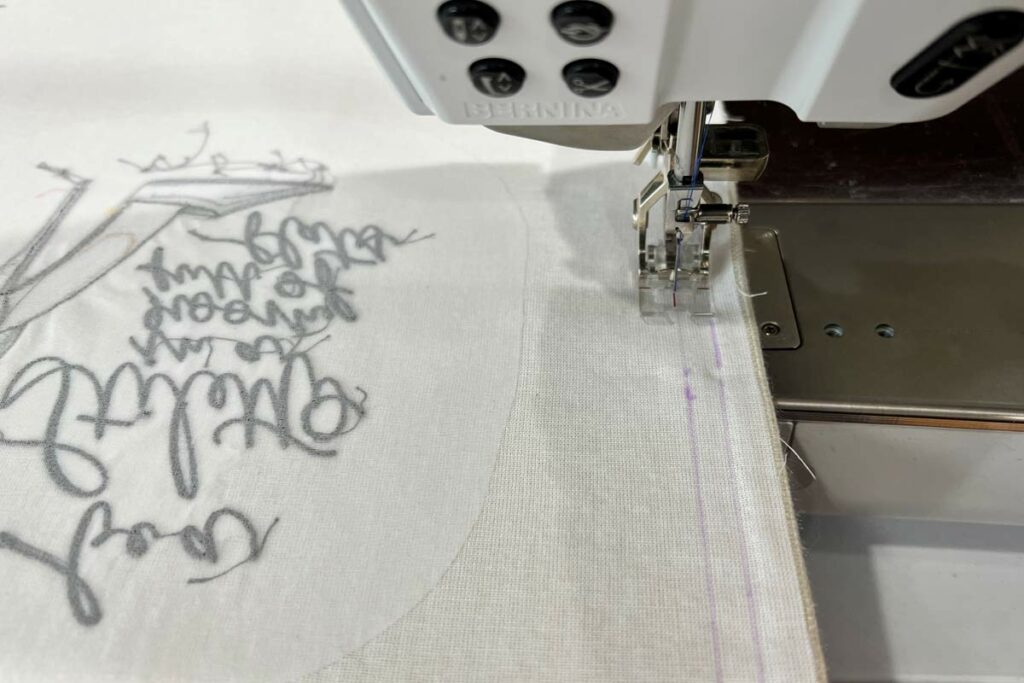
Step 18
Stitch both side seams from the bottom of the bag up to about 1-inch from the drawstring line.
Step 19
Press open both side seams, then press the bottom so that you have a mark to match up the side seam.
Step 20
Using a straight pin, match up the side seam to the pressed bottom line.

Step 21
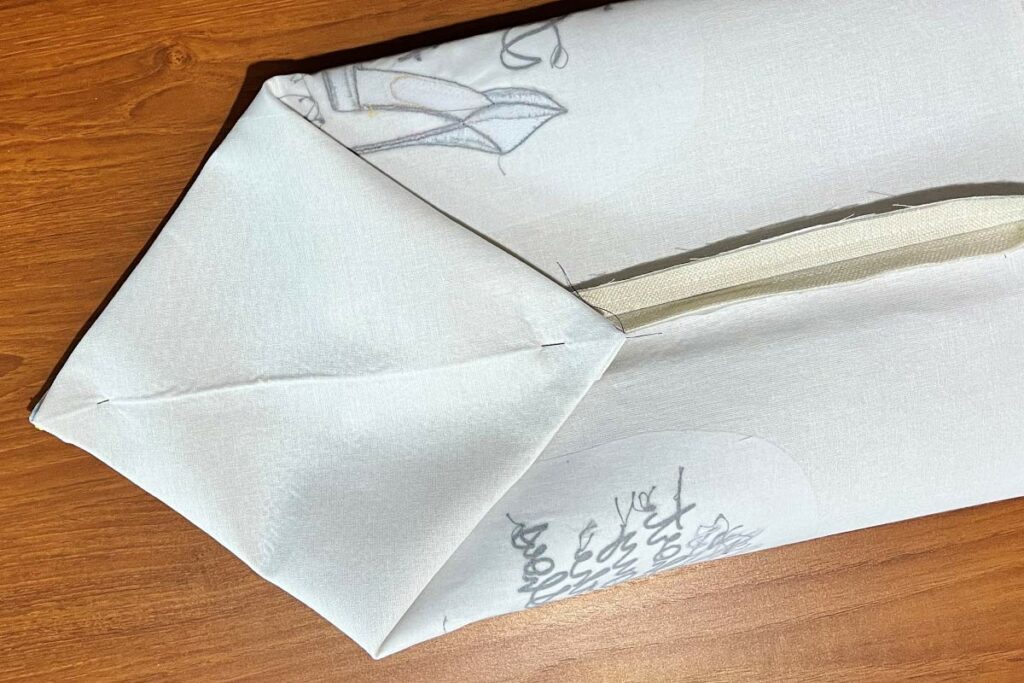
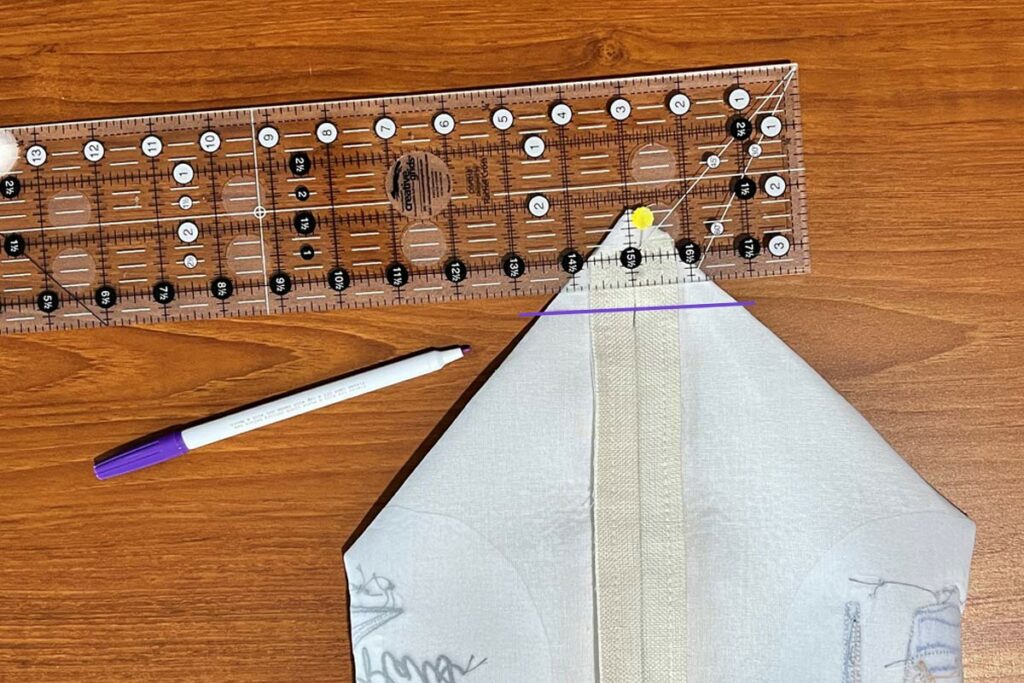
This is my favorite technique for boxing a corner. With the fabric right sides together, use both hands to pinch apart the corner, the fabric will begin to form a peak with the corner point at the top and the seam lines running down the middle. Align the side and bottom seams.
Place a pin in the matched seams at the peak. Mark the depth of the boxed corner with a fabric marking pen and a straight ruler, positioning your ruler so the desired depth is measured from side to side at the base of the peak. My desired boxed corner depth is 2”. Draw a horizontal line at this measurement.
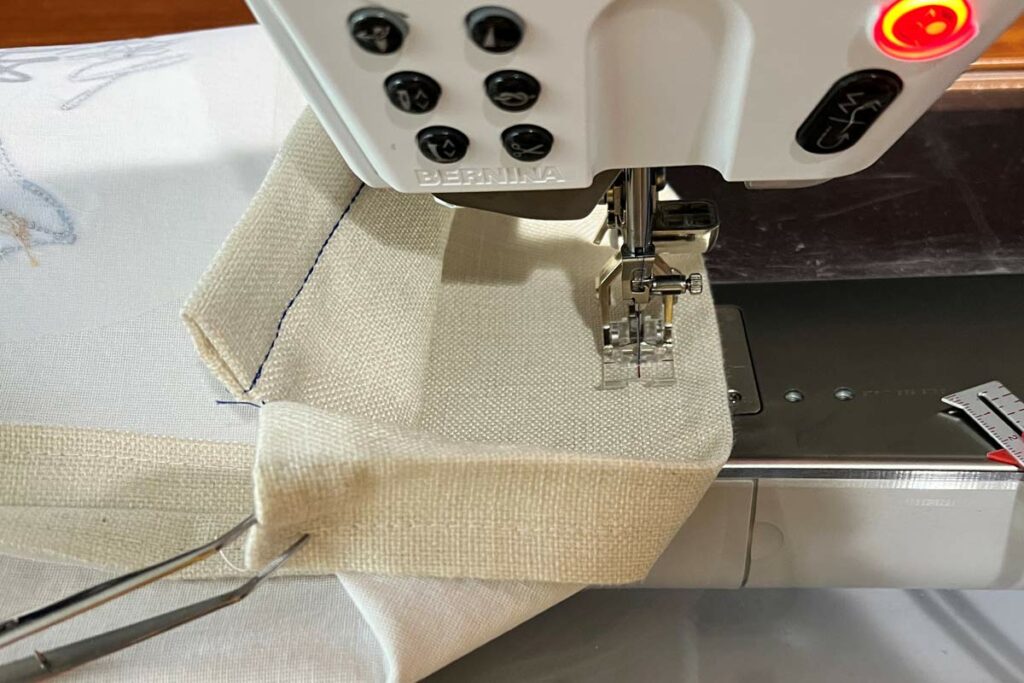
Step 22
Using a straight stitch sew straight across the marked line to create a bottom. Repeat on the other side. Turn right side out and preview the boxed corner. If it is not ‘even’ or if you would like a deeper boxed seam repeat the previous steps using a 2.5″ or 3″ depth.
Step 23
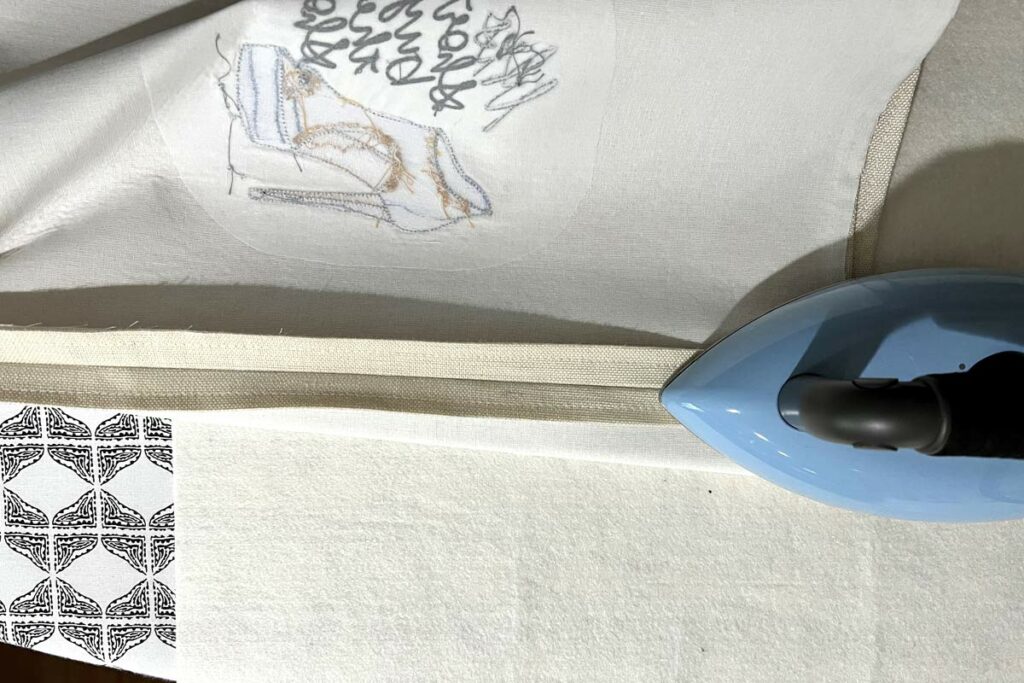
Fold drawstring casing to measure about 1-inch, then press. Use clips to help if desired. Make sure there’s enough space on each side to insert the cord.
Step 24
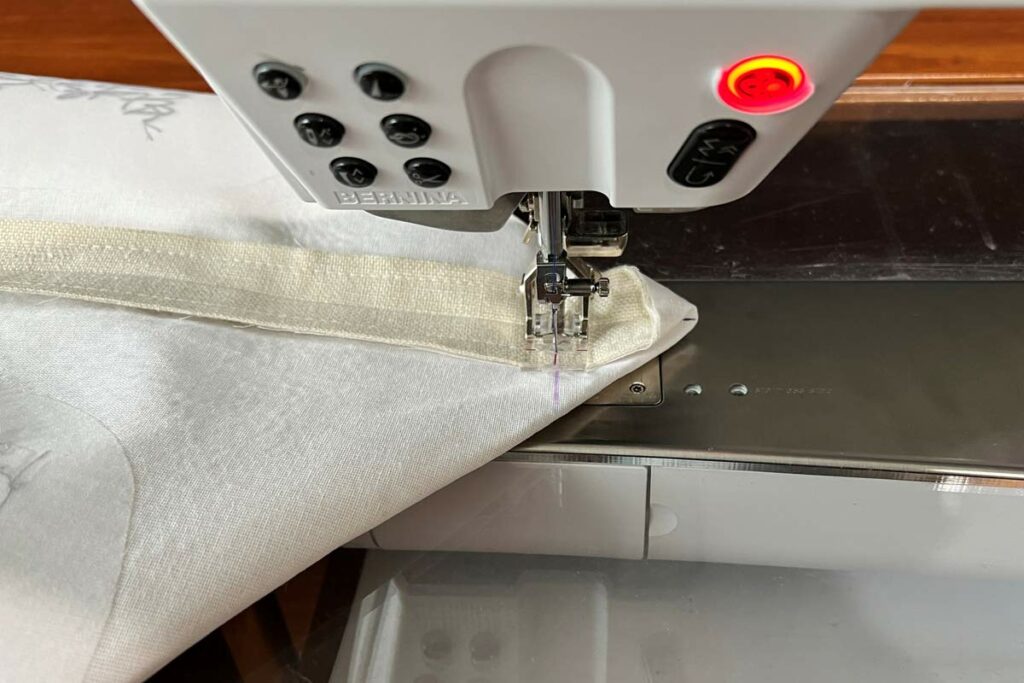
Sew the casing using a triple straight stitch to make it extra secure. The completed hem will be about 7/8″ from the top.

Step 25
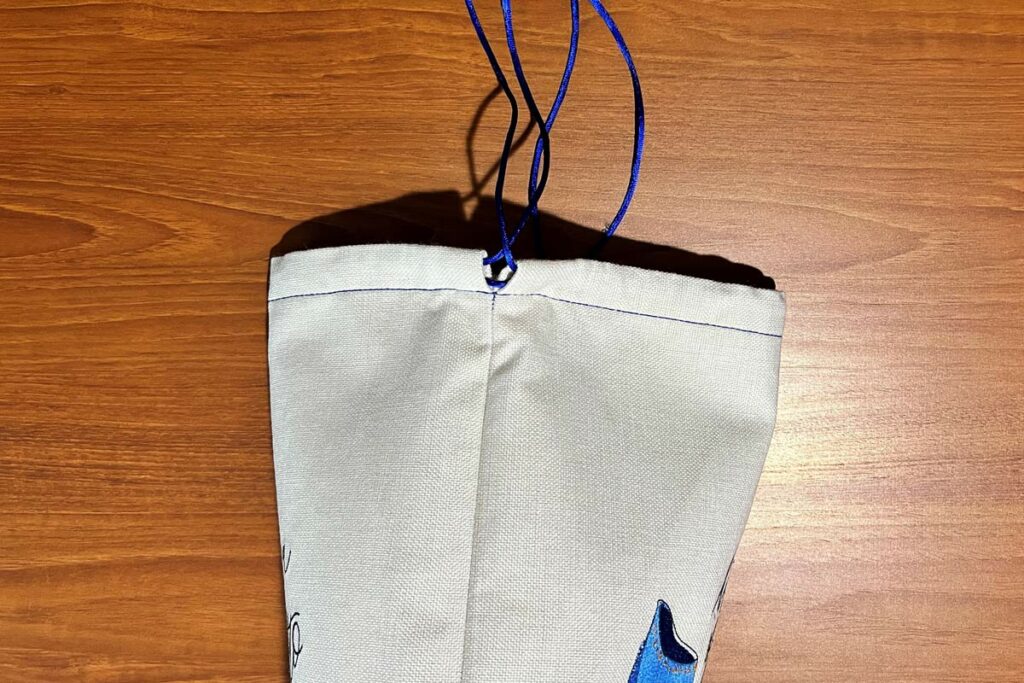
Cut 2 cords approximately 36” long. Starting at one end, pull one of the drawstrings through both of the casings in a loop. Do the same at the opposite side of the bag. You’ll see two ends of the same cord coming out of each casing, plus the other cord’s loop passing through.
Step 26
Knot the ends of the drawstring together. Depending on the type of cord, you may want to melt the tips to avoid fraying.