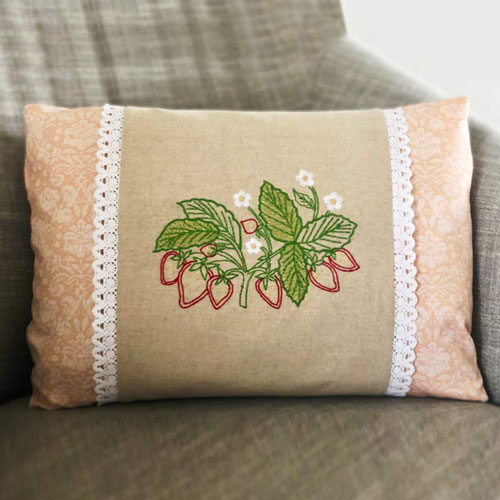
Make this Pillow Wrap to update any pillow in your home for the spring season! We used a 12” x 16” pillow for this project, but have included information on how to measure for any pillow!
Supplies
- OESD’s Heirloom Garden #12811
- 12″ x 16″ pillow
- 1/2 yard Linen fabric
- 1.5 yds of 1″ wide Lace
- OESD Fusible Woven stabilizer
- OESD StabilStick TearAway stabilizer
- Isacord embroidery thread
- Fabric marking pen
- 9″ Sew-In Hook and Loop Tape, 1″ wide
- Loop and Tail Wand, optional
- OESD Perfect Embroidery Press Cloth, optional
- Expert Point and Press Tool, optional
Instructions
Cutting Instructions
• Cut 2 pieces linen 9″ x 25.5″
• Cut 1 piece fusible woven 9″ x 25.5″
• Cut 2 pieces lace 25.5″
Instructions
• Fuse 9″ x 25.5″ piece of Fusible Woven to one Piece of 9″ x 25.5″ Linen.
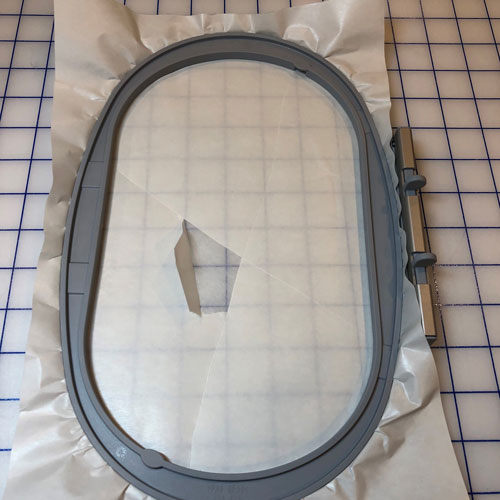
• Hoop Stabilstick TearAway paper side up. Score with Loop & Tail Wand tool. Remove paper to expose the tacky surface.
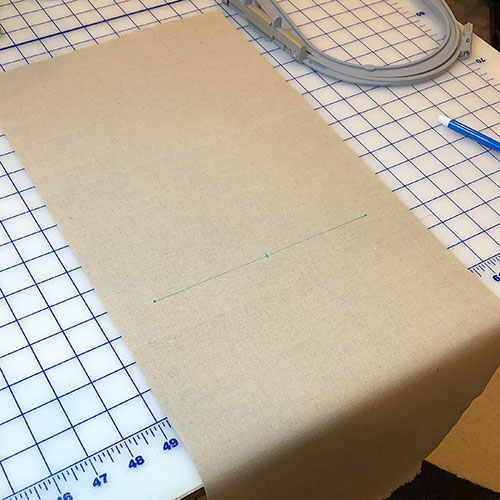
• Mark the horizontal center of the piece of linen that you have backed with Fusible Woven using your removable Marking Pen. Make a mark in the vertical center as well.
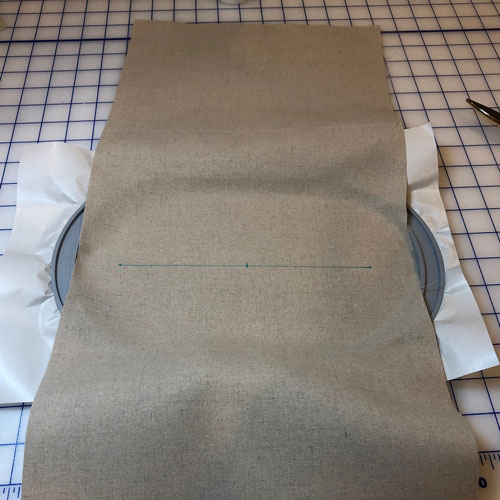
• Center marked area on the hooped stabilizer. Press with the palm of the hand to secure the linen to the exposed tacky surface. Place the hoop on the machine.
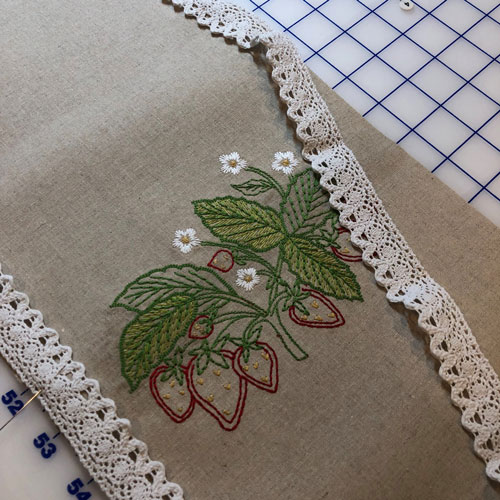
• Select Design: #12811-12. Make sure the design is stitched with the top of the design facing the short width of the pillow wrap. Embroider the design. Remove the hoop from the machine when the design is complete.
• Carefully tear away the StabilStick Tearaway from the design. Press embroidery side down using an OESD Press Cloth or OESD Ironing Board Cover.
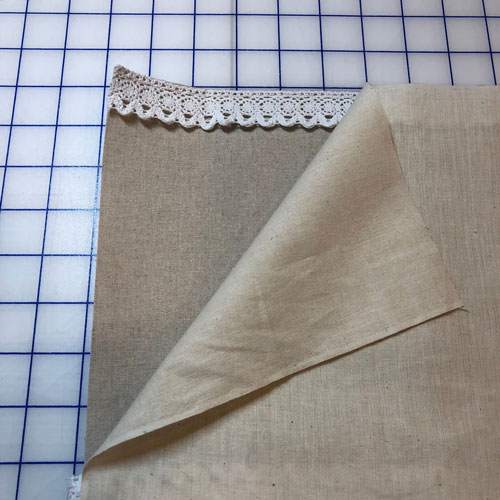
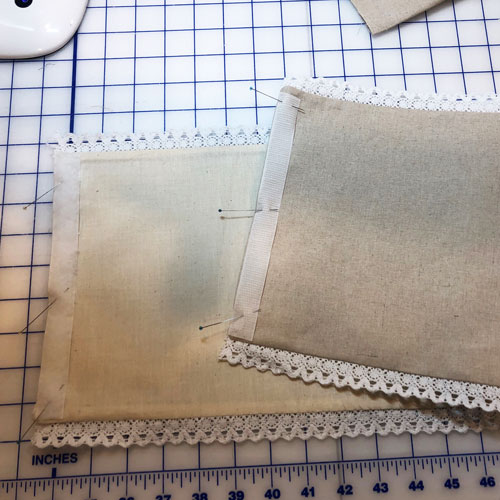
• Pin 1 piece of 1” lace on each long edge of your embroidered linen piece. Machine baste in place.
• Place the embroidered wrap that you just basted your lace to right side up, and layer the remaining piece of linen on top of it, sandwiching the lace between the two pieces.
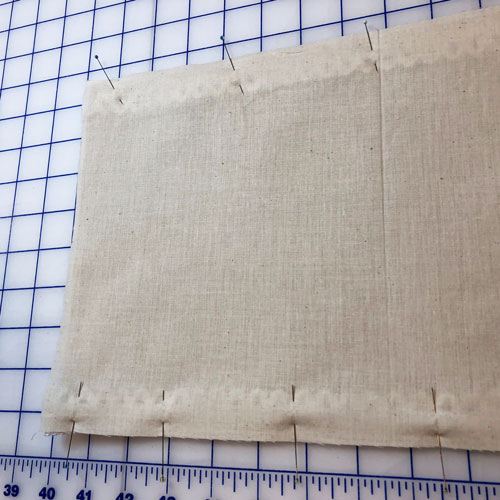
• Pin your layers together.
• Sew around all 4 edges with a ¼” seam allowance, leaving a 4” opening for turning in one short edge.
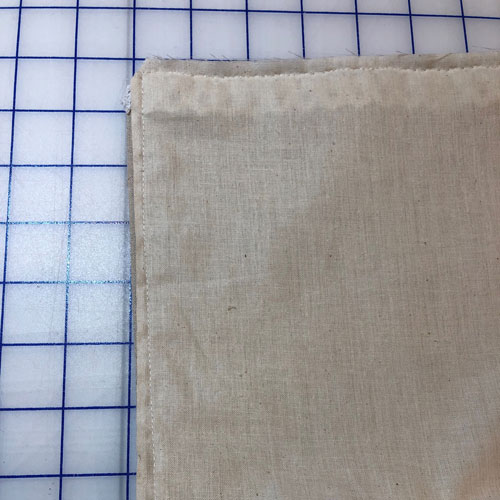
• Trim the corners before turning.
• Turn your wrap right sides out, use the Expert Point and Press tool to make sure your corners are sharp.
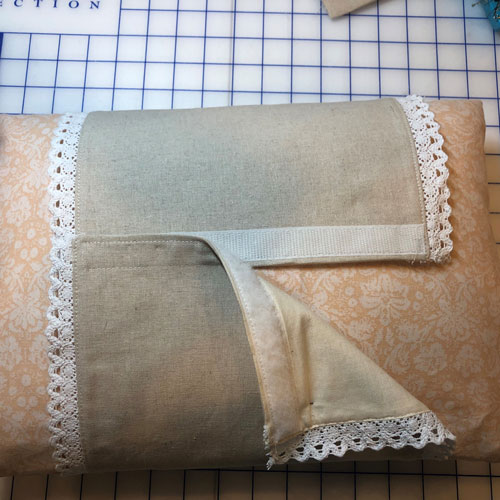
• Sew 1” Hook and Loop Tape to the short edges of your pillow wrap. One side of the hook and loop will be the “wrong” side of your project and one will be on the “right” side. See picture.
• Your pillow wrap is complete!
How to Edit Pillow Wrap Size
To edit the pillow size:
• Decide how wide you want the sleeve, and then measure around the pillow. Add 2 inches to the length to account for overlap at closure.
• Add 1/2 inch to the measurement of the long and short side to account for a 1/2 inch seam allowance. Using that measurement, cut two pieces of fabric and one of Fusible Woven.
• Cut two pieces of 1” lace using your long edge measurement.
This material is © OESD, LLC and may not be reproduced or published without permission.