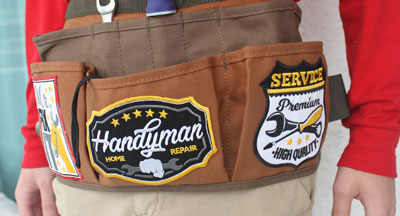
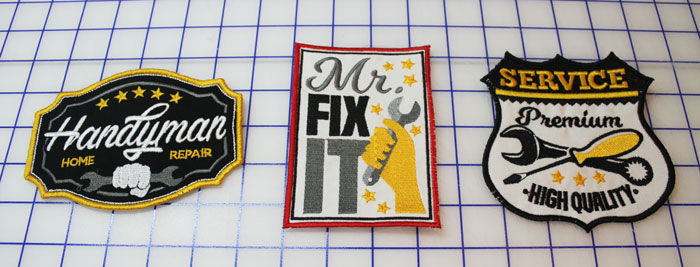
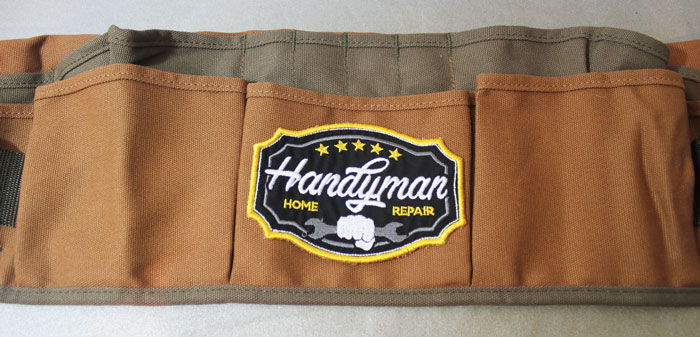
Learn how to machine embroider patches for a handyman tool belt – or anything – with this step-by-step tutorial.
Supplies
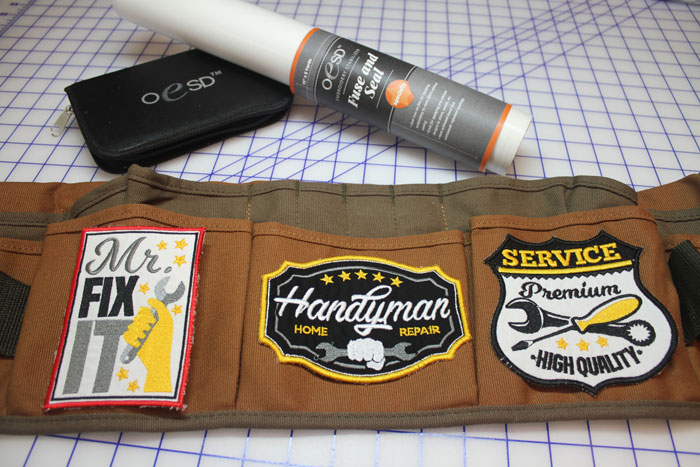
- Scissortail Stitches’ If You Build It… #51236 embroidery collection
- OESD Fusible Woven CutAway
- OESD BadgeMaster
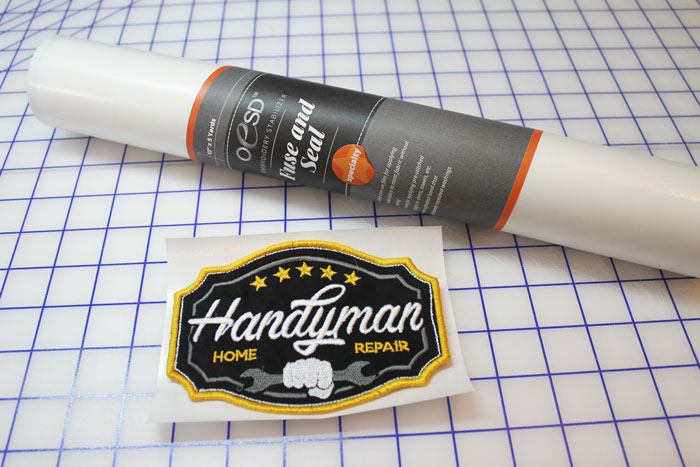
- OESD Fuse and Seal CutAway
- Appliqué fabric
- Appliqué pressing sheet or Teflon sheet
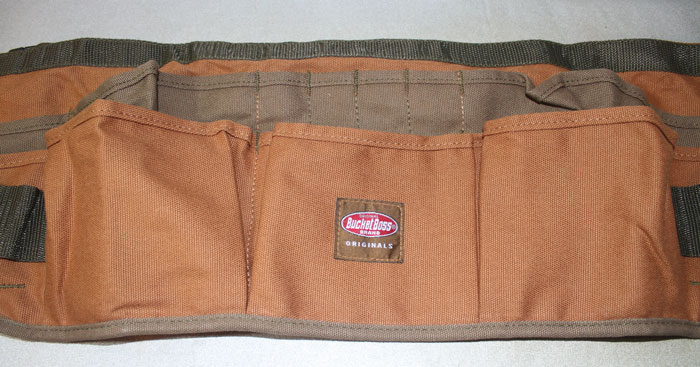
- Tool Belt (this one is from Amazon or you can purchase one at your local hardware store)
Instructions
Prepare applique fabric by ironing Fusible Woven on the wrong side. Hoop 1 layer of BadgeMaster. Embroider design following the sewing information.
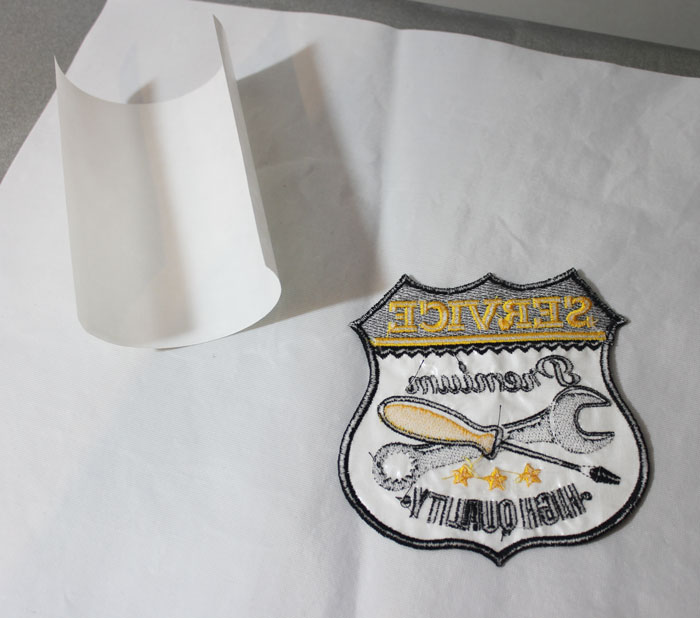
Cut a piece of Fuse And Seal just a bit larger (about 20%) than your embroidered patch.
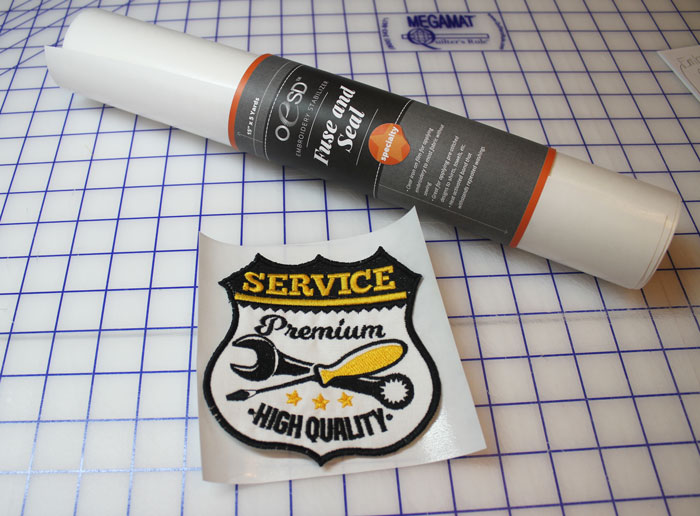
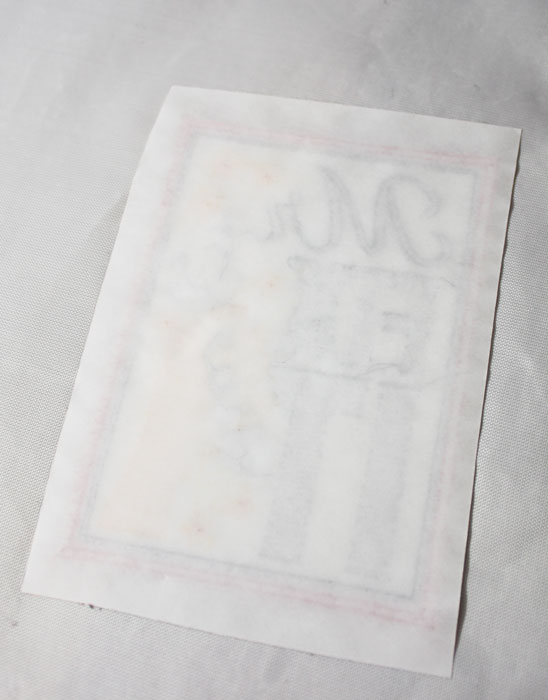
At the ironing board, place the patch face down on an applique pressing sheet or Teflon sheet.
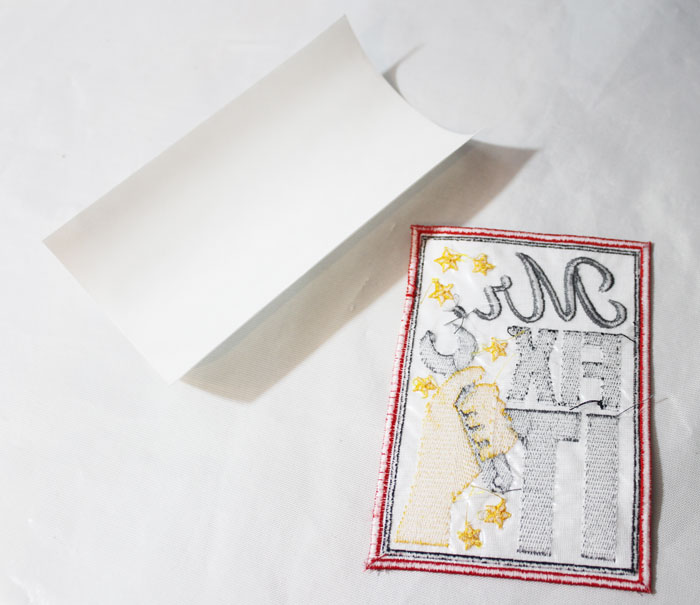
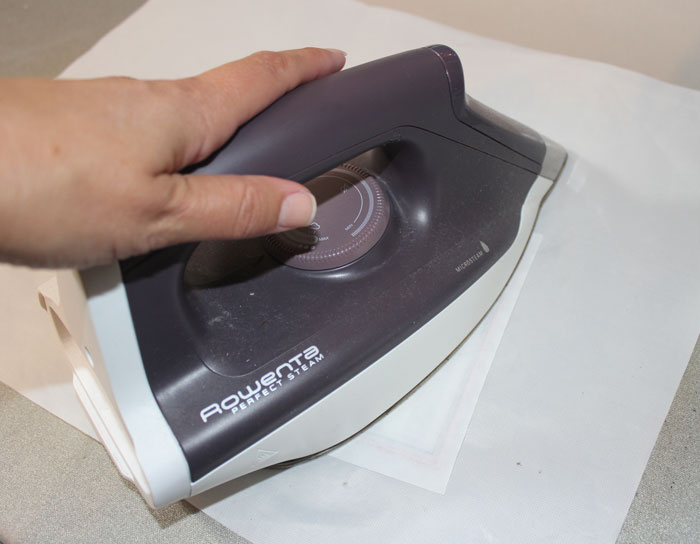
Place the piece of Fuse And Seal paper side up (shiny side down) on top of the patch and press with an iron on the wool setting for 8-12 seconds.
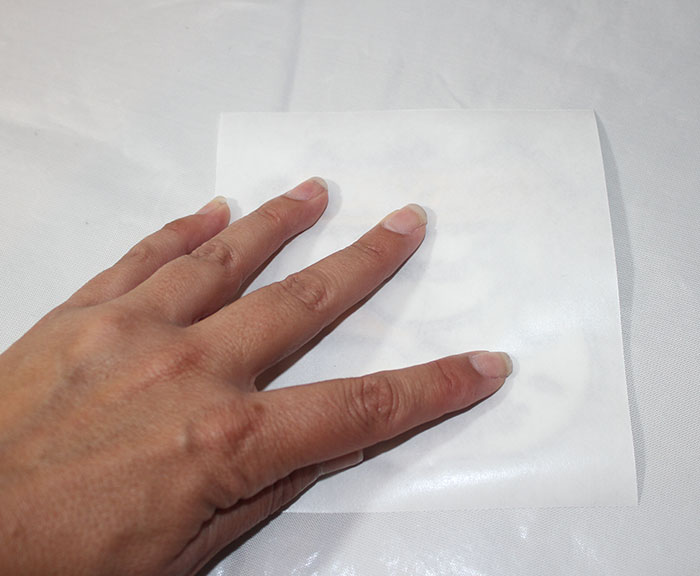
Let cool.
Remove white liner paper.
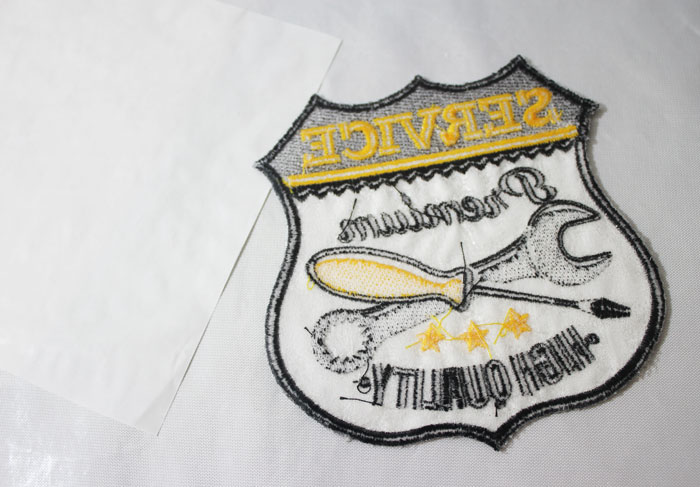
Peel any remaining Fuse and Seal away as close to the embroidered patch as possible.
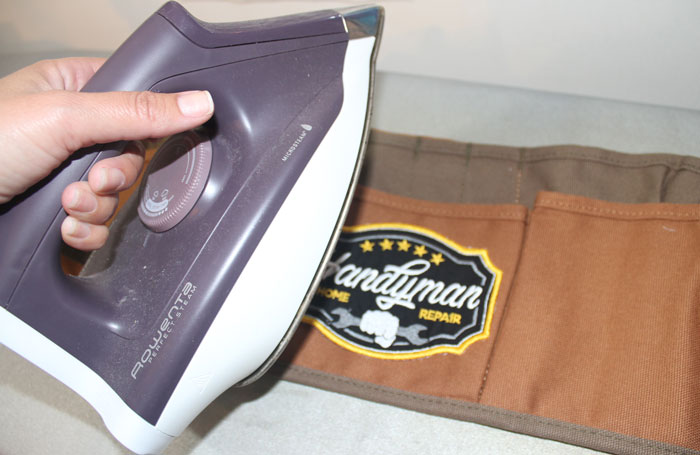
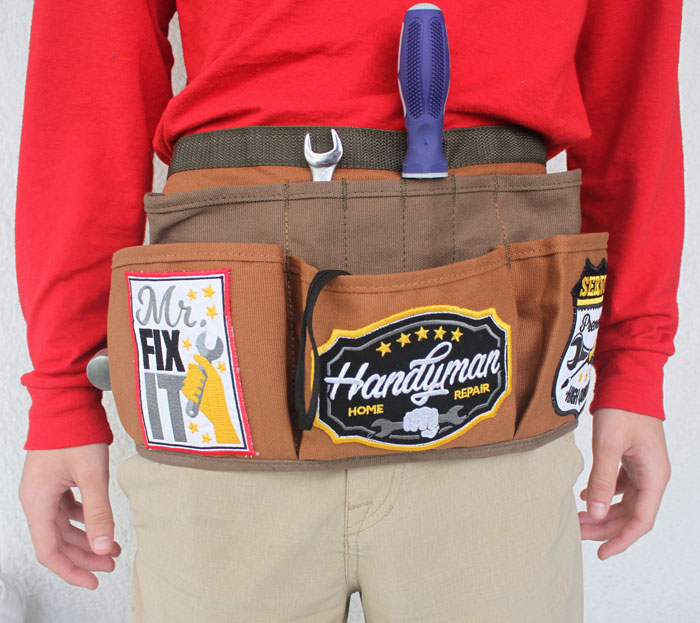
Decide where you want to place your patch and press in place at your ironing board 10-12 seconds.
Please Note:
1) Different fabrics may require different heat settings and press times to set the patch.
2) If you can press from the underside or backside of the project, I recommend this as well.
Let cool.
Your embroidery is now permanently attached.
This material is © OESD, LLC and may not be reproduced or published without permission.