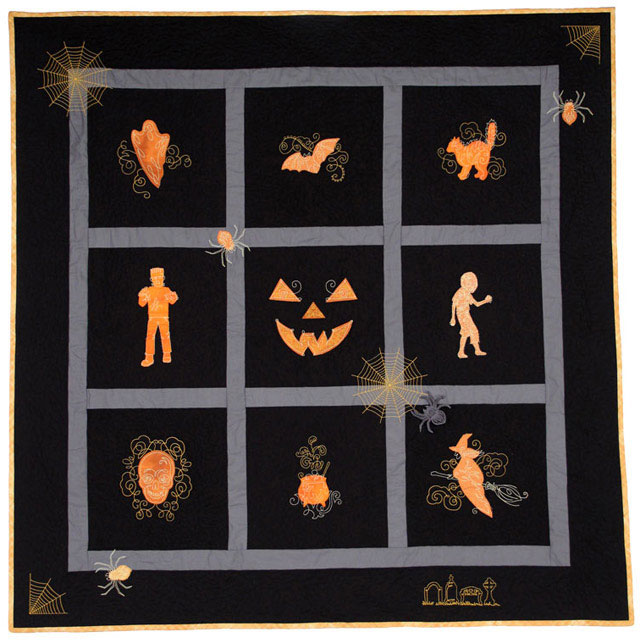
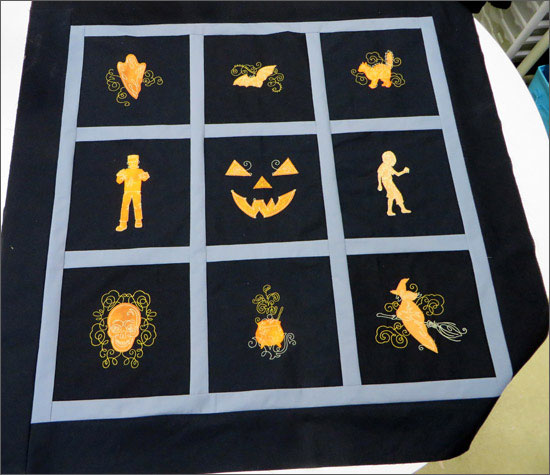
Halloween Couture #12513 embroidery collection features 41 applique, linework and freestanding lace designs. This fun collection has a variety of scary and pleasant designs for all ages from scary cats to smiling pumpkins. A Halloween quilt was made using several of the designs including a freestanding lace spider stitched to the quilt for added dimension. Choose any of the designs you want to showcase and have fun! The finished quilt size is approximately 44” x 44”.
SUPPLIES
- OESD Embroidery Collection Halloween Couture #12513
- 3 yds. black fabric (embroidered center blocks, outer borders, backing and binding)
- ½ yd. gray fabric (sashing and inner borders)
- Gold, yellow and orange fabrics for appliques
- ½ yd. fabric (binding) (sample uses a gold plaid)
- 1 1/3 yds. or 46” x 46” piece cotton batting
- Isacord embroidery threads
- OESD Medium Weight TearAway stabilizer
- OESD Aquamesh WashAway stabilizer
- OESD Applique Fuse and Fix (for applique pieces)
- Temporary spray adhesive
- Double sided fabric tape
- Curved safety pins
- Thread for piecing
CUT
Note: The designs used for the center blocks are #12513-01, #12513-04 and #12513-05, #12513-06, #12513-07, #12513-10 (jumbo design), #12513-14, #12513-16, and #12513-17. Other designs used once the quilt top is put together are #12513-20, #12513-21, #12513-22, #12513-23 and #12513-29 (Spider FSL). If using a jumbo hoop design then cut a bigger piece of fabric and stabilizer then called for below.
- Fabrics for applique using templates and OESD Applique Fuse and Stick following manufacturer’s directions.
- (9) 11” x 14” black fabric for embroidered center blocks
- (9) 11” x 14” medium weight tear away stabilizer
- (6) 2” x 11” gray fabric (short sashing)
- (2) 2” strips gray fabric (long sashing)
- (4) 2” strips gray fabric (inner borders)
- (4) 4 ½” strips black fabric (outer borders)
- (5) 2 ¼” strips fabric (binding)
EMBROIDER
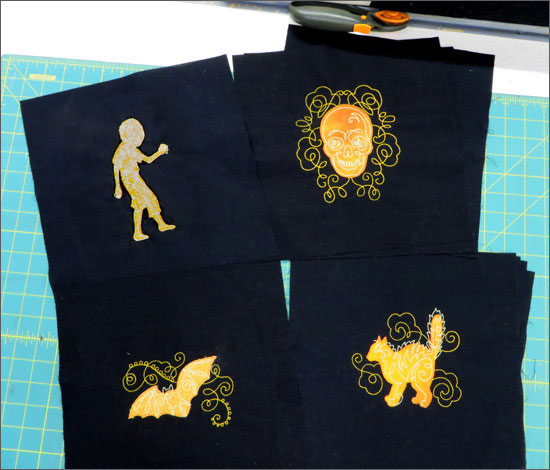
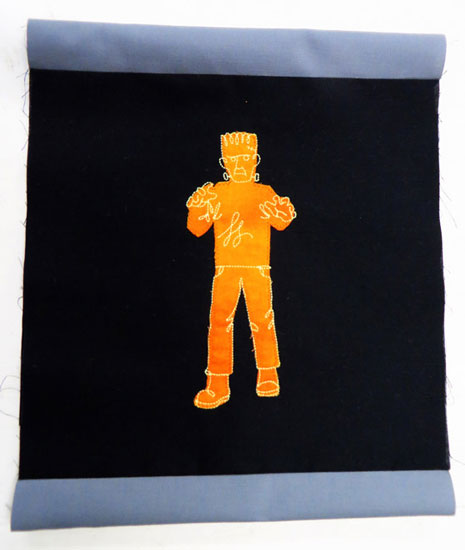
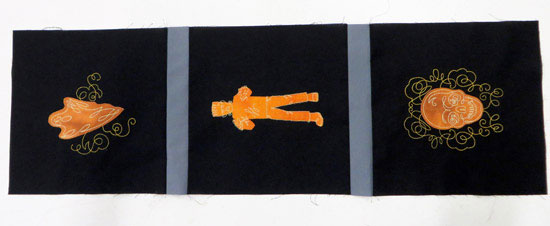
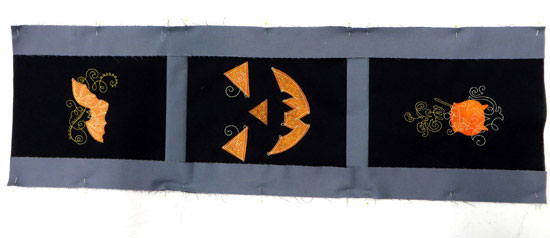
Using temporary spray adhesive, spray 11” x 14” piece tear away stabilizer and adhere to wrong side of the black fabric. Hoop the layers. Embroider one of the Halloween designs. Remove from hoop and remove stabilizer. Repeat for the remaining eight designs. Cut to 11” x 11” blocks with the design centered.
Note: The remainder of the designs will be stitched on the quilt after it is pieced together.
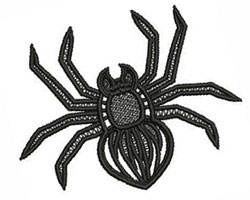
Using design Spider FSL #12513-29, two layers of wash away stabilizer and embroidery thread in the top and bobbin, stitch out the spider. Wash out the stabilizer and shape the spider so that it dries dimensional. Set aside. Note: It will be stitched on when the quilt is complete.
QUILT TOP ASSEMBLY AND EMBROIDERY
¼” seam allowance
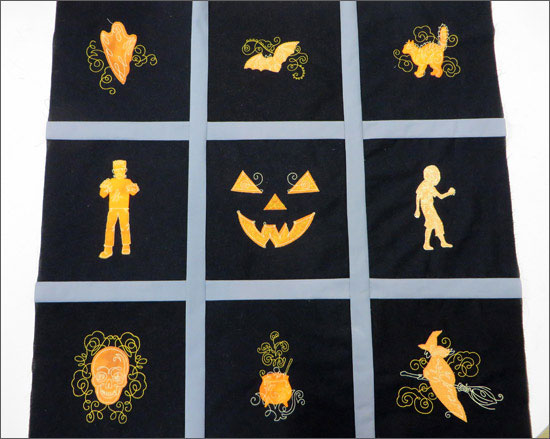
Arrange the embroidered designs in the order you want them placed in the quilt.
Right sides together, stitch the short sashing to the Halloween embroidered block. Press. Repeat for the remaining pieces of short sashing. You will have three sections with a block, sashing, block, sashing and block.
Right sides together, stitch the long sashing to either side of the center section. Press. Right sides together, stitch the other two sections to either side of the center section with sashing. Press.
Right sides together, stitch each inner border to top and bottom of the pieced center section. Press. Right sides together, stitch each inner border to either side of the pieced center section. Press.
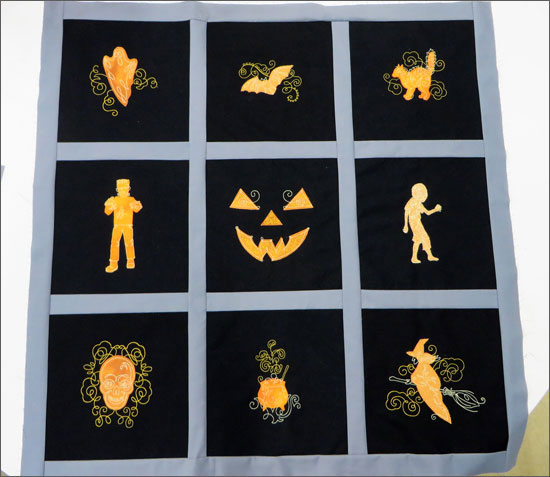
Right sides together, stitch each outer border to top and bottom of the pieced center section. Press. Right sides together, stitch each outer border to either side of the pieced center section. Press. (Quilt Top)
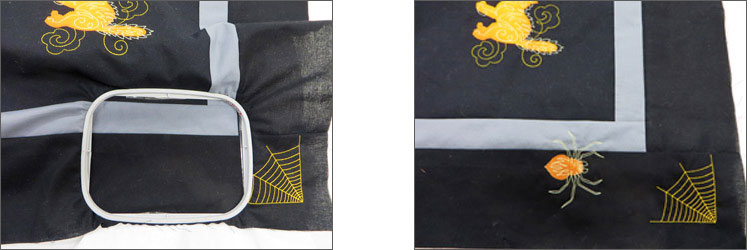
Now that the quilt top is finished you can decide where to stitch some of the linework type designs and other appliques. The spider web (12513-22) was stitched in two places on the quilt. The spider web corner (12513-21) was stitched in opposite corners. The spider applique (12512-20) was stitched in three different places with two of them close to spider webs. The tombstone border (12513-23) was stitched once at the bottom corner of the outer border. Be sure that you place the designs within the seam allowance. When placing the designs in specific places on the quilt, use the double sided fabric tape on your inner hoop for accurate placement.
Cut a piece of tear away stabilizer for the size of hoop needed. Using temporary spray adhesive, spray stabilizer and adhere to wrong side of the quilt top. Place double sided fabric tape on the wrong side of the inner hoop. Using template in inner hoop, position onto center mark on quilt top, and hoop. Place hoop on embroidery machine and find center point. Embroider design. Remove from hoop and remove stabilizer. Repeat for the other designs on the quilt top.
FINISHING THE QUILT
Layer a quilt sandwich, by placing back wrong side up, cotton batting, and the quilt top right side up. Use curved safety pins to baste the layers together. If the quilt measures larger than the back piece, then add a piece of gray or black to the back to make it 2” larger than the front.
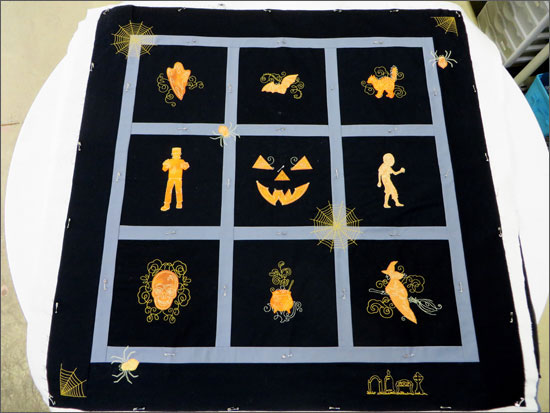
Quilt as desired. Free-motion quilting was the technique used around each of the designs in the blocks and in the outer borders.
Square up the quilt, this is trimming the quilt until the sides are equal. This prepares the quilt for stitching on the binding. Stitch on the binding as desired. For stitching on the binding the mitered corner technique was used.
Stitch on the dimensional freestanding lace spider by tacking the legs to the quilt as it is partially on a spider web.
This material is © OESD, LLC and may not be reproduced or published without permission.