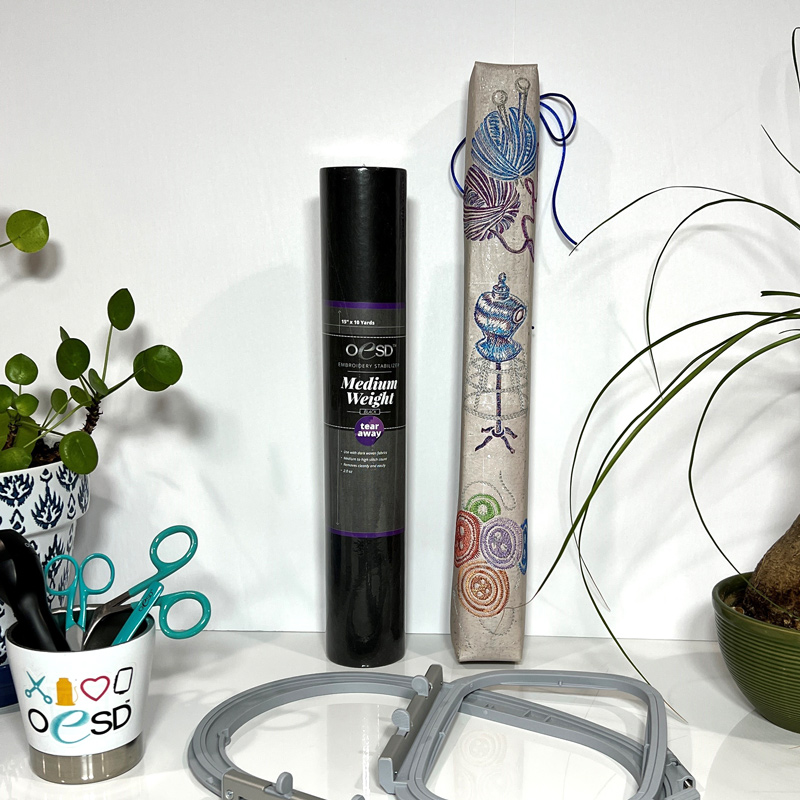
In this machine embroidery tutorial, we’ll show you how to create a carrying case for everyone’s favorite OESD accessory, The Grippy Grid! Since the Grippy Grid makes hooping so quick and easy, we know you’ll want to bring it with you wherever you go to sew! Read on and see the step-by-step instructions to make this cool cork carrying case that’s embellished with gorgeous machine embroidery from our Sun-kissed Sewing collection!
Supplies:
- Sun-Kissed Sewing PK50011
- OESD Fuse and Seal
- OESD StabilStick TearAway
- OESD Alligator Clamps
- OESD Perfect Embroidery Press Cloth
- OESD Perfect Punch Tool
- Cork – 11″x28″ piece
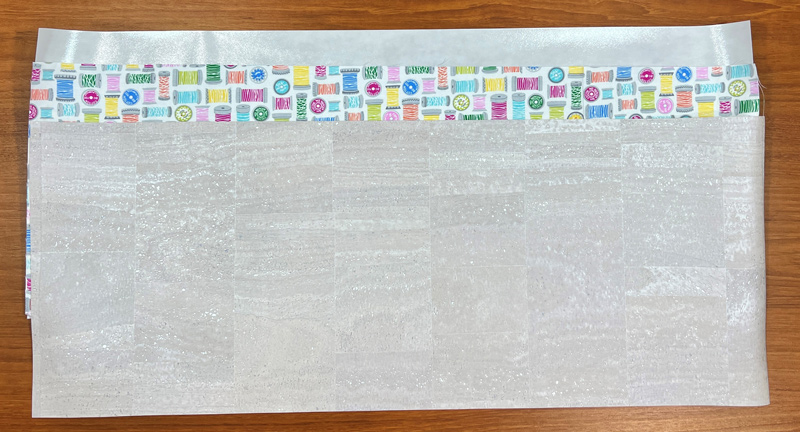
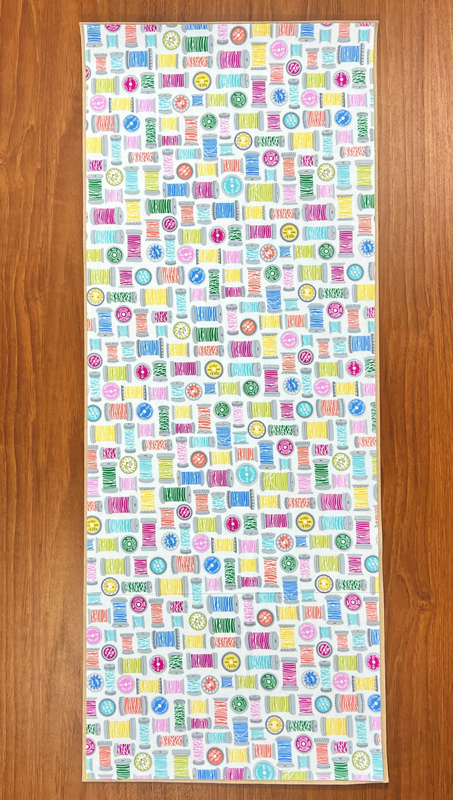
- 1/3 yd. cotton fabric of your choice
- 2 yd. cording of your choice
- Removable marking pen (test on the cork first)
Instructions:
Step 1
Cut your cork and fabric each to 11” x 28”. Cut your Fuse and Seal to 10 ½” X 27 ½.”
Step 2
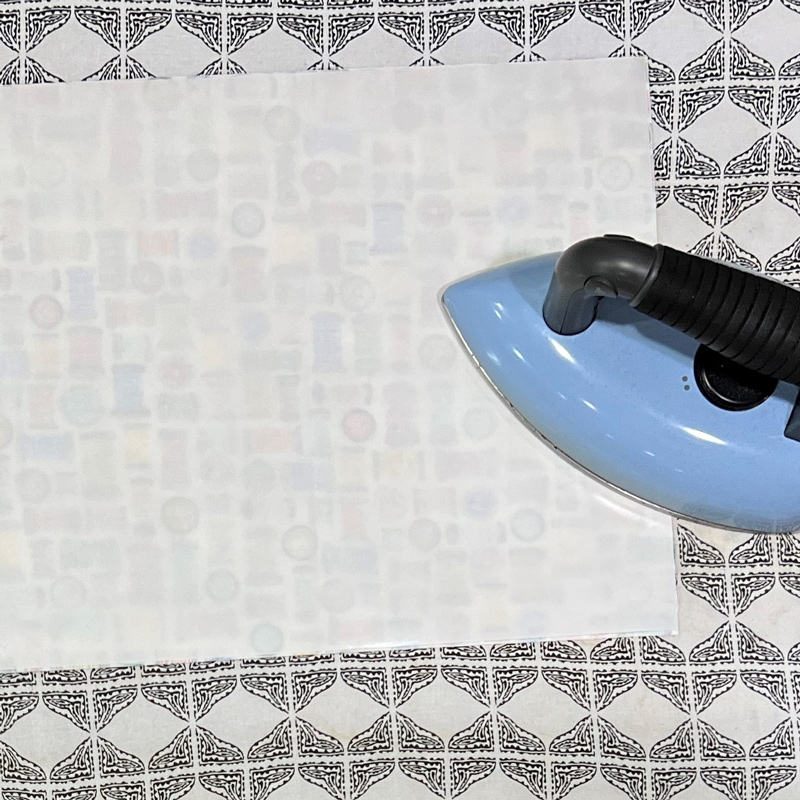
Press the Fuse and Seal to the back side of the cotton fabric, centering it. Set aside for later.
Step 3
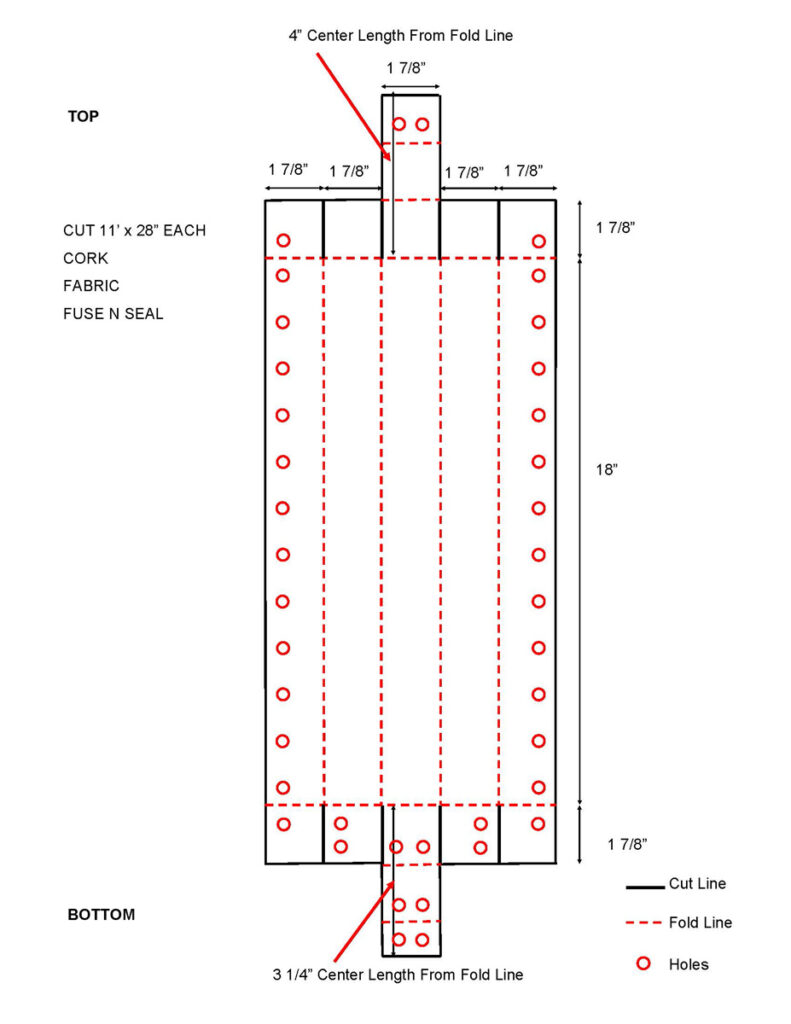
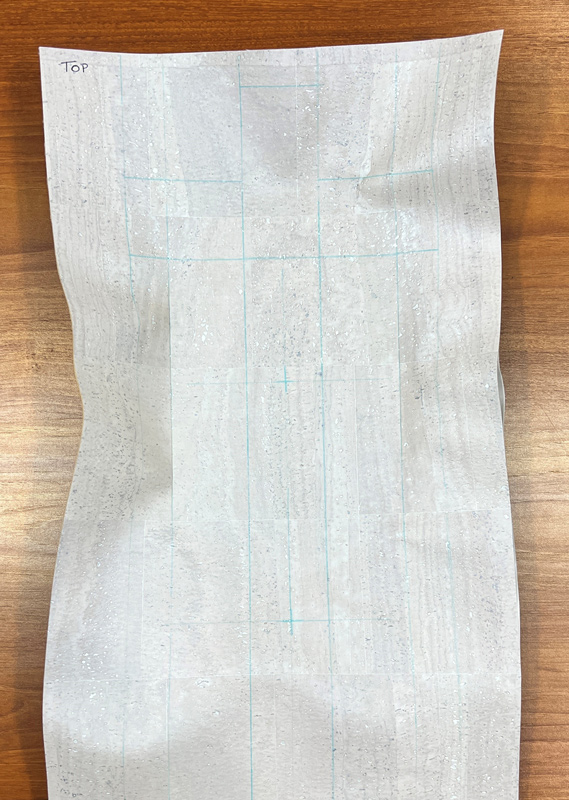
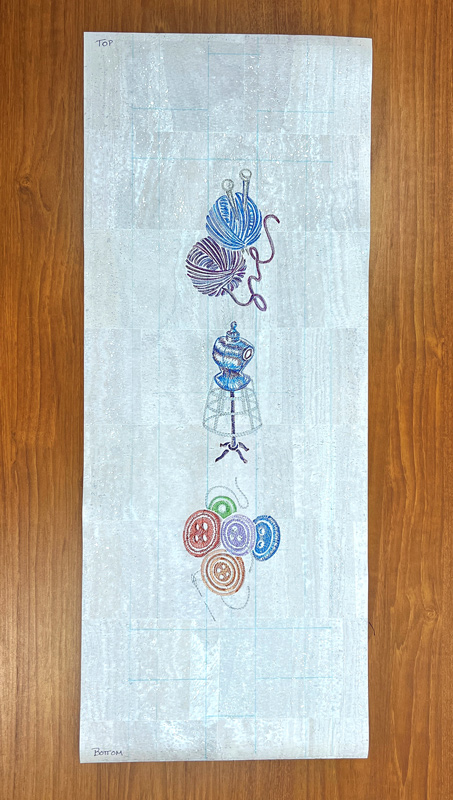
The structure of the case is determined by the Grippy Grid’s plastic packaging. Use this diagram to mark your cork (download a PDF version here) Writing TOP and BOTTOM on the cork will help prevent confusion when placing your designs.
Step 4
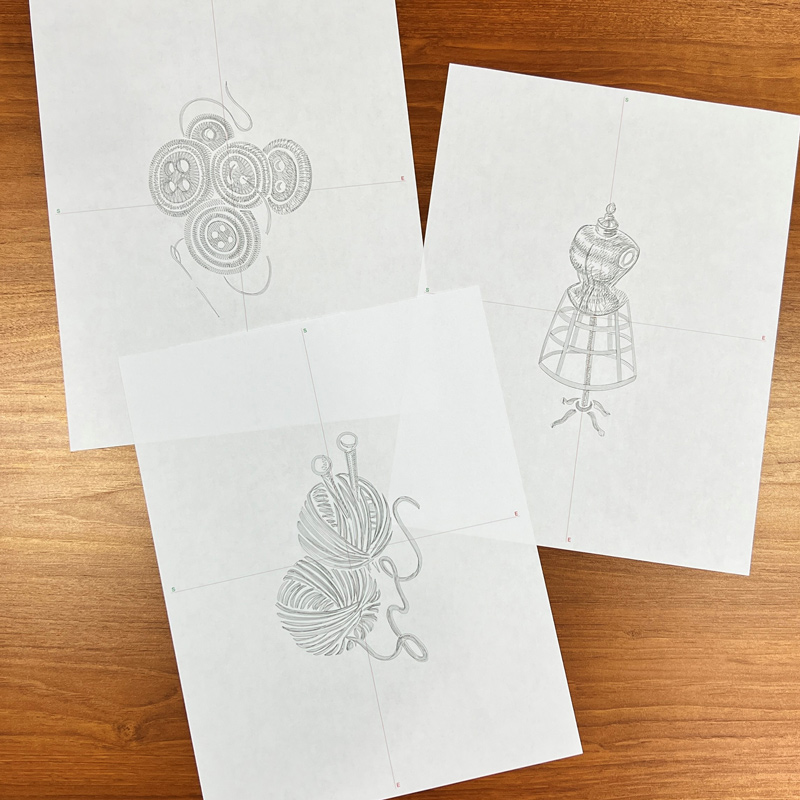
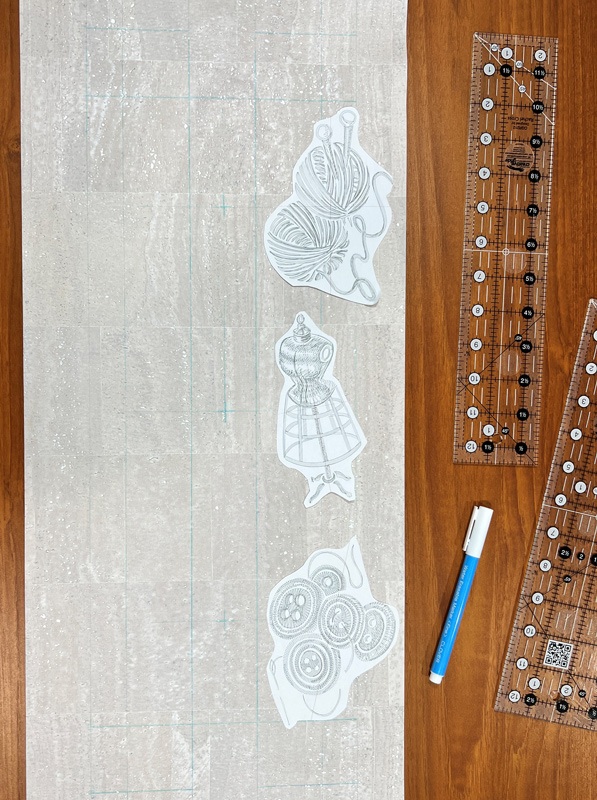
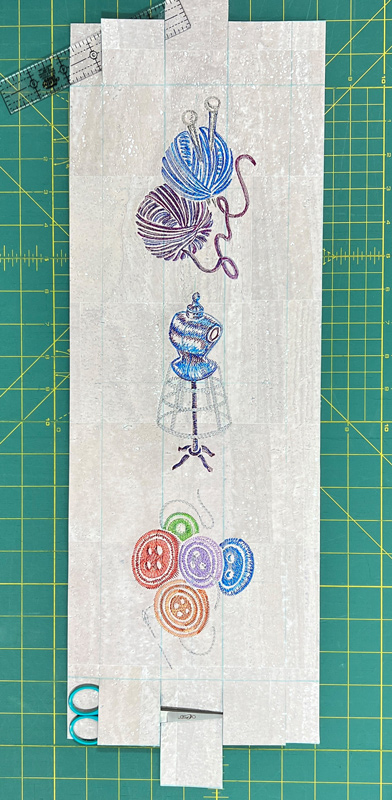
This project uses designs from Sun-kissed Sewing reduced by 20% in embroidery software. Print the designs on regular computer paper to use for placement.
Step 5
Make placement marks on your cork where you’d like to place your embroidery designs. We made a vertical center placement line, then added horizontal marks where each design should go.
Step 6
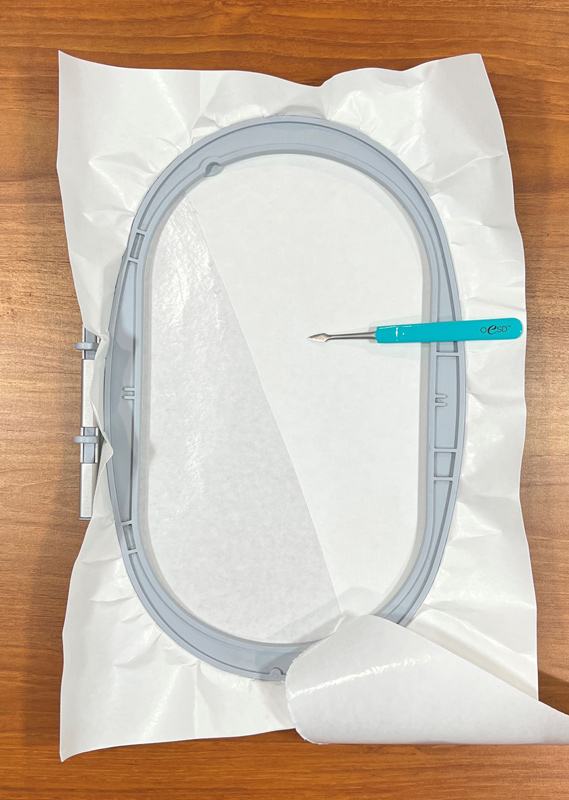
Hoop StabilStick TearAway shiny paper side up. Score the paper and place the cork on top of the adhesive.
Step 7
Use your embroidery machine to find the center of the design, then stitch. Clip jump stitches as needed.
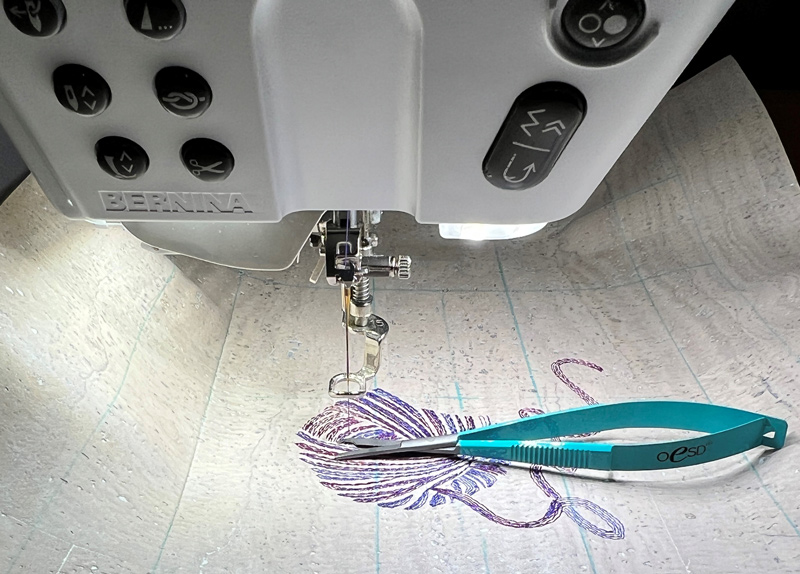
Step 8
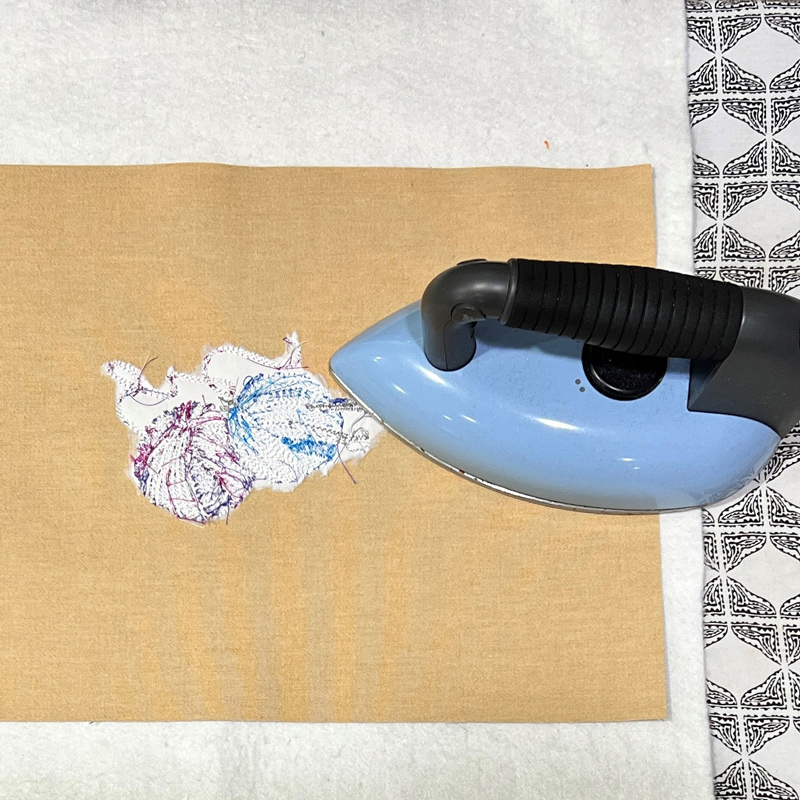
Remove embroidery from the hoop. turn over the cork and gently tear away the stabilizer. Place right side down on the Perfect Embroidery Press Cloth and press.
Step 9
Repeat this process until all of your embroidery designs have been stitched on the cork.
Step 10
Take your fabric that you prepared with Fuse and Seal and remove the paper backing. Center it on the back side of the cork and press.
Step 11
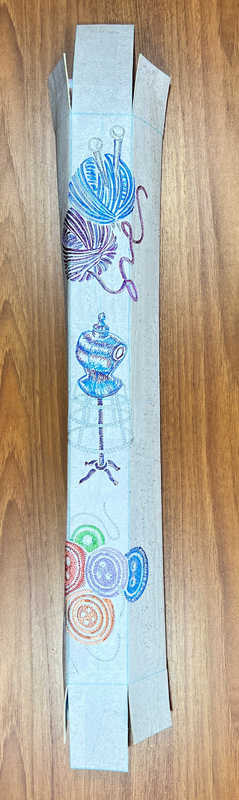
Cut the outer lines of the case’s shape first. Then, cut to the FOLD lines only.
Step 12
Fold on all of the diagrammed lines and press with an iron. Tip: press all of the vertical lines first, then all of the horizontal lines.
Step 13
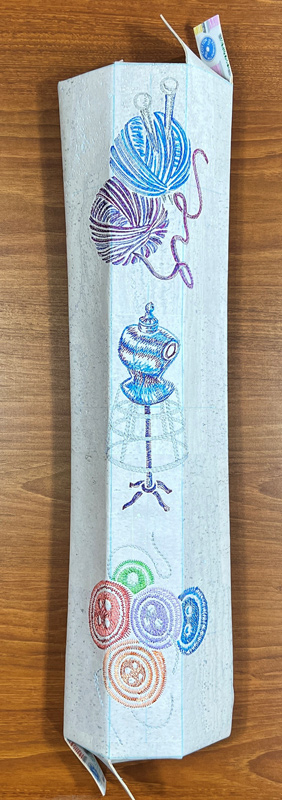
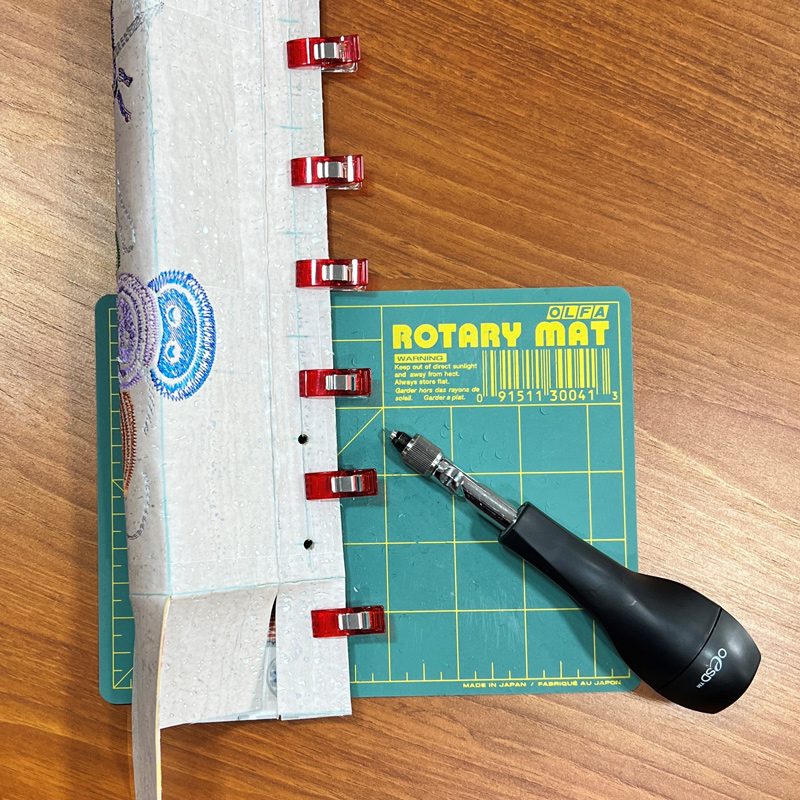
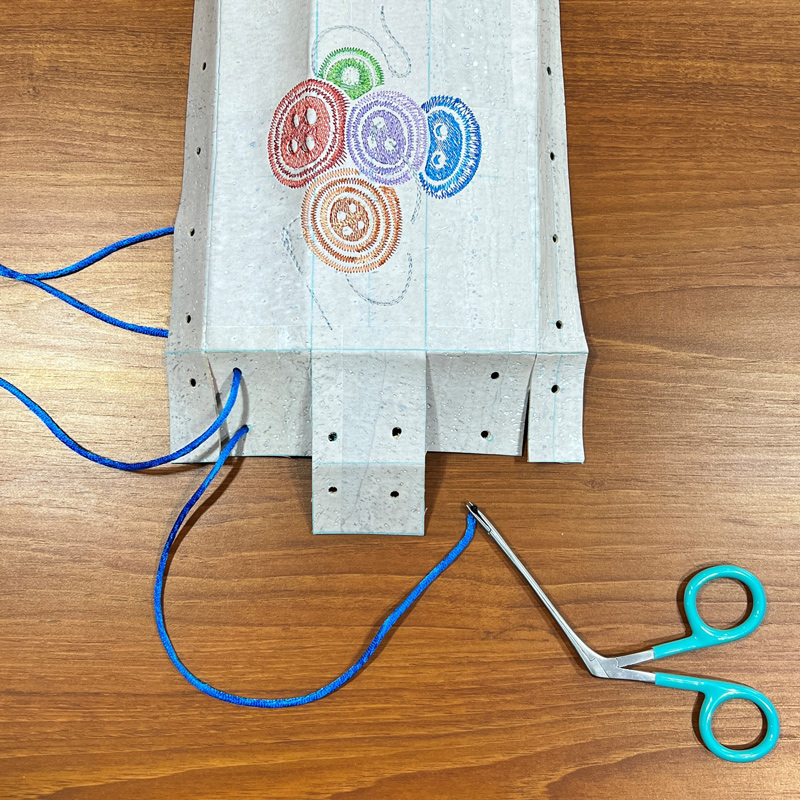
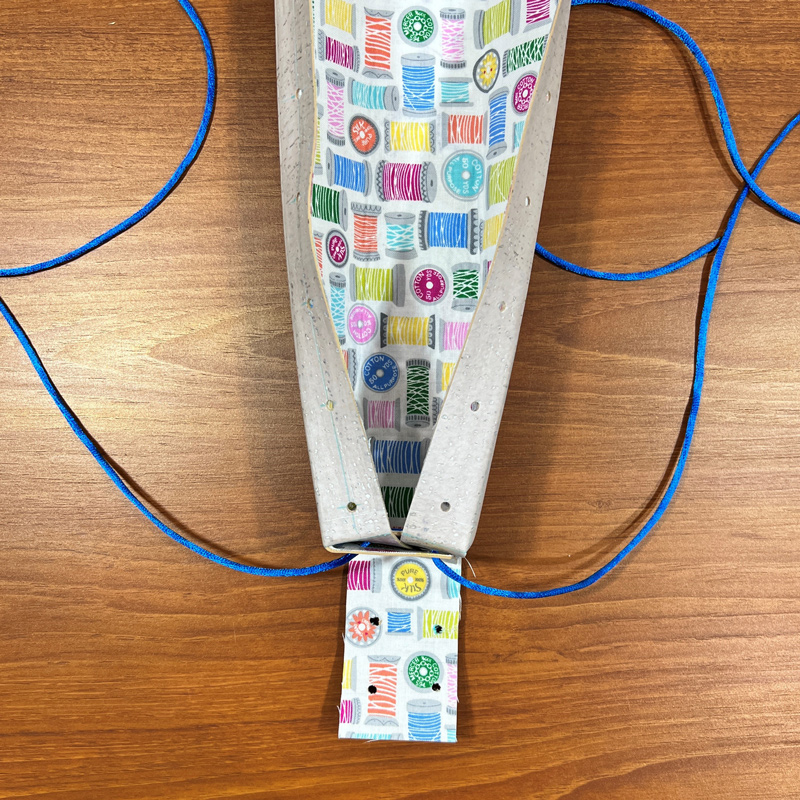
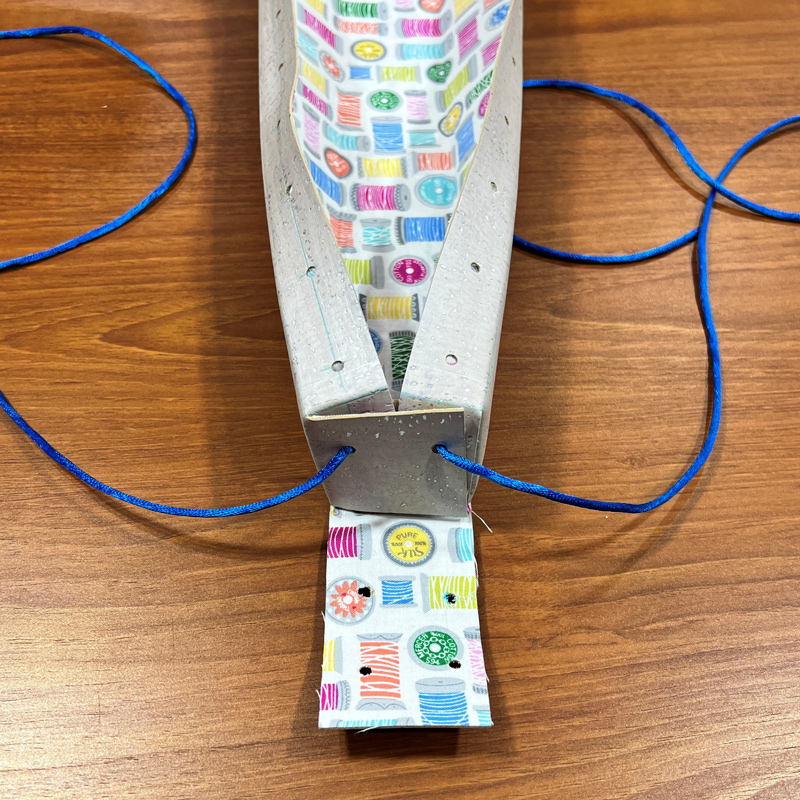
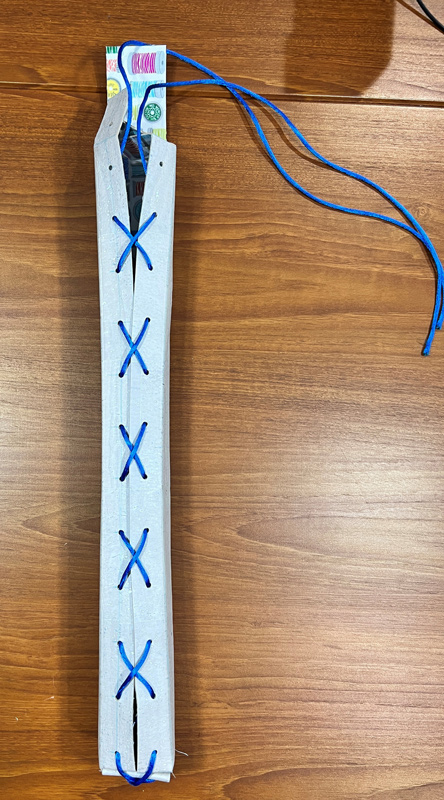
Use the OESD Perfect Punch Tool to punch holes according to the diagram shown in Step 3. We used the 4mm tip to fit the cord we’ve chosen. Clip the two sides together to easily punch holes that line up.
Step 14
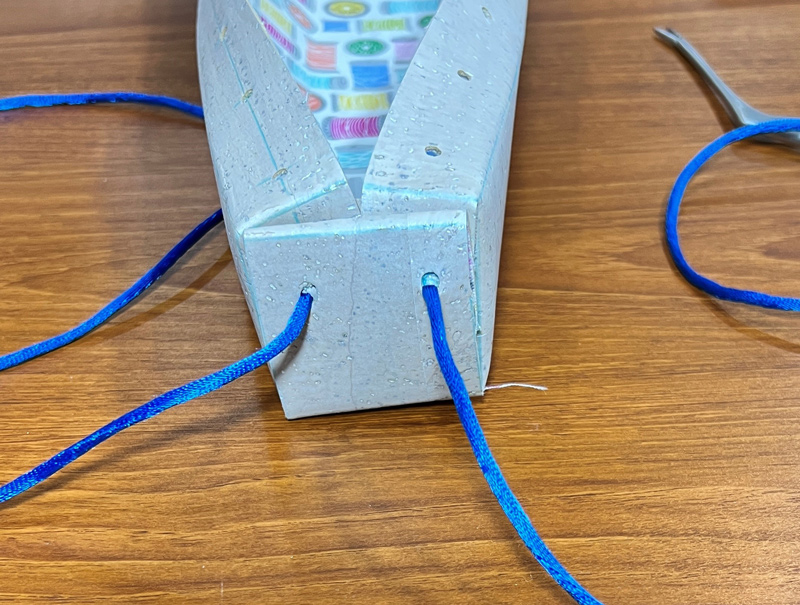
Using Alligator Clamps, lace up the Grippy Grid case using your cord of choice. Burn the ends to prevent fraying, if necessary.

Step 15
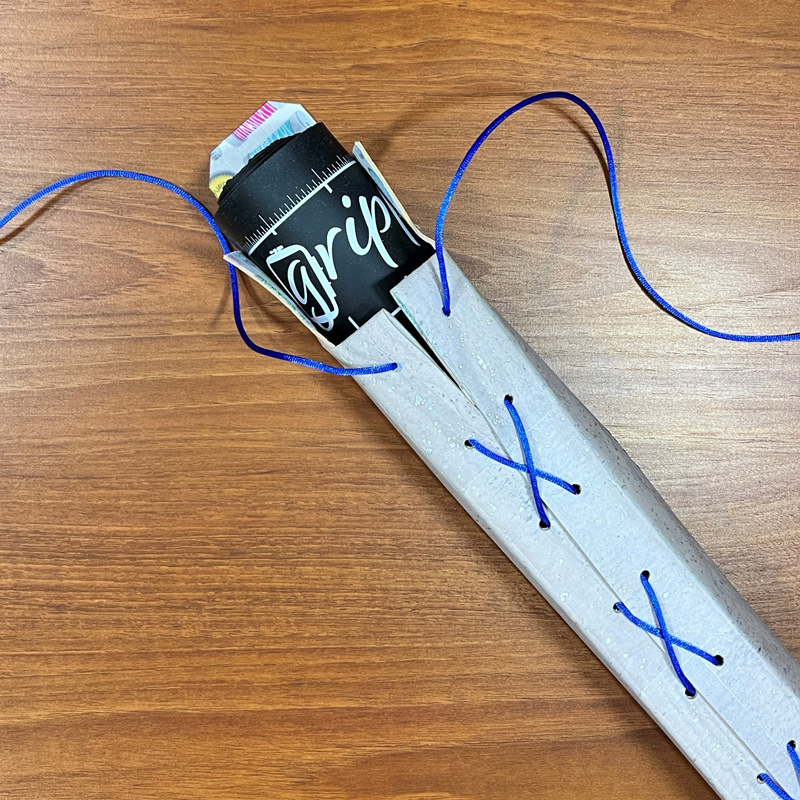
Roll up the Grippy Grid and slide it into the cover, fold over the side flaps, pull cord through the last holes and tie in place.

JOIN US IN THE OESD COMMUNITY!
We hope you enjoyed this machine embroidery tutorial! Have you stitched your own Grippy Grid Carrying Case? Come show off your work in our private Facebook group, The Perfect Stitch!