by Laura Pifer, Trash to Couture

With the lovely weather we’ve been getting down South, it got me inspired to sew up a little Summer tote for the Farmers Market. My toddler son and I have been going almost every weekend. He loves to pick out fresh produce to cook and snack on. I love to get out and walk around and hit up my favorite coffee shop. I have plenty of reusable totes but of course, I don’t think you can have too much. I had this embroidery sample I made from the Summer by Shannon Roberts collection. It’s one of my favorite collections from Embroidery Online. I wanted to add it to a Farmer’s Market Tote. This pattern is quick and easy to follow. You can embroider the pocket or even use a fun print. I wanted a crisp white one so the embroidery stood out and I added contrasting belting for the straps. Get the details below and make your own.
Supplies
- OESD’s Summer by Shannon Roberts #80279 embroidery collection
- Medium to Heavy wt. fabric (I used white cotton duck)
- OESD Ultra Clean and Tear
- Embroidery thread
- Dritz belting for straps: 3 yards
Instructions
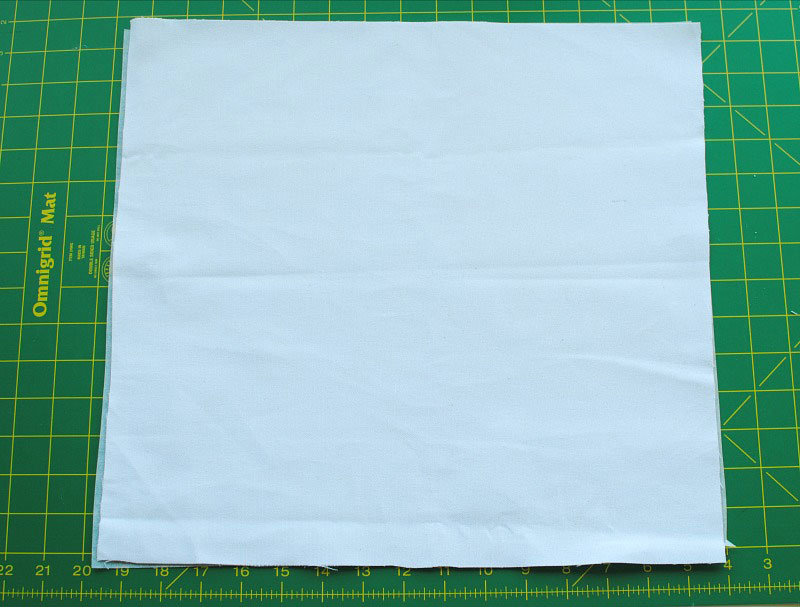
Stabilize the back of your pocket (uncut my fabric measured 15″ x15″). I first pressed lightweight fusible interfacing (Pellon) made for garments on the back. I then used a medium weight tear-away stabilizer (Ultra Clean & Tear).
Because the largest embroidery area I have on my sewing machine is 5″ x7″ I embroidered into sections. The key is just making sure everything is even when you are hooping. I like to press a line down the center front of the fabric and center side forming a cross. This way I’m able to hoop evenly and center the embroidery design as well. You can use a fabric marking tool as well if you’re worried about a fold in the fabric from pressing.


To create the tote: The pattern is basically 2 squares and 1 rectangle for the pocket. These measurements were used to create my tote bag. They can be altered to go smaller or larger.
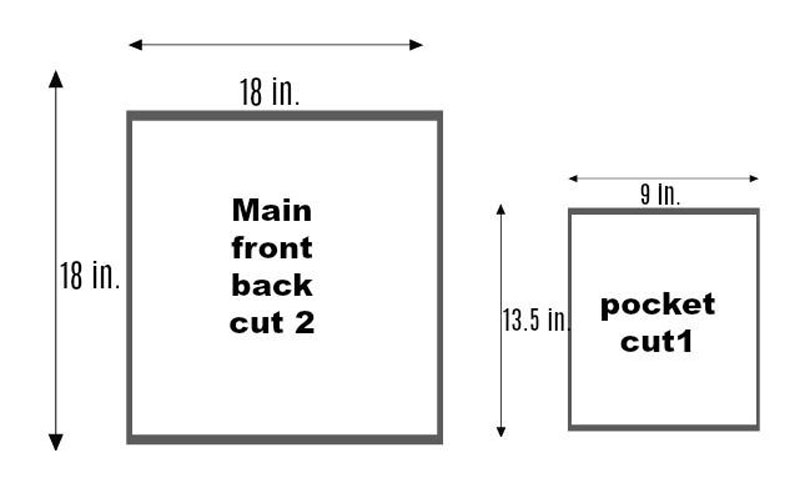
• Trim the pocket down to fit the front of the tote 9.5″ x 13″.
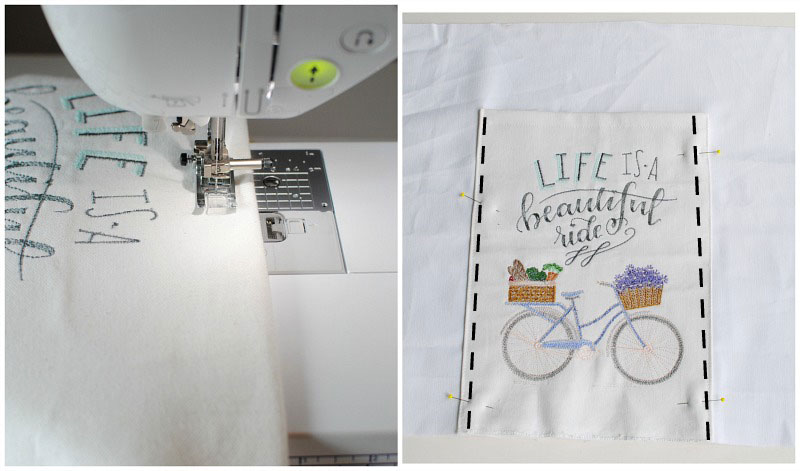
• Fold over the top edge 1/2″ and hem.
• Place pocket (with raw edges) down the center of front main and baste stitch (the center of the pocket and center of the main front should be even).
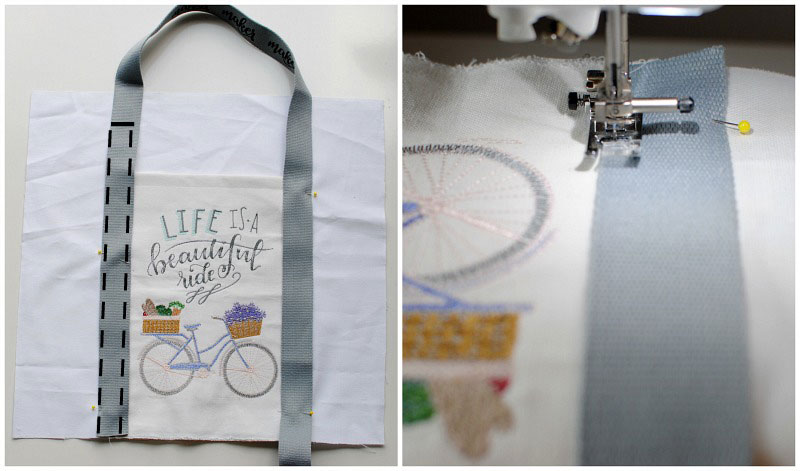
Pin the cotton webbing/belting (3 yards cut in half but adjust according to how long/short you like the straps) starting at the bottom hem and covering the pocket raw edges following that up to the top of the edge of the bag and repeat for the other side.
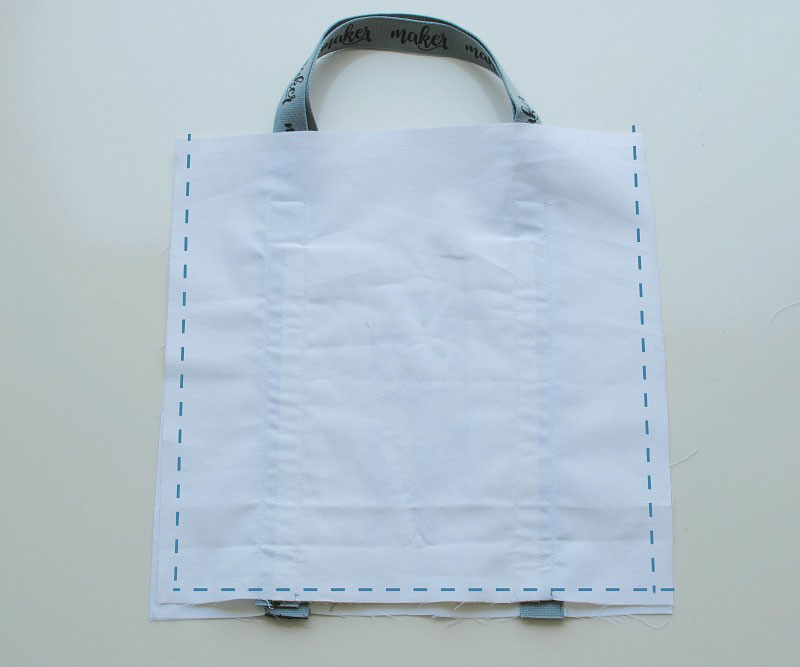
• Topstitch starting at the bottom outer sides, sewing up across the top edge, and back down to the bottom.
• Repeat for the back.
• Repeat this step for the back. You will want to measure where to place the webbing because you won’t have a pocket to help guide you. Just make sure it’s visually equal to your front piece.
• Place front and back right sides together and sew (1/2″ seam allowance)
• Serge the seam allowance or use double-fold bias tape to sew over the seam allowance.
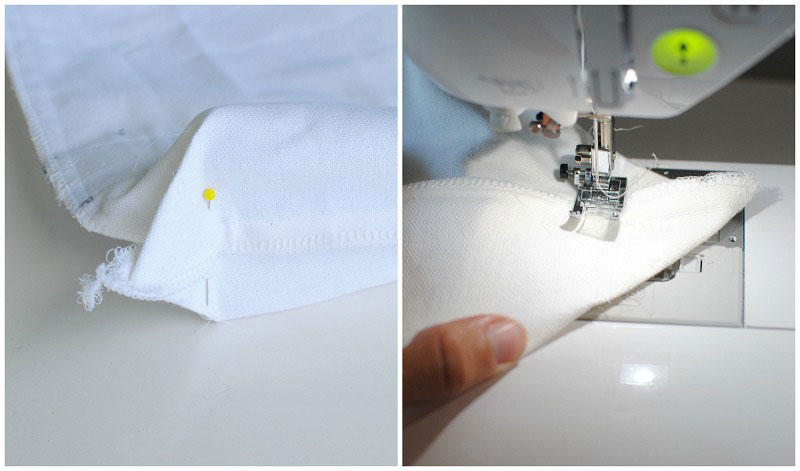
• Fold the bottom corners together, so the bottom seam and side seam meet. Pin together, so the seam allowances are going in the same direction.
• Sew across about 1.5″ from the point to square off the bottom.
• Repeat for the other side.
That’s it. Such cute results and not much time! I love these for gift ideas too.
This material is © OESD, LLC and may not be reproduced or published without permission.