Have you ever wanted to give your tablet or e-reader a creative, personal touch? With the help of this machine embroidery tutorial and our Wild Whimsy collection, you can create a charming and eye-catching DIY tablet sleeve in a snap! Customize it with your favorite fabrics, and size it to fit any and every size device. This step-by-step guide will show you just how quick and easy this project is to make. Sew one for yourself, then create fun gifts for any occasion! Gather up all necessary supplies and follow along. Happy Stitching!
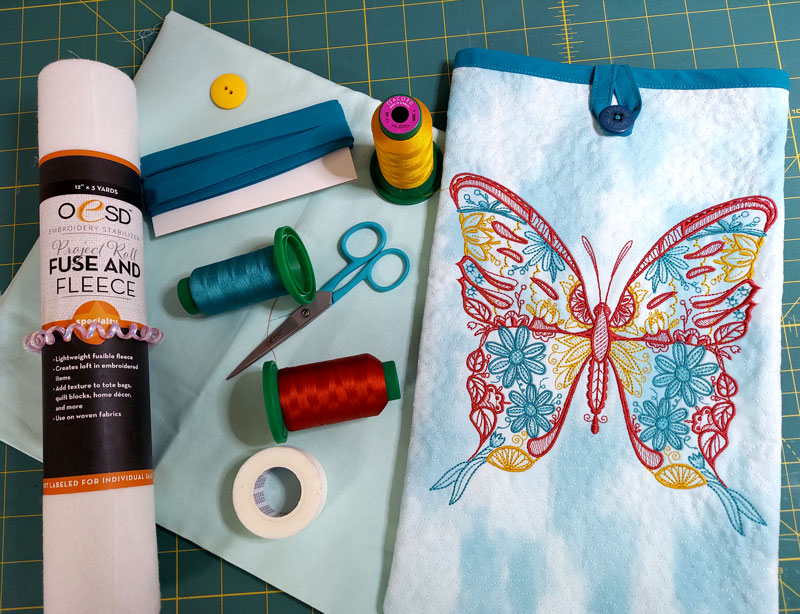
Supplies:
- Wild Whimsy PK10014
- OESD Fuse and Fleece
- OESD Expert Embroidery Tape TearAway
- OESD Expert Point and Press Tool
- OESD Perfect Embroidery Press Cloth
- 1 Fat Quarter of your fabric of your choice (may vary depending on your tablet size)
Instructions:
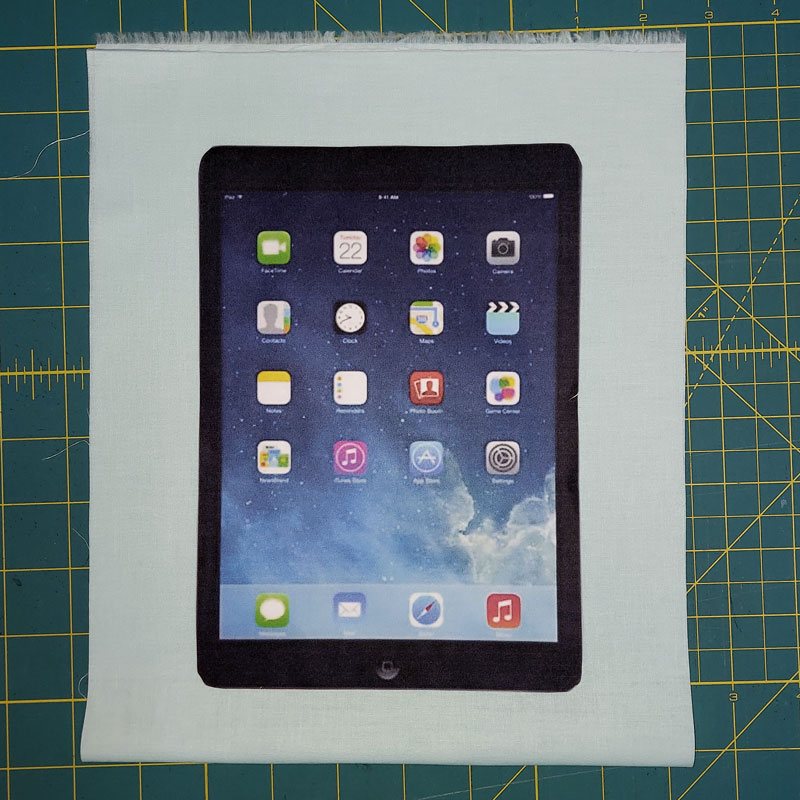
Step 1
Measure the tablet that you’ll use with the case. Take those measurements and add 3 inches to the length and the width. In this example, the tablet measures 6″ x 8″, so the fabric should measure 9″ x 11″. Then, double the 11″ length to 22″ so the fabric will cover the front and back of the tablet.
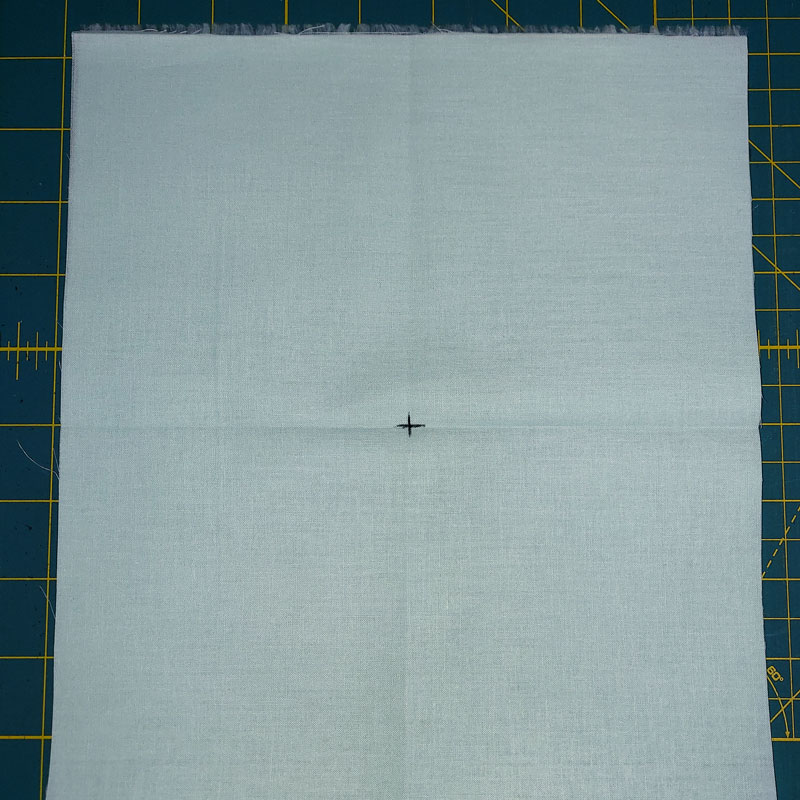
Step 2
Fold your fabric in half, long ways. Find the center of the case and mark with a removable pencil so you can place your design.
Step 3
Cut a piece of Fuse and Fleece large enough to fill your embroidery hoop. The shiny side of the Fuse and Fleece should be facing up. Place your fabric on the Fuse and Fleece, then fuse the fabric to it. Once the fabric has cooled down, hoop the Fuse and Fleece/fabric, aligning the center point with the center of the hoop.
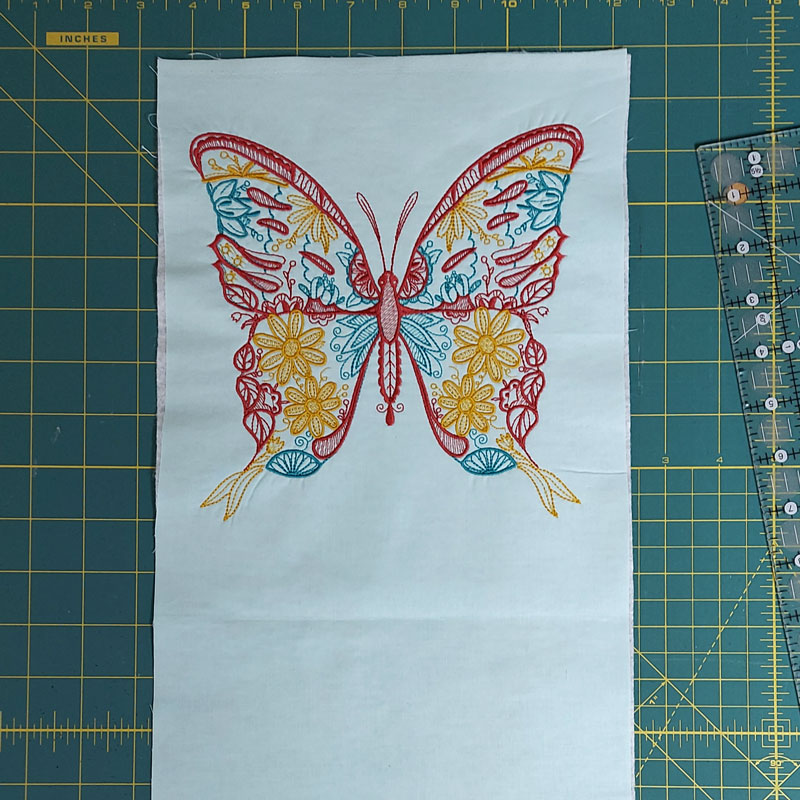
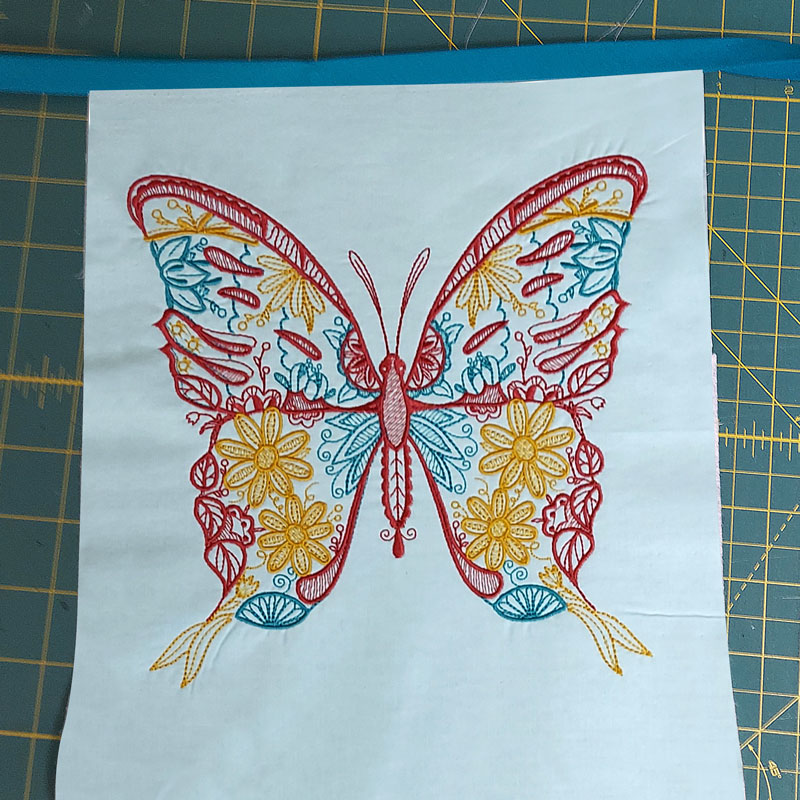
Step 4
Embroider your chosen design following the thread chart. Remove the project from the hoop and trim away the excess Fuse and Fleece.
Step 5
Press the project on the cloth with the design facing down. Add the bias tape to the top of the bag. Cut a piece of bias tape 1” larger than the width of the bag and clip in place.
Step 6
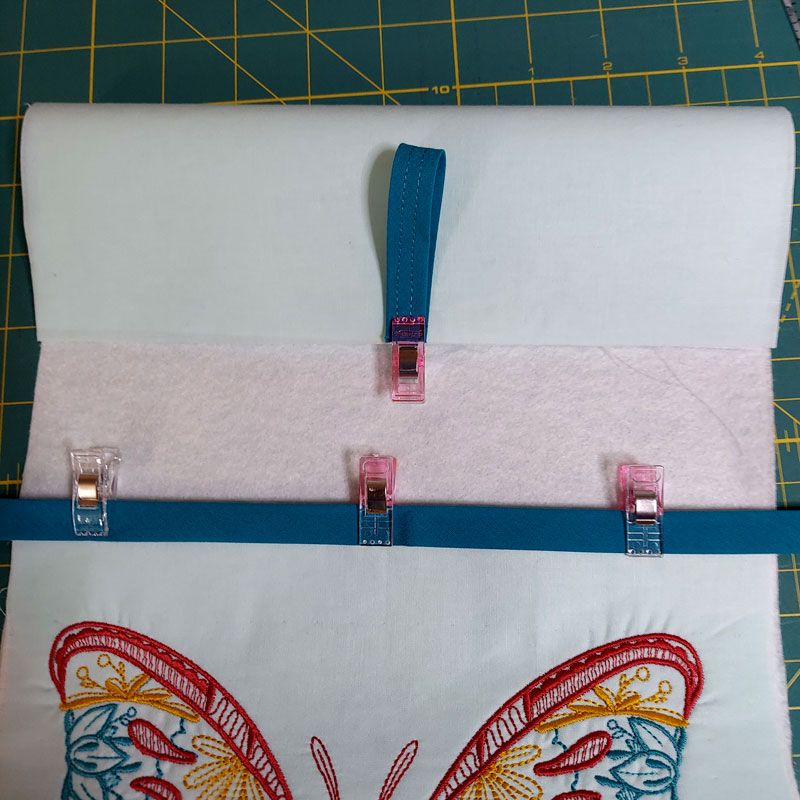
For the loop and button closure, cut a piece of bias tape – this example measures 6” inches, but you may need to adjust the length depending on the size of your bag and button.
Stitch a double straight stitch down this strip. Fold this strip in half and place the raw edges in the center of the top of the BACK of the bag. Clip this in place.
Step 7
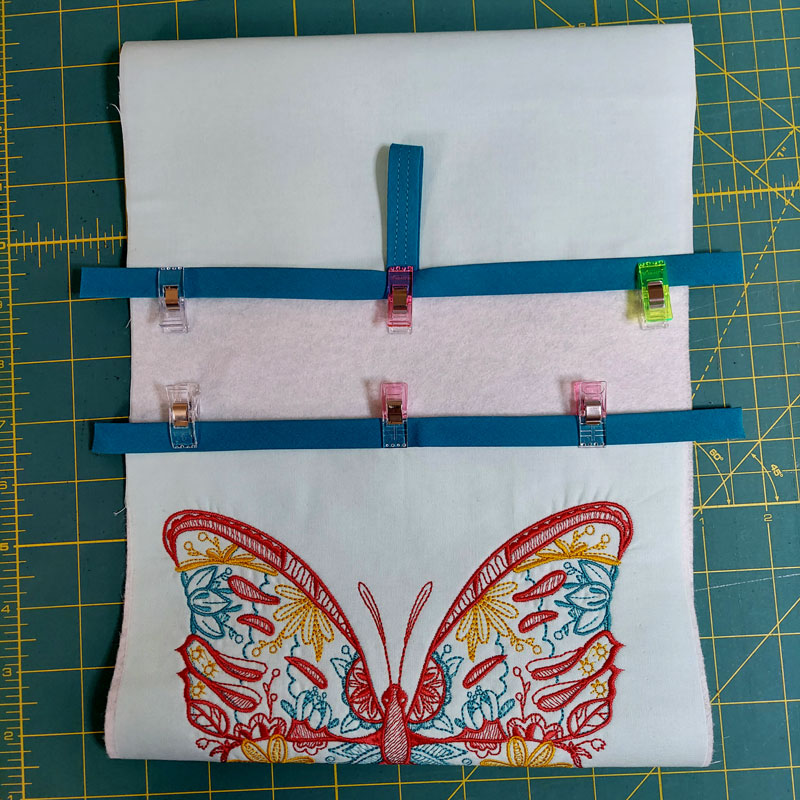
Fold the bias tape over the top of the back of the bag, being careful not to reposition the loop. Used the OESD TearAway Tape to hold the loop in place while adding the top piece of bias tape. Once everything is secured, continue to stitch straight in place. Sew a straight stitch close to the bottom of the bias tape.
Step 8
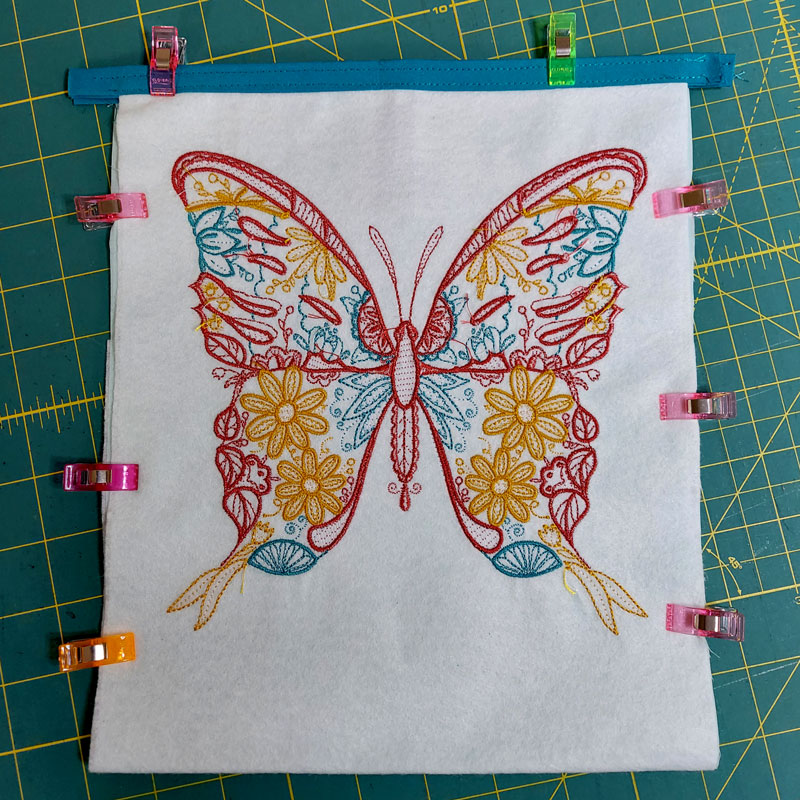
To complete the bag, fold the in half with the right sides together so that the bias tape edges are even. You can use pins or wonder clips to hold the sides in place. Use your sewing machine or serger to sew a ¼” seam along both sides. You may want to backstitch several times of the top sides of the bag since the top of the bag will get a lot of pull.
Step 9
Turn the bag right side out. Use the OESD Point and Press tool to help open up the corners so they look nice. Press your bag to set the seams. Turn the loop from the back to the front and mark where the button needs to go. Sew on the button, and you have completed your tablet sleeve.
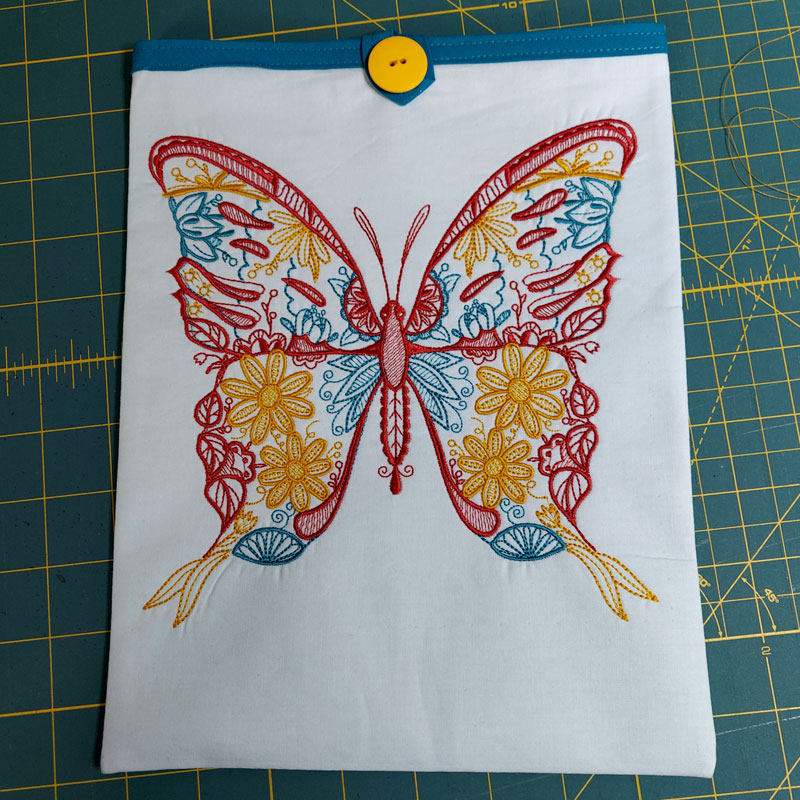
Enjoy your completed tablet case!


JOIN US IN THE OESD COMMUNITY!
We hope you enjoyed this machine embroidery tutorial! Have you stitched your own Embroidered Tablet Case? Come show off your work in our private Facebook group, The Perfect Stitch!