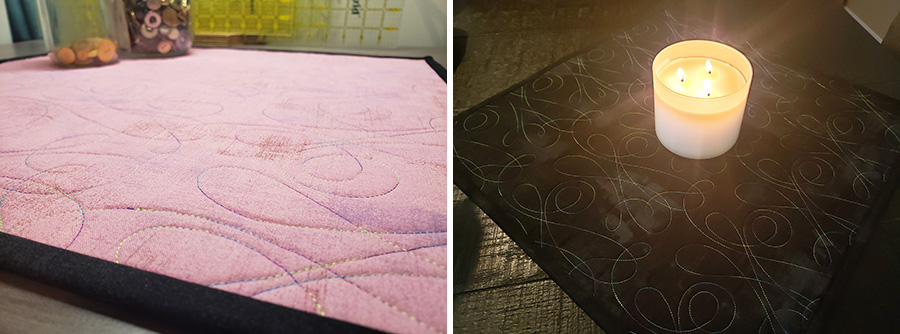
This easy table topper is made using a design from the OESD Modern Quilt Pantographs collection #12897. This is a great project to learn how to do edge-to-edge quilting using embroidery designs. Using Isacord Variegated Thread and a different backing fabric makes the project reversible and usable for multiple seasons or different decorative colorways… the possibilities are endless!
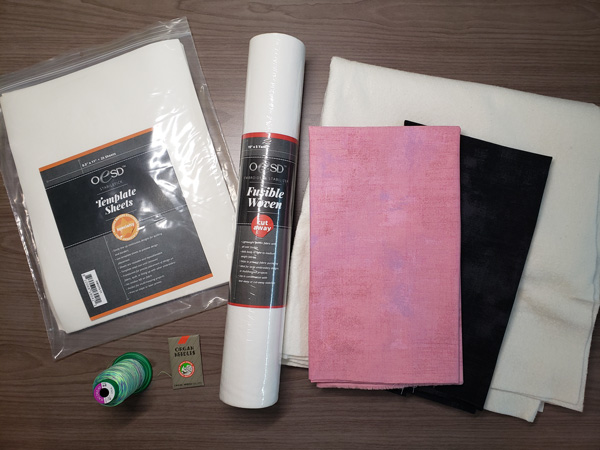
Supplies
- OESD’s Modern Quilt Pantographs #12897
- OESD AquaMesh Plus WashAway
- OESD Fusible Woven
- OESD StabilStick Template Sheets
- OESD Expert Embroidery Tape WashAway
- 505 Temporary Spray Adhesive
- Isacord Variegated Thread #9971
- Embroidery Needle Sharp 75/11
- Top Fabric: 18”x 18”
- Back Fabric: 22” x 22”
- Batting: 22” x 22”
- Binding: 1/8 yd
Instructions
Step #1
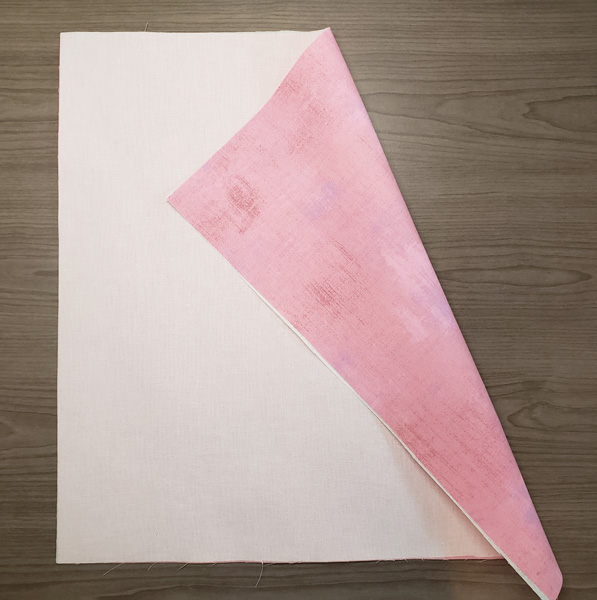
Fuse Fusible Woven to the backside of the top fabric.
Step #2
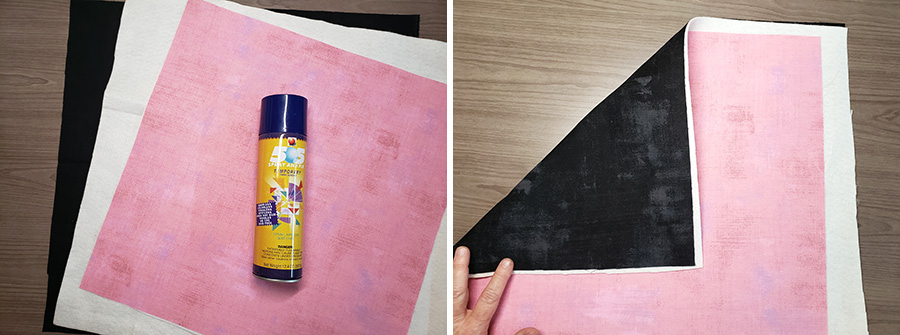
Layer top fabric, batting, and backing to make a quilt sandwich. I used 505 Temporary Spray Adhesive between the layers to reduce any shifting while hooping and stitching.
Step #3
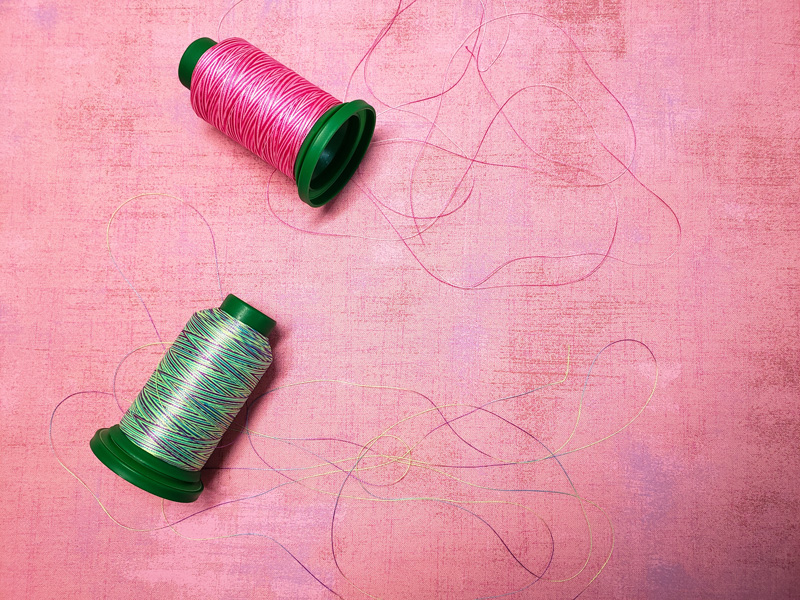
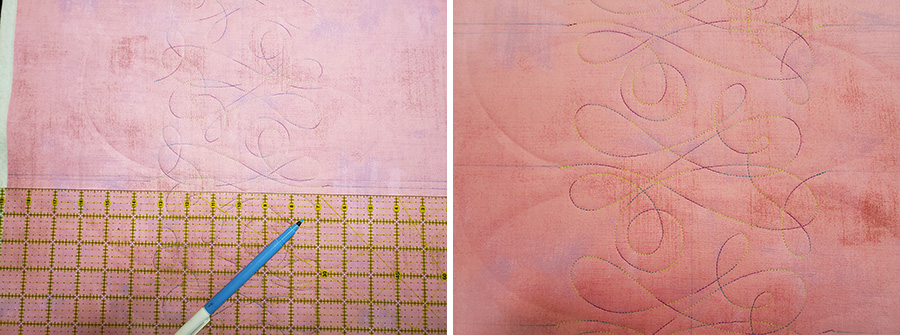
Audition your thread. I wanted to use a variegated thread and wanted to make sure that all the various color changes would show on the fabric. To audition the thread, I pooled the thread on top of the fabric to see which color choice would be to my liking. This is really a personal choice. Do you want your thread to stand out on the fabric or do you want it to blend in? The pink variegated blends in with fabric and the greenish/purple thread stands out.
Something else to point out is the type of quilting embroidery design to use. In the Modern Quilt Pantographs collection, each design is digitized as both a single run stitch and a triple run stitch. A triple run stitch means that each stitch will stitch back and forth three times before moving to the next stitch. This makes the design stand out and more prominent on top of the fabric. This is another personal choice. Do you want your quilting to stand out or do you just want it to be something that gives your project some texture and blends in?
Since I was using a fabric that really didn’t have any print, I would normally go with the triple run stitch to let the quilting design stand out; however, with variegated thread, I didn’t want the color changes to stitch on top of each other like the triple run stitch would have done so I decided to use the single run design.
Step #4
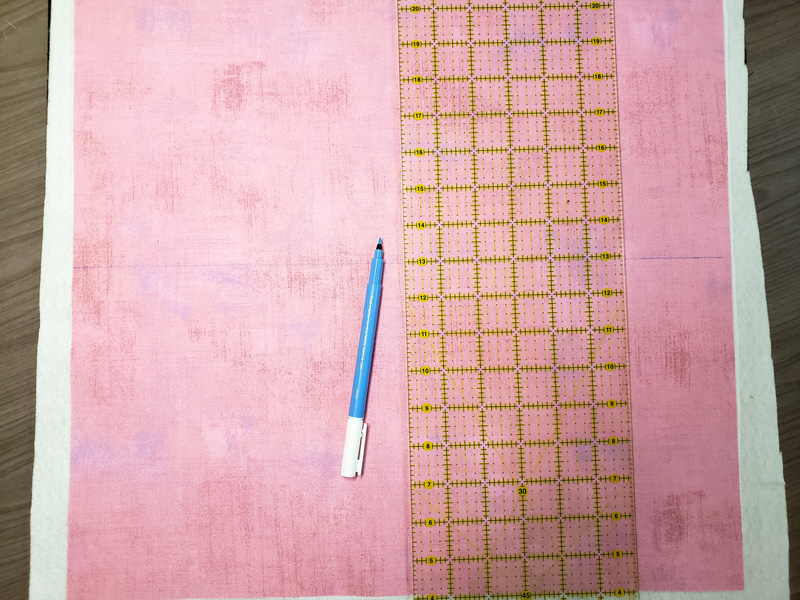
Using a temporary marker and ruler, draw center lines both horizontally and vertically on the top fabric.
Step #5
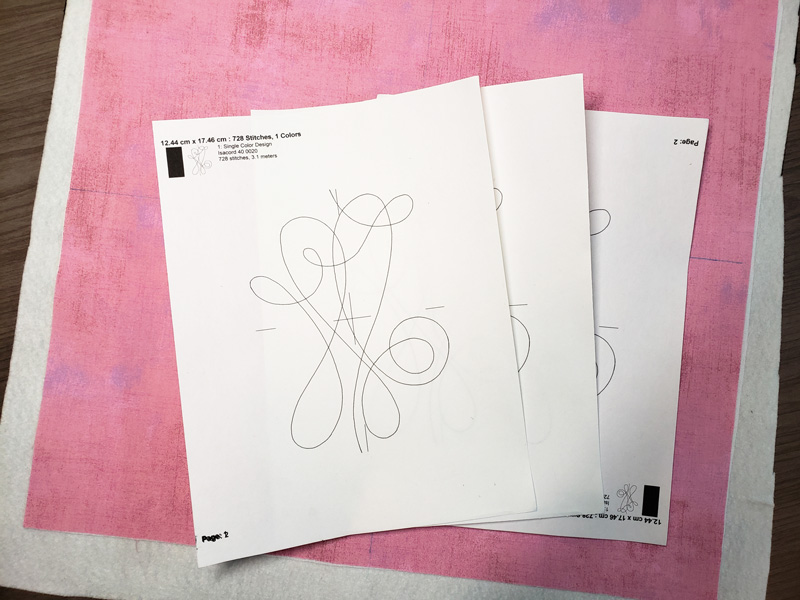
Print embroidery design onto StabilDtick Template Sheets. To do this, I opened the design up in my embroidery software and then selected “print”. Most embroidery software programs will also print the center mark on the design. This will make it easy to line up your design. I also printed the design out 3 times as I wanted to audition its placement.
Step #6
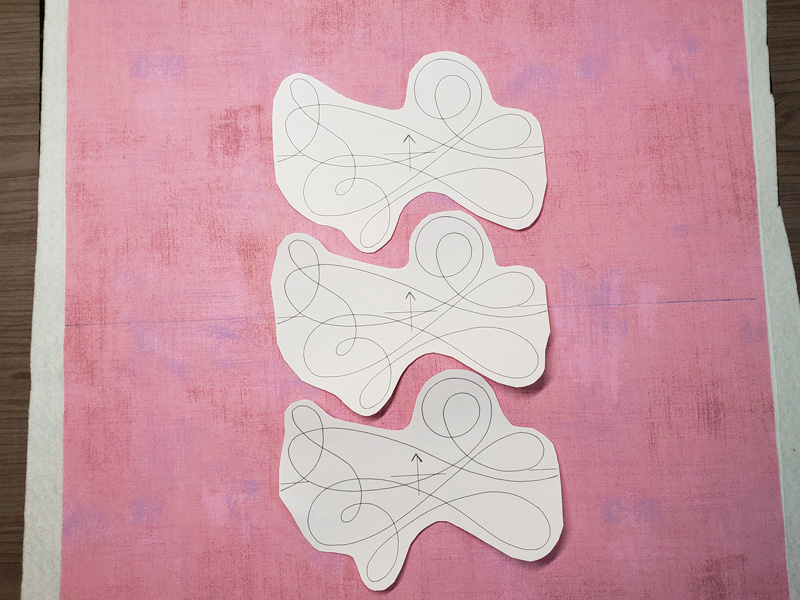
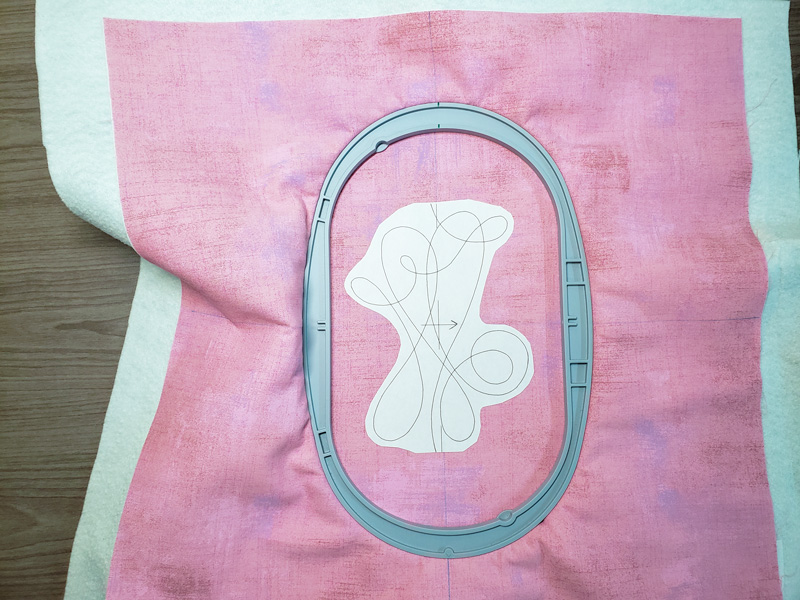
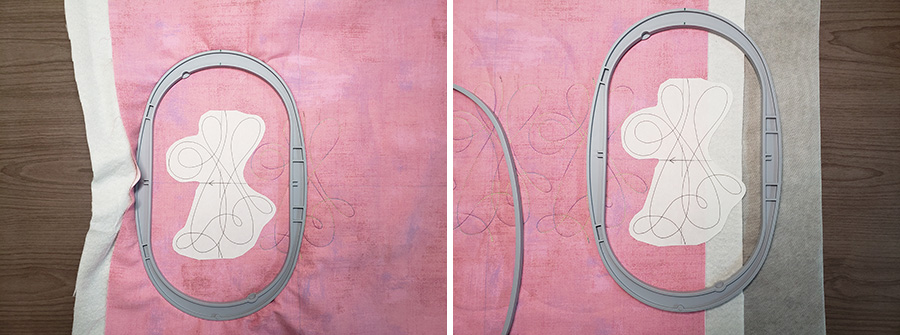
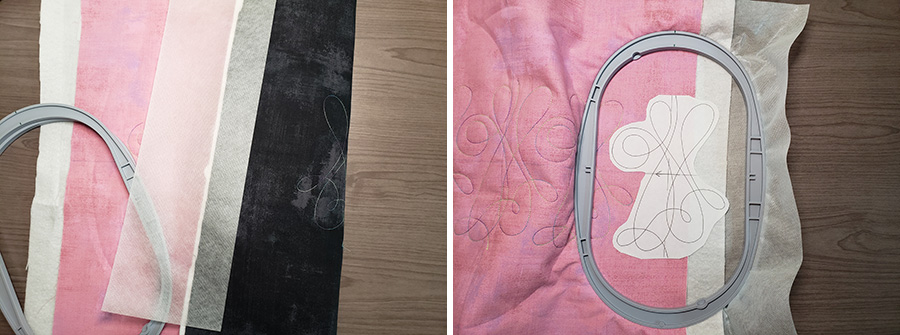
Trim Stabilstick Template Sheet around design. I left about a ¼” around the design and made sure to trim close to the start and end point of the design to make lining up the next design easier. Use this time to audition your design and see how you would like it to look on your project. A lot of pantograph designs are made to interlock between the rows. As seen in the photo, the next design will interlock with the previous design, so I want to make sure that I place the design appropriately.
Step #7
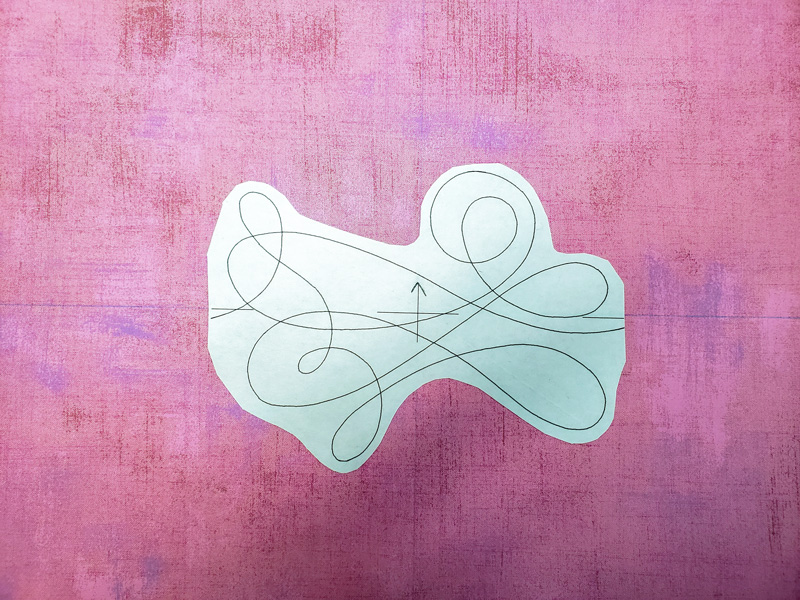
Peel backing from template sheet and place design centered on top fabric. Use placement lines on template to line up with marks on fabric. I also drew an arrow on my template to make sure that my design was placed correctly each time.
Step #8
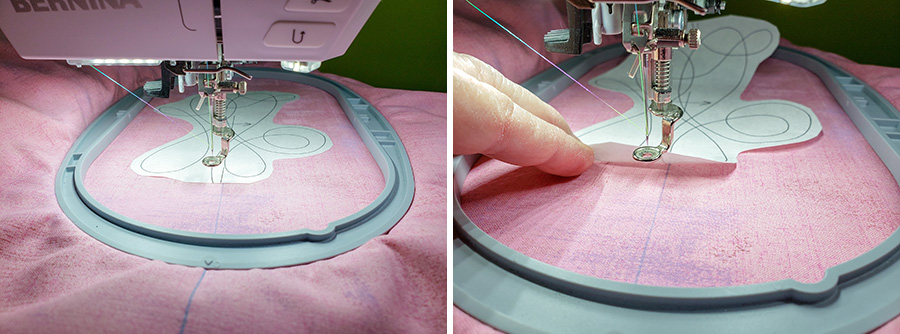
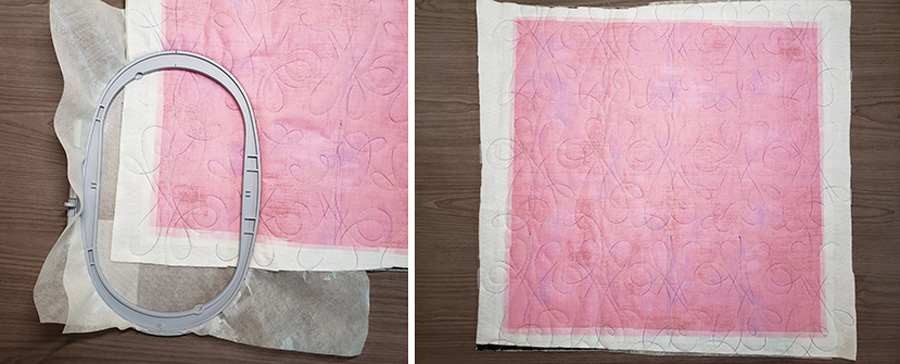
Hoop all layers with design centered in hoop. The great thing about embroidery quilting designs is that there is no need for stabilizer when using them on a quilt sandwich. The three layers (top fabric, batting and back fabric) are sufficient to support the stitches. TIP: Make sure to open the hoop enough to take in all three layers. You do not want to force the inner hoop or you could cause hoop burns on your fabric or actually distort the stitches in previously stitched areas.
Step #9
Using the template and the alignment features of your embroidery machine, line up the design. Once the design is aligned, remove the StabilStick template sheet. These templates are not meant to be stitched through.
Step #10
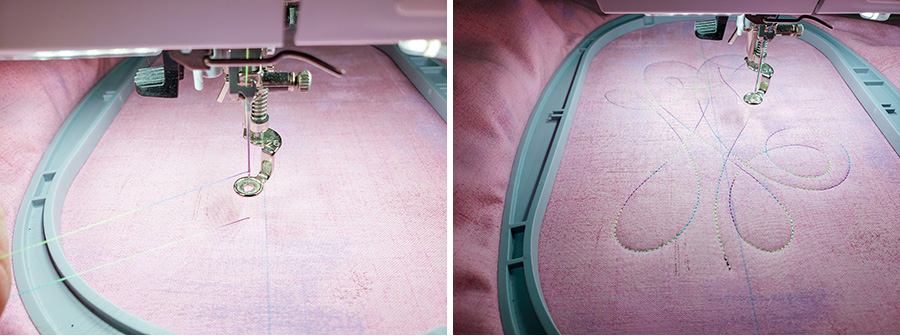
Stitch the design. TIP: To prevent a knot on the back, turn off cutter function on machine and bring the bobbin thread to top prior to stitching.
Step #11
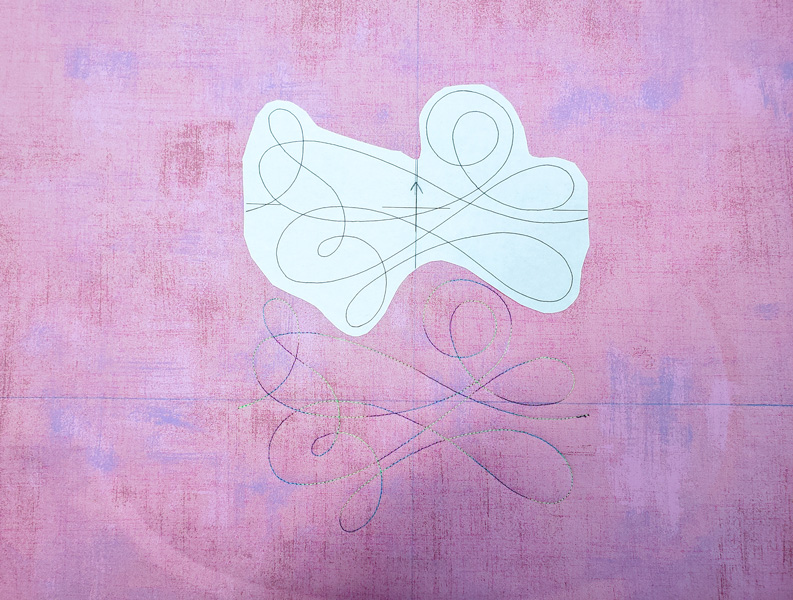
Remove project from hoop and place template on next area to stitch. TIP: To prevent the designs from going crooked, it is best to stitch all the designs on the vertical center line first.
Step #12
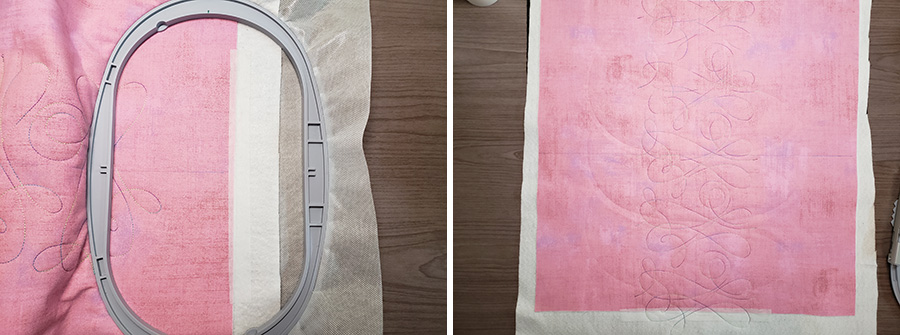
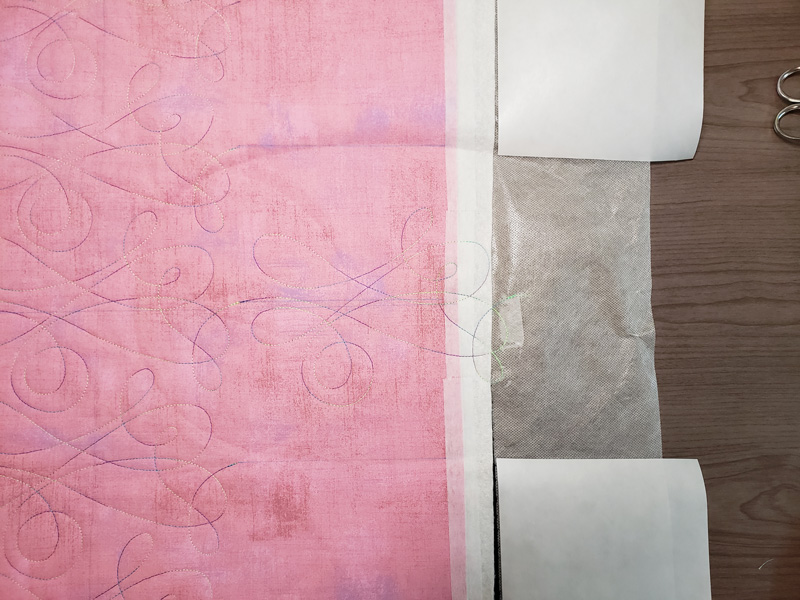
Repeat Step #11 until all designs are stitched along vertical center line. When I got to the edge, I had to add a piece of AquaMesh Plus WashAway to be able to have something to hoop. Another option would be to cut your backing fabric and batting larger. TIP: When stitching off the edge of the top fabric, place a strip of Perfect Embroidery Washaway Tape along the edge to prevent the embroidery foot from catching the edge of the fabric.
Step #13
Next, we will draw horizontal lines across where the start and end points are of each design along the vertical center column. This will allow us to place the templates straight along the rows and matching the start and end points.
Step #14
Place template next to center stitched design lining up start point on template with end point on center stitched design. Make sure the end point on template is placed on drawn line also.
Step #15
Hoop project, align design and stitch design. Don’t forget to remove the template before stitching!
Step #16
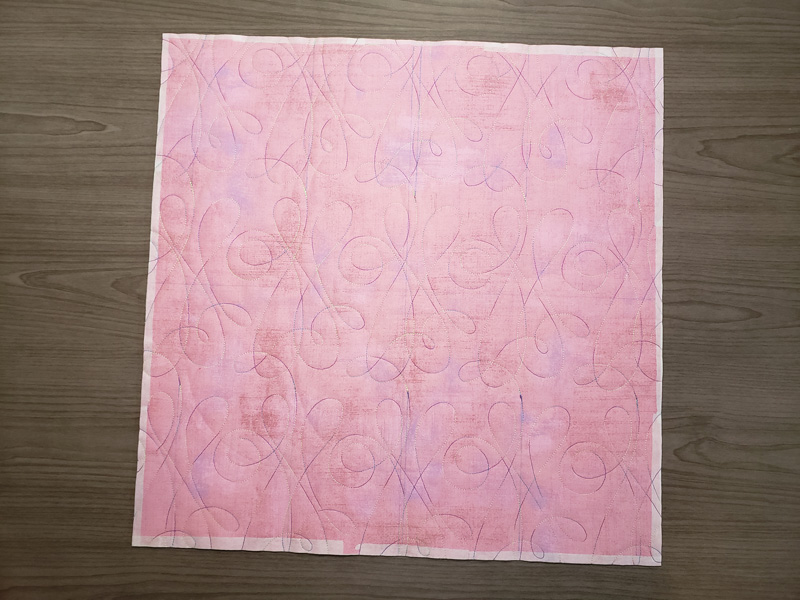
Repeat Step #15 until entire top is complete. Remember to add AquaMesh Plus WashAway to edges if needed for hooping.
Step #17
Trim excess backing and batting and add binding. Any remaining AquaMesh Plus WashAway and Expert Embroidery Washaway Tape that shows can be washed out using warm, running water.
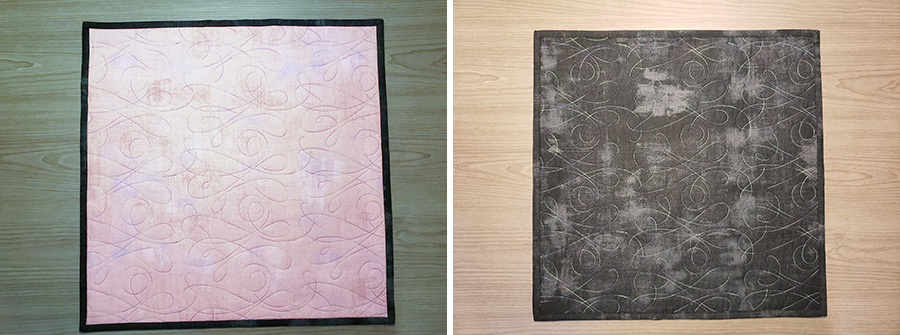
Your project is complete!
This material is © OESD, LLC and may not be reproduced or published without permission.