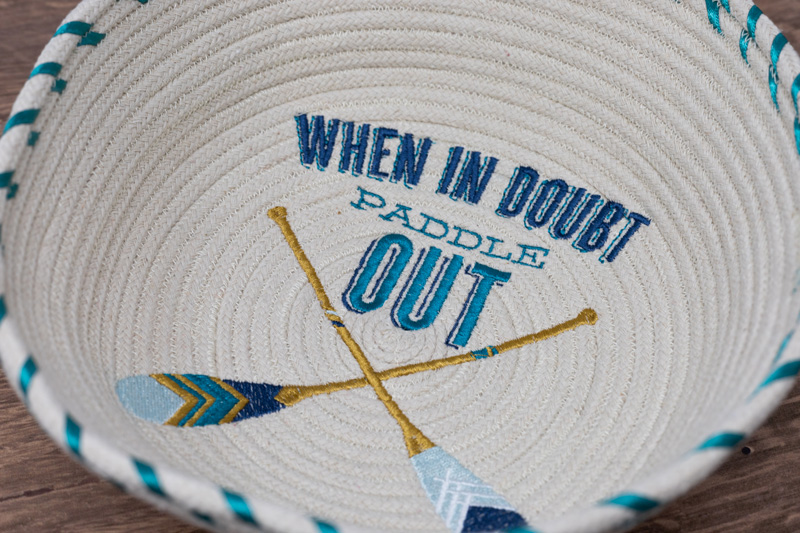
Rope bowls are a fun, easy, and trendy project to DIY on your embroidery machine! Check out this step-by-step tutorial to see how you can customize your very own exciting pieces of home decor! Pick out your favorite embroidery designs, ribbon, and thread colors to customize these fun containers. Keep on stitching your coiled rope to make the bowl whatever size you’d like. Fill them up with objects big and small, or leave them on their own and wait for the compliments from guests to roll in! Grab your supplies, and let’s get stitching!
Supplies
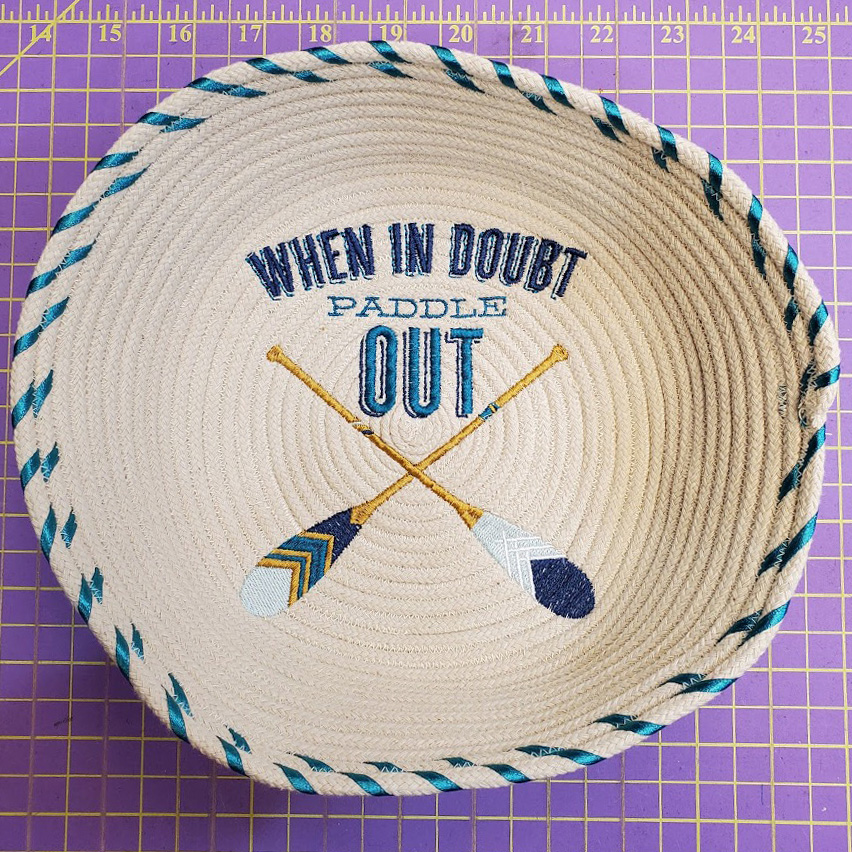
- PK50026 Oar Decor
- OESD Stabilstick TearAway
- OESD Stabilstick Template Sheets
- OESD StitH2O Topper
- OESD Grippy Grid
- 7/32″ x 100ft cotton clothesline. The length will depend on the size you would like to make your bowl
- 2 yards 1/8″ ribbon
Instructions
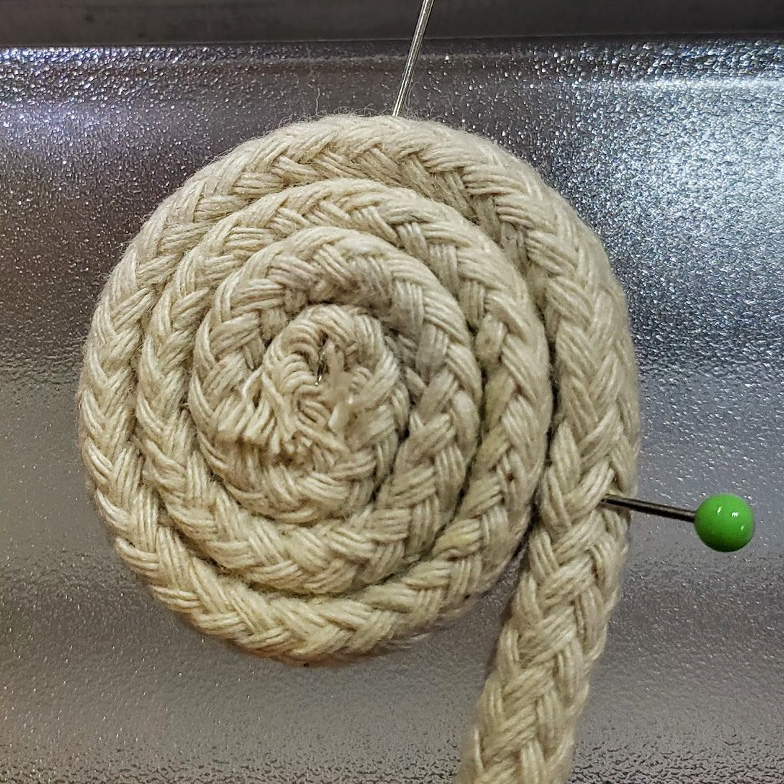
Step 1
Start your bowl by making a coil with the clothesline. Hold coil together with pins.
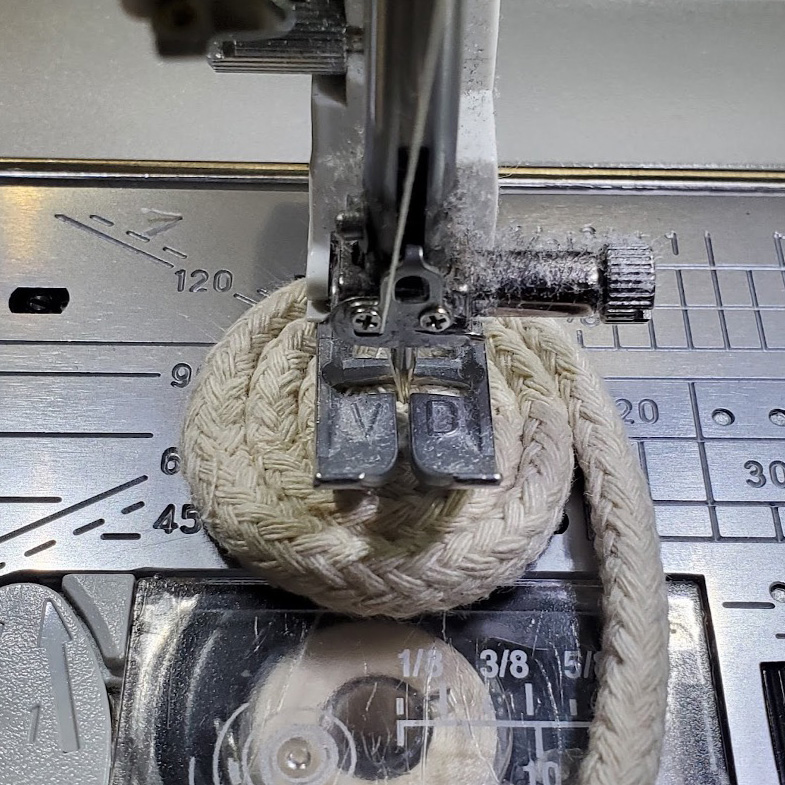
Step 2
Using a straight stitch, stitch an “X” across the coil to hold the center in place.
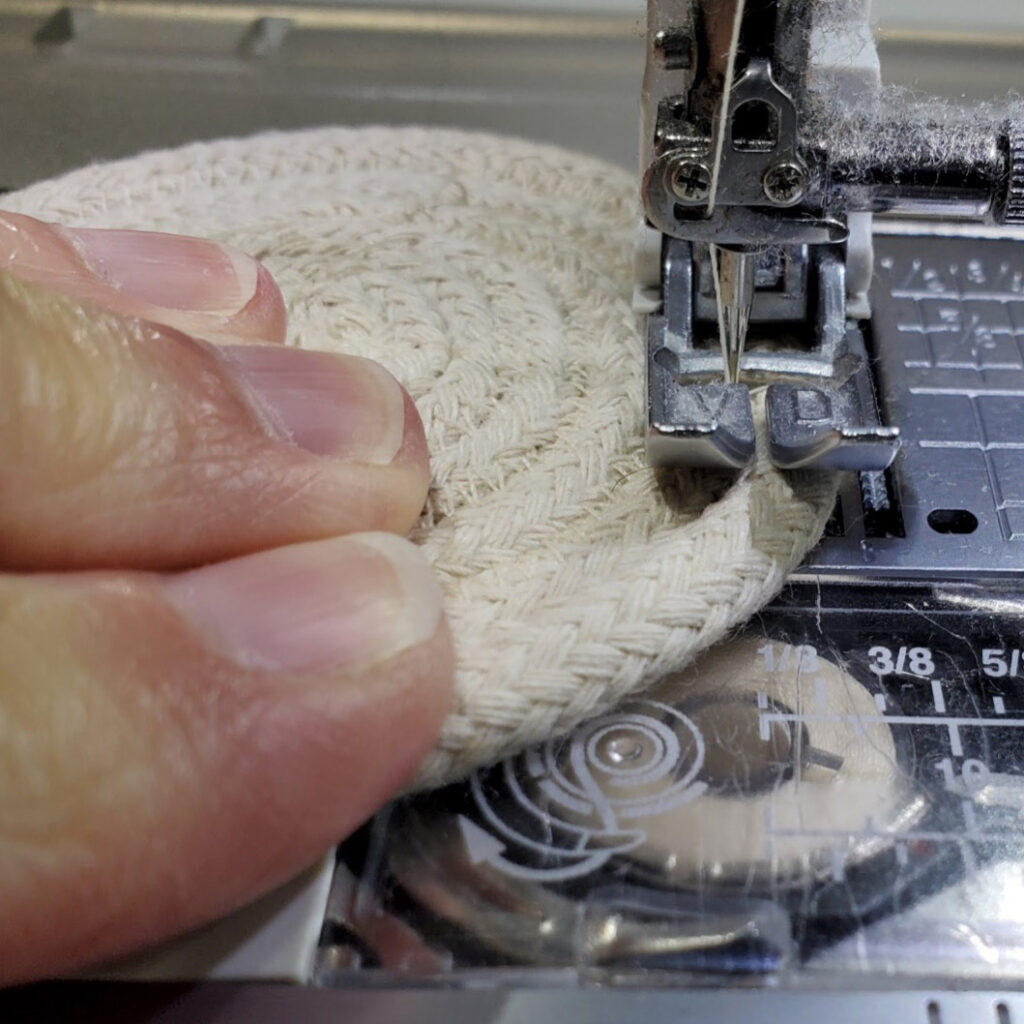
Step 3
Wind the cord around the coil with the free end on the right (clockwise). Using a zig zag stitch, start to stitch the cord to the coil. Make sure one side of the zig zag catches the coil and one side catches the loose end.
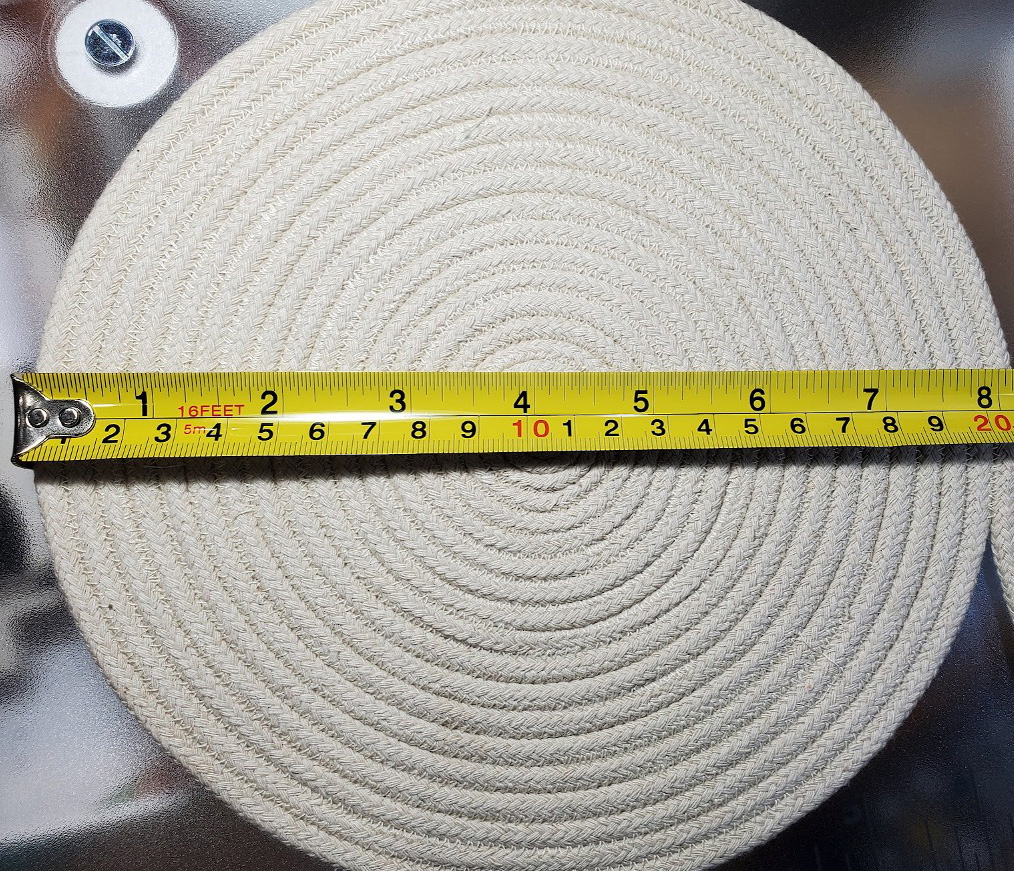
Step 4
Continue stitching until the coil is about 8” in diameter.
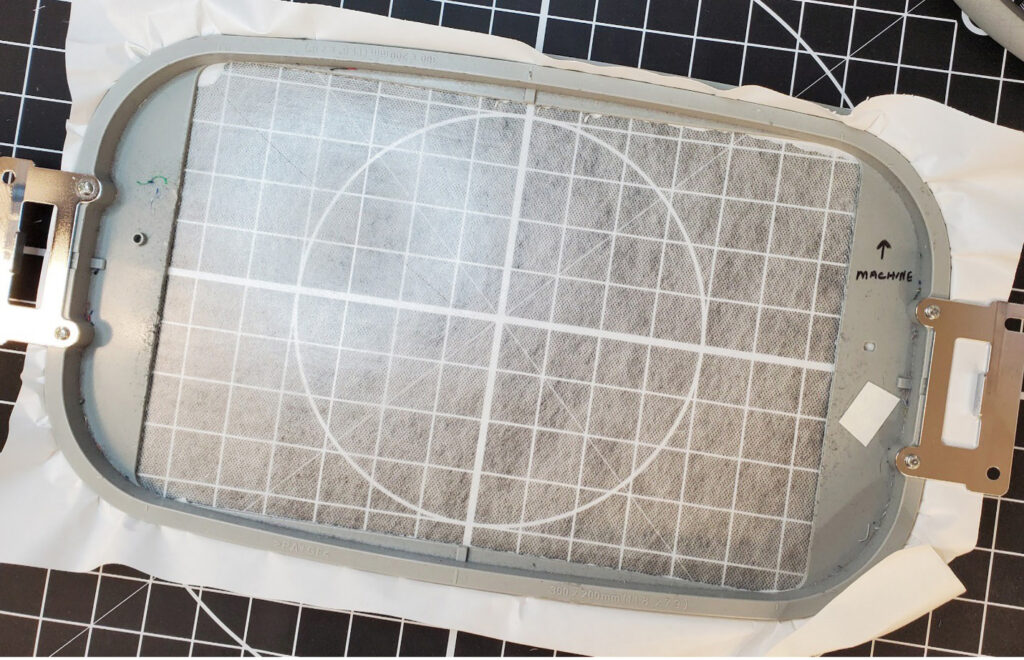
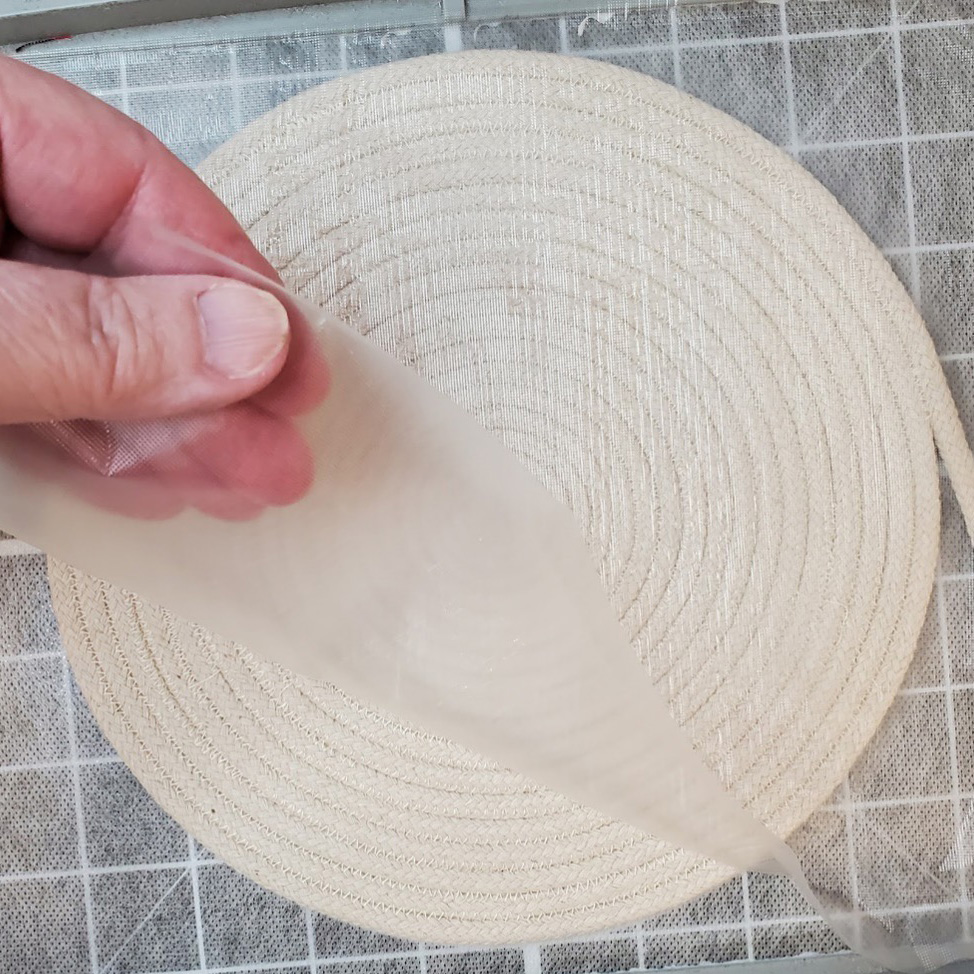
Step 5
Hoop Stabilstick Tearaway. Remove paper to expose the sticky side. Center hoop on Grippy Grid to assist with placement of the coil.
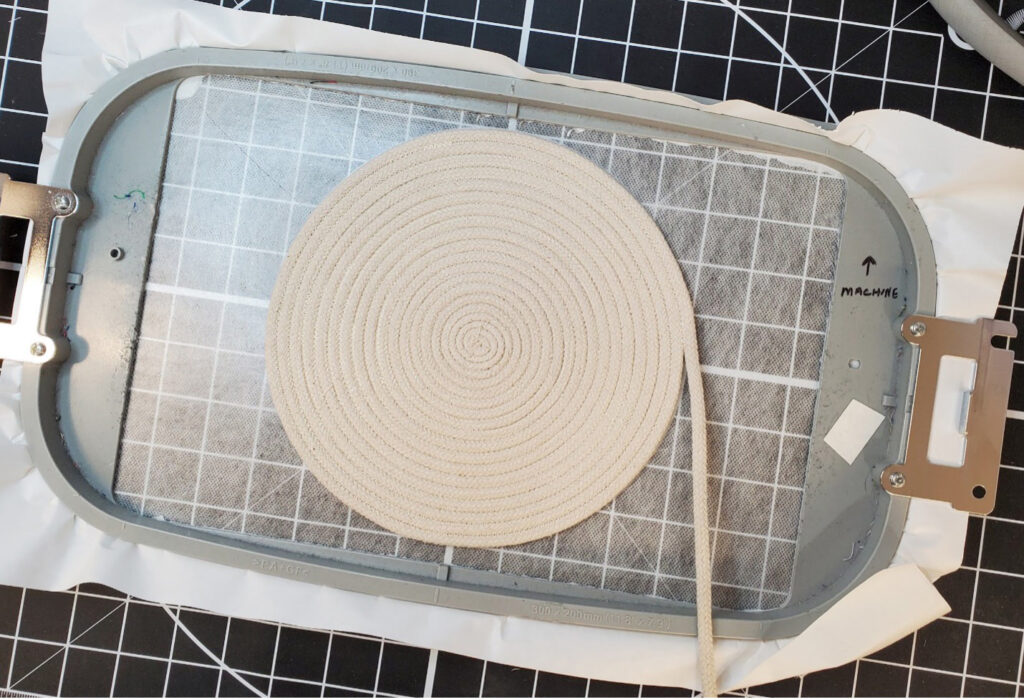
Step 6
Place the coil in the center circle with the free end of the clothesline on the right side.
Step 7
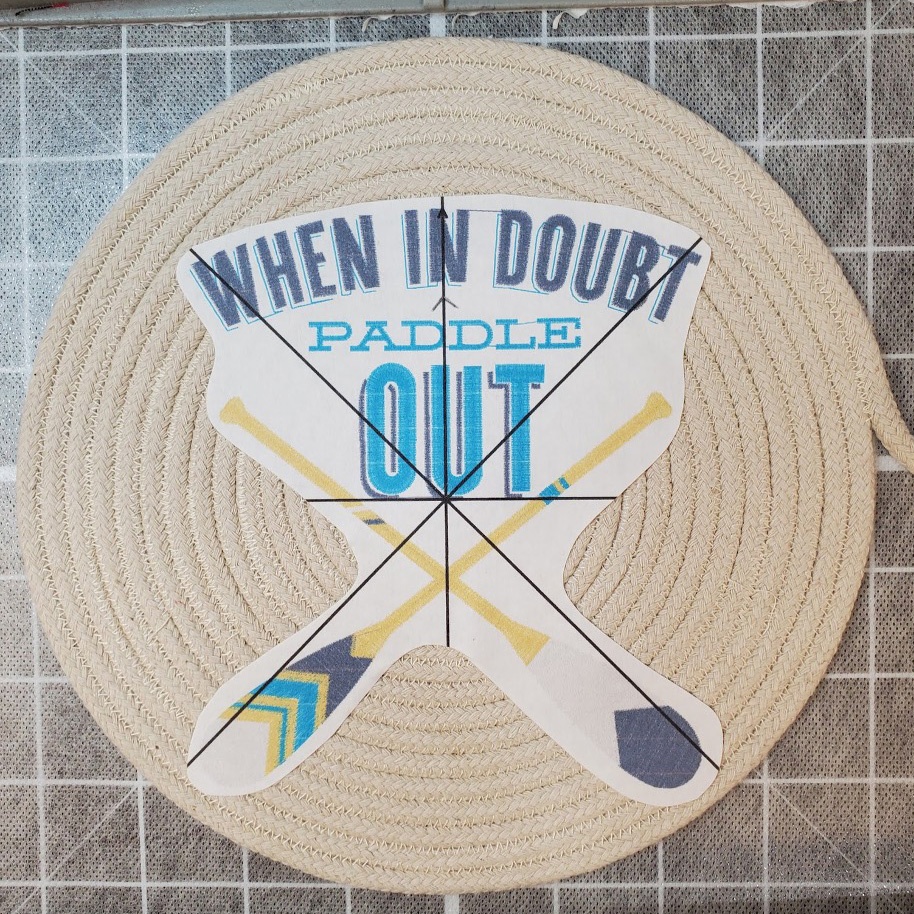
Using Stabilstick Template Sheets, print a template of your design.
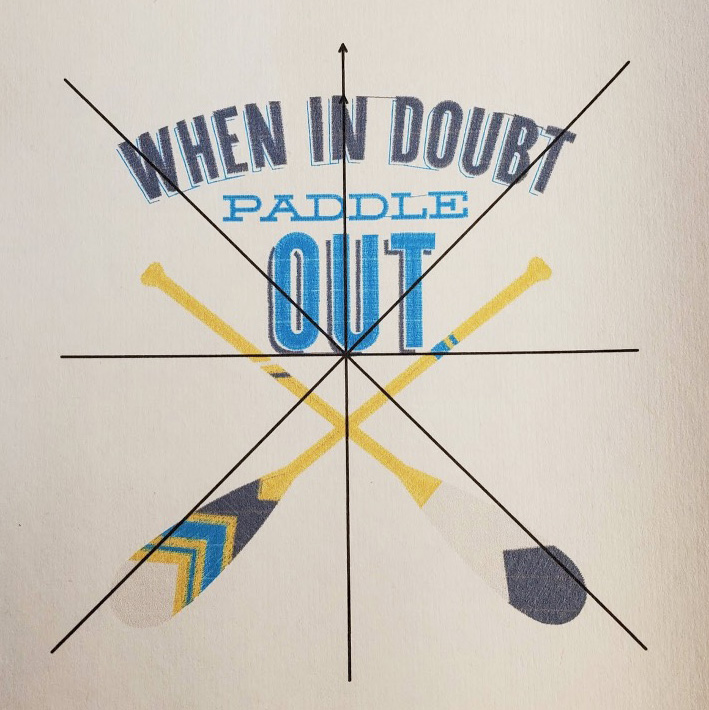
Step 8
Trim template, place on coil for correct placement. Use appropriate method for your machine to center design for stitching.
Step 9
Remove the template after centering design. Place StitcH2O over the project to keep the stitches from sinking into the rope.
Step 10
Stitch the design.
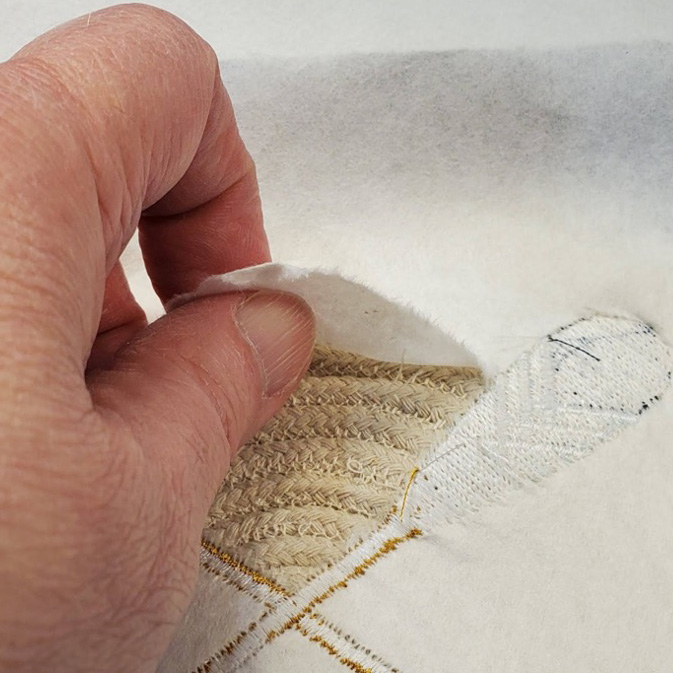
Step 11
Remove stabilizer.
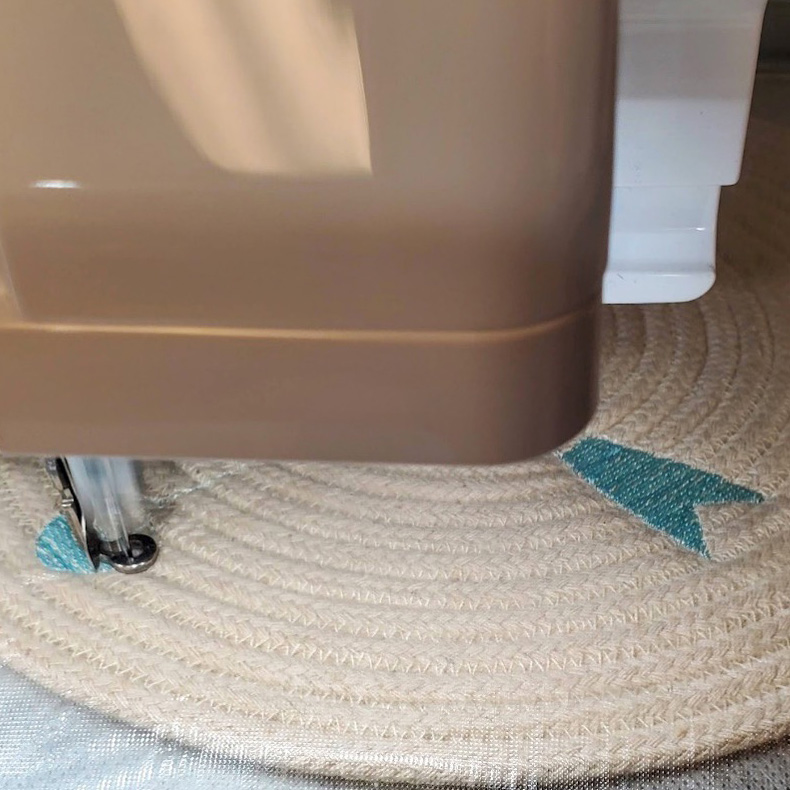
Step 12
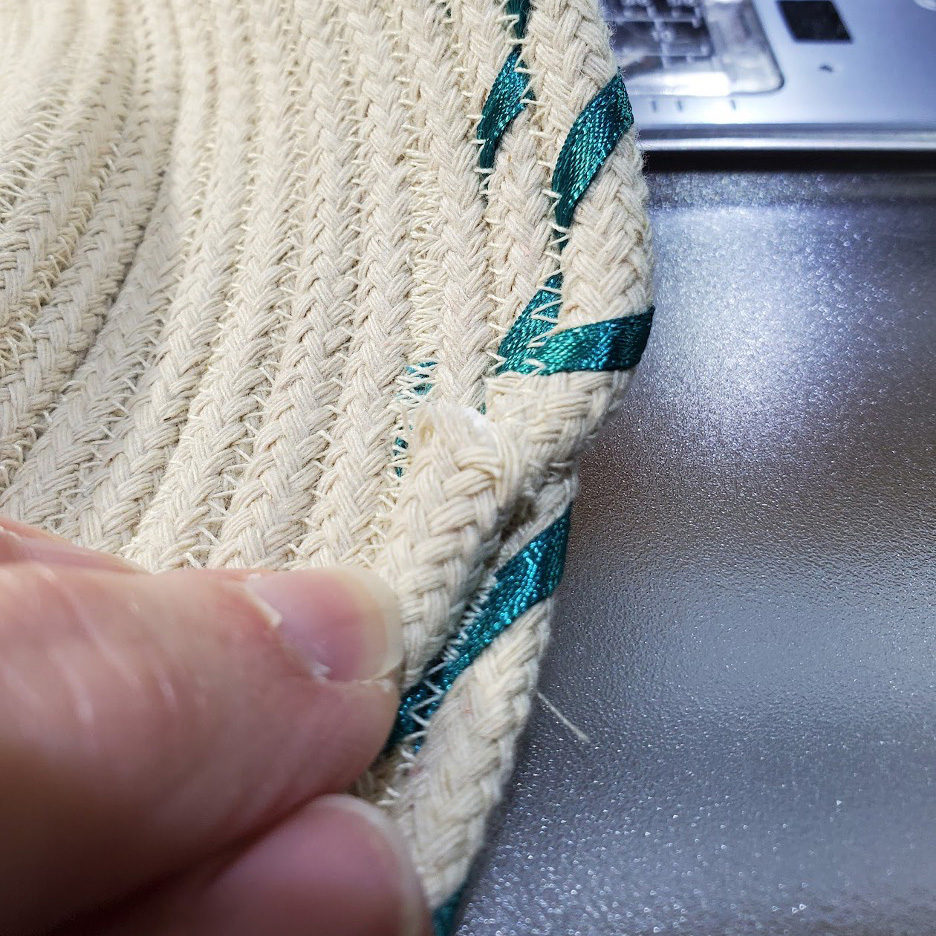
To start to form the sides of the bowl, tilt the base you just embroidered as you continue to stitch the cord and the base together. Continue to stitch until the bowl is just short of the height you would like the finished bowl to be.
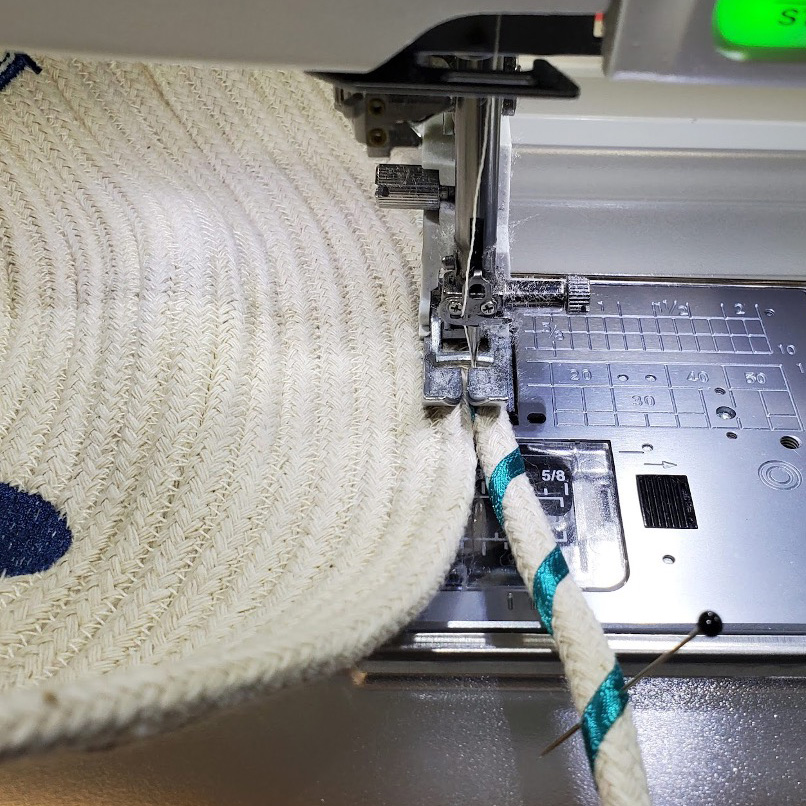
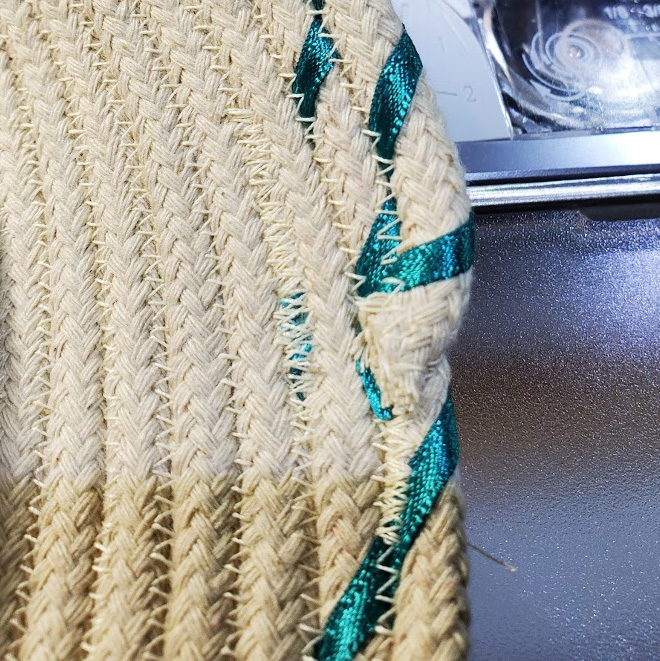
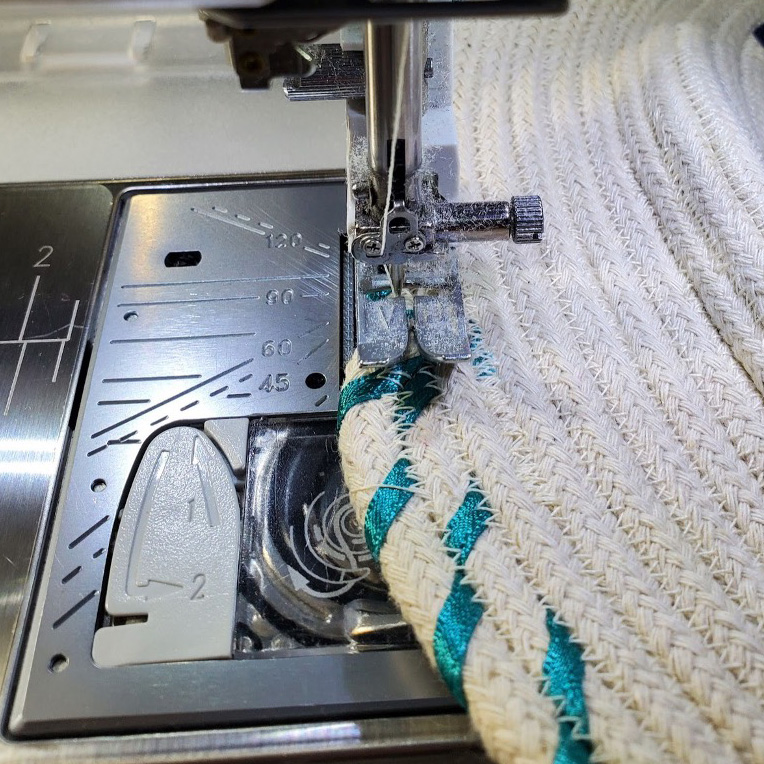
To add the ribbon wrap the ribbon around the cord before you stitch, then stitch the cord to the bowl. Continue stitching the cord to the bowl until you reach the height you would like for your bowl.
Step 13
When you get to the end, fold the cord to the inside of the bowl and stitch.
Step 14
Cut the cord and stitch over the end.
Step 15
Turn bowl around and stitch over the cut end of the cord to help secure it.
Step 16
Finish shaping your bowl, and enjoy!

JOIN US IN THE OESD COMMUNITY!
We hope you enjoyed this machine embroidery tutorial! Have you stitched your own Easy DIY Rope Bowl? Come show off your work in our private Facebook group, The Perfect Stitch!