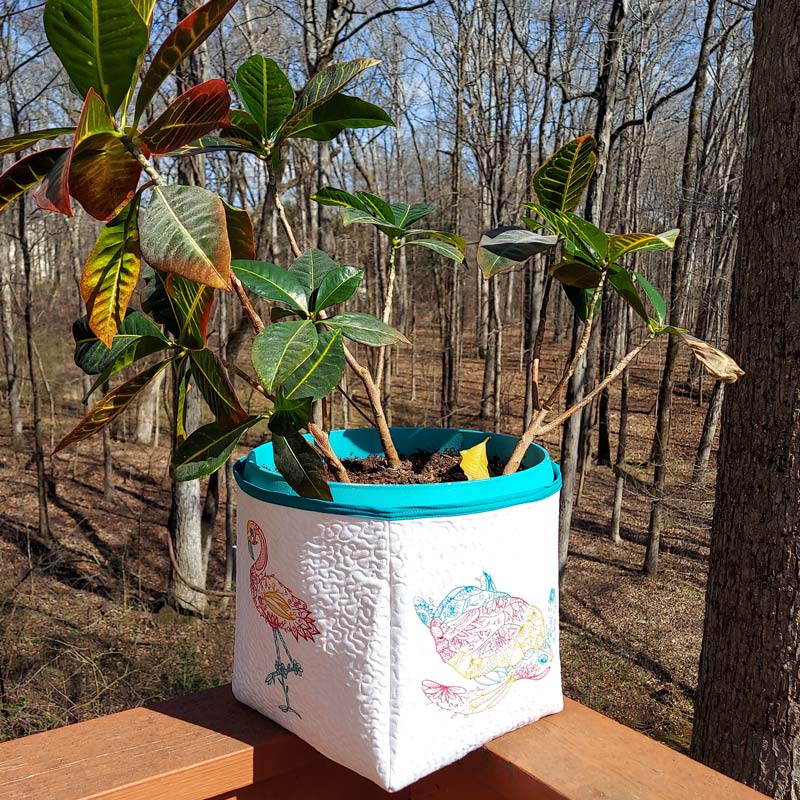
Create an Easy DIY Plant Holder to add even more style when you spruce up your space with some fresh greenery! Create one with your embroidery machine to quickly add color and life to your home decor. In this simple tutorial, we’ll show you how to create a beautiful plant holder that makes a great decoration for yourself or gift for a friend! Pick your favorite fabrics and designs to totally customize it – we chose Wild Whimsy PK50015. So grab your supplies and let’s get stitching!
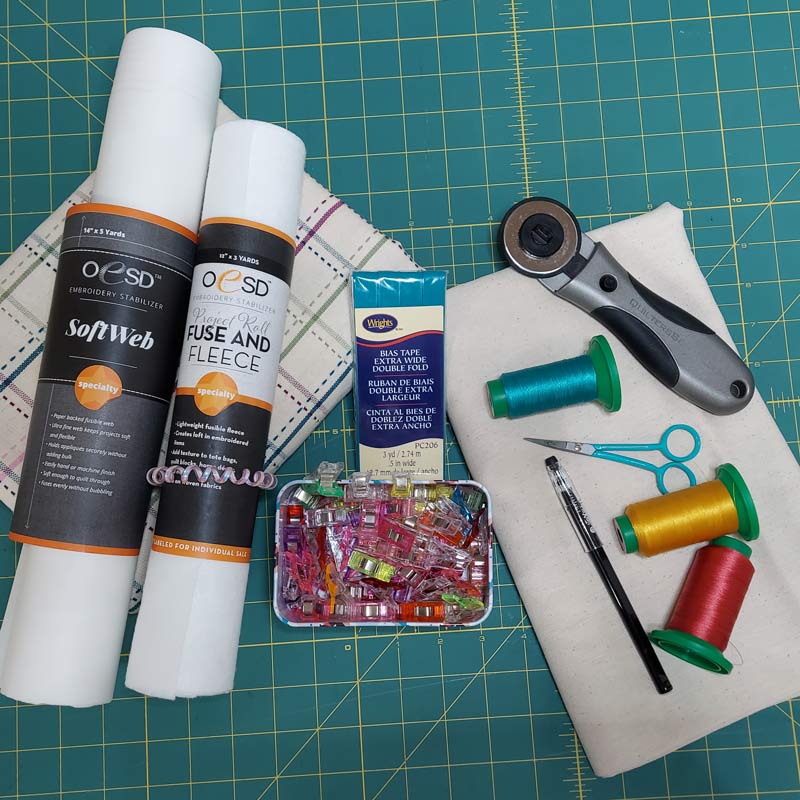
Supplies:
- Wild Whimsy PK50014
- OESD Fuse and Fleece
- OESD SoftWeb
- OESD Expert Point and Press Tool
- (5) 12″ squares of cotton or canvas fabric for outside of project
- (5) 10″ squares of cotton or canvas fabric for lining
- 1 pack of 1/2 inch bias tape
Instructions:
Step 1
Gather your supplies.
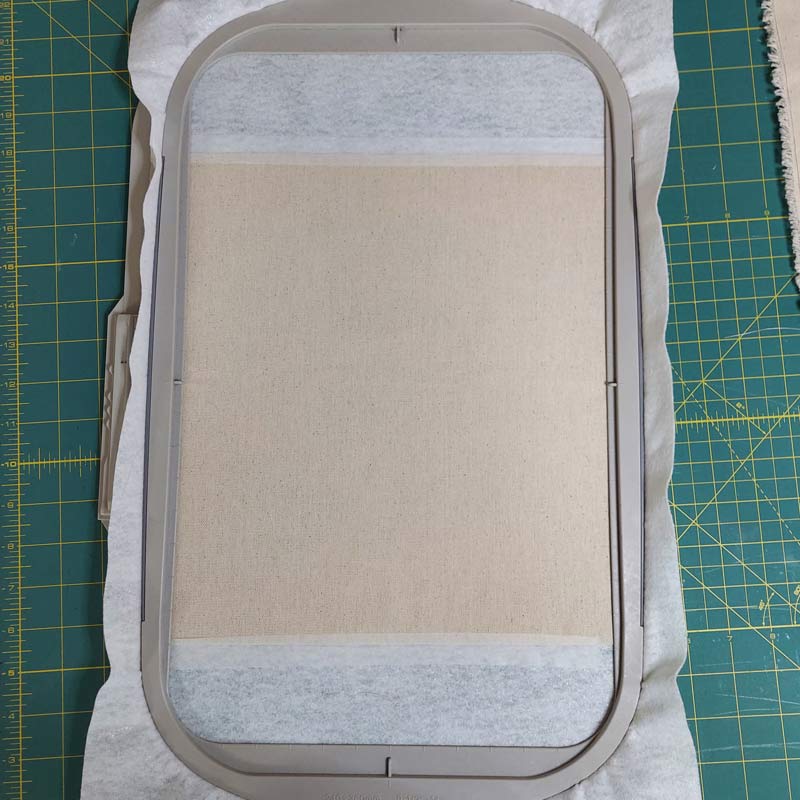
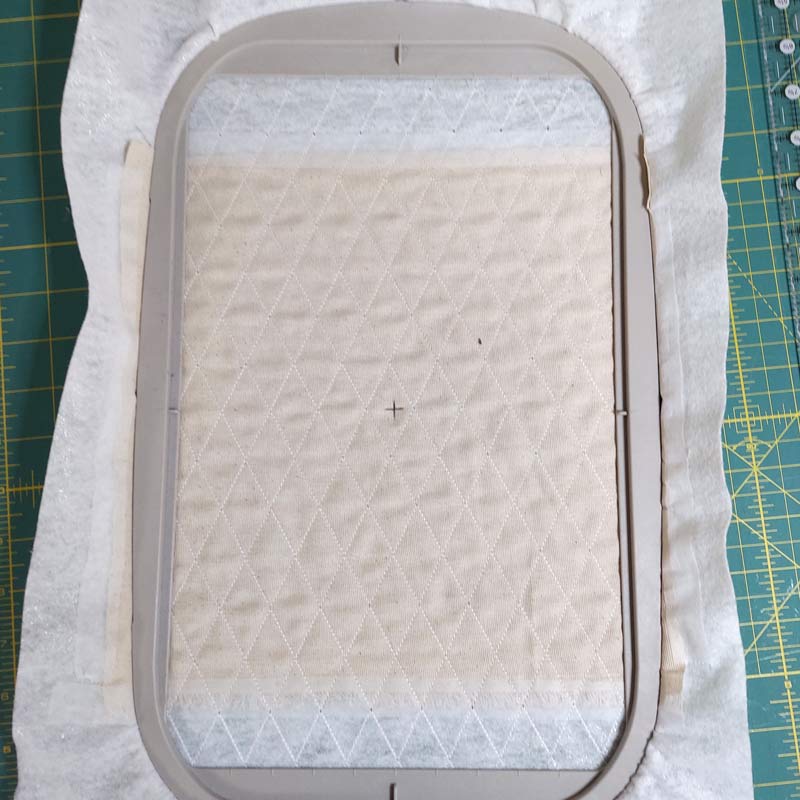
Step 2
Hoop OESD Fuse and Fleece shiny side up. Place one of your 12″ squares of fabric, centered in the hoop. Mark the center point.
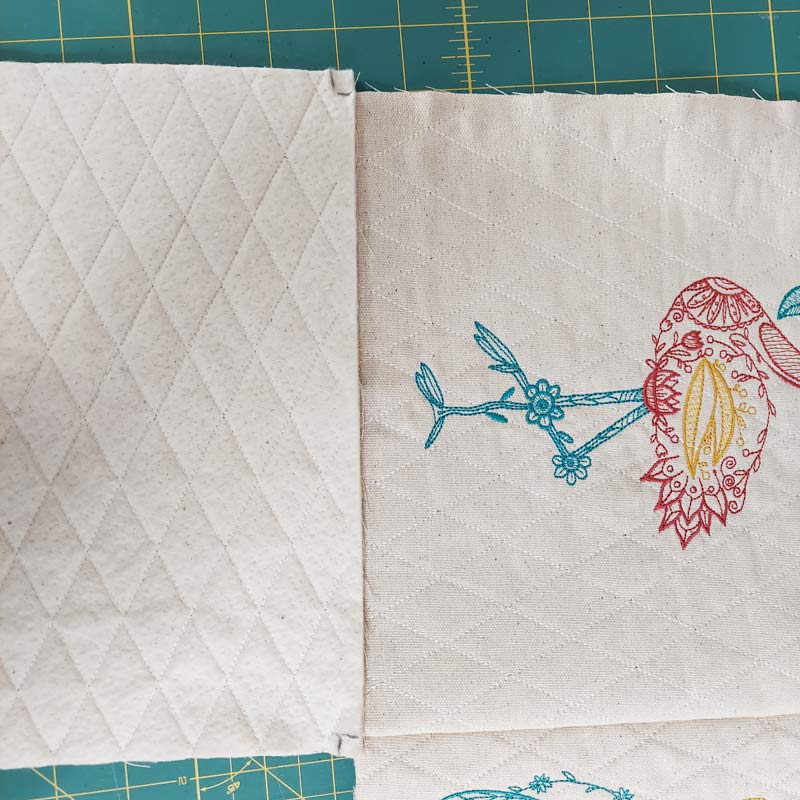
Step 3
Quilt the outer fabric using your embroidery machine and the embroidery quilting design of your choice. Repeat on all of the outer panels, 4 more times.
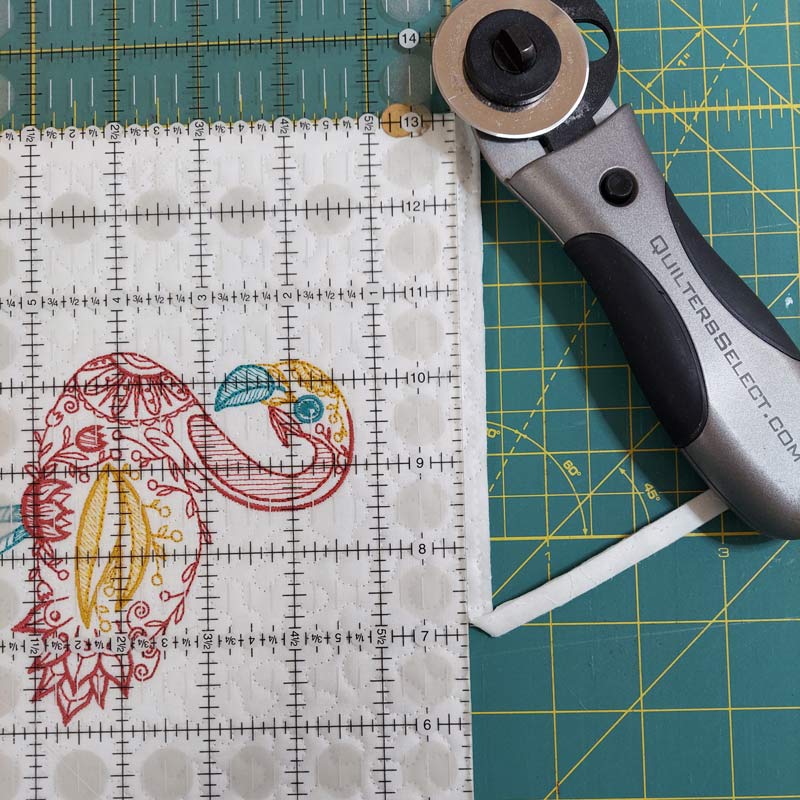
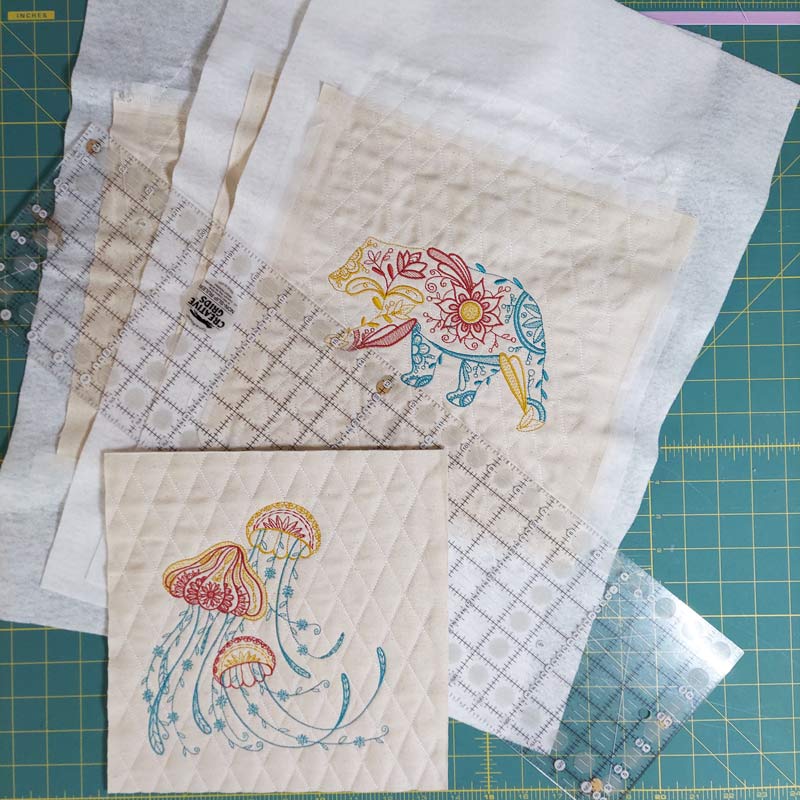
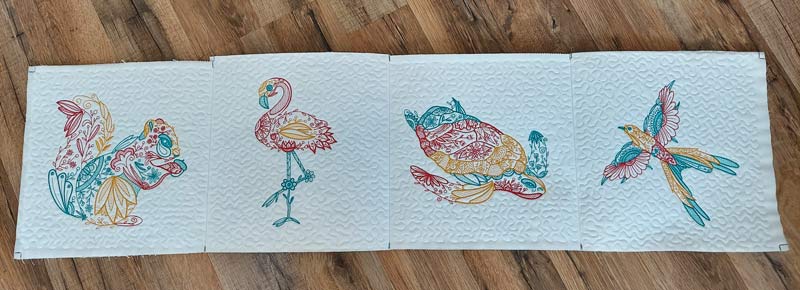
Step 4
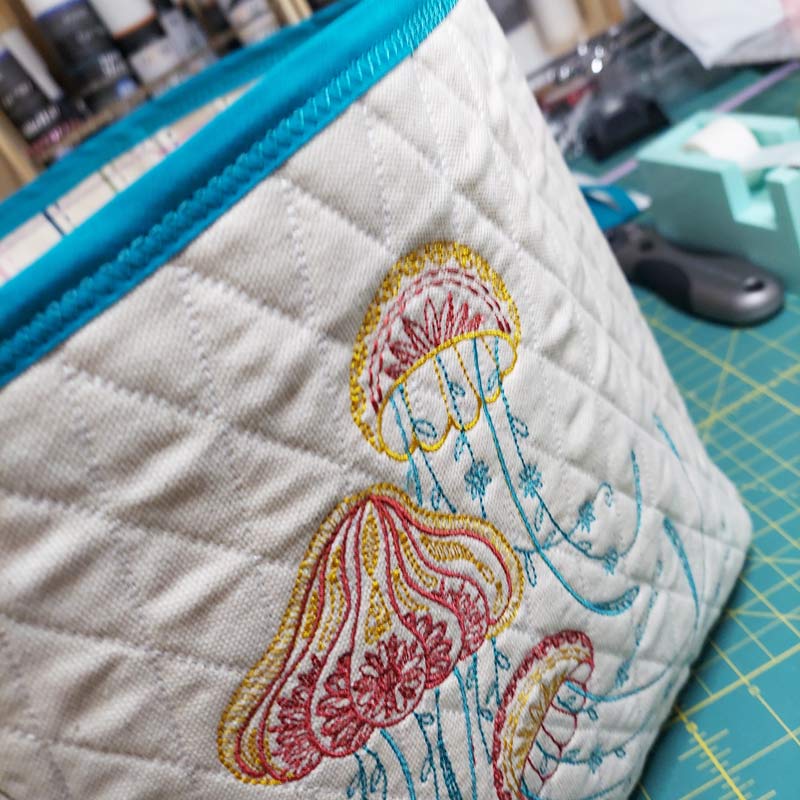
Load the designs from Wild Whimsy PK50014 on your embroidery machine and stitch them according to the thread chart. Repeat this step 3 more times to create all 4 sides of the plant holder. Trim the blocks to 10″ squares.
Step 5
Mark ¼“inch up and in from the bottom corner of all five squares. Make the marks on the back of the squares to easily see them while you sew.

Step 6
With the right sides together, starting at the top of the side, sew a straight stitch down (1/4” seam allowance) until you get to the ¼ “inch mark you made. Stop sewing on that mark. Sew all 4 sides together to open it up like a table runner.
Step 7
With the right sides together, double check you have the bottom edge of the side of the bag, and sew the bottom square to the side square with a ¼ seam allowance. This time start sewing at the ¼” inch mark on one side of the bottom and sew until you get to the other side of the ¼” mark.
Stopping at the ¼” inch mark leaves room to sew in the corners of the bag. When you go to sew the second side to the bottom of the bag, fold the first side at an angle to keep it out of the way.
Step 8
Continue sewing on the bottom. At this point, there is 1 side seam that has yet to be sewn.

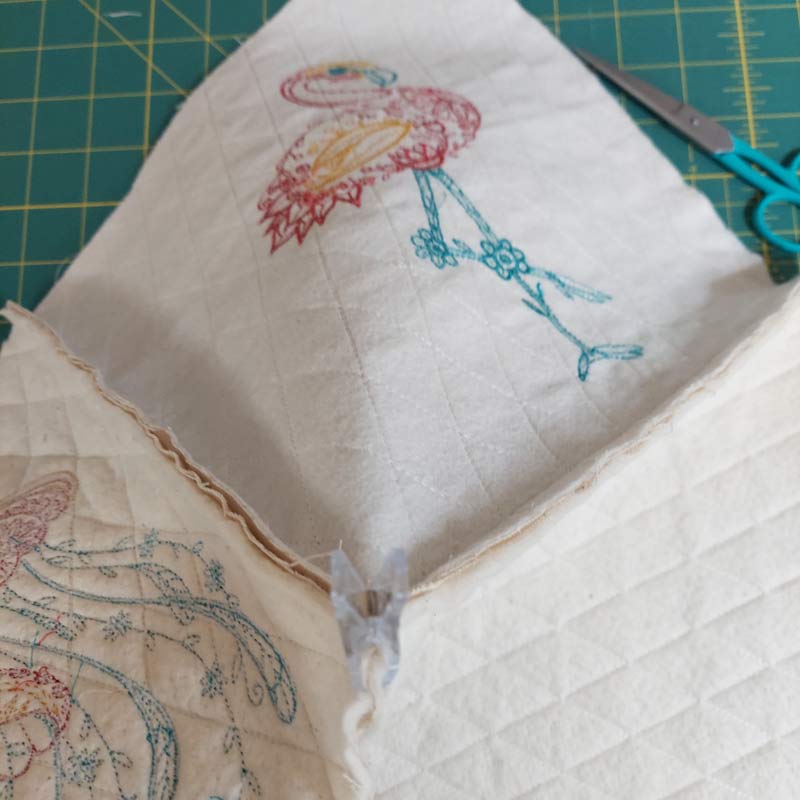
Step 9
Once you have completed sewing on the bottom of the bag, double-check that all embroideries face the same direction and that the corners lie flat without any gaps. If everything looks correct, sew up the last seam. Turn the cozy inside out and use the large ball end of the OESD Point & Press Tool to open the corner correctly.
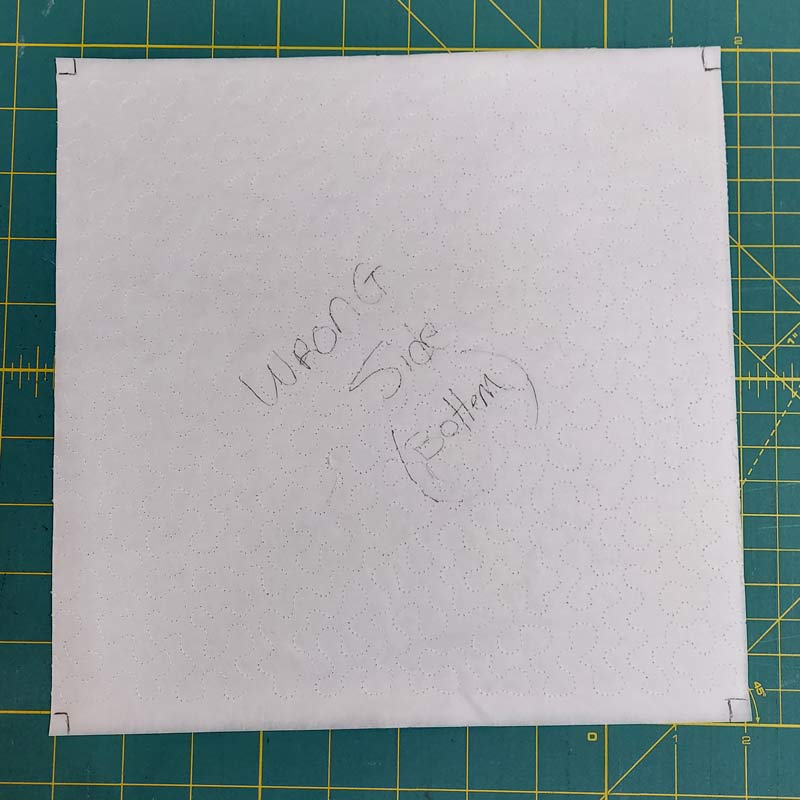
Step 10
Cut (5) 10” squares of OESD Soft Web. Fuse the OESD Soft web to the WRONG side of your (5) 10″ lining squares.

Step 11
Repeat steps 5, 6, 7 and 8 to sew the lining squares together. After the sides are sewn together, remove the paper side of the OESD Soft Web. Carefully score it and tear it away.
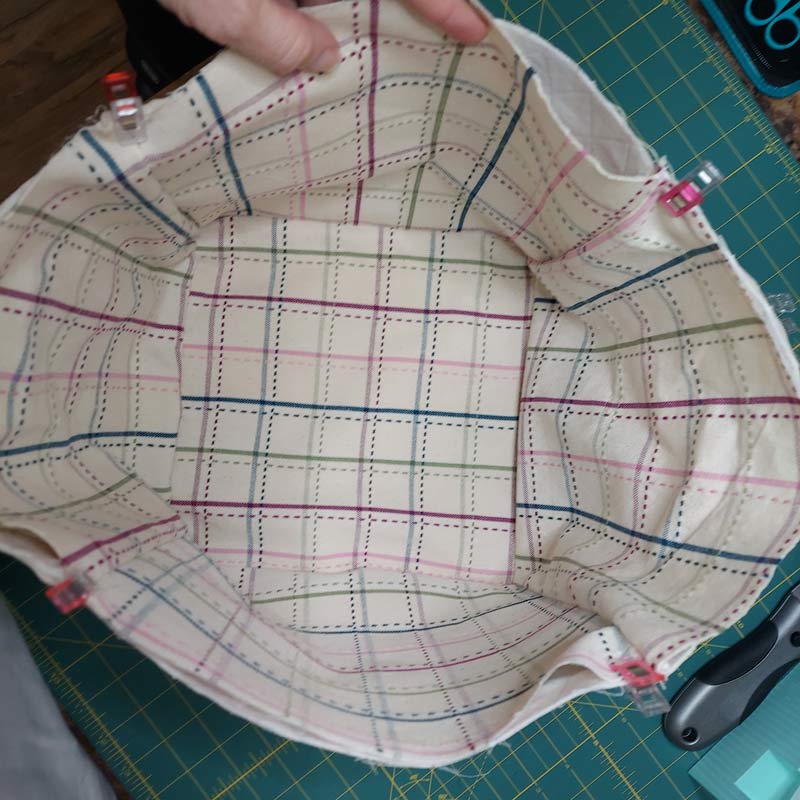
Step 12
With the lining complete, slide it inside the outer fabric cozy. Lining up the side seams as you slide it in place helps. Use clips to hold the corners in place.
Step 13
Attach the bias binding at the top with clips. Using a decorative stitch, stitch the binding down.

Step 14
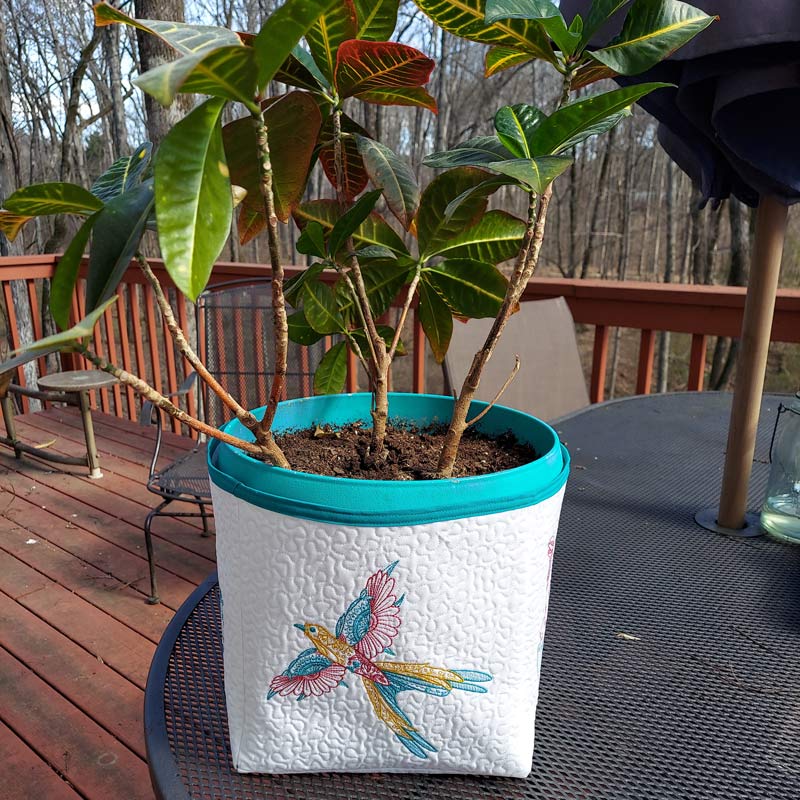
Enjoy your plant holder!

Make This Project Your Own!
You can cut your lining fabric 2 inches taller than the outer fabric. When it comes time to attach the lining fabric to the outer fabric, make a 1/4” inch fold all the way around the top of the lining fabric. (It should be taller than the outer fabric.) You can add some extra Fuse and Fleece to the top lining fabric that is taller and fold the lining fabric down to meet the edge of the outer fabric. Stitch it in place and have a cozy plant with a lip at the top.
These instructions are very easily scalable. Measure the height of the plant container you are making this for; let that measurement be the size of your squares. Don’t limit yourself to a square shape. This technique works well for oblong shapes as well. Be creative and have fun with your project.

JOIN US IN THE OESD COMMUNITY!
We hope you enjoyed this machine embroidery tutorial! Have you stitched your own Easy DIY Plant Holder? Come show off your work in our private Facebook group, The Perfect Stitch!