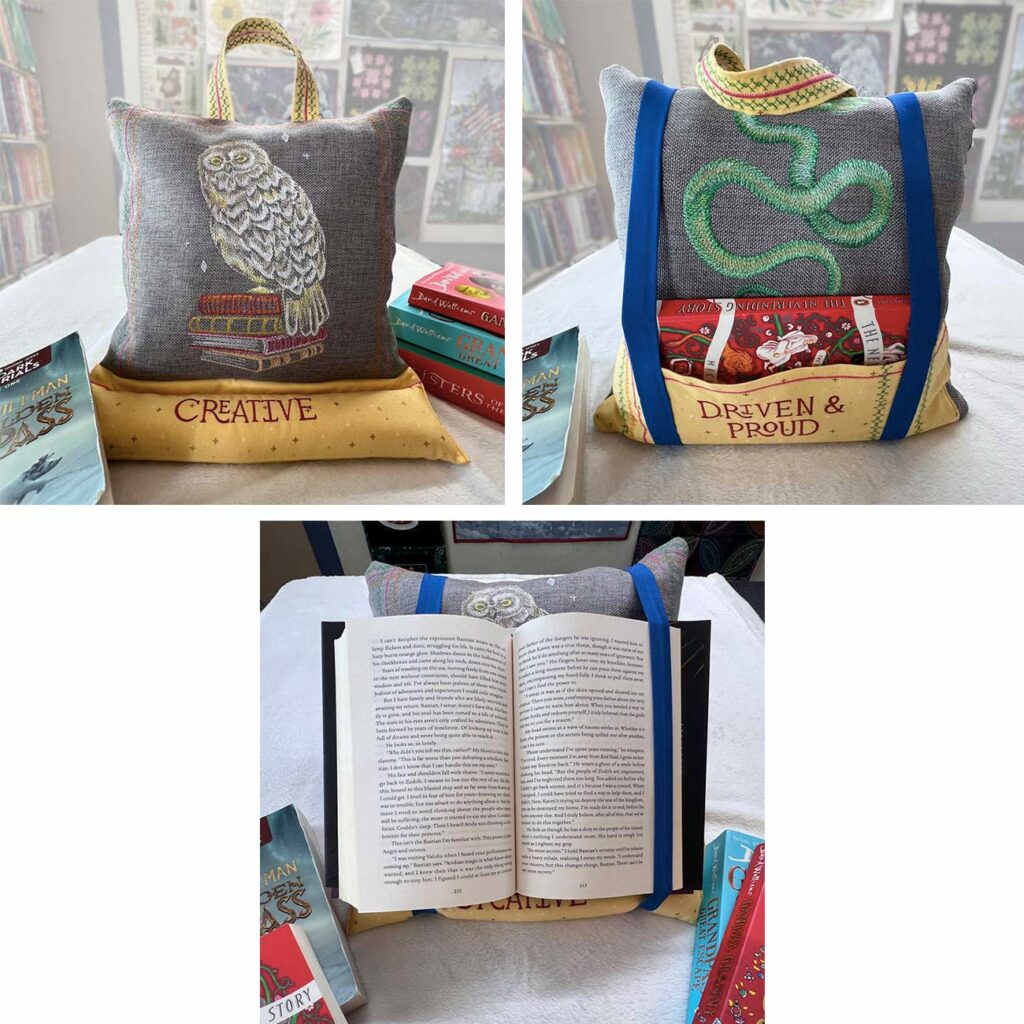
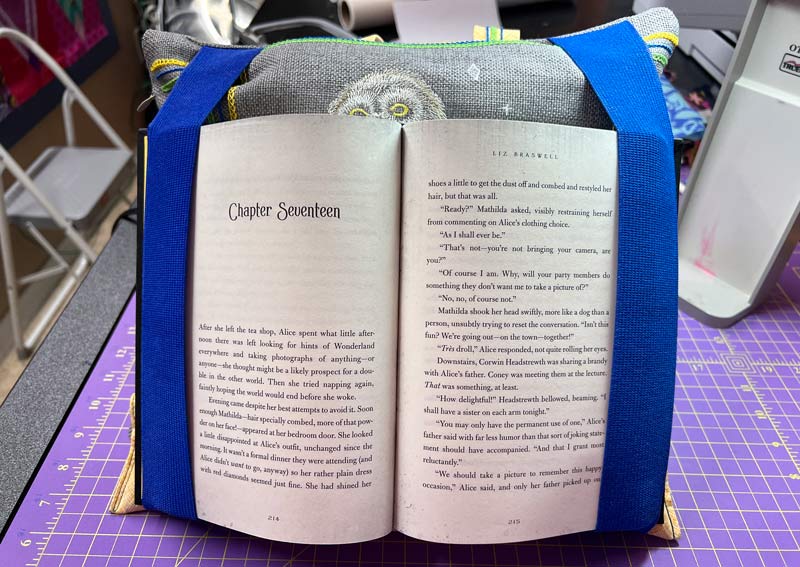
Are you an avid reader who is looking for a way to stay comfortable while indulging in your latest book? This DIY Reading pillow, decorated with eye-catching machine embroidery, is a great solution! Follow our detailed instructions to make your own animal-themed cushion that not only provides a place to rest, but also holds your book open and gives you a place to store it. Relax on the couch, read in bed, or you can even bring it with you to the library so you can show off your latest creation!
“My family and I are big readers! Before we had children, my husband and I would spend Saturdays at bookstores. Our daughter has followed suit and can be found nose deep at the nearest bookstore on any given weekend! So, if you’re like us, you’re going to love creating this fun and useful book holder!” – April J. , OESD Educator
Supplies:
- House Animals Designs PK50028
- House Animals Coordinating Thread
- OESD Fusible Woven
- OESD Medium Weight TearAway
- OESD SoftWeb
- OESD StabilStick TearAway
- OESD Heat2Go Topping
- Start Here Easy Sew Pillow Blank
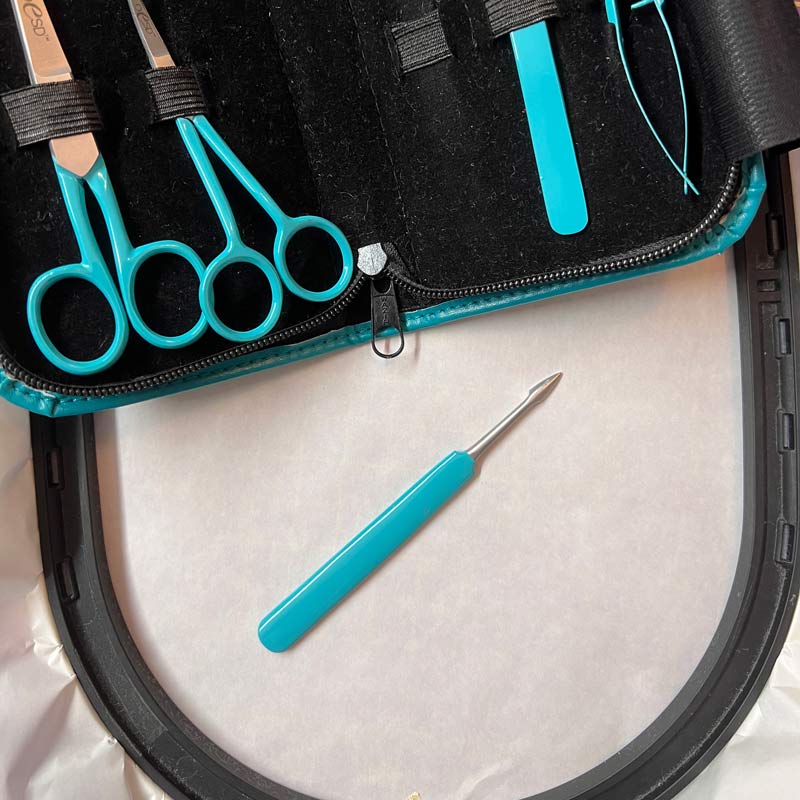
- OESD Expert Point and Press Tool
- OESD Button Clips
- OESD Perfect Embroidery Press Cloth
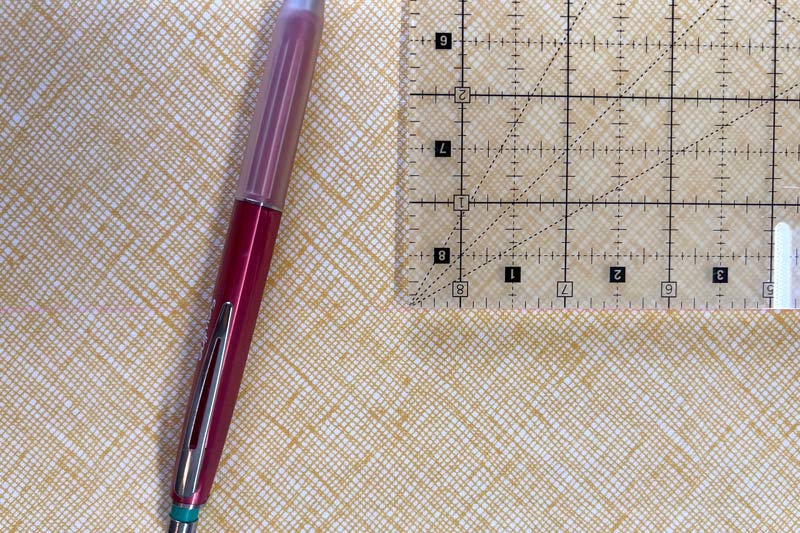
- OESD Perfect Pencil
- Fabric of your choice (see Cutting Instructions)
- 2- 12 1/2 pieces of elastic
- Monofilament Thread
- 12 weight thread for decorative stitches
- Rice or Walnut Shells
- 14″ Pillow Form
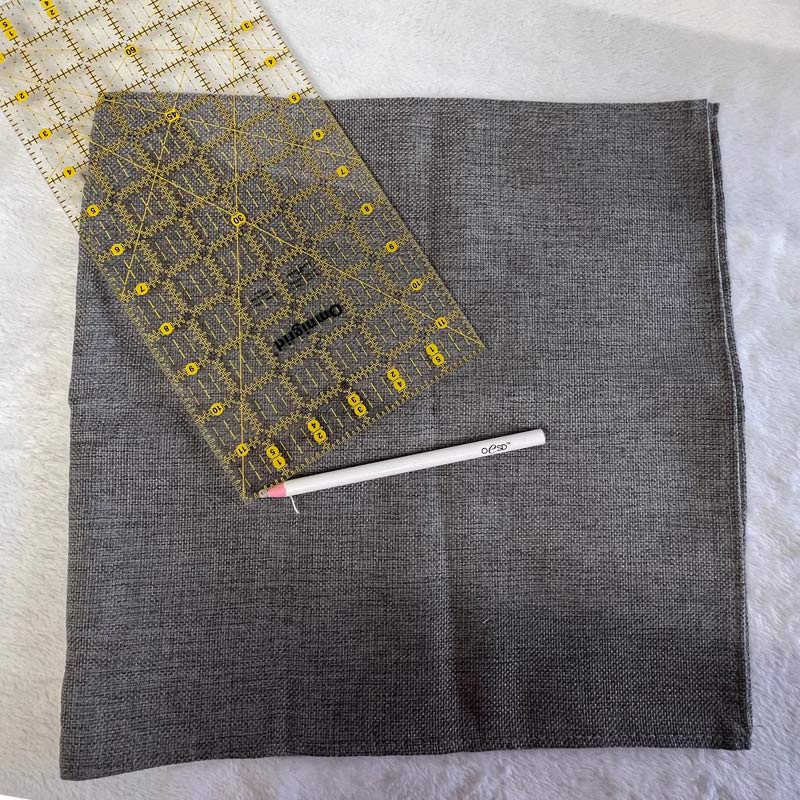
Cutting Instructions
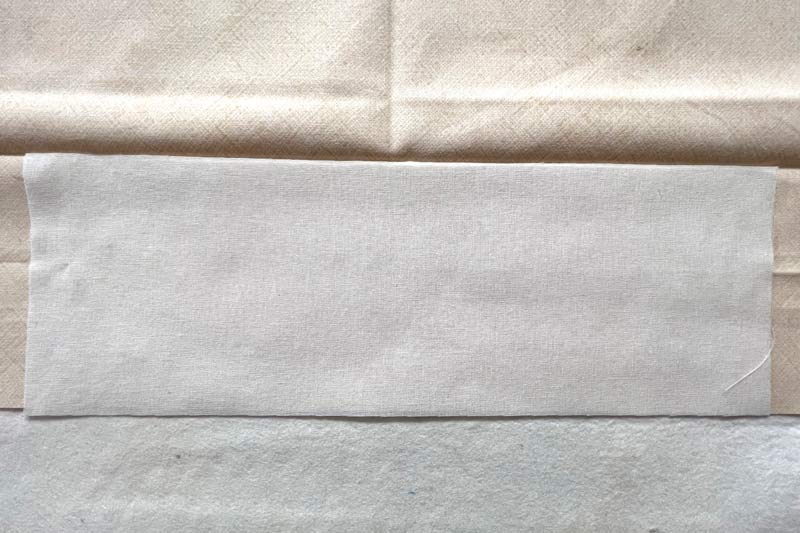
- Pocket Fabric: 10 x 13.5 inches
- Pocket Stabilizer: Fusible Woven 5 x 13.5 inches
- Handle Fabric: 2 1/2 x 10 inches
- Handle Stabilizer: Fusible Woven 1 1/4 x 10 inches
- Handle Fuse: SoftWeb 1 x 10 inches
- Prop Fabric: 10 x 14 1/2 inches
- Prop Stabilizer: Fusible Woven 10 x 14 inches
- Prop Seam: SoftWeb Two ¼ x 11-inch strips
Stitching The Pillow Blank
Step 1
Fuse a 13 x 13-inch piece of Fusible Woven to the back on each side of the pillow blank. With the zipper on the left side, mark the vertical and horizontal center of the pillow using the Perfect Pencil.
Step 2
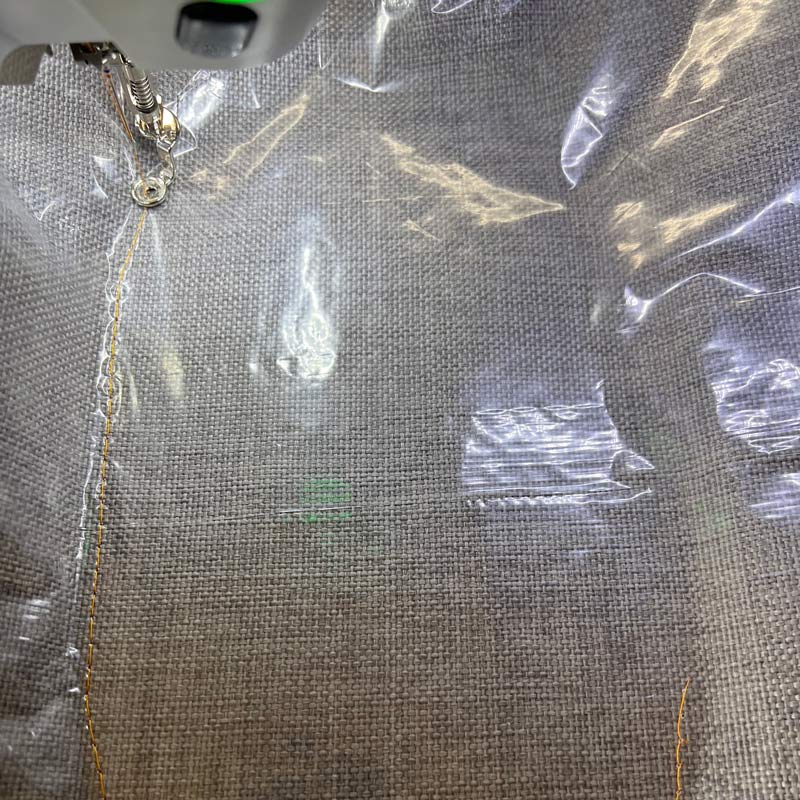
Hoop Stabilstick TearAway. Score and remove paper. Center the pillow form on the hoop. Use machine placement features to precisely place the design on the pillow.
Step 3
Top the hooped pillow with Heat2Go. Baste around the hooped pillow to hold the topper in place. Float a layer of Medium Weight TearAway under the hoop for the owl stitch-out.
Step 4
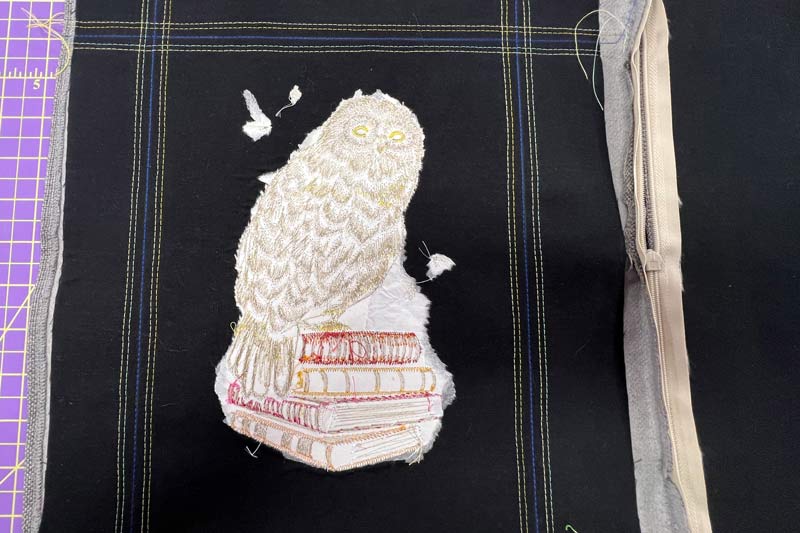
Stitch the owl design. Once complete, remove the basting stitches and tear away the Heat2Go Topping and TearAway stabilizer. Tear away one layer at a time, supporting the stitches to protect them.
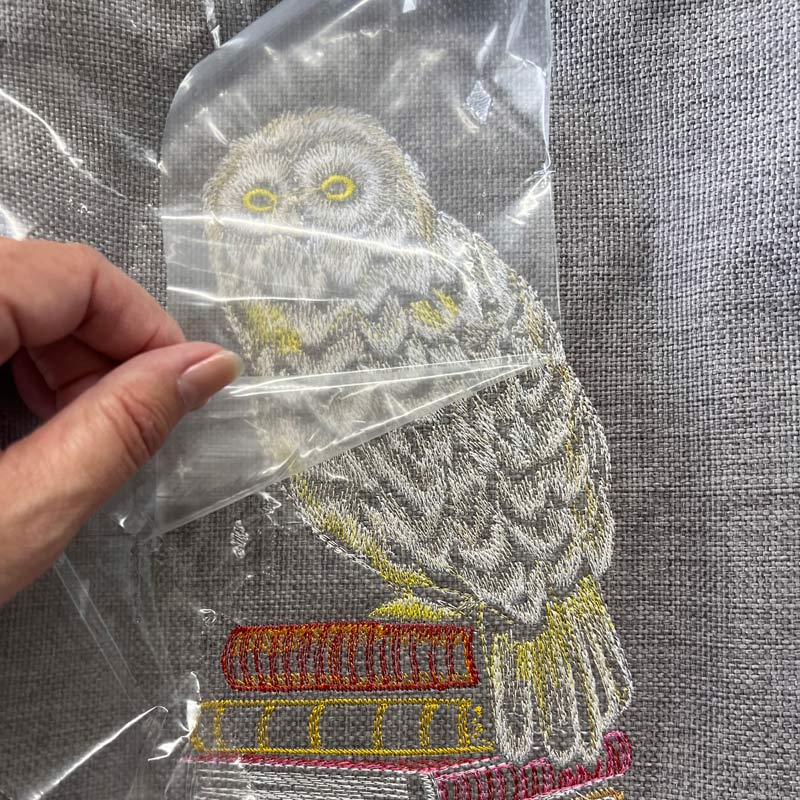
Step 5
Remove excess Heat2Go by ironing the embroidery. The Heat2Go will ball up from the stitches. Brush away.
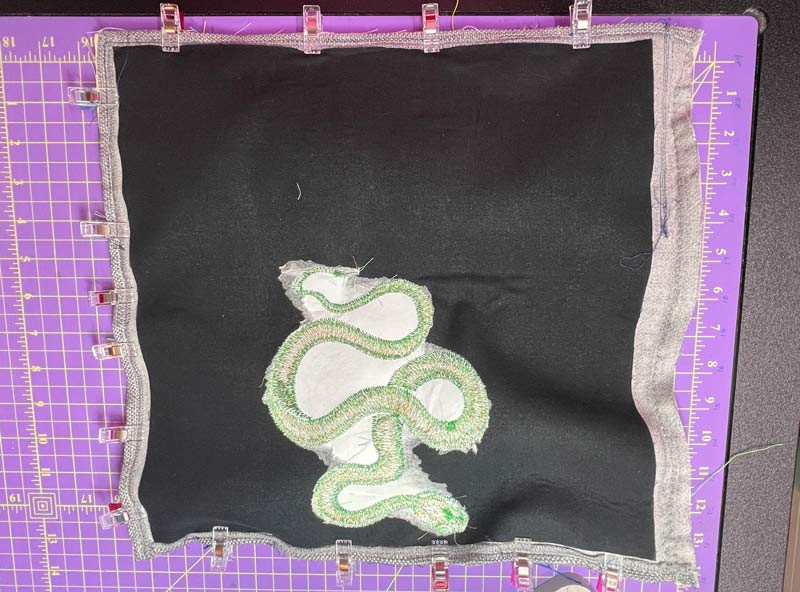
Step 6
Flip the pillow over with the zipper side to the right to continue on to the snake design. Mark the vertical center and mark the horizontal center at 5” from the top of the pillow.
Step 7
Repeat the above steps to stitch the snake design on the other side of the pillow.
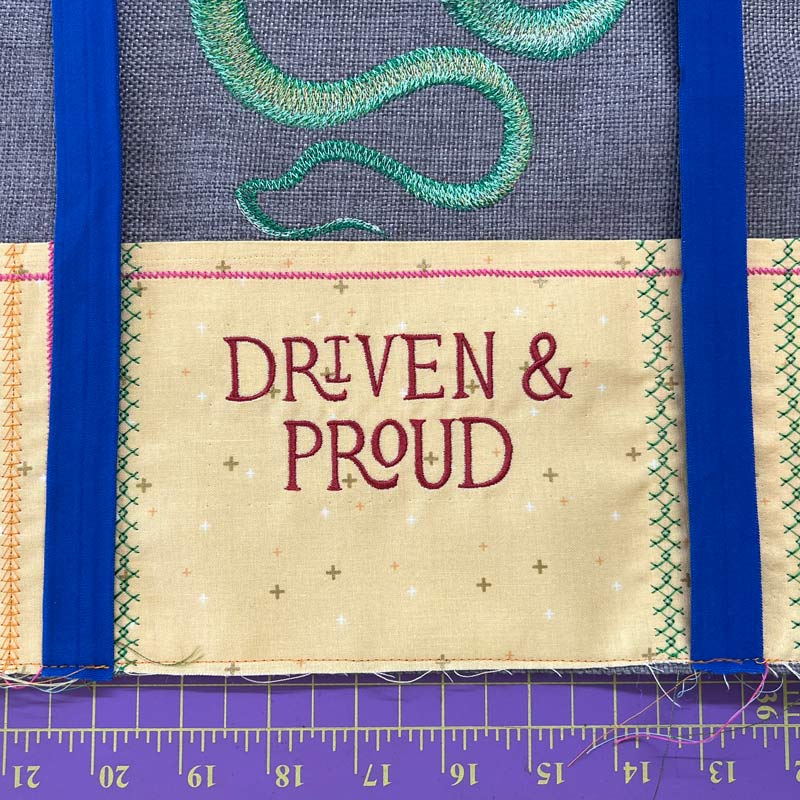
Step 8
Fuse a piece of Fusible Woven to the wrong side of the 5 x 13 ½ inch piece of pocket fabric along one of the long edges.
Step 9
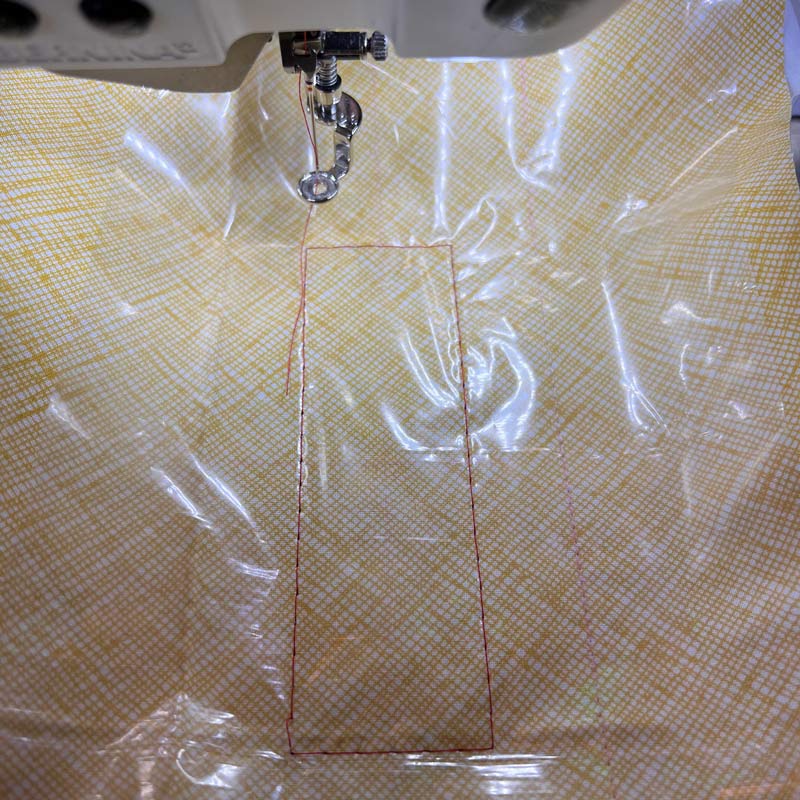
Fold pocket fabric along long edge and press to form a sharp crease. Mark horizontal center at 3 inches up from the bottom raw edge. Mark vertical center. Hoop Stabilstick TearAway. Score and remove paper.
Step 10
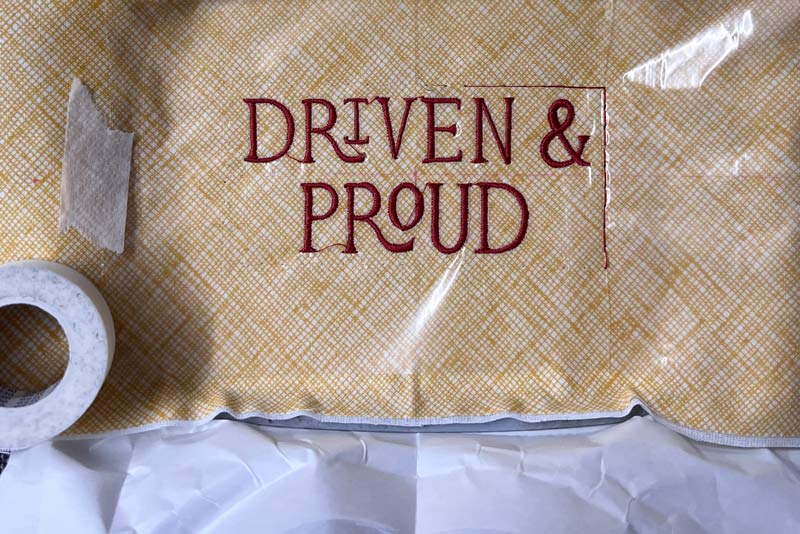
Using software or embroidery machine features, break apart the animal from your chosen words. Center the opened pocket fabric over the center of the hoop. Use machine placement features to precisely place the pillow. Be sure to open the fabric so you do not have raw embroidery inside the pocket!
Step 11
Top the hooped pillow with Heat2Go. Baste around the hooped open pocket fabric to hold the topper in place.
Step 12
Stitch the words on to the pocket. Remove all stabilizer.
Step 13
Refold and press the pocket fabric. Fold and press a ¼ inch seam on the right side of the pocket fabric.
Step 14
Thread machine with monofilament thread and stitch 1/8 inch from the right side to secure the seam allowance.
Making The Pillow Prop
Step 15
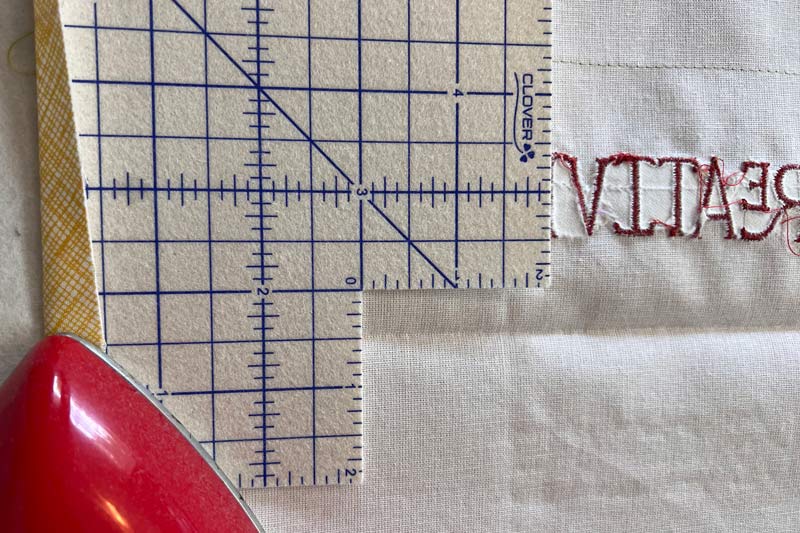
Iron Fusible Woven to wrong side of the prop fabric. Fold prop fabric in half long ways and press. Mark 3 inches from the folded side of the prop fabric using a marking tool that doesn’t disappear with heat. This is your stitch line for the walnut shells/rice/stuffing.
Step 16
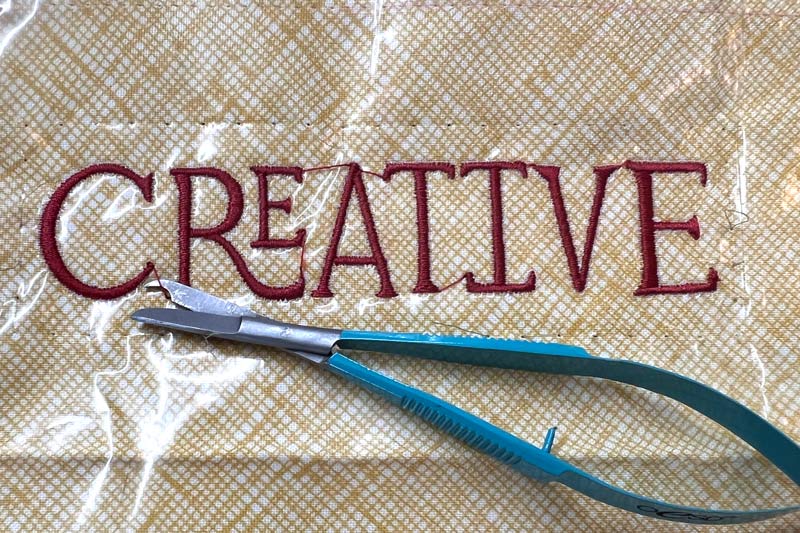
Mark 1.5 inches from the folded edge and 7 inches from the left side. We used the word ‘Creative’ to embellish the prop. Edit the design in your machine to delete the unused animals and words.
Step 17
Hoop Stabilstick TearAway. Score and remove paper. Center the opened prop fabric over the center of the hoop. Use your embroidery machine placement features to precisely place the prop fabric at the 1 1/2 “ mark.
Step 18
Top the hooped prop fabric with Heat2Go. Baste around the hooped prop fabric to hold the topper in place. Stitch your design.
Step 19
Fold and press a ½ inch seam on the left and right side of the prop fabric. Once you have a crisp fold, iron a ¼” x 11″ piece of SoftWeb into the seam to hold in place.
Step 20
Stitch along the 3” marked line securing your start and stop. Stitch a row of stitching in ½ – 1” increments down the length of the prop fabric. Stitch the left side of the prop fabric on the ½ turned seam with a ¼ inch seam allowance securing the start and stop.
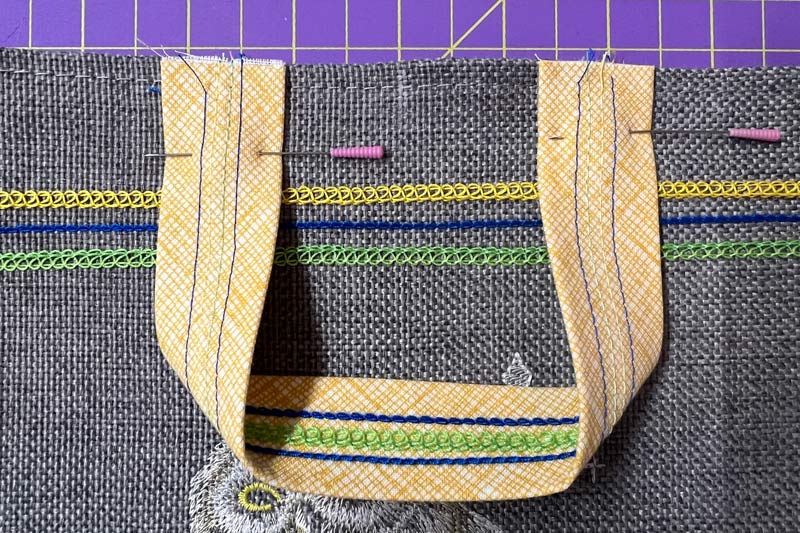
Making the Handle
Step 21
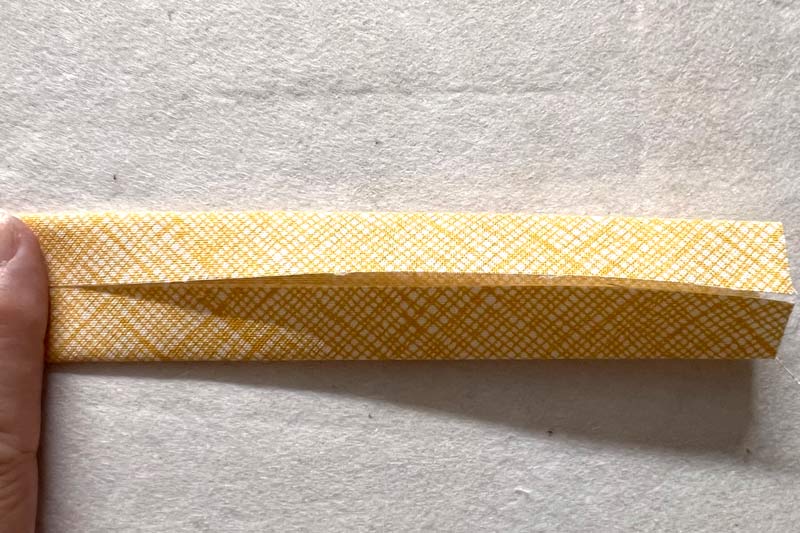
Press handle fabric in half long ways, then fold each side over to the center to create a 1 1/4 x 10 inch handle.
Step 22
Open the handle and fuse Fusible Woven and Soft Web to the inside of the handle to add stability and hold raw edges closed.
Decorative Stitch Accents
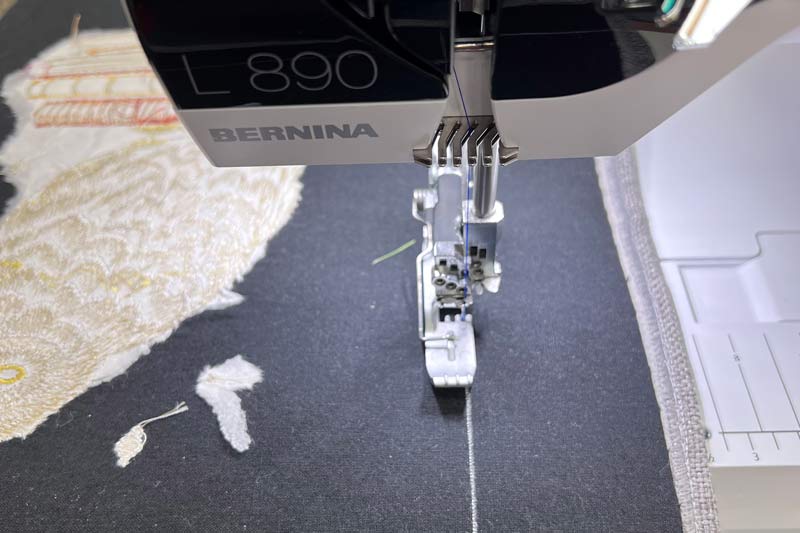
Note: If you don’t have a serger with coverstitch capabilities, audition decorative stitches and use a 12 weight thread to achieve a similar look.
Step 23
Set up Coverstitch machine for 2 thread chain stitch using a 12-weight thread. Top stitch ¼ inch from the top of the pocket fabric (wrong side) and 2 inches from each side of the embroidery.
Step 24
Mark the wrong side of the owl embroidery 2 1/2 inches from each side of the embroidery and 1 1/2” from the top of the owl’s head. Chainstitch on the lines.
Step 25
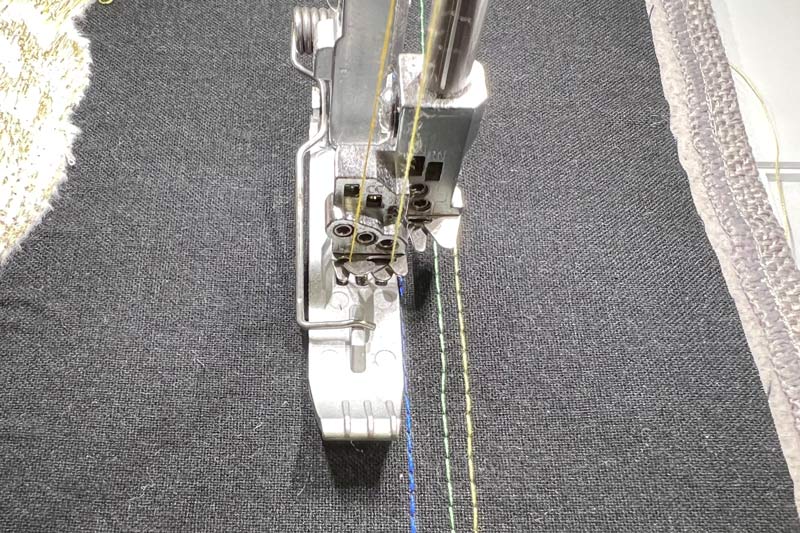
Set up coverstitch machine for 3-thread narrow coverstitch using 12-weight thread in decorative looper. Stitch ¼ inch away from the chainstitch on the left and right side.
Step 26
On the wrong side of the owl embroidery, stitch ¼ inch away from the chainstitch on the left and right side using the 3-thread narrow coverstitch.
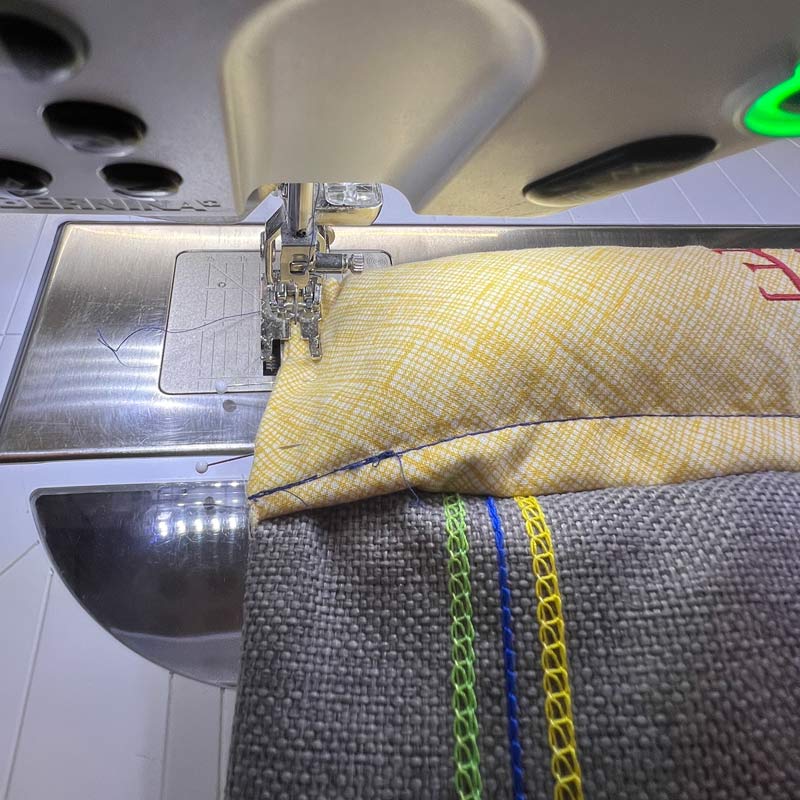
Constructing the Finished Pillow
Step 27
Center the pocket fabric on the bottom edge of the pillow below the snake embroidery. Thread machine with monofilament thread and stitch 1/8 inch around the left, bottom, and right side. Stitch another 1/8 inch inside to secure the seam allowance.
Step 28
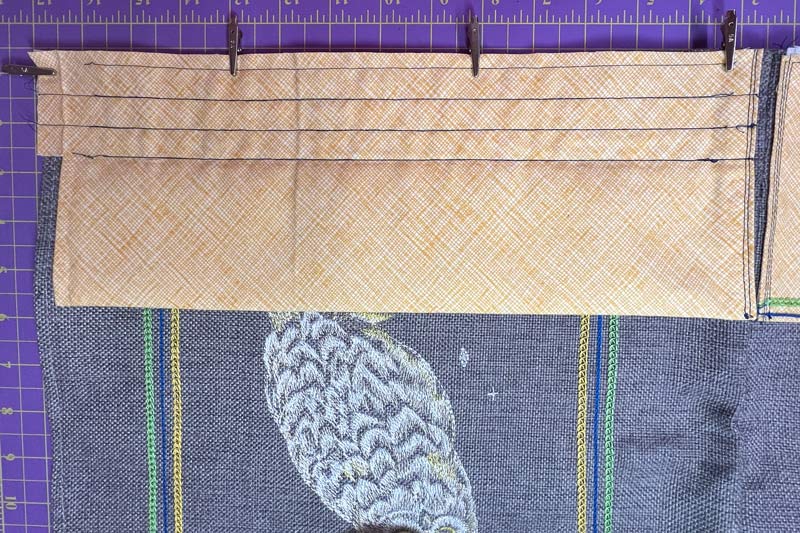
Center the handle’s raw edges on the owl side of the pillow with raw edges up. Repeat on the snake side with the two pieces of fold over elastic. Note: The pieces will be oriented inside the pillow. See photos.
Step 29
Stitch the handles and elastic pieces 1/8 inch from the edge.
Step 30
Stitch the prop fabric 1/8” from the bottom of the owl embroidery. Unzip the zipper.
Step 31
Fold pillow right side together. Button clip the edges. Stitch ¼-3/8 inch around the three sides—reinforce the corners with a backstitch. Note: Do not sew over the prop fabric on the right side. It is meant to only be sewn along the bottom edge.
Step 32
Turn pillow right side out. Fill the prop fabric tube with Rice or walnut shells. Iron the second piece of SoftWeb to hold the ends closed.
Step 33
Thread machine with monofilament thread and stitch 1/8 inch from the right side and another 1/8 inch to secure the seam allowance.
Step 34
Use the Expert Point and Press tool to sharpen the pillow corners. Fill with your pillow form and enjoy!

JOIN US IN THE OESD COMMUNITY!
We hope you enjoyed this machine embroidery tutorial! Have you stitched your own DIY Reading Pillow? Come show off your work in our private Facebook group, The Perfect Stitch!