by Laura Pifer, Trash to Couture
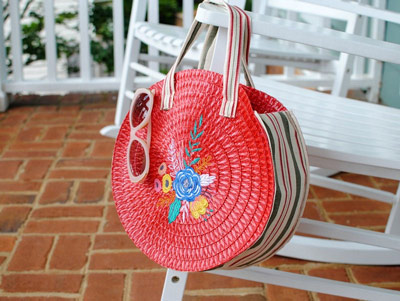
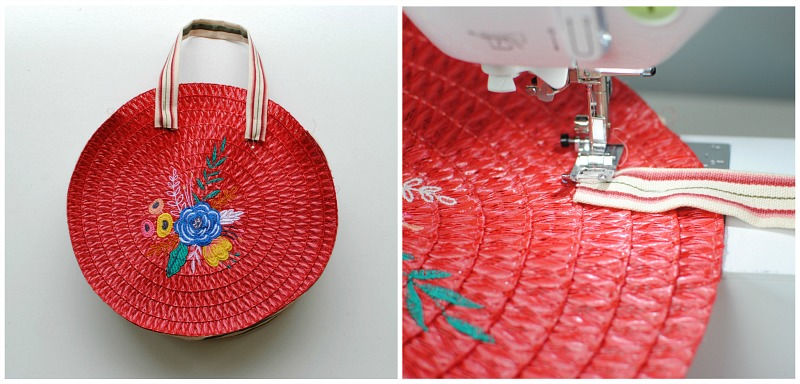
Turn a set of placemats into a fun wicker roundie bag in no time. Add a pretty detail from the Let It Grow embroidery collection. Yes, you can machine embroider on wicker too! Get the details below and make your own placemat bag or even just custom embroidered placemats!
Supplies
- Scissortail Stitches’ Let It Grow #51227 embroidery collection
- OESD Ultra Clean and Tear
- OESD AquaMesh WashAway
- Isacord embroidery thread
- 505 Temporary Spray Adhesive
- Round wicker placemat
- Medium weight to heavy weight fabric (cotton duck, canvas)
- Optional interfacing for bag making
Instructions
Embroidery
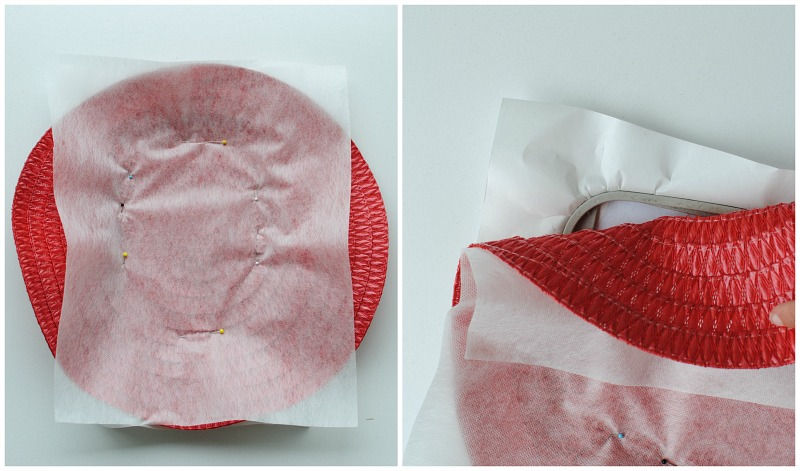
- Hoop a sheet of Ultra Clean and Tear stabilizer and spray with 505 Temporary Spray Adhesive.
- Position the placemat over the center.
- Use a WashAway stabilizer as a topper to cover the hoop area.
- Pin all layers together making sure design does not go near pins when stitching.
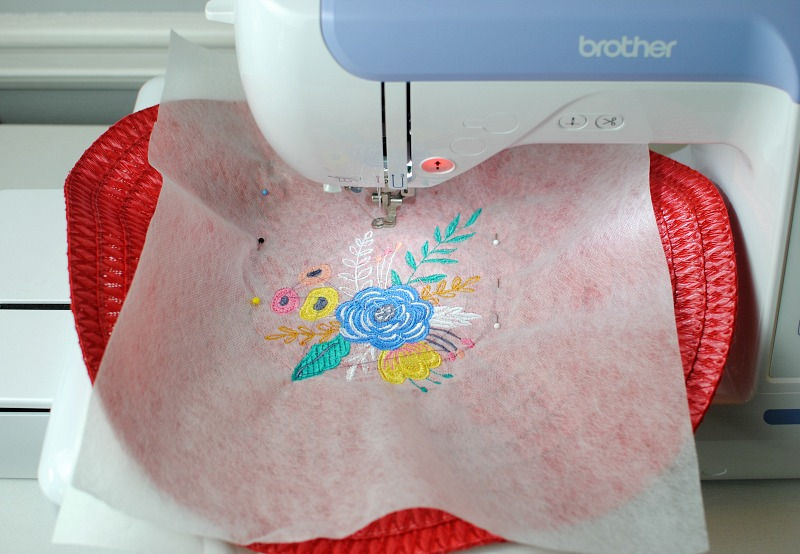
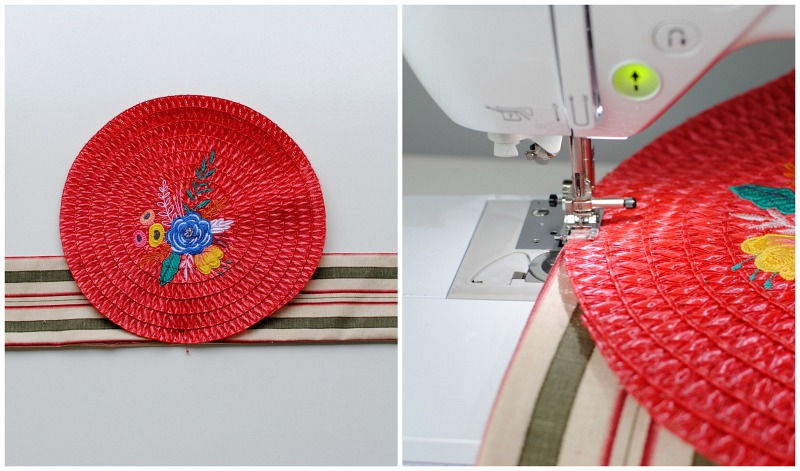
- Embroider the design in the center.
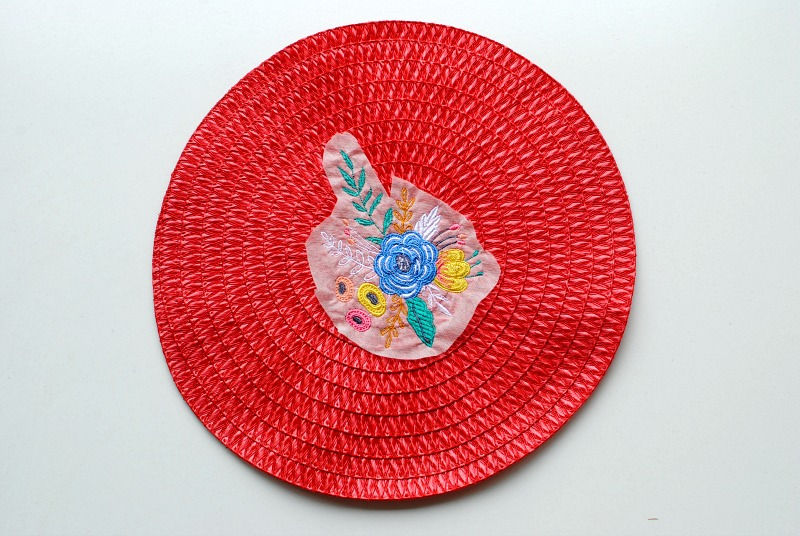
Trim down stabilizer and remove additional stabilizer with water.
Construct the Bag
Note: My placemats were trimmed down to equal an 11.5″ diameter. I did this by unpicking the stitches of the outer sections and removing some of the layers of the wicker strips till it equaled about 11.5.” I did have to stitch the outer layer back on so it formed a circle. Just cut your strips based off your placemat measurement. It’s a good idea to have about 10″ for the top opening.
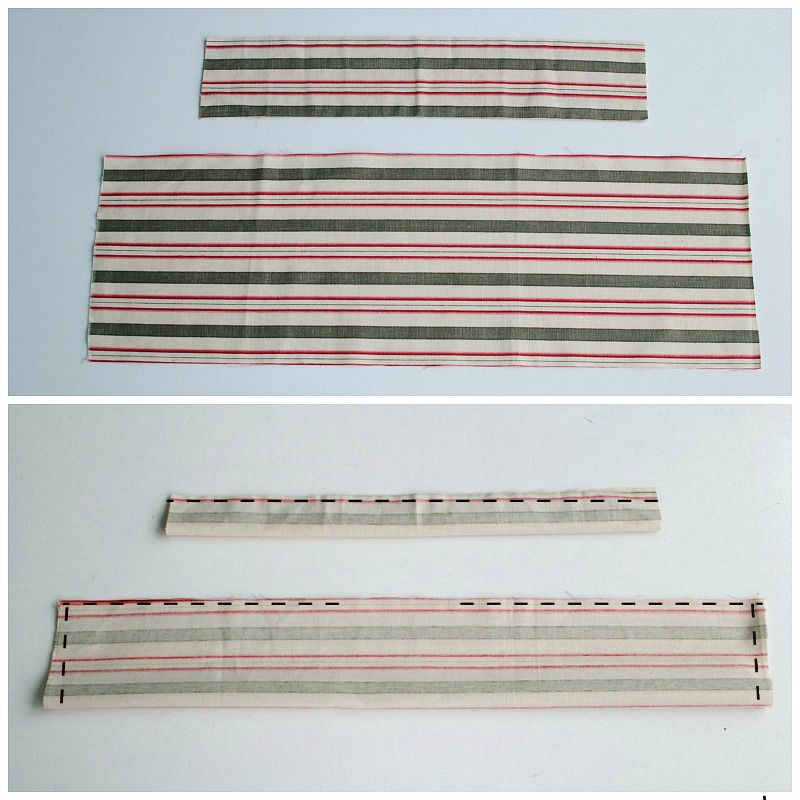
- Cut 1 (bag base) rectangle of fabric that measures 27.5″ x 8.5″
- Cut 2 (handles) that measure 17.5″ x 2.5″
- Cut interfacing same measurements above.
If you want to use interfacing press to materials before stitching.
Fold materials right sides together and stitch as shown above. For the handles just sew along the top edge.
For the bag base sew all edges but keep a 3″ opening in the center to flip right sides out.
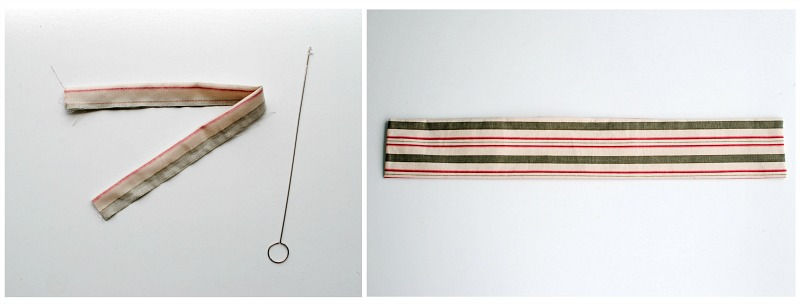
Clip corners of base, flip right sides out, and press. I used a loop turner for the handles.
Pin center of base bottom to center bottom of one placemat WRONG sides together. Top stitch the pieces together just 1/8″ or so from the edge.
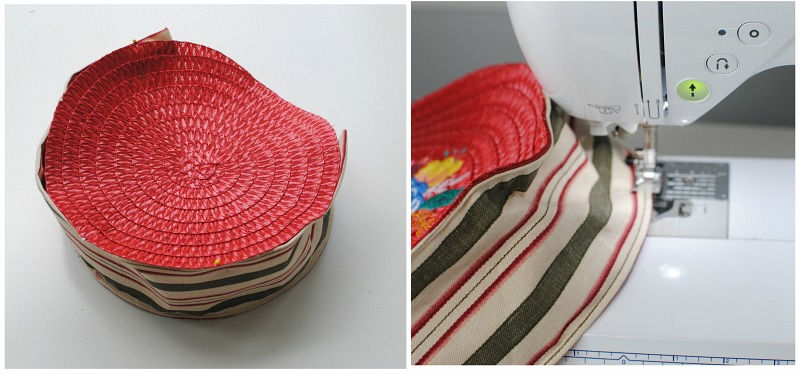
Pin other side on and repeat. It does get a little trickier but you can maneuver the materials to sew around.
Pin the handles on the back and front so they’re visually even. Stitch a square and x in the center to secure. For closures you can use a sew on snap, toggle, D-Ring and Hook set.
I made a couple in different colors. They’re a fun easy project to make in multiple colors.
This material is © OESD, LLC and may not be reproduced or published without permission.