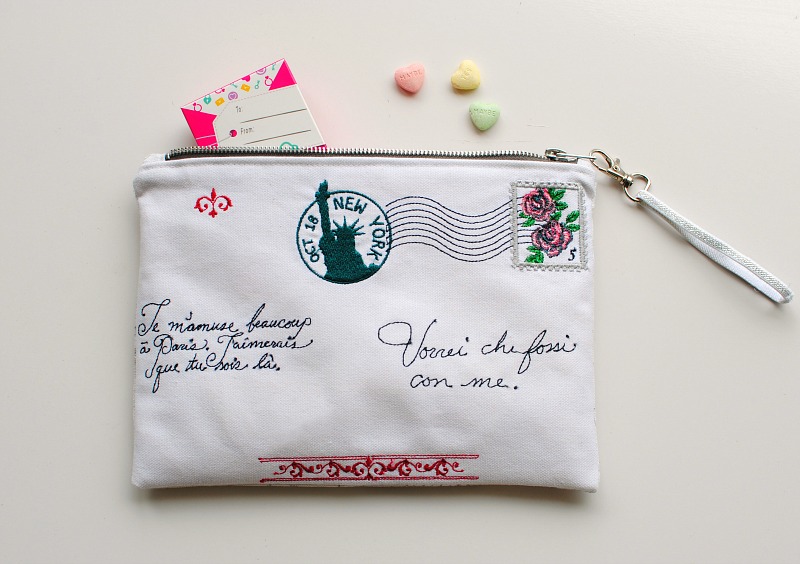
by Laura Pifer, Trash to Couture
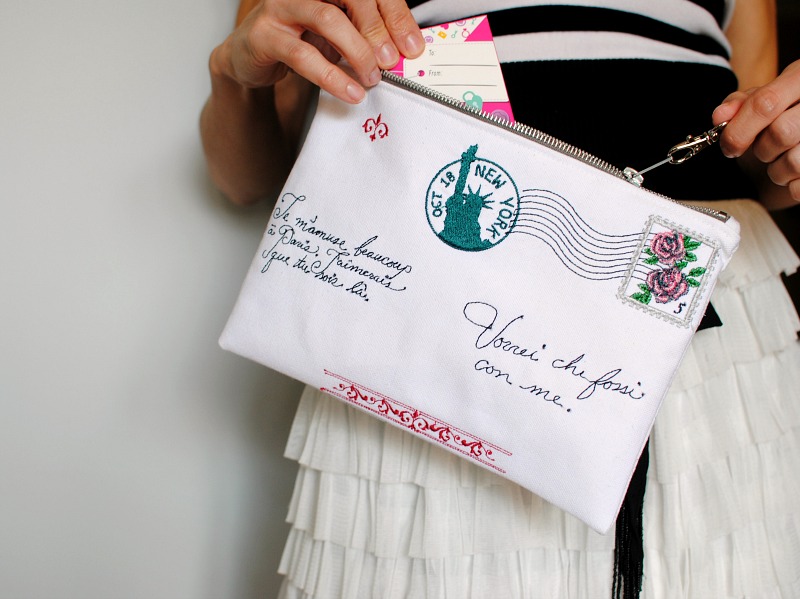
Every year I like to do a DIY Valentine’s Day project for the blog. I had my eyes set on this embroidery collection: Letter’s Home from OESD for a while now but never had a specific project in mind. I guess I just needed February to roll around so I could get in the Valentine’s Say spirit. After creating a sample, I knew this would make a darling zipper pouch. This is such a cute handmade gift to fill it with sweets for Valentines Day! Get the details below and make your own.
Supplies
- OESD’s Letters Home #12383 embroidery collection
- OESD Fusible Woven CutAway Stabilizer
- Coats 9″ Fashion Closed End Zipper or an All Purpose Zipper
- Medium weight fabric: Liner, Main, Tabs (see measurements below)
- Swivel Hook
- Tassel Cap
Instructions
Begin by cutting the main piece to your desired size. For the front I’m using a James Thompson Cotton Duck, it embroiders very nicely. The back is a printed cotton duck and liner is a gingham cotton.
I wanted a zipper pouch that would fit my 9″x zipper so I adjusted my measurements according to this. The general rule is your fabric pieces should be 1.5″ longer that the zipper length. So I made my zipper pouch 10.5″ x 8″ and that way it was large enough to fit all the embroidery on the front that I wanted. Use a fusible medium weight stabilizer on the back.
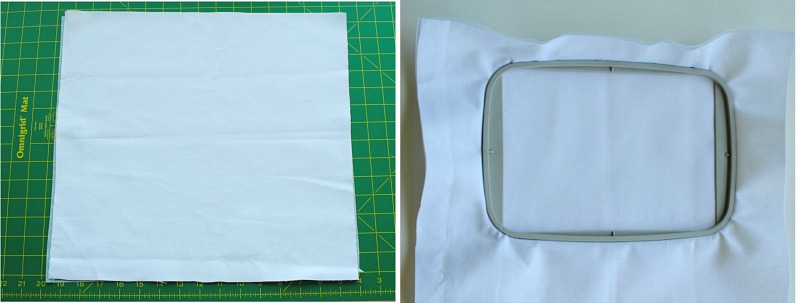
I have a 5″ x 7″ hoop so I had to re-hoop a couple times to get all the designs to fit. My Brother PE 800 Embroidery machine makes this easy for me to do because I can add several designs together on the touch screen. Also make sure you keep in mind seam allowance (1/2″ or so) when embroidering.
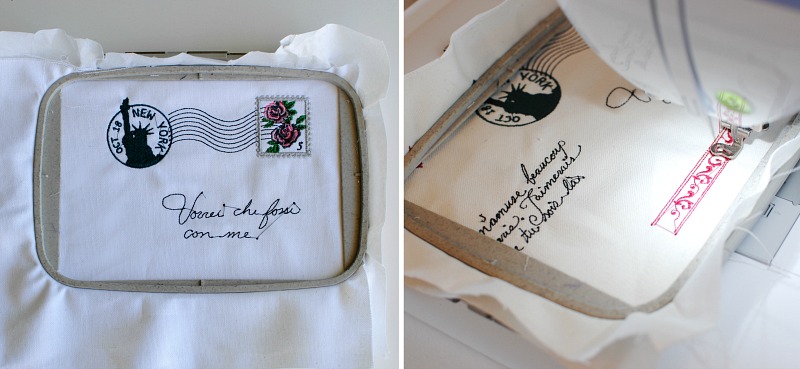
Once embroidery is complete let’s turn this work of art into a project!
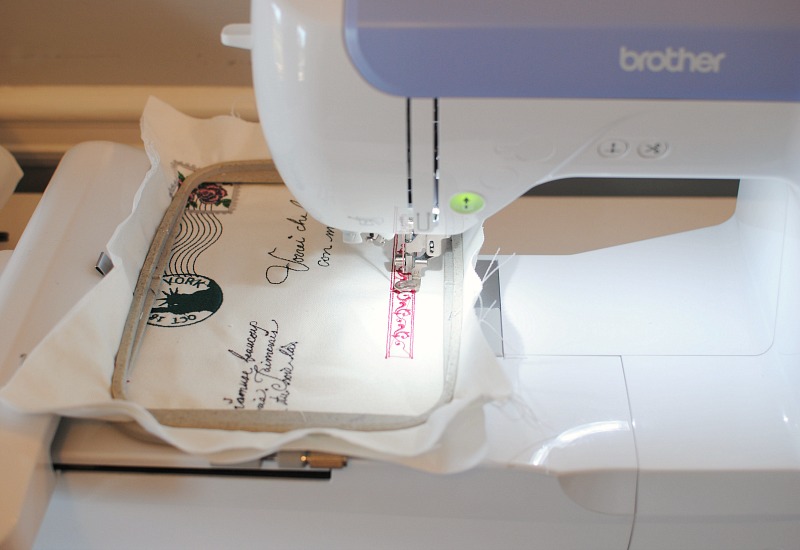
Cut your fabric pieces out:
- 2 Main (embroidered and back) 10.5″ x 8″
- 2 Liners 10.5″ x 8″
- 2 zipper tabs 2″ x 3″
- Optional medium wt. fusible interfacing (10.5″ x 8″) for main pieces which I did. I don’t mention this in the steps below so it’s a good time to complete this step before proceeding.
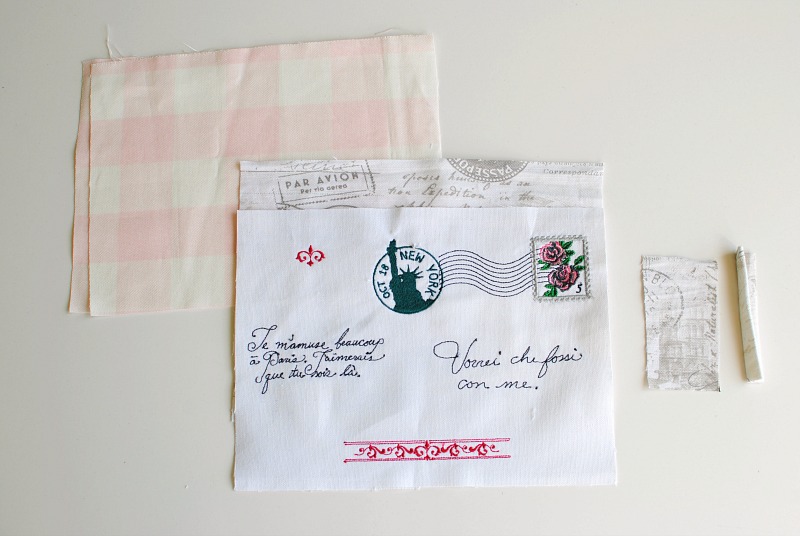
To make the zipper tabs fold the outer edges to meet in the center, press, and then fold them together and press to create a double folded tab.
Place over the bottom and top tape ends and top stitch just along the edge. Repeat for both ends. You can cut the tape ends slightly if need be so the tabs fit over them.
Trim the end of the tabs to fit the zipper width.
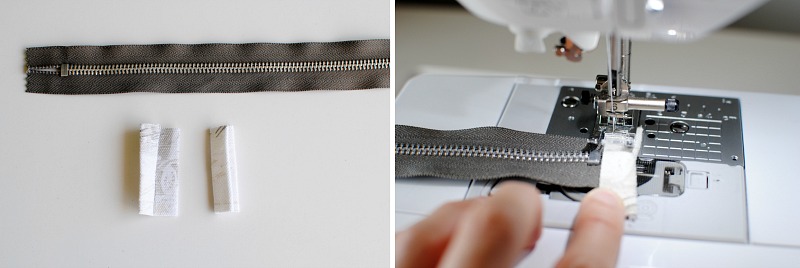
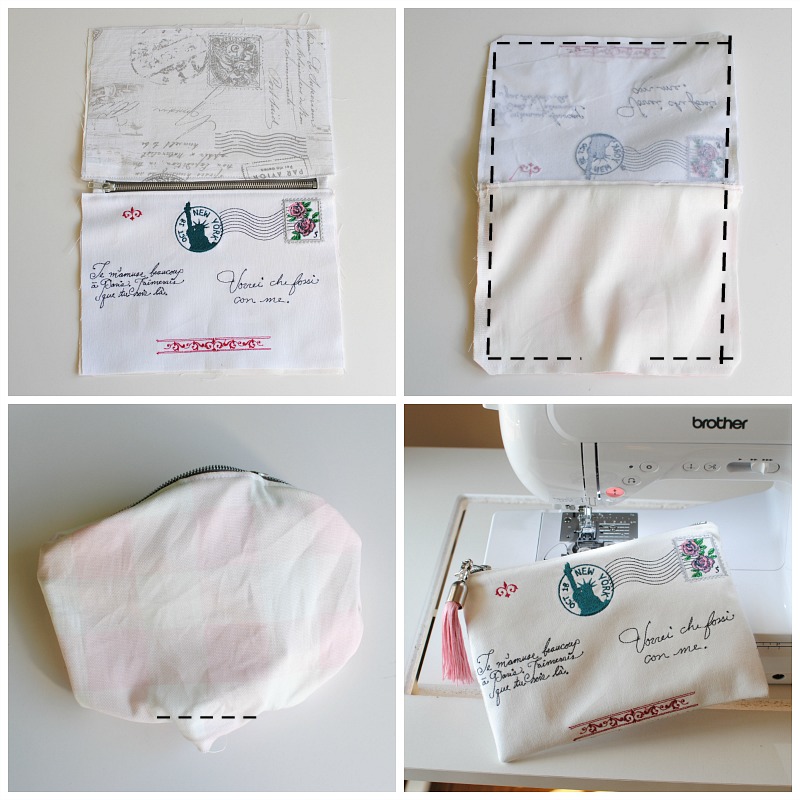
The zipper will look like top left image. Now place it on top of the liner (right side up). Then place the main embroidered piece over the zipper and liner. Pin. Use your zipper foot and sew just along the top. you wont be able to see the zipper so you can use your finger to make sure you’re not going to hit the teeth. My zipper foot stays right in the groove anyways.
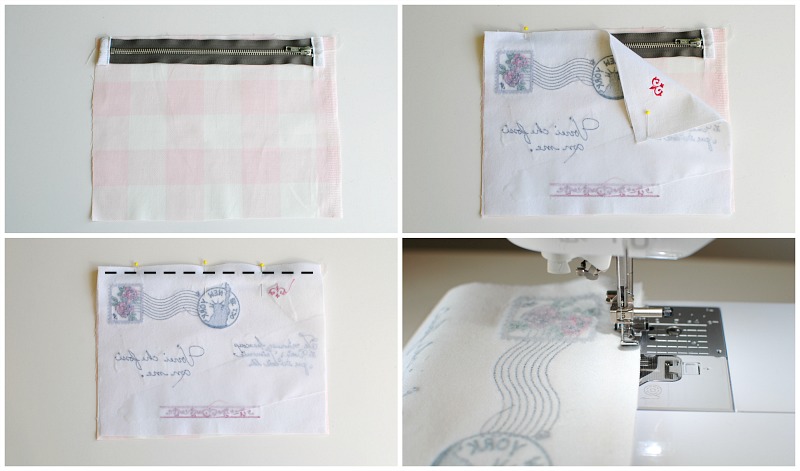
Flip right side out and press then top stitch just 1/8″ from the edge keeping the fabric away from the zipper. Now lay the other liner down (face up). I used an arrow to point that the liner is behind the pieces in the image. Place the embroidered piece with zipper on top of the liner, then add the other back main piece with right sides facing. Pin and sew like above. Repeat the top stitch as well along the top edge.
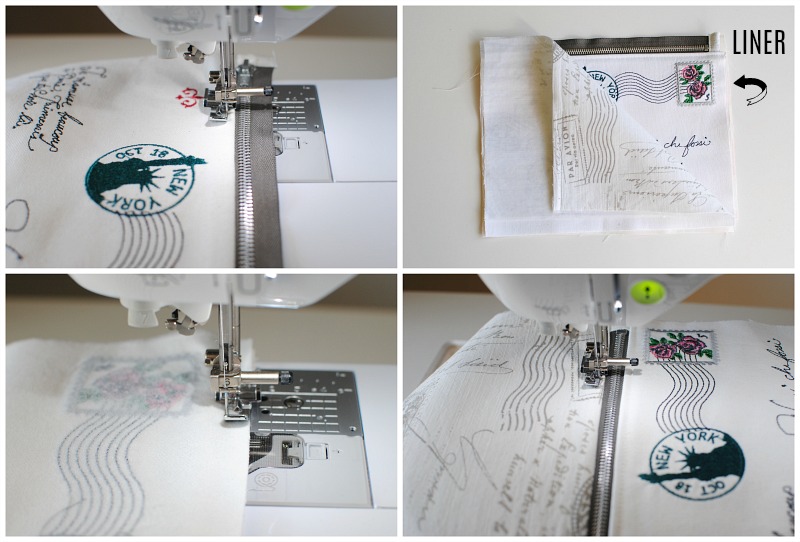
Lay the zipper flat and press the pieces. OPEN the zipper to the center. Fold so right sides of main pieces and right sides of liners are together. Pin and mark off a 2″ gap at the bottom center of the liner. Sew all the way around with a 1/2″ seam allowance leaving the 2″ gap open. Clip corners. Flip right side out through the opening and push out corners. Flip the liner in through the zipper opening. Last sew the opening closed. Add a swivel hook and strap or fun tassle.
This material is © OESD, LLC and may not be reproduced or published without permission.
