by Laura Pifer, Trash to Couture
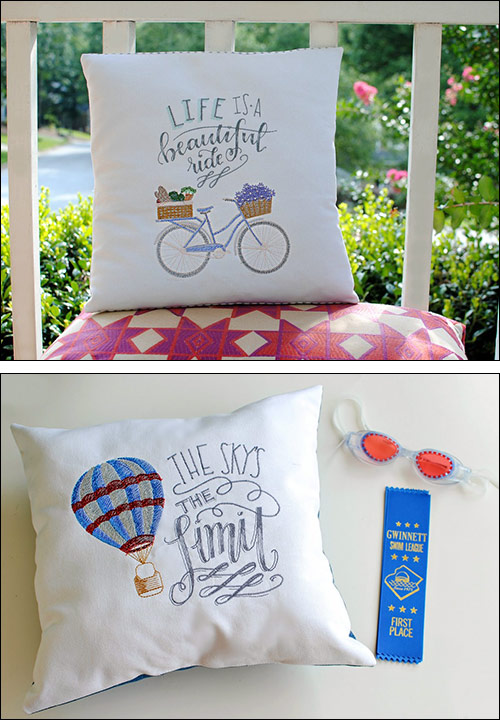
We moved to our home about a year ago and I’m finally getting around to setting up the outdoor living spaces. We are outside often and I’m usually out there working when I can. When I saw the Summer collection by Shannon Roberts #80279, I knew I wanted to jazz up these spaces with some DIY home decor. I made a simple pillow pattern and a fabric bin. These would also be great framed for wall art or even on garments.
Get the details below and make your own:
Supplies
- OESD’s Summer by Shannon Roberts #80279
- 18″ squares of medium weight fabric (1 front, 1 back)
- Ultra Clean & Tear Stabilizer
- Isacord Thread
- 5″ x 7″ hoop
Instructions
Cut out your pillow pattern. You will need a front and a back. My squares are 18″ x 18″. I’m using a James Thompson Cotton Duck. I love this fabric for embroidery and pillows. It has a soft touch and a medium weight for dense embroidery patterns. For the back of the pillow, I am using a medium weight denim and a striped cotton duck.
Stabilize the back of your front piece. I first pressed a lightweight fusible interfacing (Pellon) made for garments on the back. This helps with the overall sturdiness of the pillow and embroidery. I got this tip from Joanne Banko who is a pro at machine embroidery and sewing. I then used a medium weight tear away stabilizer (Ultra Clean & Tear).
The fabric pin was a tutorial I did here. Just omit the handles and alter the dimensions to be more long and narrow. I used the same white cotton duck. I then stuck a flower pot inside. These are cute for gifts too!
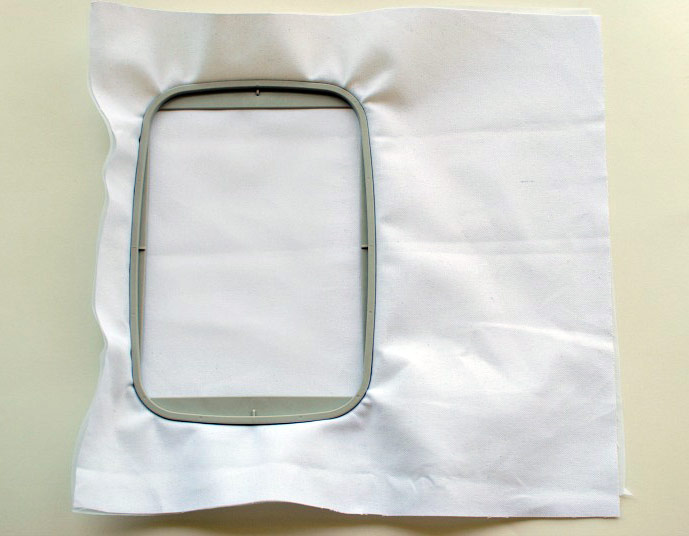
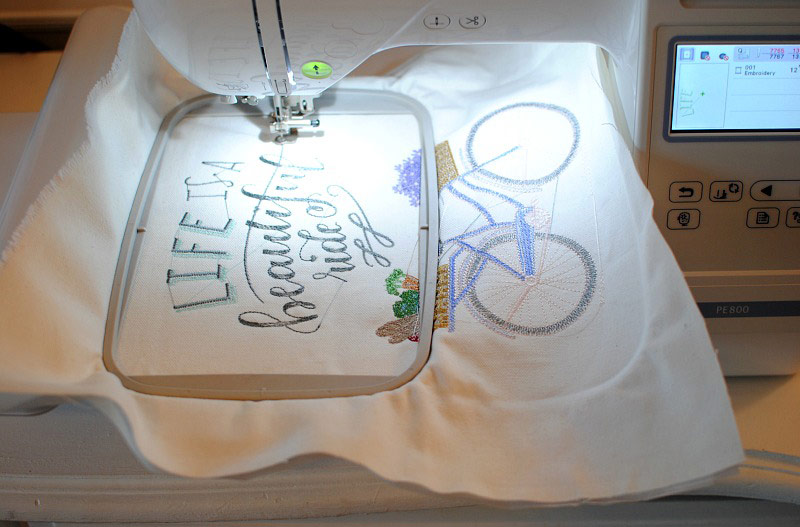
Because the largest embroidery area I have on my sewing machine is 5″ x7″ I embroidered into sections. The key is just making sure everything is even when you are hooping. I like to press a line down the center front of the fabric and center side forming a cross. This way I’m able to hoop evenly and center the embroidery design as well. You can use a fabric marking tool as well if you’re worried about a fold in the fabric from pressing.
The collection does have a jumbo pattern you can embroider if you have a large enough hoop. I could resize the design to make it smaller but I wanted a large design on the pillow.
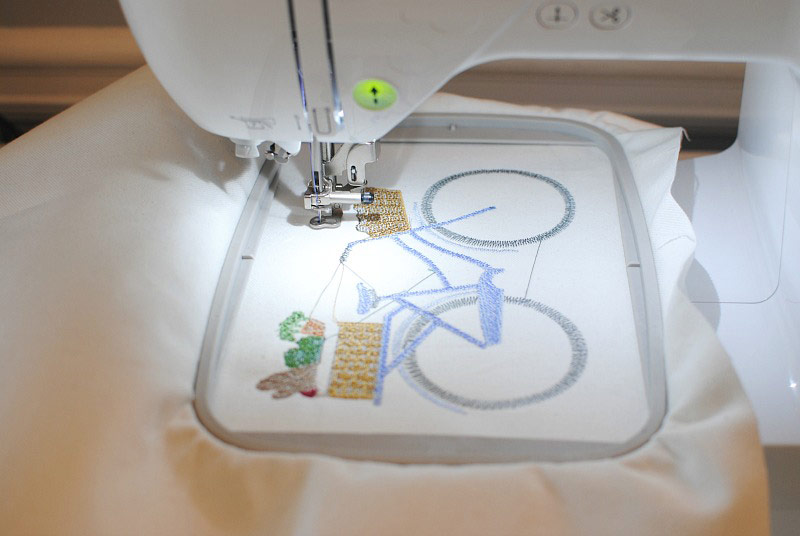
Once you’ve stabilized and hooped the front piece you are ready to embroider away…
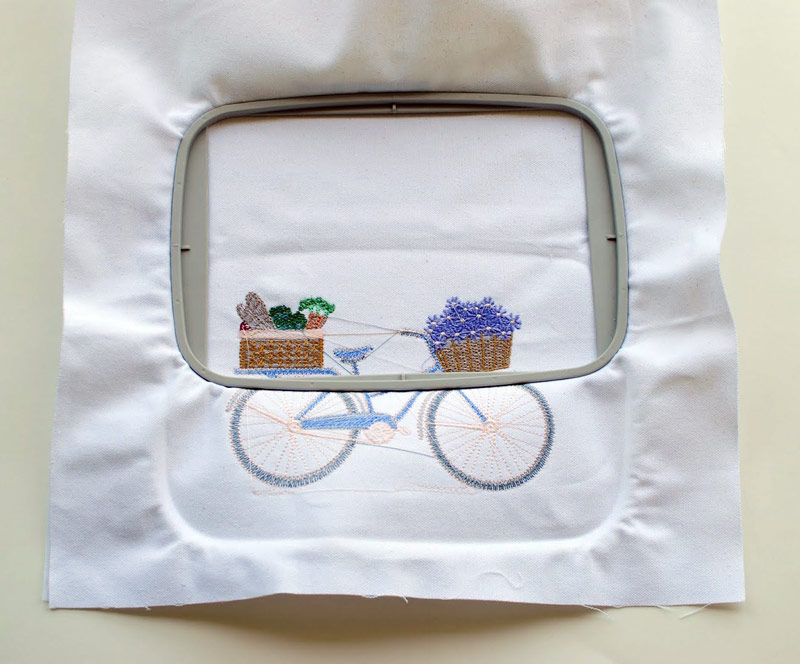
Re-hoop for the top section again just making sure everything is centered and visually even.
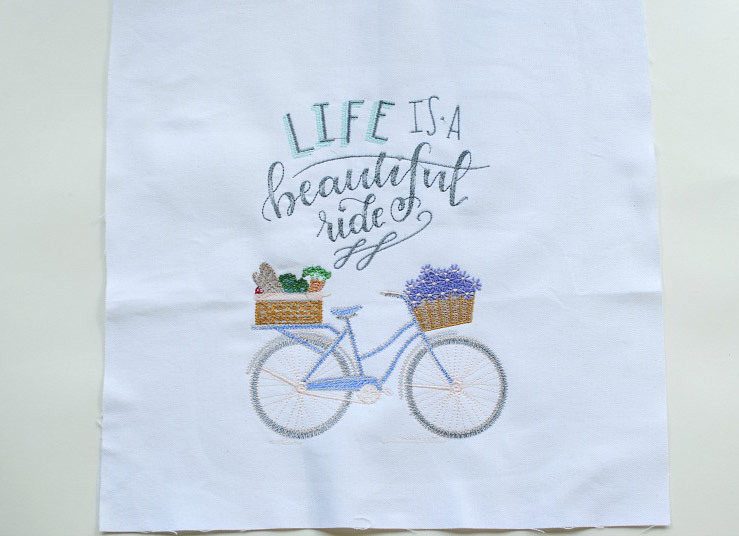
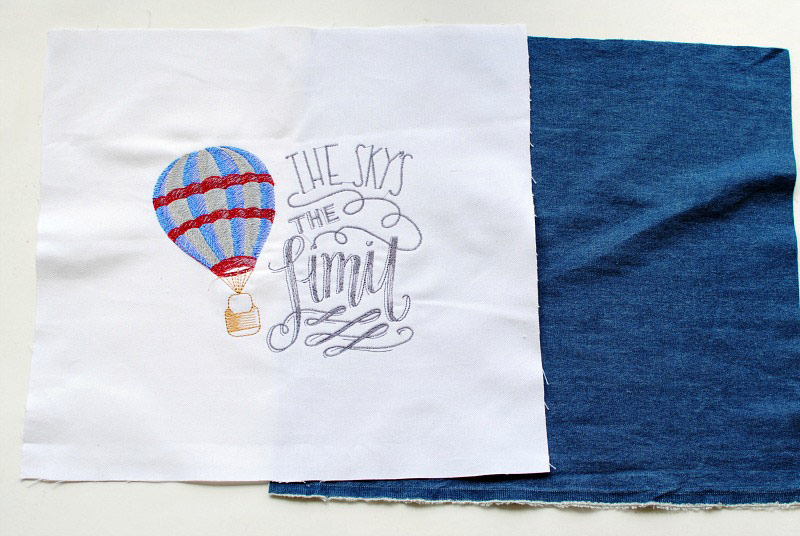
Give it a good pressing, remove the jump stitches, and the tear away stabilizer. I also did another pillow with the same technique. I first did the ballon and then the lettering.
Sewing the Pillow
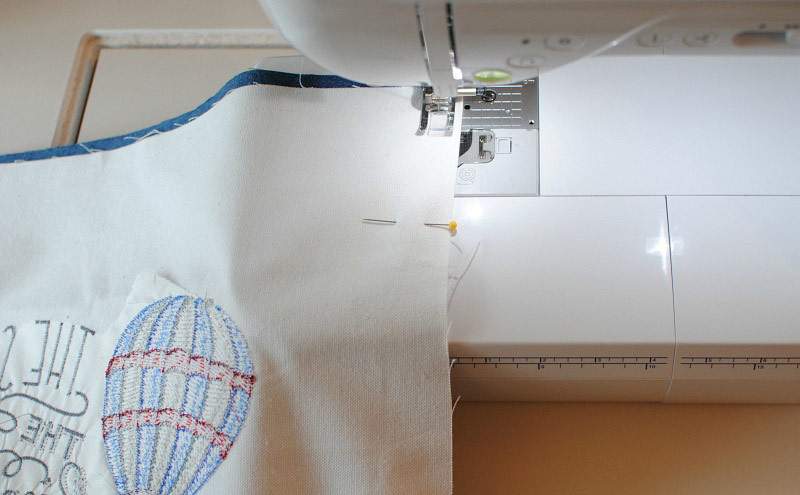
Sew right sides together leaving a 3″ gap open at the center bottom.

Clip corners and pull the right side of pillow out through the opening. Push out corners.
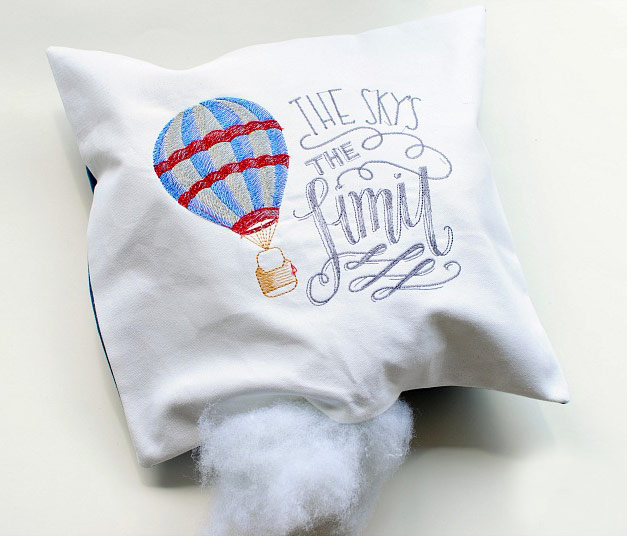
Stuff the pillow through the opening. Then either hand sew with a blind stitch or sew the opening shut.
That’s it! Such cute results and not much time! I love these for gift ideas too!
This material is © OESD, LLC and may not be reproduced or published without permission.