by Laura Pifer, Trash to Couture
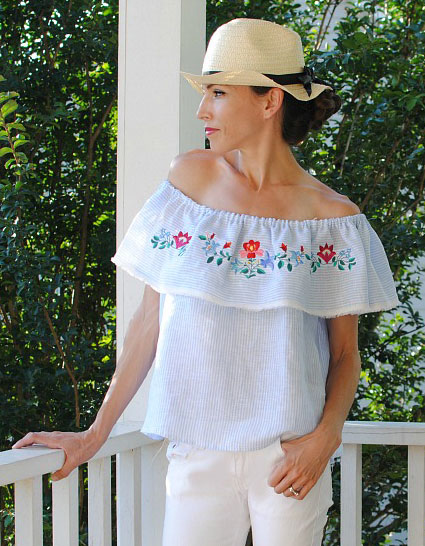
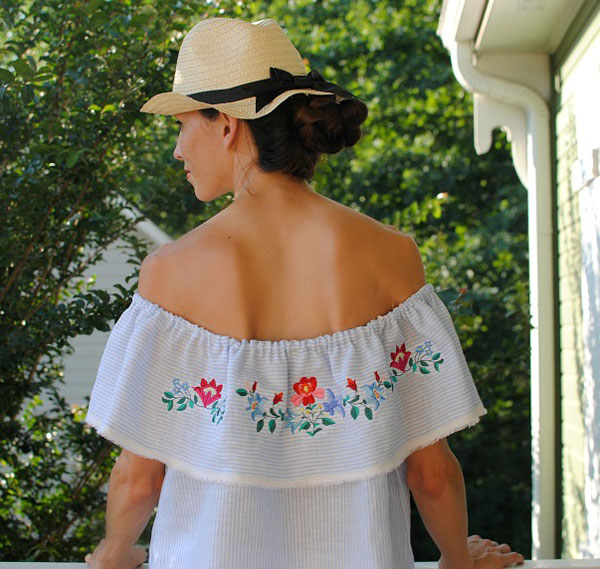
Summer is here and what better way to celebrate than with a DIY project! Living in the South can be exceptionally hot outside so I like to wear silhouettes and fabrics that are easy breezy. I’ve had this off-the-shoulder top on my “DIY to do list” for awhile now and finally got around to making it. The pattern for the top is a simple project to create from scratch if you follow my tutorial here. I then added some machine embroidery using OESD’s Folk Art Flowers #12113 collection along the ruffle to add some pop of color. Get the details below and make your own.
Supplies
- OESD’s Folk Art Flowers #12113 Collection
- OESD Ultra Clean and Tear stabilizer
- Brother PE800 Embroidery System
- Embroidery Thread
- 505 Temporary Spray Adhesive
- 5″ x 12″ Hoop
- 5″ x 7″ Hoop
- 1-yard linen fabric or a medium weight fabric
- Free top pattern
Instructions
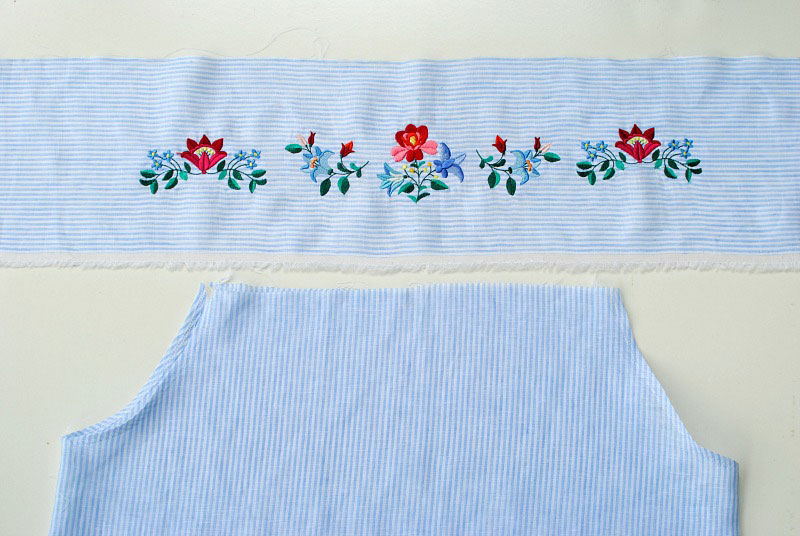
Begin by following the pattern here to cut your pattern out. Before cutting the ruffle keep in mind your hoop size. I have a 5″ so an 8″ ruffle is fine because I have room to still hoop properly. You can always cut the pattern down if need be after embroidery.
I’m embroidering the ruffle portion only. I used the selvage edge of the fabric for the hem. I love the fringe look and it cuts down on the finishing process.
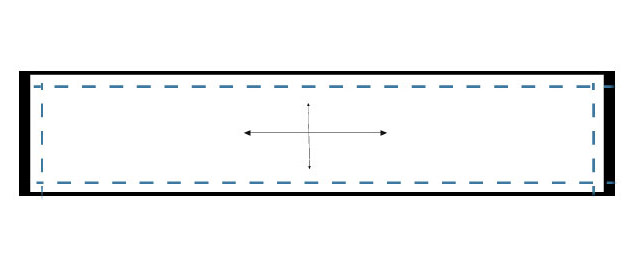
Marking your pattern for embroidery:
Before embroidery, you will want to mark the embroidery pattern. I typically start in the center and move out. Be sure to make note of your hem allowances. There is a 1″ casing at the top for the elastic and hem for the bottom edge. You will want to find the center after those are marked off for the horizontal line.
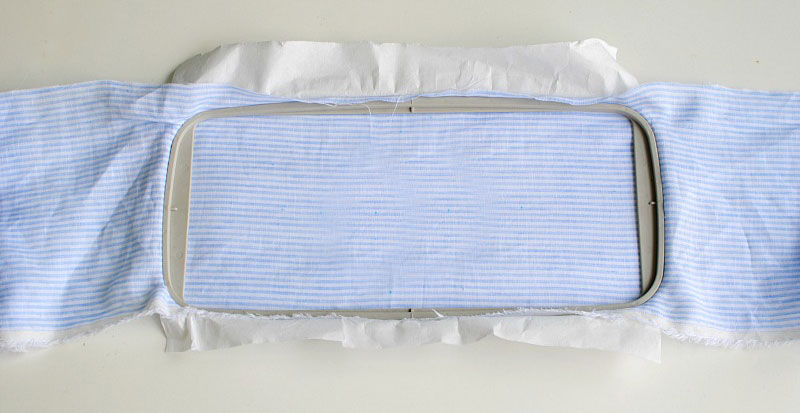
Hooping:
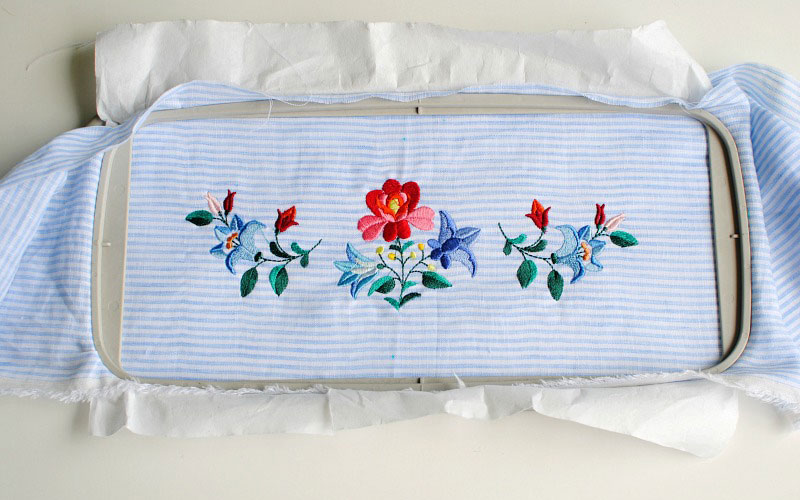
I used my 5″x12″ hoop for the center embroidery and the 5″x7″ for the sides. Do your best to align your hoop markings with your fabric markings.
For the stabilizer, I used OESD’s Ultra Clean and Tear and 505 Temporary Spray to keep them together.

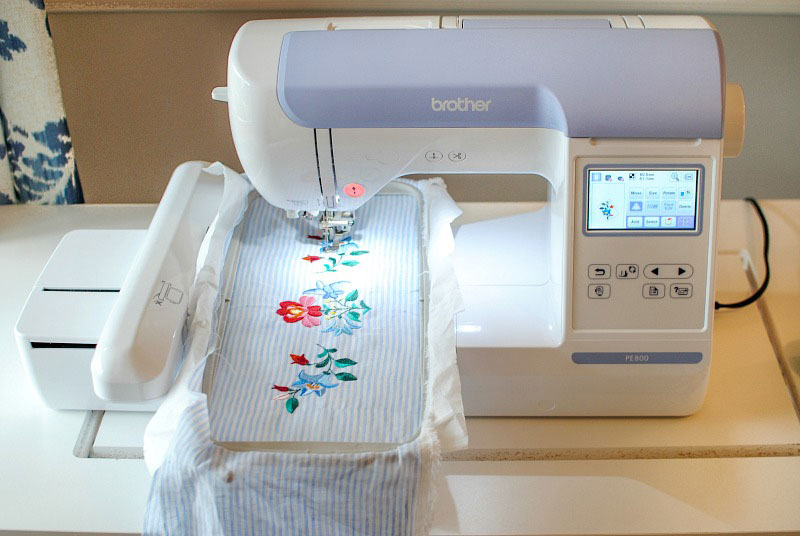
Begin embroidery
My Brother PE800 makes it easy to add designs together. With my marks, I can make sure everything is lined up and if not I can use the arrows to adjust the design. Because I am using stripes it was simple to keep everything centered as I continued each design.
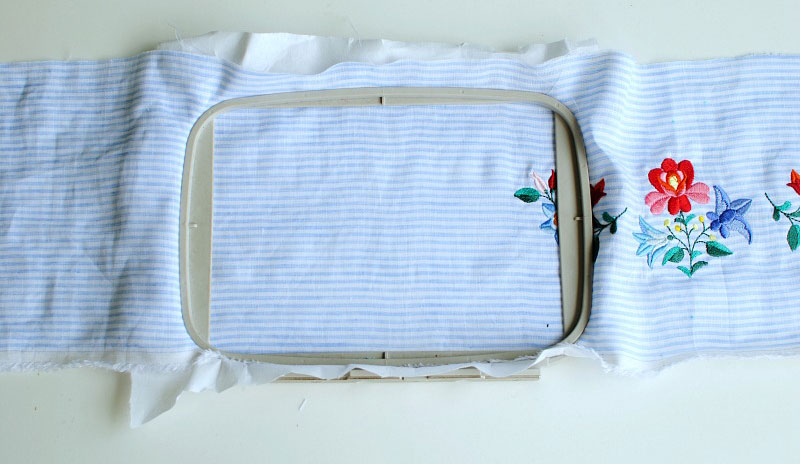
After the first set of designs, I hooped along the sides to add additional designs with the 5″x7″ hoop.
Remove the tear away from the backing. Now you’re ready to sew the off-the-shoulder top together.
This material is © OESD, LLC and may not be reproduced or published without permission.