by Laura Pifer, Trash to Couture
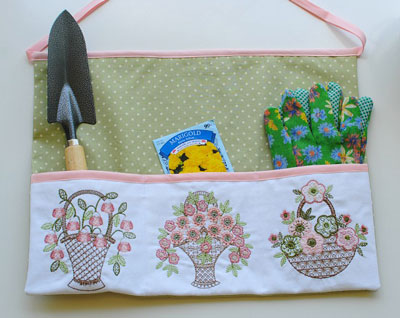
The days are getting longer and warmer which means getting outside more. This also includes doing more yard work to enjoy the yard. I don’t have much of a green thumb, but I love a pretty garden. Many of my neighbors have large gardens that grow all sorts of produce and plants. They inspire me to try my hand at it and also inspired me to make this “Garden Apron.” I thought it would be a lovely Mother’s Day gift as well, since many of my mom’s friends garden. I have a feeling it can be similar to sewing. You put down the gloves/shovels and then you spend half the time looking for where you put your tools… much like us sewists and our scissors. This would even make a great sewing apron too if you struggle with losing those notions. Get the details below and make your own.
Supplies
- OESD’s Blooming Baskets by Gerri Robinson #80296 embroidery collection
- Embroidery Thread
- All-purpose Sewing Thread
- OESD Heavy Weight CutAway Stabilizer
- 1 yd medium weight fabric for front & back of apron
- 1/2 yd medium weight fabric for pocket
- Pellon interfacing
- Double-fold Bias Tape (1-2) same color
Instructions
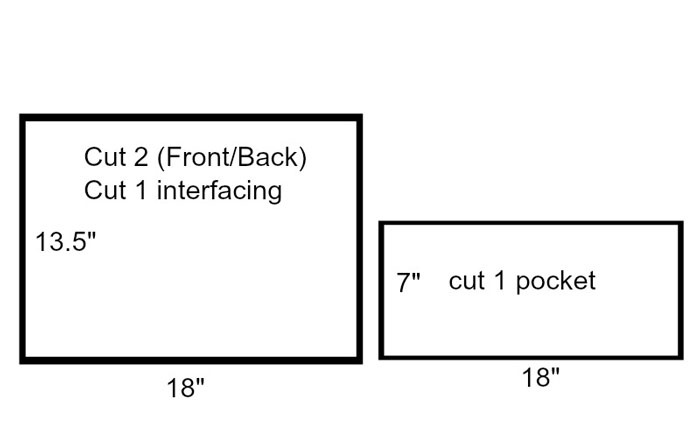
Cut according to the measurements below. You can also alter this to be longer/shorter etc.
- Cut 2 Main pieces (front of apron and back of apron). Mine was the same fabric.
- Cut 1 interfacing and press to the main front (where the pocket will go).
- Cut the pocket front and stabilizer to cover the hoop area.
Cut a strip of medium weight fabric. I like to use James Thompson’s cotton duck fabric for dense embroidery. For the pocket, I cut the fabric slightly larger than above because I wanted to hoop without issues. I just made sure I the finished size of the pocket was marked onto my fabric.
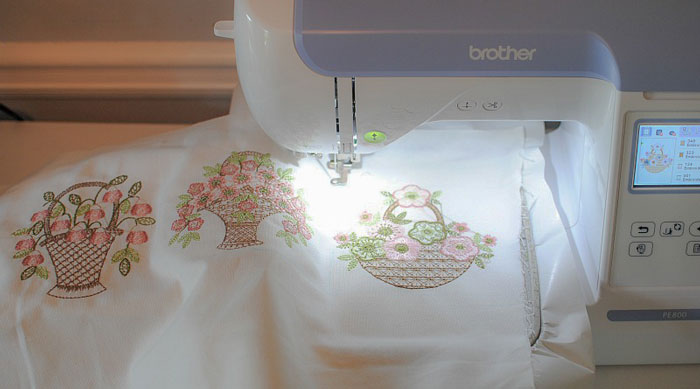
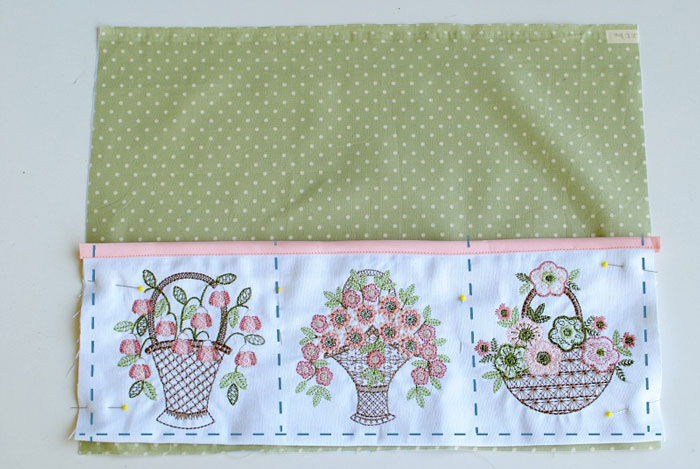
I folded 3 even squares and marked, then made sure the embroidery design was within the squares. I used the 5″ x 7″ designs from the embroidery collection: Blooming Baskets by Gerri Robinson
Hoop the back of the first section with a heavyweight cutaway stabilizer and embroider each section.
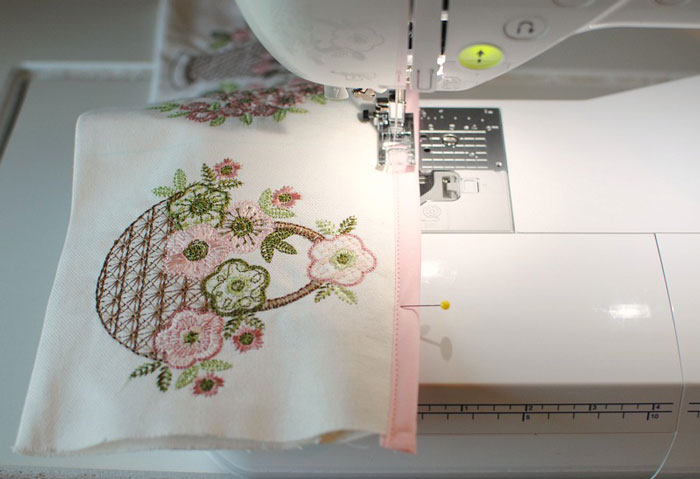
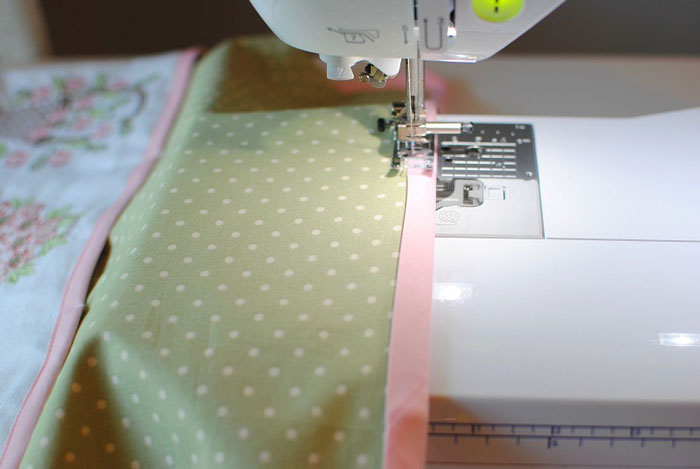
Once complete add double fold bias tape along the top raw edge for some extra detailing. You can also fold over the top edge and hem.
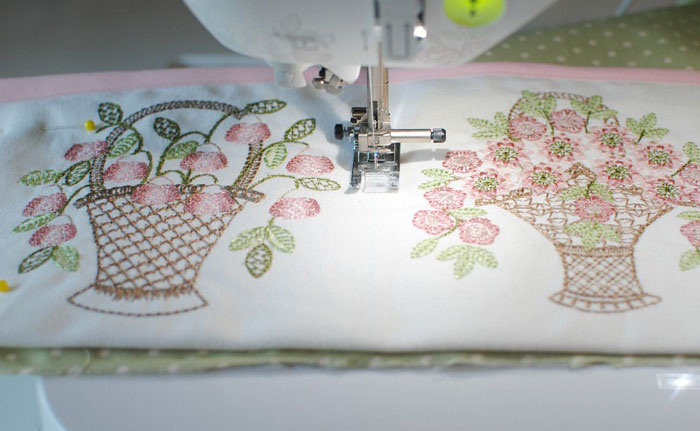
Place the embroidered pocket piece on the top of the front main piece. Pin and topstitch sides, bottom edge, and the pocket seams in the center.
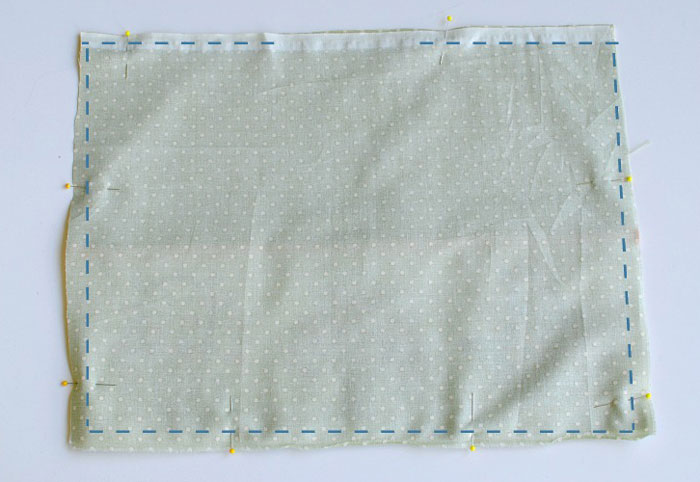
Place front and back pieces rights sides together, pin, and sew all the sides leaving a 2.5″ gap open at center top. Clip corners.
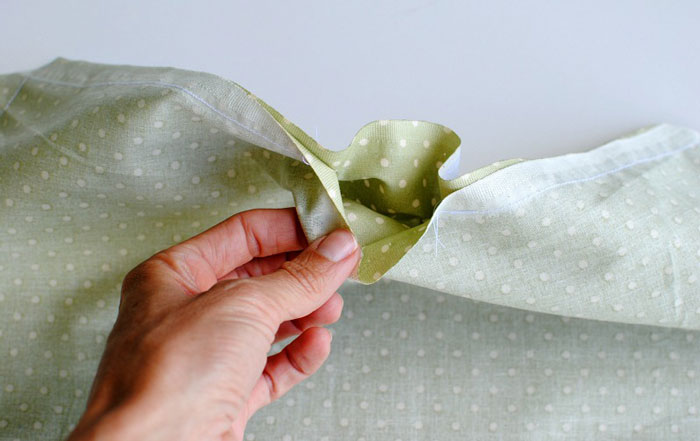
Flip right side out through the opening, push out corners, and press. For the top opening fold in seam allowance and press.
With the additional double fold bias tape (or use another one) find the center and pin to the center/top of the apron making sure you can tie the bias tape around your waist and tie in the back comfortably (you will want to customize this measurement). Sew along the bias tape edge. Now add garden tools, and it’s the perfect gift for any gardener in your life.
This material is © OESD, LLC and may not be reproduced or published without permission.