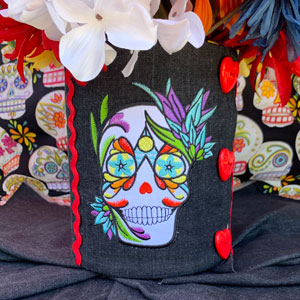
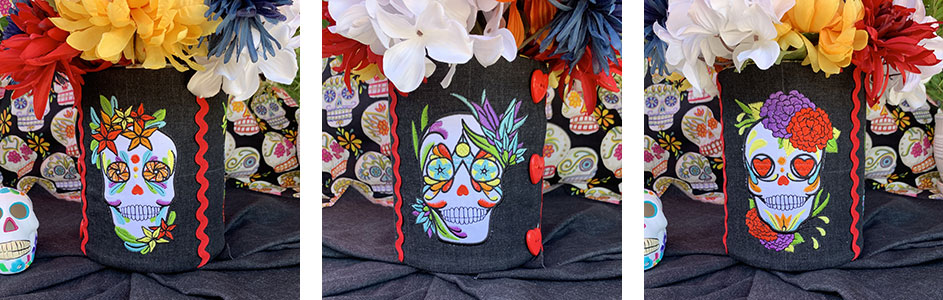
Embrace the artistic beauty of Day of the Dead décor, and stitch something useful with this stunning Day of the Dead embroidery collection. Instead of cranberries or decorative stones inside large glass flower containers to hide the stems, cover up the vase with a wrap of embroidery designs.
Supplies
- Scissortail Stitches’ Day of The Dead #51226 embroidery collection
(designs #06, #07, #08) - OESD Fusible Woven – 1 black, 1 white
- OESD StabilStick CutAway
- OESD StabilStick Template Sheets
- Heat2Go Topping
- Fiber Form
- Expert Embroidery Tape TearAway
- OESD Expert Point and Press Tool
- Organ Embroidery Needles Sharp #75/11
- Isacord Threads
- 1 fat quarter white cotton fabric
- 1/2 yard black farbic
- 1/2 yard lining fabric
- Jumbo rick rack – 1 pkg
- Fabric marker
- 3 buttons
- Elastic (round, preferred)
- Vase
Instructions
Step 1
Measure the vase. (This one is 8″ high and 19 ¼” in diameter).
Step 2
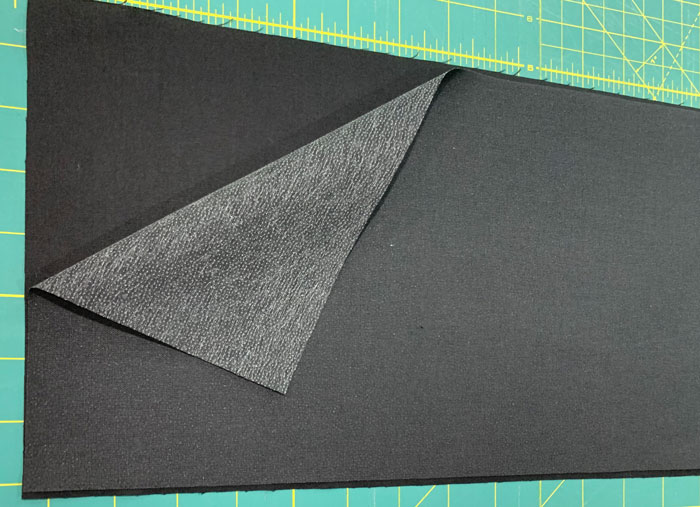
Cut the black vase cover fabric to the size of the vase with additional 2″ all around. For this sample, the cut was 10″ x 23¼”. Press Fusible Woven to the wrong side of the vase cover fabric.
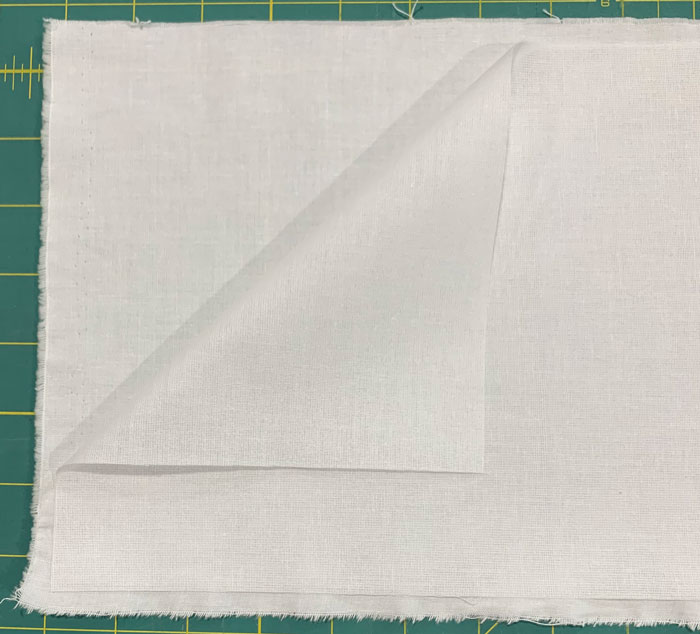
Press white Fusible Woven to the wrong side of the white applique fabric. (This will keep the black fabric from shadowing through.)
Step 3
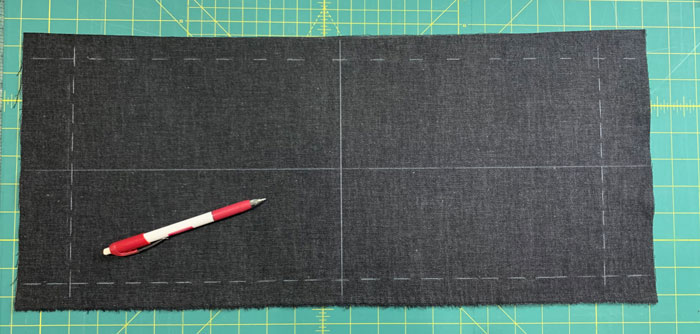
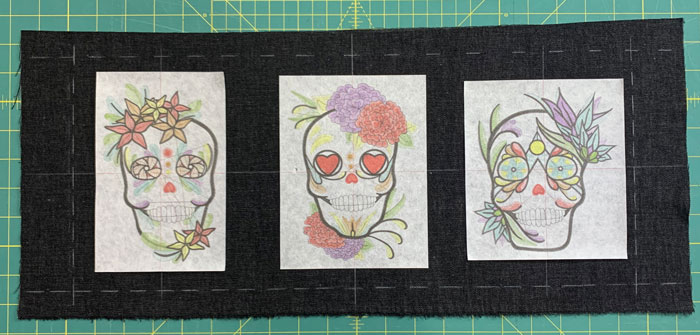
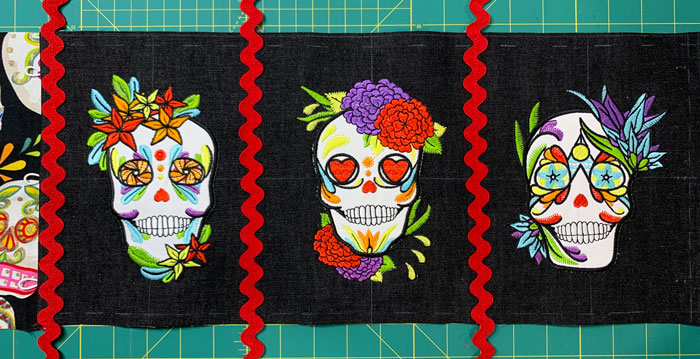
On the vase cover fabric, mark the actual size of the vase in broken lines with the fabric marker. This helps to visually see the exact size of the vase. Mark the center lines across the width and length on the vase cover fabric in a solid line.
Step 4
Print the templates on StabilStick Template sheets at 100%. The templates are included in the PDF. For this sample, designs #06, #07, and #08 were used. Trim close around the design template. Peel off the backing of the center design and line up the center lines on the templates with the center solid lines drawn on the black fabric. Place the other two designs in pleasing locations on the left and right sides. For this sample, it was about 7″ from the center line using the crosshairs to help line them up.
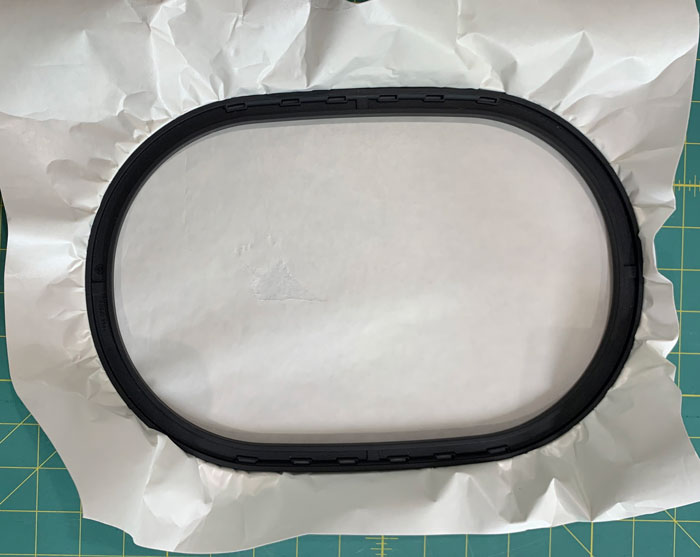
Step 5
Hoop the StabilStick CutAway making sure the paper side is up.
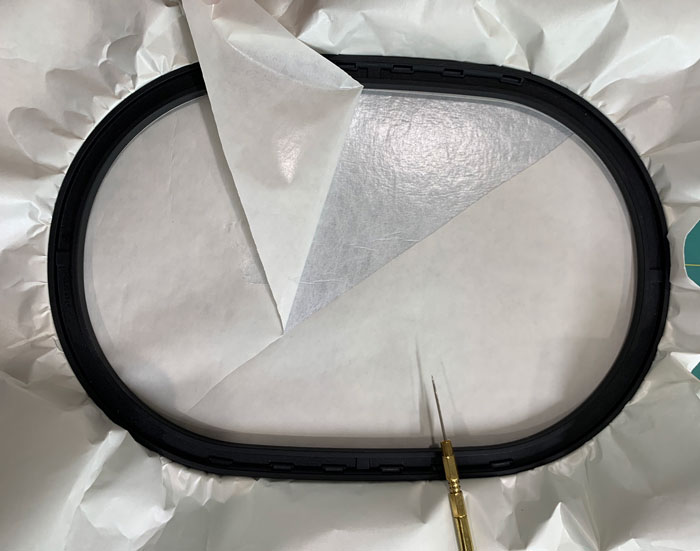
Score the paper and peel it away. Use a stiletto or anything with a sharp point. Make sure to not score all the way through the stabilizer.
Adhere the vase cover fabric to the stabilizer lining up the crosshairs to the center marks on the hoop.
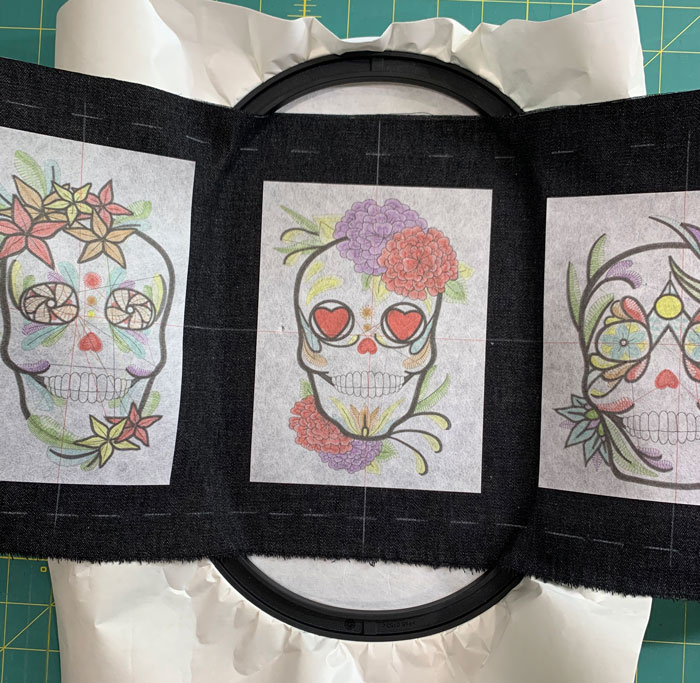
Step 6
Place the hoop onto the machine. Use the placement tools on the machine to center the design.
Remember to remove the template from the vase cover.
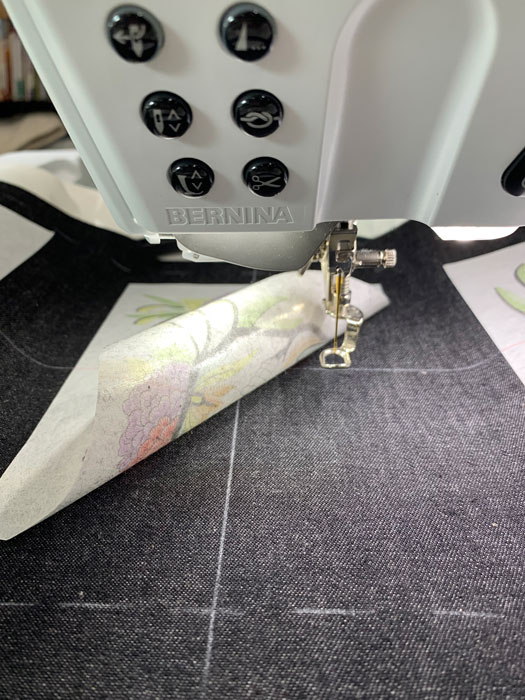
The templates are reusable. Simple place it back onto the shiny side of the paper for next time.
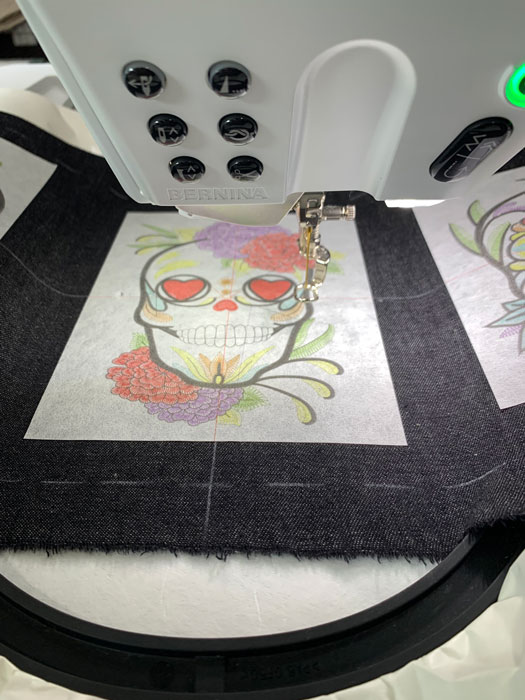
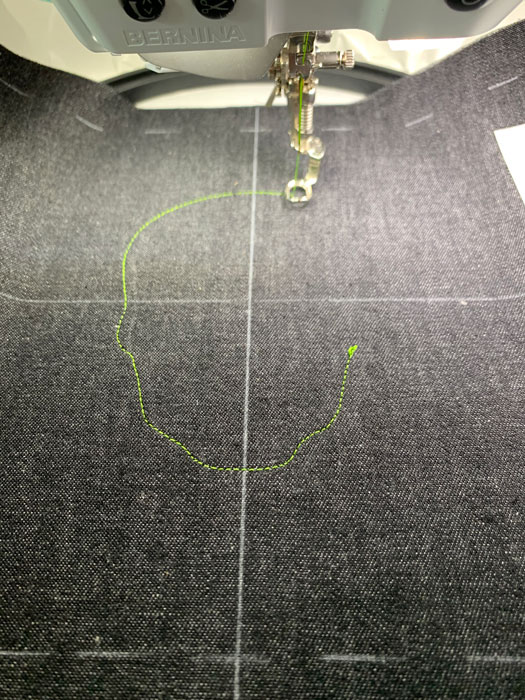
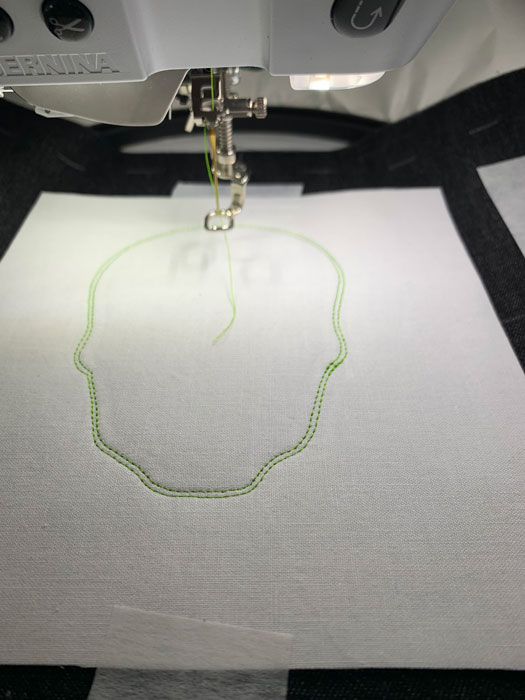
Step 7
Load the machine with the first design. Stitch Machine Step 1, Fabric Placement.
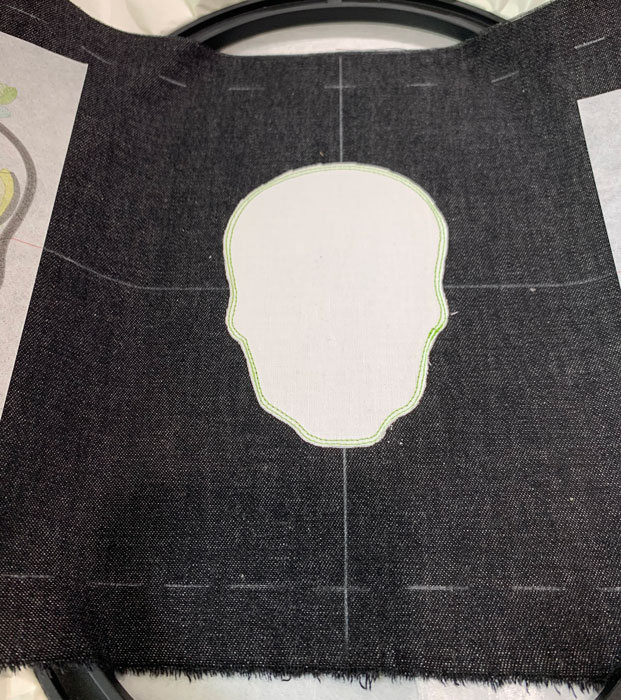
Step 8
Place the prepared white applique fabric with Fusible Woven right side up, covering the placement stitch entirely. Tape in place with Expert Embroidery Tape TearAway.
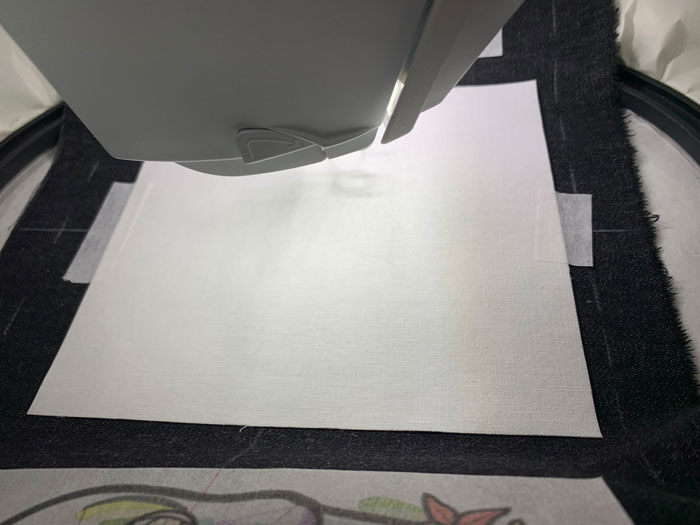
Stitch Machine Step 2, Fabric Tackdown.
Remove hoop from your module but NOT the fabric from hoop. Trim close to the tackdown stitch (it helps to keep it on a flat surface).
Place Heat2Go Topping over design and tape with Expert Embroidery Tape TearAway around all sides.
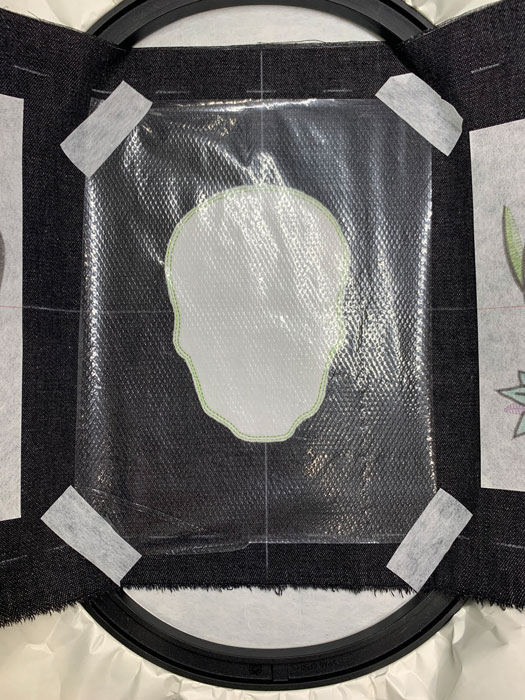
Return hoop to module and continue stitching the colors as shown in the thread chart.
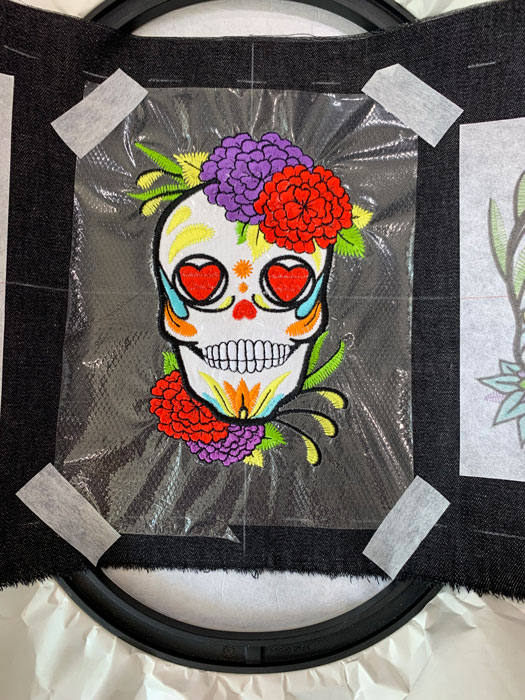
Step 9
Remove design from hoop and tear away the Heat2Go Topping (iron the little areas to remove). On the back side of design, trim the StabilStick CutAway stabilizer to about ¼” from design.
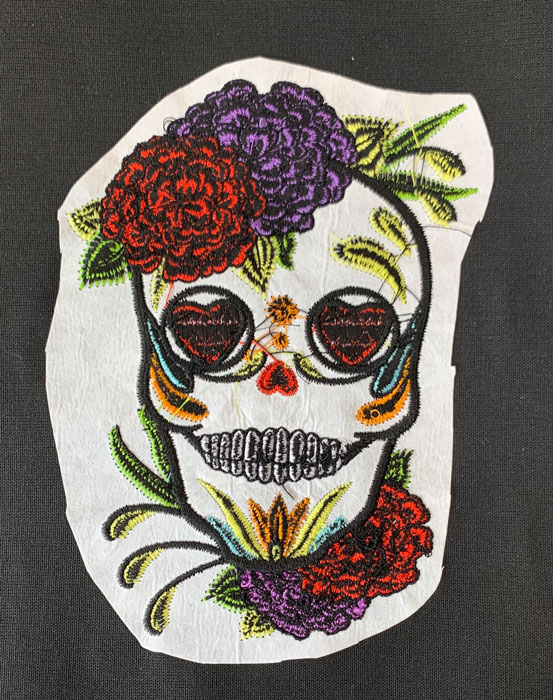
Press right side down into a Perfect Embroidery Press Cloth. Repeat steps 5-8 for the other 2 designs.
Step 10
Cut Fiber Form the size of the vase plus an additional ¼” around all sides to compensate the thickness.
Step 11
Using a 3/8″ seam allowance, on one side of cover mark the 3/8″ seam and 1″ hem line on the other side and trim that. On top and bottom, mark the 3/8″ seam and trim.
Step 12
On the 1″ hem side, mark button placements.

Cut 3 pieces of elastic to about 2″ each. On the 3/8″ seam side, lining up with the buttons, place the elastic and hold in place with TearAway tape. (Tip: Leave space in between the elastic as the needle may not penetrate both pieces and pull out.)
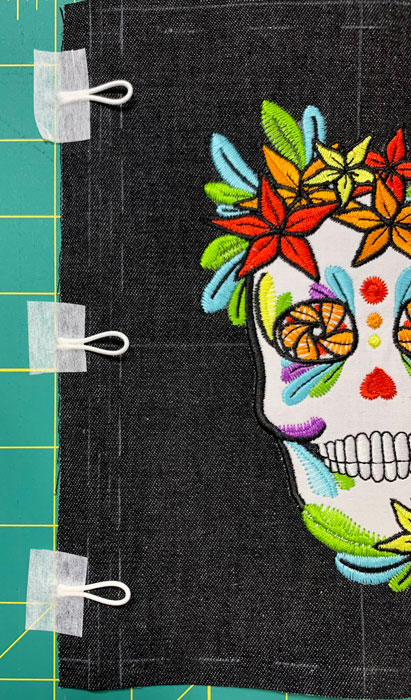
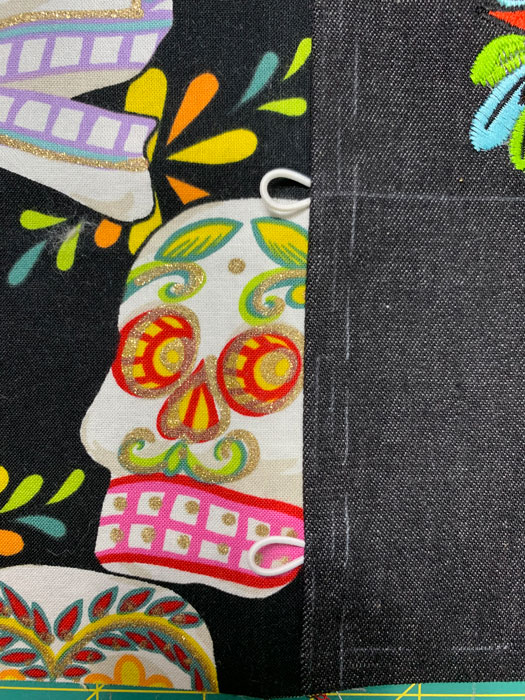
Cut lining the same size as the vase cover. With right sides together, stitch on the side of the elastic using a 3/8″ seam allowance. Remove tape. Again, make sure the elastic does not pull out. Finish seams with a serger, pinking shears or a zigzag stitch. Press seam towards the cover.
Step 13
Place rick rack on top of cover close to the edge with the elastic loops and pin in place.
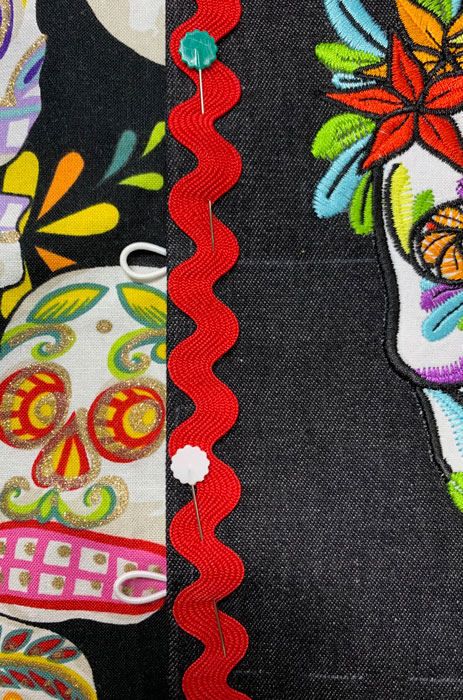
Place the other 2 pieces of rick rack in between the designs. Stitch in place.
Step 14
With right sides together, stitch the top and bottom with a 3/8″ seam allowance. Turn inside out and use the OESD Expert Point and Press Tool to push out the corners. Press.
Step 15
Top stitch the 1″ hem in place (double check measurements first in case altering is needed). Attach buttons.
Step 16
Insert Fiber Form and trim if necessary. Your Day of the Dead vase is complete!
This material is © OESD, LLC and may not be reproduced or published without permission.