Supplies
- OESD’s Christmas Friends by Flora Waycott #80123 embroidery collection
- Isacord Thread (refer to thread chart)
- 1 layer of OESD Heavy Weight TearAway Stabilizer
- 1 layer of OESD Ultra Clean and Tear
- 505 Temporary Spray Adhesive
- Organ Titanium Embroidery Needle #80 Sharp
- 1 piece cotton fabric 10″ x 14″
- Appliqué fabric (refer to appliqué patterns)
- 2 pieces of cotton fabric 10″ x 10″ for potholder bottom
- 2 pieces of cotton fabric 8″ x 8″ for potholder front
- 2 pieces of InsulBright 10″ x 10″ for potholder bottom
- 1 piece of InsulBright 8″ x 8″ for potholder front
- 1 piece of cotton fabric 1″ x 14″ for ruffle
- 1 piece of cotton fabric 1 ½” x 7 ½” for binding above the ruffle
- 2 ½” x 44″ Cotton bias binding
- 4″ Cotton bias binding to make loop
- FriXion Pen
- Wonder Clips
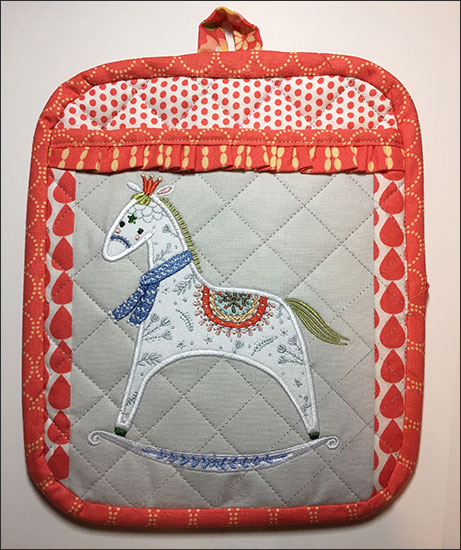
Finished potholder measures 9″ x 7 ½”.
Embroidery
• Hoop one 10″ x 14″ cotton fabric with 1 layer OESD Heavy Weight TearAway stabilizer and 1 layer of Ultra Clean and Tear. Marry all layers with 505 Temporary Spray Adhesive.
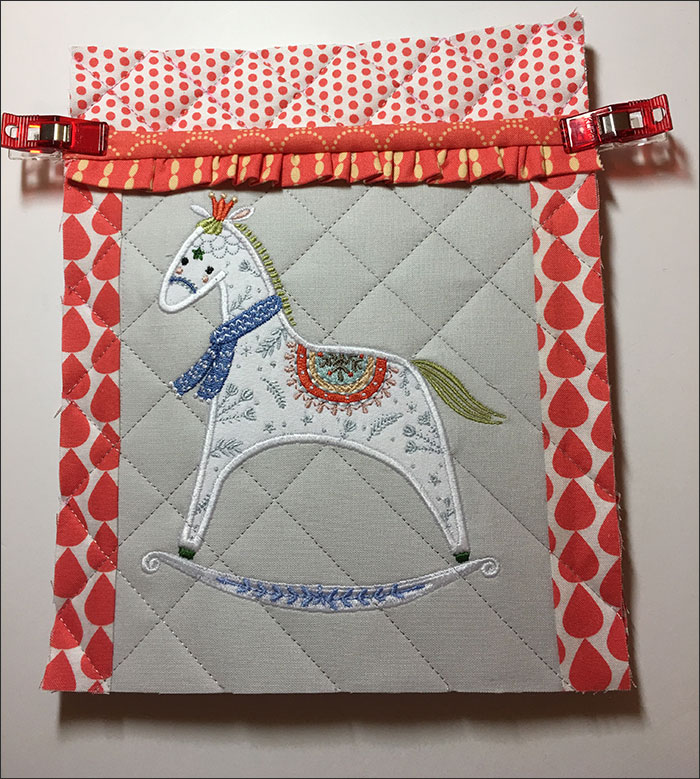
• Stitch design #80123-09 Rocking Horse using the suggested Isacord thread colors.
Construction
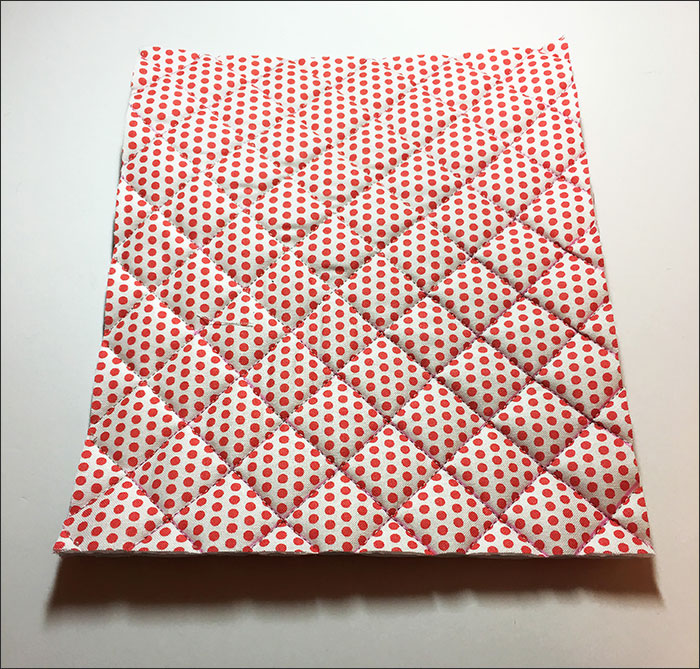
• Mark 1 piece of the 10″ x 10″ cotton fabric using a quilting ruler and FriXion Pen to draw a 45 degree angle line. Space each line 1″ apart. Mark opposing lines, again at a 45 degree angle and 1″ apart.
• Layer 1 piece of cotton fabric 10″ x 10″ print side down. Top with 2 layers of InsulBright metallic shiny sides facing outwards. Place 1 piece of 10″ x 10″ cotton fabric right side up on top to make a quilt sandwich.
• Spray baste all the layers together. Quilt on the marked lines. Trim potholder bottom to 9″ x 7 ½”.
• Quilt the potholder front in the same manner as the potholder bottom. Trim your embroidered 10″ x 14″ piece down to 8″ x 8″ (piece the top layer of the front to achieve the look of this potholder). Do not quilt through the embroidery.
• Trim potholder front to 7 ½” x 7 ½”.

• Fold your 1″ x 14″ cotton ruffle strip in half, lengthwise, and press.
• Set your sewing machine to its longest stitch length and sew a straight line ¼” from the long raw edge and leave at least 4” tails on each end. Knot the tails at one end. At the other end, gently tug on the top thread to create the ruffle. Photo 1 Photo 2 It is a violation of Copyright law to make and distribute copies of instructions or artwork. Electronic designs are licensed to the original purchaser for use at one location.
• Pin the raw edge of the ruffle to the top edge of your quilted potholder front. Leave ½” of the ruffle unruffled at each end.
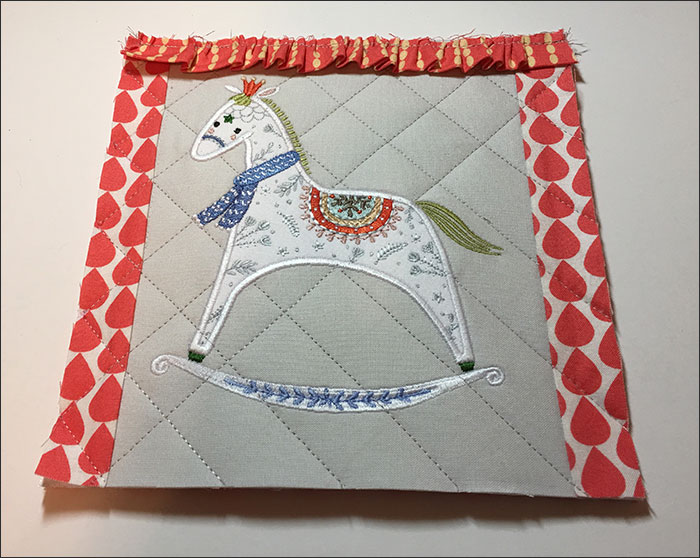
• Sew the ruffle on ¼” in from the edge.
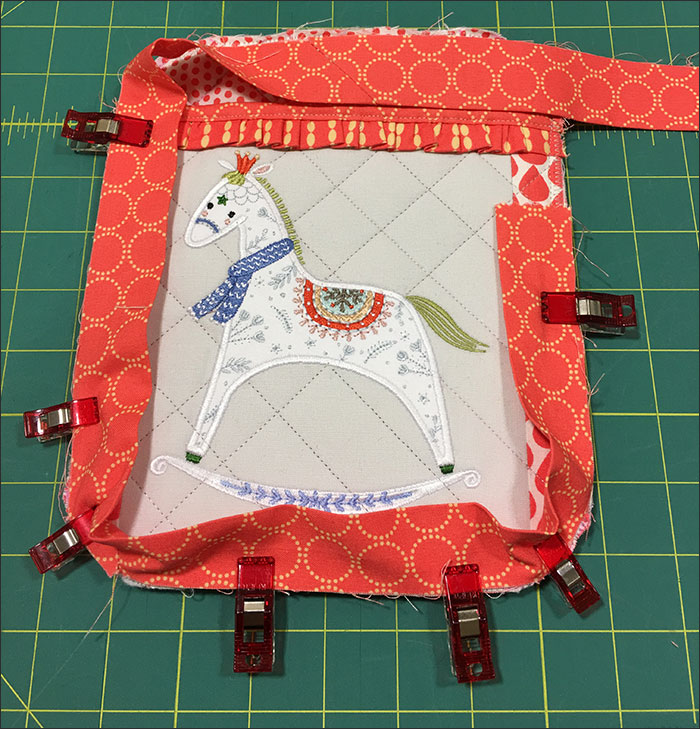
• Pin your 1 ½” x 7 ½” binding strip atop the ruffle, print side facing down. Sew it on ¼” from edge. Now press the binding up and over the raw edge to the backside.
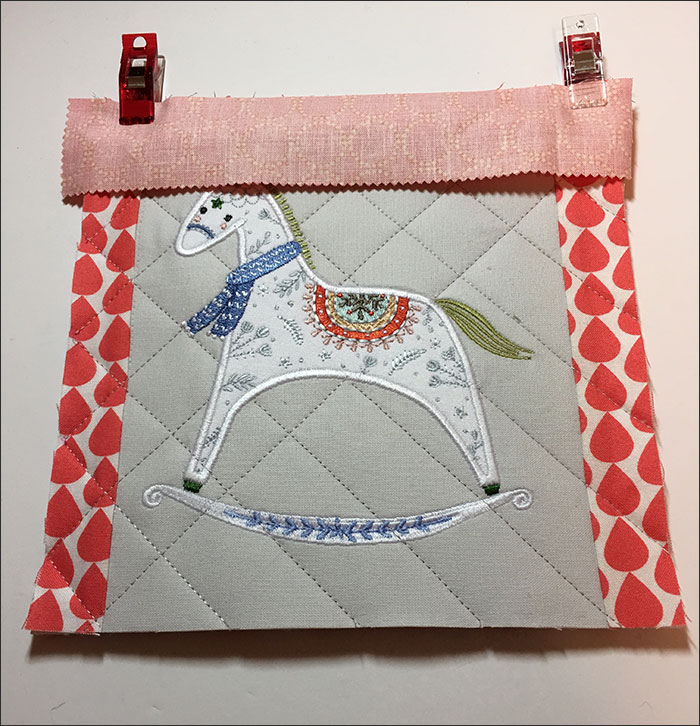
• On the backside, fold the binding under a ¼” and use Wonder Clips to secure. Topstitch from the front close to the edge catching the binding on the back.
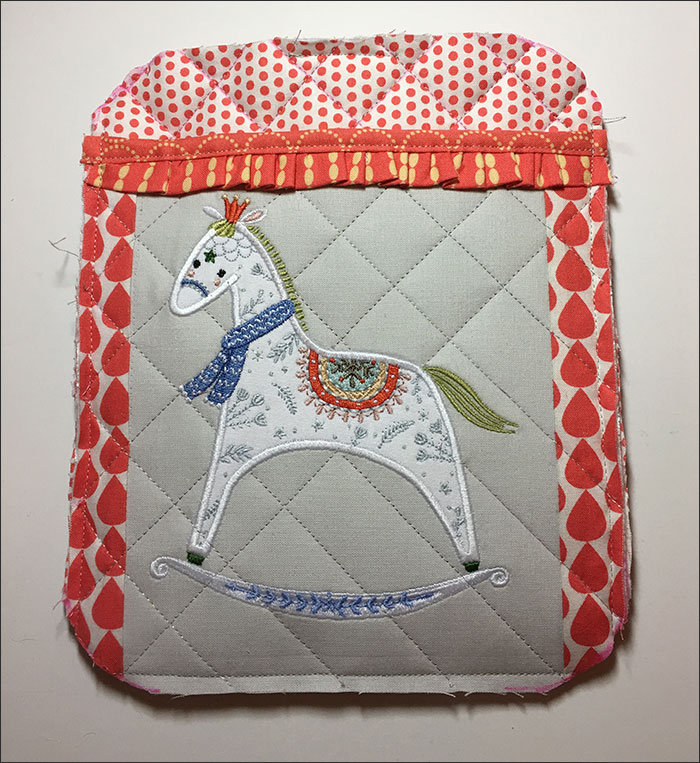
• Place the potholder front on the potholder bottom, so that the bottom edges are aligned. Sew across the bottom and up the sides of the potholder front to prevent shifting.
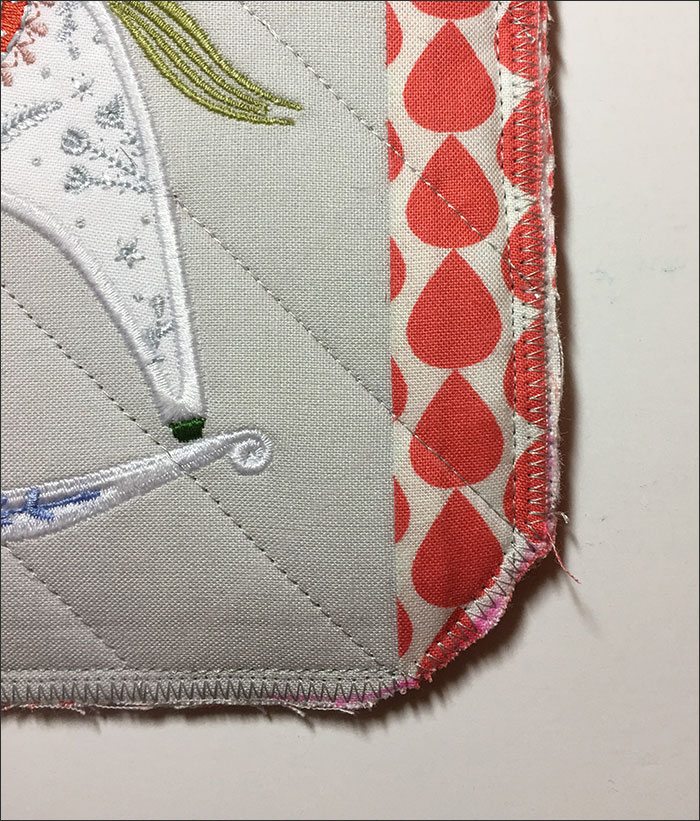
• Mark a curve on all four corners using a curved object. Trim along the traced lines.
• Overcast or zigzag stitch the entire potholder outside edges.
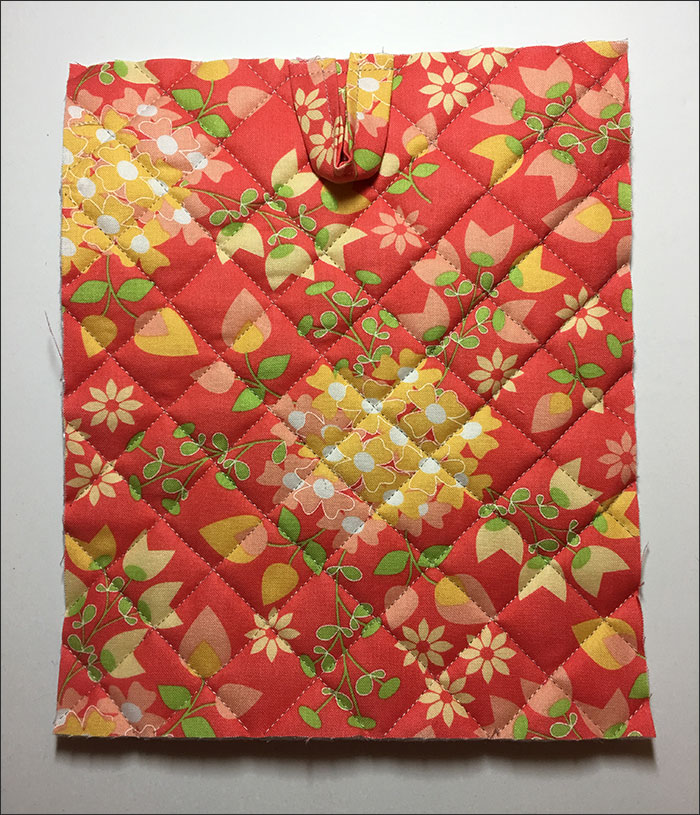
• On the backside of the potholder, at the top find the center. Pin the 4″ cotton bias binding on each side of the center point to form a hanging loop, making sure the raw edges are aligned with the top edge. Sew the hanging loop ends about ¼” from the edge of the top of the potholder to secure.
• Press your bias cut binding in half lengthwise. Sew the binding on to the front of the potholder using a ¼” seam allowance. Ease the binding around the curves.
• Press the binding towards the back and secure with Wonder Clips. Hand stitch the binding to the back or top-stitching from the front. You now have the prettiest potholder ready for all your Christmas baking!
This material is © OESD, LLC and may not be reproduced or published without permission.