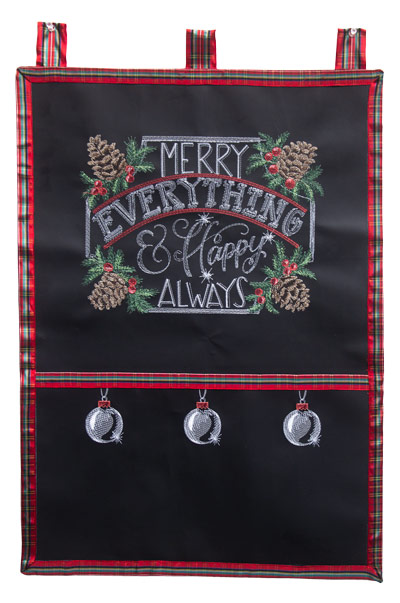
Holiday Cheer by Shannon Roberts is a wonderful collection of chalk art style embroidery designs with a whimsical flair. Stitching these designs on black fabric really shows them in their best light. In this quick holiday project, the designs are resized in software to fill a jumbo hoop.
Supplies
- OESD’s Holiday Cheer by Shannon Roberts #80288
- OESD Stabilstick CutAway
- OESD Fuse and Fleece (optional)
- OESD Fusible Woven
- Isacord Thread
- Chalkboard fabric 18.5” x 36”
- 5/8 yard backing fabric
- 1 ½” wide plaid ribbon, 4 yards
- Chalk Marker
- Water soluble glue stick
- 505 Temporary Spray Adhesive
Instructions
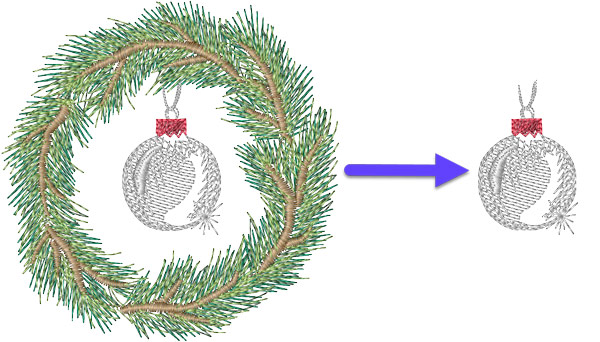
• Open design 80288-20 in software. Remove the first four colors of the design, the wreath. Increase the size of the bulb 125% to 3″ high. Save the design. Note: This step may also be accomplished on the embroidery machine.
• Open design 80288-17 in software. Increase size proportionally to 12.5″ wide (about 175%). When increasing a design by this much it is essential that the software (or machine) recalculates the number of stitches in the design.

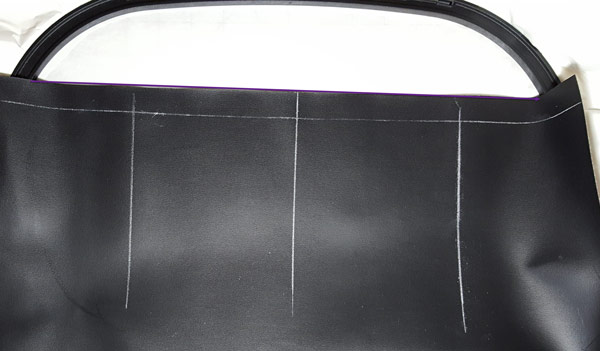
• Cut 1 piece of chalkboard fabric 18.5″ x 11.5″ for the pocket. Mark the pocket fabric ¾” from the top edge. Mark vertical line in the center. Mark vertical lines 5″ on both sides of the center. These are the placement marks for the bulb designs.

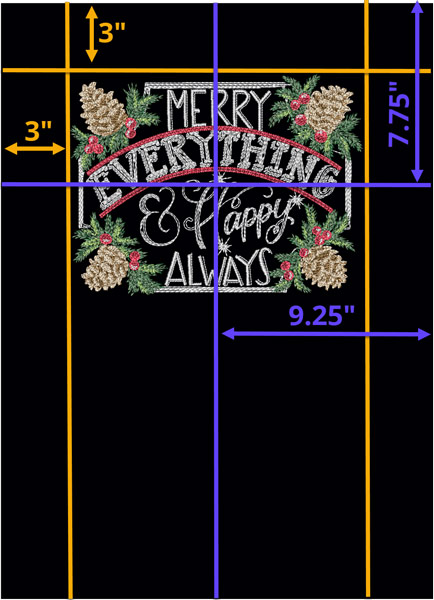
• Cut one piece of chalkboard fabric 18.5″ x 25.5″. The design will be placed in the top area of the fabric with a 3″ border surrounding the finished design. Mark the design placement lines shown in purple). The center of the design will be 7.75″ from the top edge and 9.25″ from the outer edge (the vertical center of the fabric).
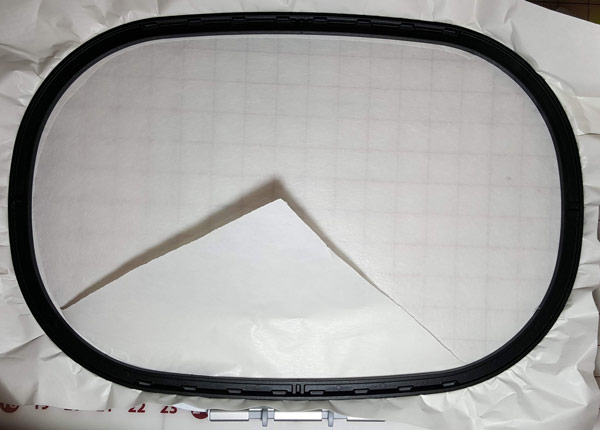
• Hoop StabilStick CutAway paper side up in the jumbo or appropriate size hoop. Score paper to expose the adhesive surface. Position the fabric in the hoop. Finger press to secure. At the machine, rotate the design if necessary and move the needle to the center of the marked lines. Stitch the design, changing colors as required. When complete. Remove fabric and stabilizer from the hoop. Remove the remaining paper from the stabilizer and smooth the stabilizer over the back of the chalkboard fabric instead of cutting it away. Trim away any stabilizer that extends beyond the fabric.
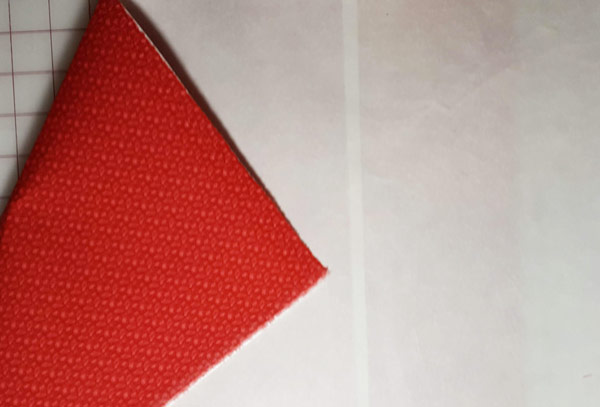
• Hoop StabilStick CutAway, paper side up. Score and remove paper. Place the hoop on a cutting mat and draw a straight line a couple of inches from the right inside edge. Position the fabric onto the hoop, matching the raw edge with the drawn line. Finger press to secure. Stitch each design, aligning the top of the design with the placement marks and rotating if necessary. When complete, remove the fabric and stabilizer from the hoop and smooth over the back of the chalkboard fabric. Trim away any stabilizer that extends beyond the fabric.
• Cut back fabric the same size as the chalkboard fabric. Prep the fabric by applying StabilStick CutAway to the back of the fabric pieces. Overlap slightly if more than one piece is used. Optionally – Fuse OESD Fusible Fleece or Fusible Woven to the back of the fabric. Any of these methods will give the fabric added body and prevent shadowing of the back of the embroidery.
• Attach the back fabric to the back of the chalkboard fabric, wrong sides together with 505 Adhesive Spray.
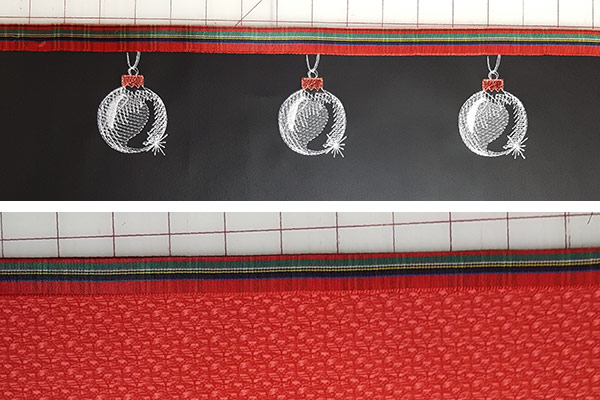
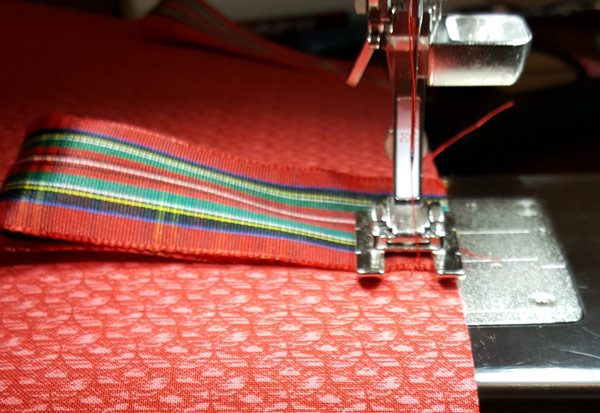
• Using a water soluble glue stick, apply glue to the top edge of the fabric. Position the ribbon on the front first so that the plaid of the ribbon folds in the same place, about halfway, across the width of the pocket. Fold the other half of the ribbon to the back side and glue in place. Once the glue is dry, stitch the ribbon down to secure it.
• Attach the pocket to the body with both pieces right side up. Hold in place with clips, if desired. Using a ½” seam allowance, sew together with a straight stitch along the bottom and sides (to the top of the pocket). Trim the pocket only seam allowance to about ¼” to reduce bulk under the ribbon trim.
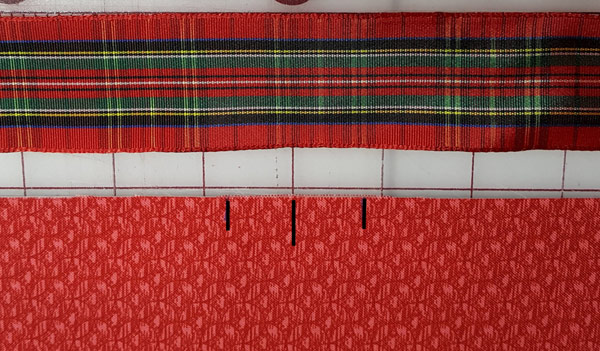
• Cut 3 pieces of ribbon 7.5″. Mark the center of the top and mark ¾” to each side as shown for ribbon placement. Mark the ribbon placement for the sides 1.5″ from side edges, and then 1.5″ toward the center top.
• Fold the ribbons in half and attach to the back of the project raw edges together and the folded edge toward the center of the fabric as shown. Stitch in place with a ½” seam allowance.
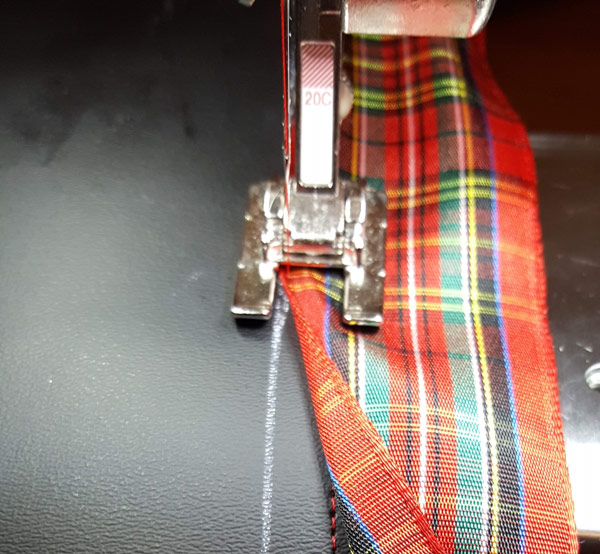
• Mark the front of the project on all four sides ¾” from the raw edge. Align the ribbon with the chalk line and top stitch in place close to the edge. Miter the corners as with binding. Once the top is stitched, fold the ribbon to the back, press and glue in place (if desired). Top stitch on all four sides of the back to hold the ribbon in place.
Enjoy your Chalkboard Christmas Card Catcher! It is also a great place to hold candy canes for visitors!
This material is © OESD, LLC and may not be reproduced or published without permission.