Supplies:
- PK50002 In the Hoop Candy Heart Bunting
- OESD AquaMesh WashAway
- OESD BadgeMaster WashAway
- OESD Fiber Form
- OESD Applique Fuse and Fix
- OESD StitcH20 Topping
- 1/2 Yard quilter’s cotton
- 2 pieces of 5″ x 40″ fabric
Step 1
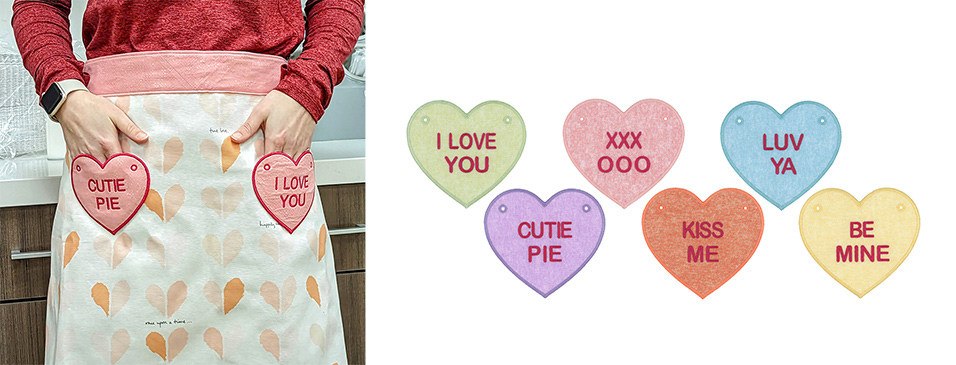
Stitch two Candy Hearts per their instructions. Choose any two hearts you like – this example shows PK50002-06 ‘Cutie Pie’ and PK50002-01 ‘I Love You.’
Step 2
Create the apron skirt by cutting a rectangle approximately 37” x 17”. Overlock the four raw edges.

Step 3
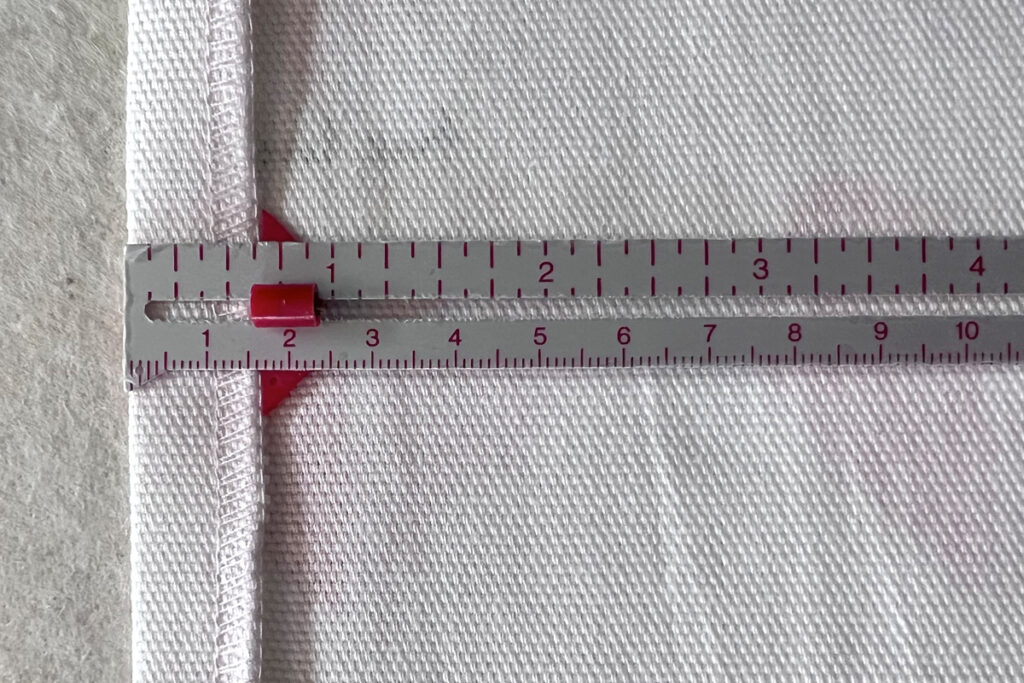
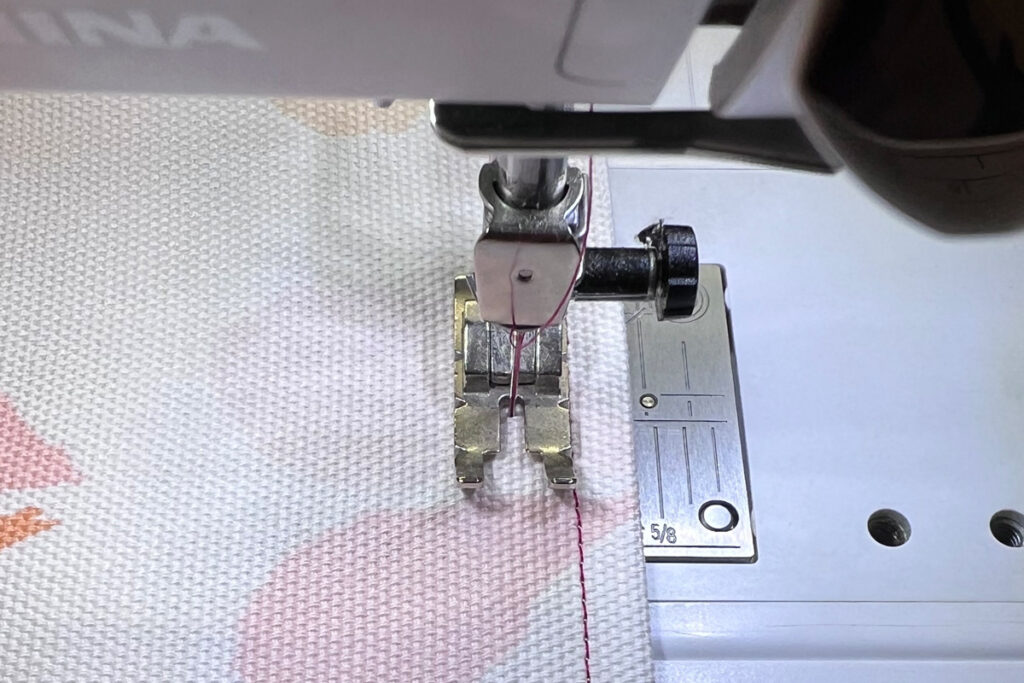
Fold over the two side seams 5/8 inch. Stitch in a contrasting thread ¼ inch from the fold with a double needle.
Step 4
Repeat Step 4 with the bottom seam.
Step 5
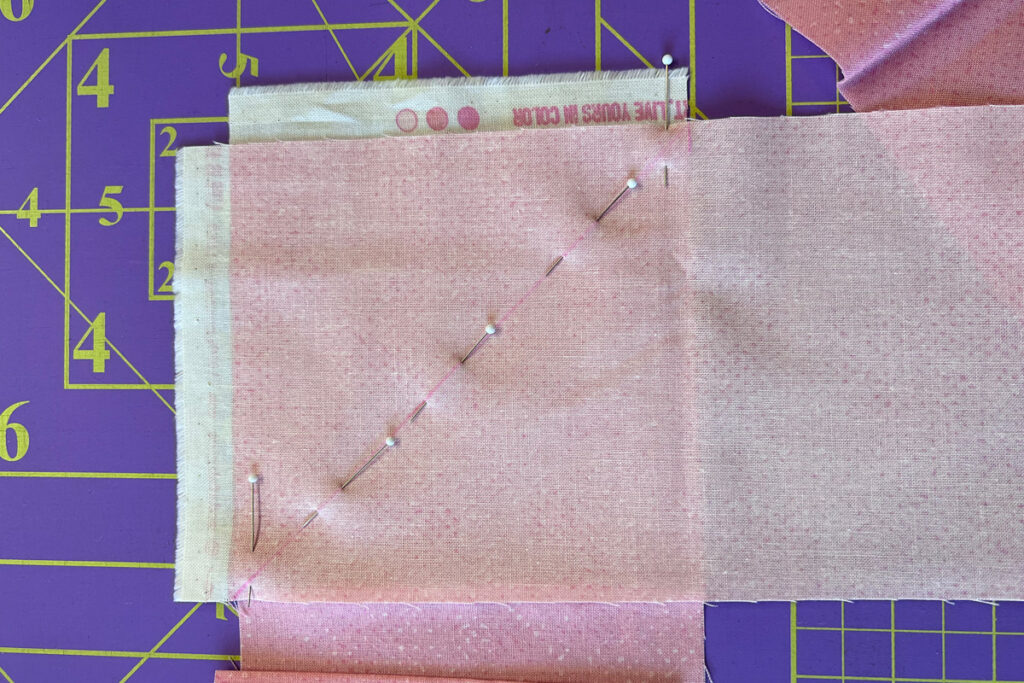
Create the waistband piece by mitering the two 5 x 40″ pieces together. Press the seam open.
Step 6
Press the long strip right sides together. Stitch the raw edge the length of the strip with a ¼ inch seam allowance.
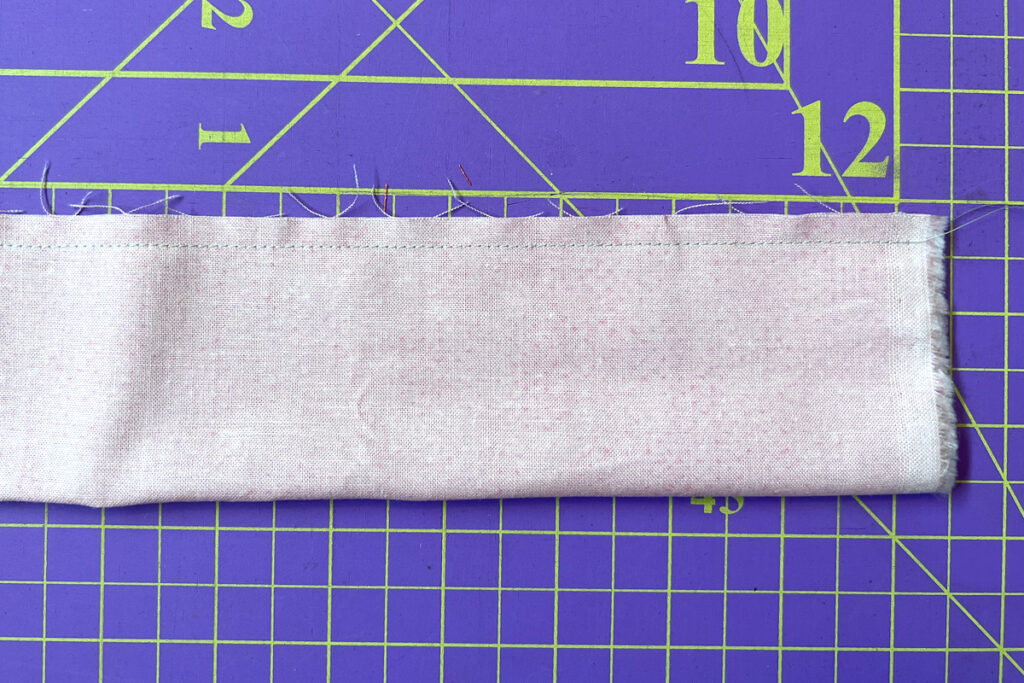
Step 7
Turn the strip right side out.
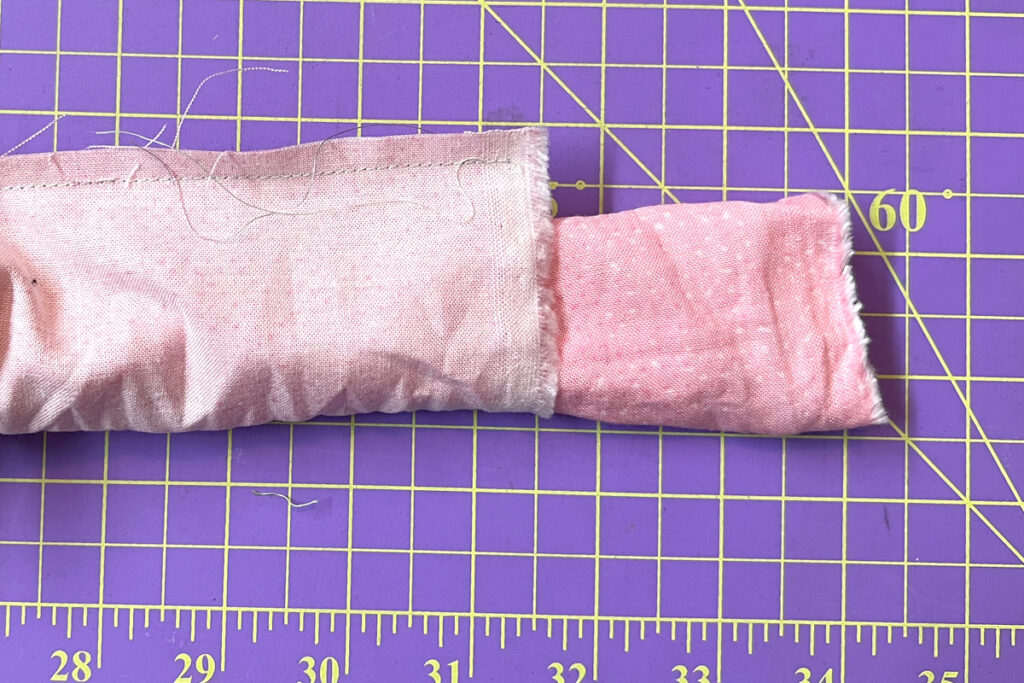
Step 8
Fold the strip in half and center on top of the apron. Starting in the center, topstitch 1/8th inch from the edge to the end of the strip. Topstitch the remaining side, starting at the center.

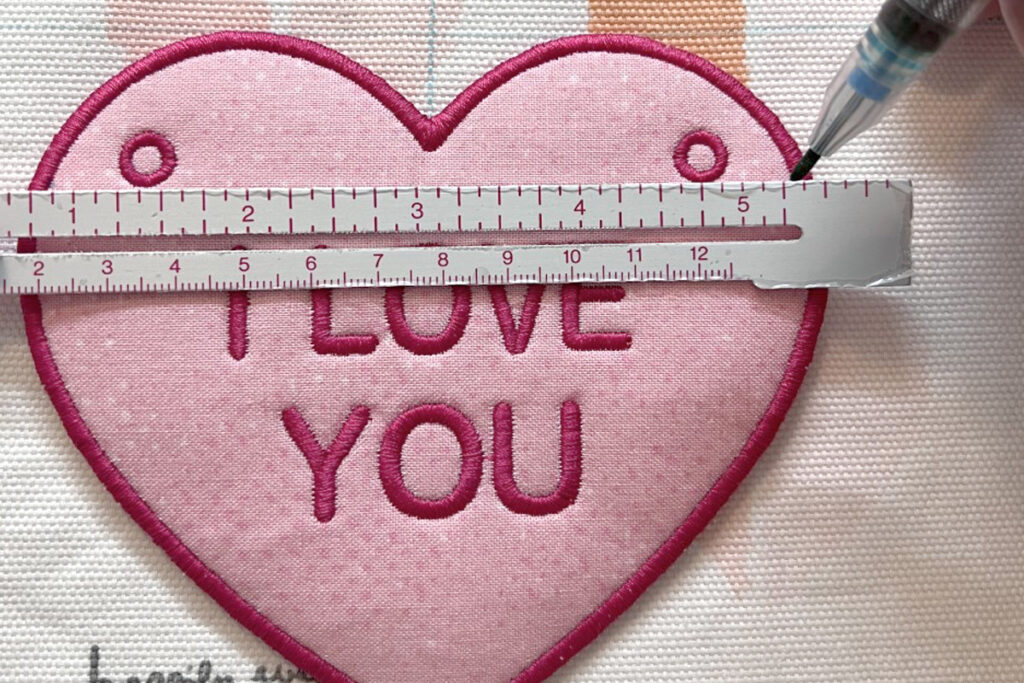
Step 9
Decide on your placement of the Candy Heart pockets. In this example, it was comfortable 5 inches down and 2 ½ inches from the center. Mark the Candy Hearts with a start and stop stitch mark. Top stitch them onto the apron starting and ending at the curve.
JOIN US IN THE OESD COMMUNITY!
We hope you enjoyed this machine embroidery tutorial! Have you stitched a Candy Heart Apron? Come show off your work in our private Facebook group, The Perfect Stitch!