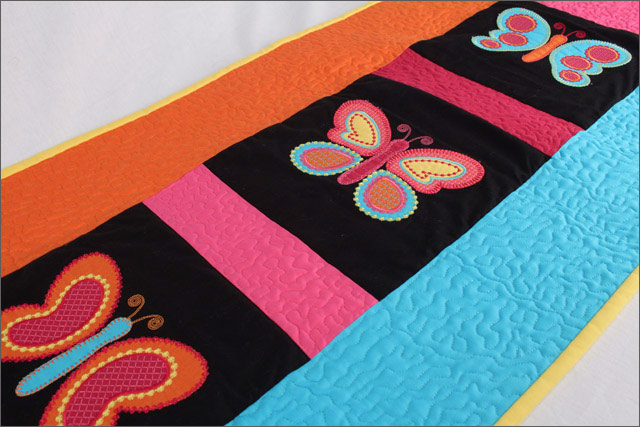
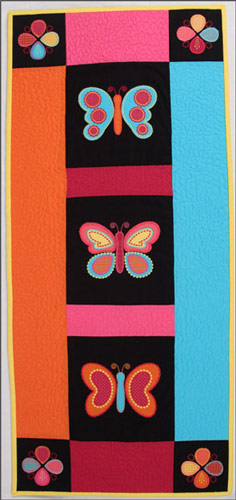
Butterfly Charm #12522 embroidery collection features 10 unique applique designs. This small yet dynamic collection of butterflies and shapes utilizes a variety of innovative techniques, including customized cover stitches and unique motif fill patterns. The bright fabrics and threads help to create eye-catching designs and the style is charming and youthful. Whether you need to create a fun quilt for the kiddos or friends, these embroidery designs are ideal. The complete instructions for the Butterfly Charm Wall Hanging are included in the collection
Supplies
- OESD’s Butterfly Charm #12522 embroidery collection
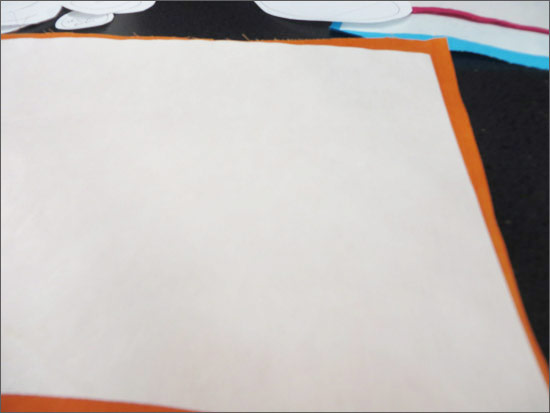
- OESD Applique Fuse and Fix
- Temporary Spray Adhesive
Instructions
This embroidery collection features multiple appliques in each design. All the designs have similar elements and coordinate well together. The designs would be great for the back of the jacket and a coordinating skirt. The butterflies could be showcased in a picture frame also.
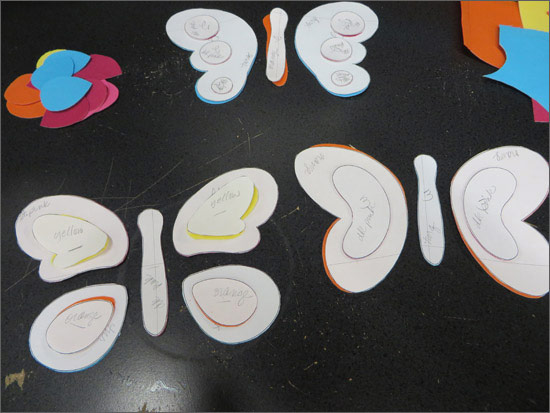
Let’s look at using the OESD Applique Fuse and Stick product as called for in the wall hanging. It is a product that has a fusible side and a sticky side, making applique easy. The applique remains soft and pliable and will not gum up your embroidery needle. Print off the applique templates first so you know about how much fabric you will need for the applique. Iron the Fuse and Stick to the wrong side of the fabric pieces.
Using temporary spray adhesive, spray the wrong side of the paper template. Place the template on the right side of the fabric. Cut out the applique pieces.

Once the applique pieces are cut out, position the pieces together for each butterfly.
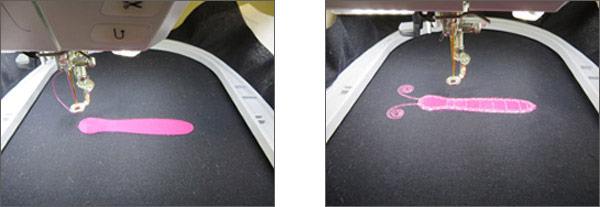
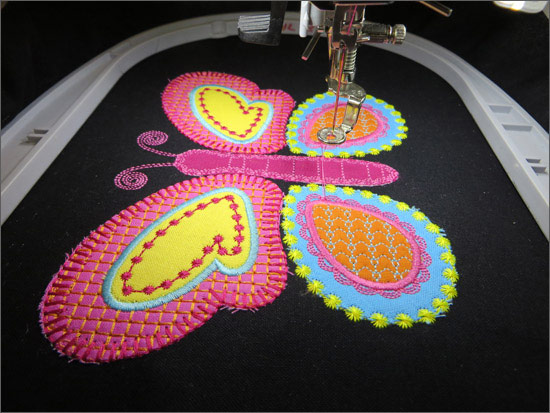
Let’s look at stitching out one of the butterfly designs. We will use butterfly design #12522-01 as the example. The first color stitches out the Placement Stitch for the body of the butterfly.
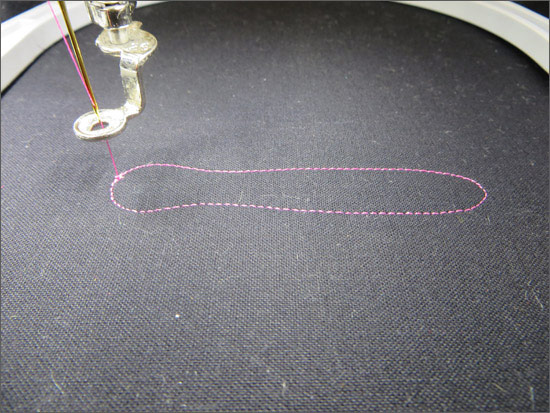
Remove the paper backing from the applique we cut from above using the OESD Applique Fuse and Stick. Place over the Placement Stitch. Stitch the second color which is the Tackdown & Detail.
The third color is the Placement Stitch for the top wings. Again remove the paper backing from the applique from the beginning and place over the Placement Stitch. Stitch the fourth color which is a Tackdown & Detail.
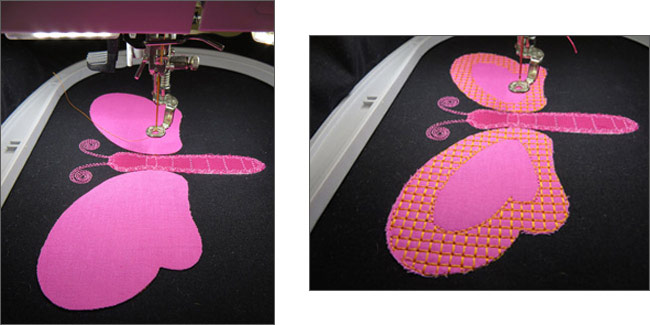
The fifth color is the Placement Stitch for the inner top wings. Note: There are appliques on top of appliques. The sixth color is the detail for the inner top wing fabric, and color seven is the Tackdown & Cover Stitch.
The eighth color is the Placement Stitch for the bottom wings. Color nine is the Cover Stitch, which is a candlewick stitch.
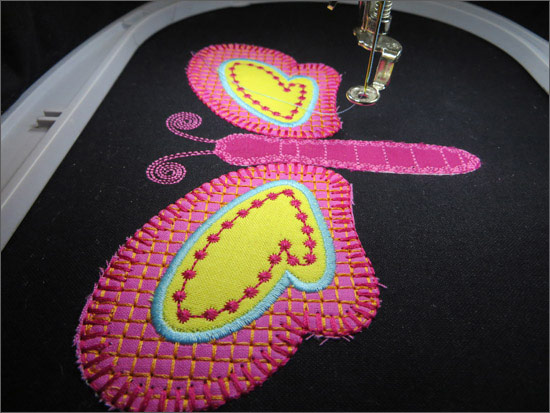
The tenth color is the Placement Stitch for the inner bottom wings. Color eleven is the Tackdown & Detail. The last and final color is the Cover Stitch of the inner bottom wings.
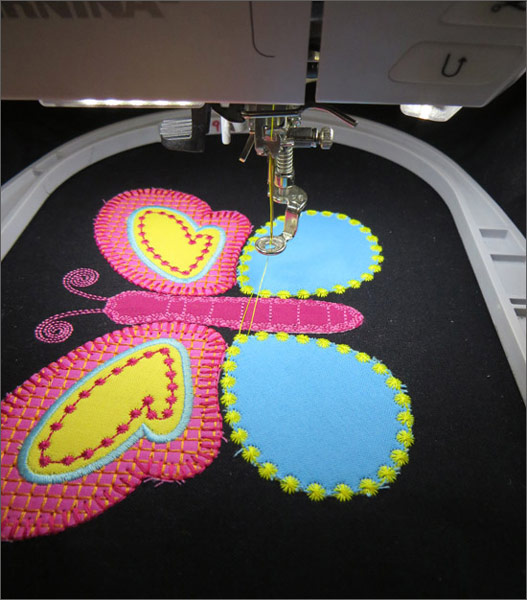
Now you can see how to stitch out these dynamic beautiful butterflies and shapes featuring different types of cover stitches and fancy stitches for this Butterfly Charm #12522 embroidery collection.
This material is © OESD, LLC and may not be reproduced or published without permission.