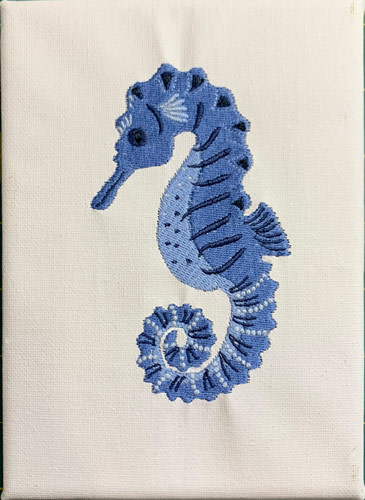
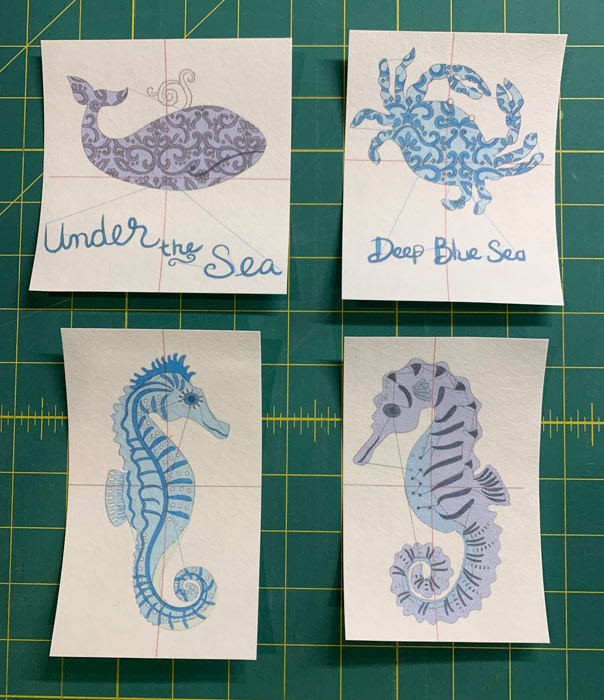
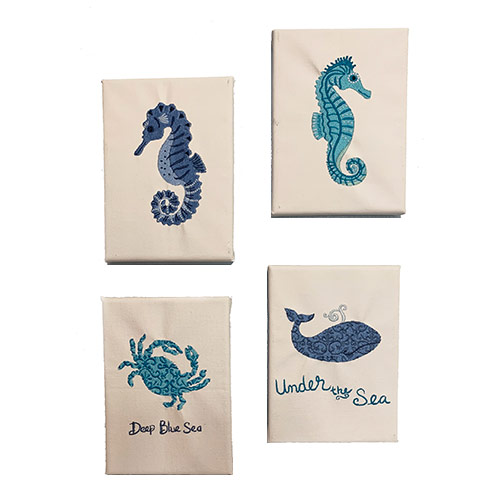
Nothing is so satisfying than making DIY Embroidered canvas wall art. Embroidering on canvas is a fun and easy way to add interest, dimension, texture, and personality to your home décor. These whimsical designs take us to the Bohemian seaside, where seahorses frolic and starfish dance, and is the perfect accompaniment for a relaxing guest room.
Supplies
- OESD’s Bohemian Seaside by Sharon Lee #80321 embroidery collection
- OESD StabilStick CutAway – 2 pieces per design
- StabilStick Template Sheets
- StitcH2O WashAway
- Expert Embroidery Tape TearAway
- Isacord Threads – per thread chart
- Organ Embroidery Needle Sharps 80/12
- Water Soluble Marker
- Art Canvas – 4
- Pliers
- Flat Head Screwdriver
- Staple Gun
- Staples
Instructions
Step 1
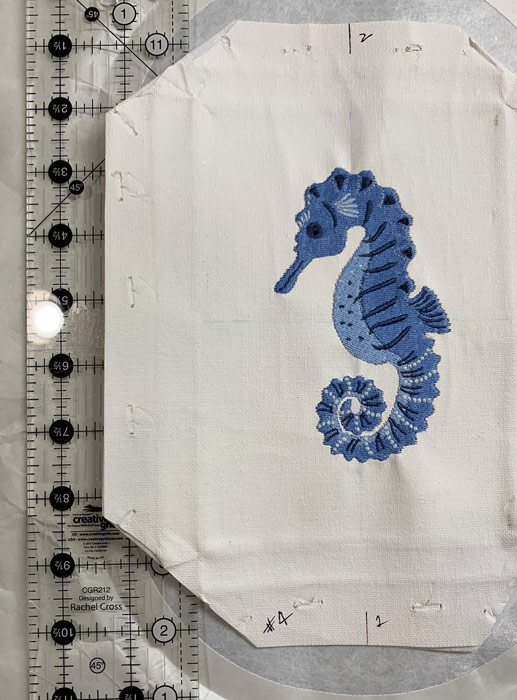
Select a canvas. The canvas used in the project is 5” x 7.” Select a design. The design in the project is #80321-08 Bohemian Seahorse 2. Print out the design selected on StabilStick Template Sheets and trim around the design.
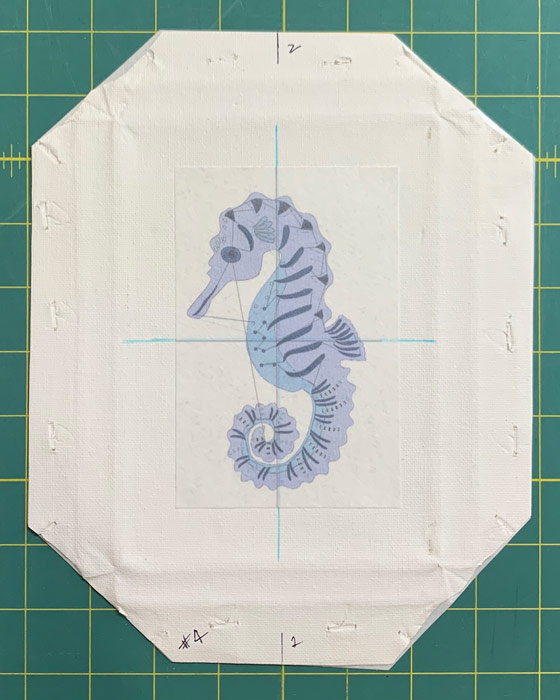
Step 2
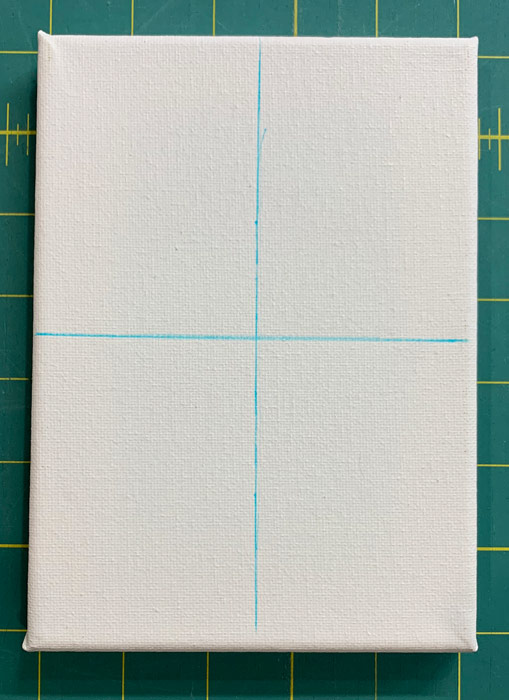
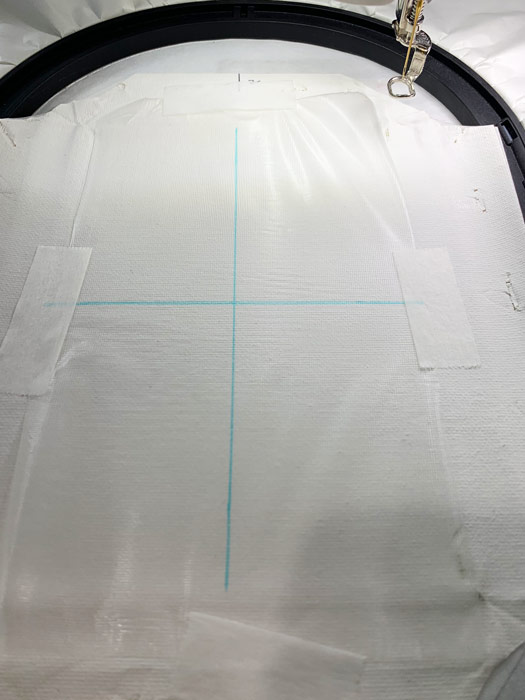
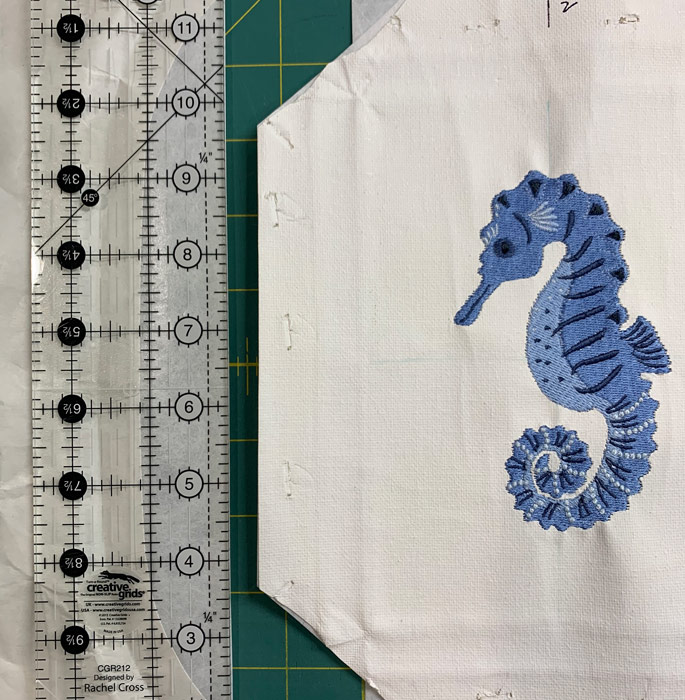
With a water-soluble marker, mark the vertical center and the horizontal center on the canvas creating a center crosshair.
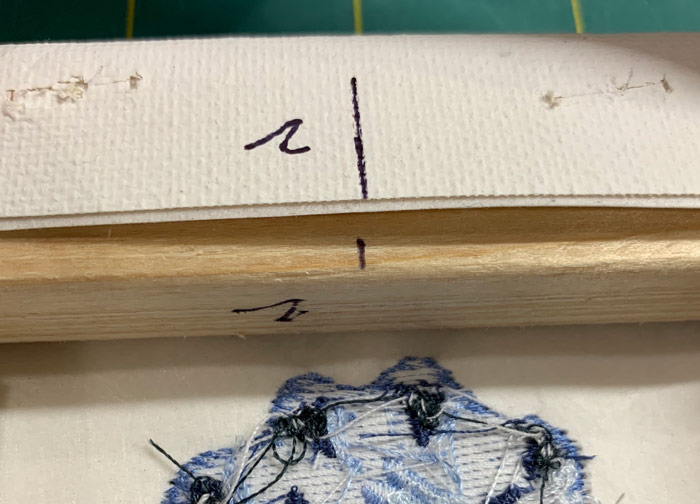
Step 3
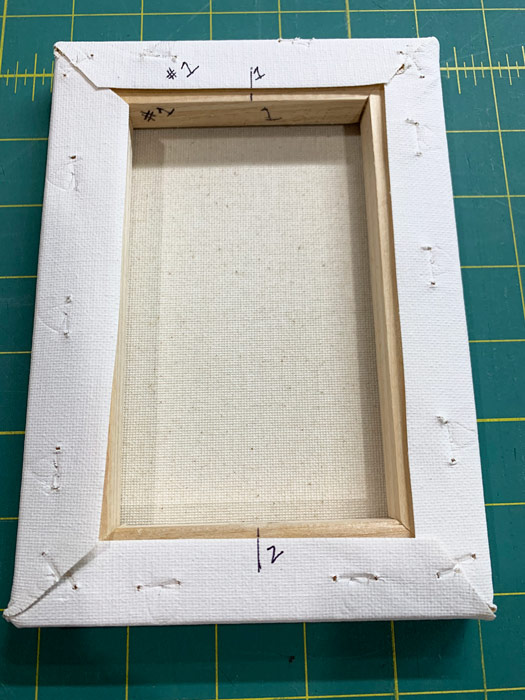
Mark the back of the canvas and the frame with a number and reference lines. Tip: This is helpful when putting back together.
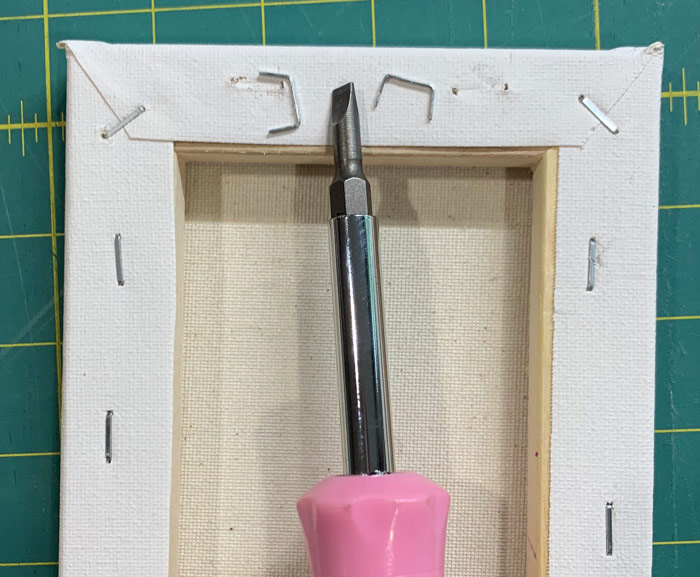
Step 4
Remove canvas and set aside the frames. Tip: A flat head screwdriver and pliers are useful tools to remove the canvas. Please make sure appropriate safety equipment is worn.
Step 5
Finger press the canvas flat. Cut StabilStick CutAway a little bigger than the canvas. Peel the paper from the StabilStick and press to the wrong side of the canvas. TIP: Trim StabilStick around the canvas, being careful not to cut the canvas. Matching the center points, apply StabilStick Template Sheets with the design to the canvas.
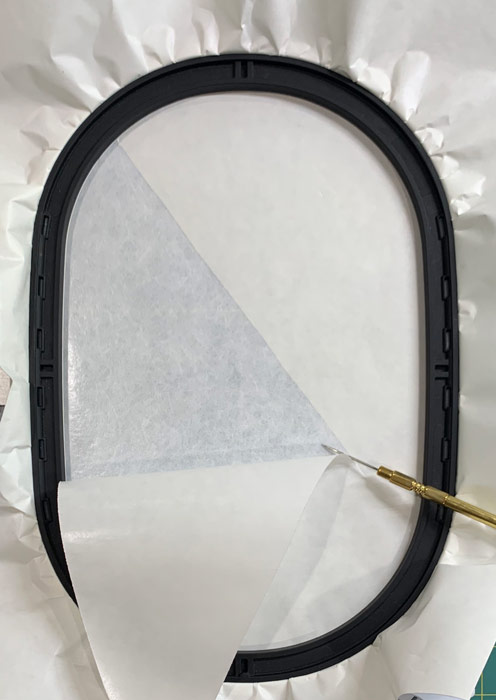
Step 6
Hoop the StabilStick CutAway with the paper side up. Score the paper with a sharp point, such as a stiletto. Remove the paper.
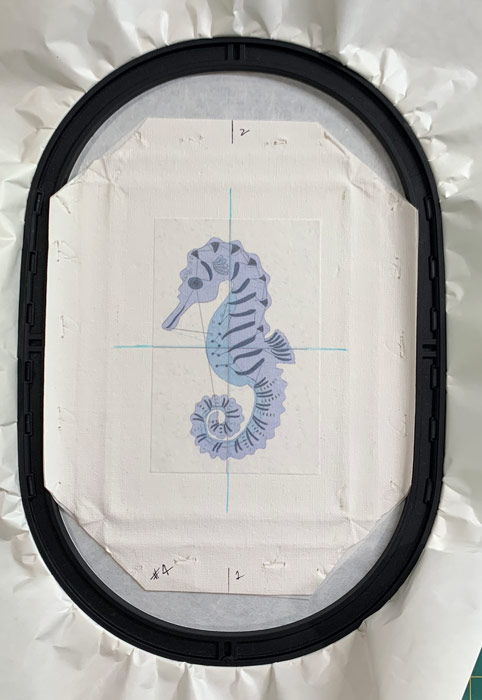
Step 7
Matching center points markings on the hoop and the canvas, finger press the canvas in place.
Step 8
If needed, use the machine functions to find the center point.
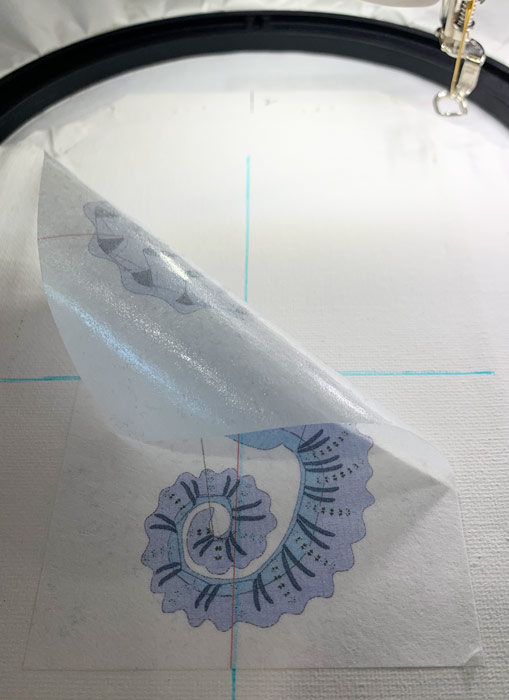
Step 9
Peel the template off before you begin stitching (can re-use the template).
Step 10
Tape StitcH2O in place.
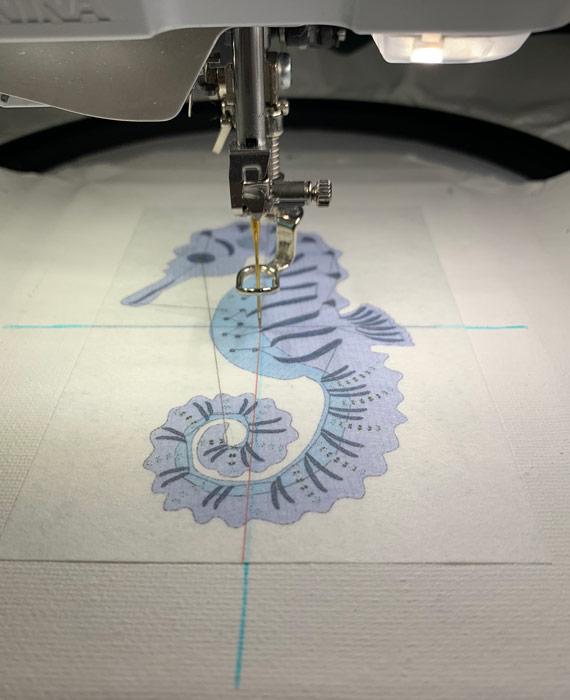
Step 11
Stitch out the design following the thread chart.
Step 12
Remove the hoop from the machine and remove the project from the hoop. Remove the StitcH2O. Using a damp cloth, remove water-soluble markings and the tiny areas where the StitcH2O might still be.
Step 13
Remove the second layer of StabilStick, only cutting close to the design but being careful not to cut stitches. Leave the base layer of StabilStick in place.
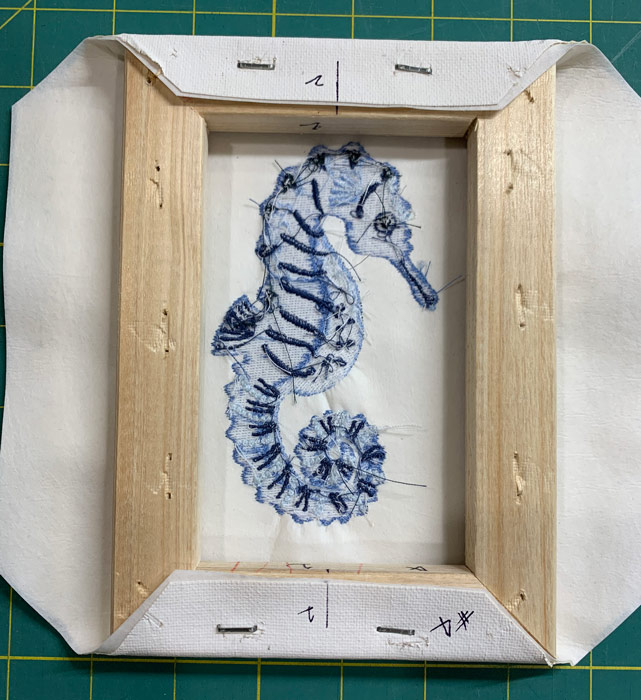
Step 14
Line up the reference marks on the canvas and the frame. Staple the canvas on the frame.
TIP: To achieve a snug fit staple by working the opposite corners of the canvas. Example – top of frame/bottom of the frame. Left side / Right side.
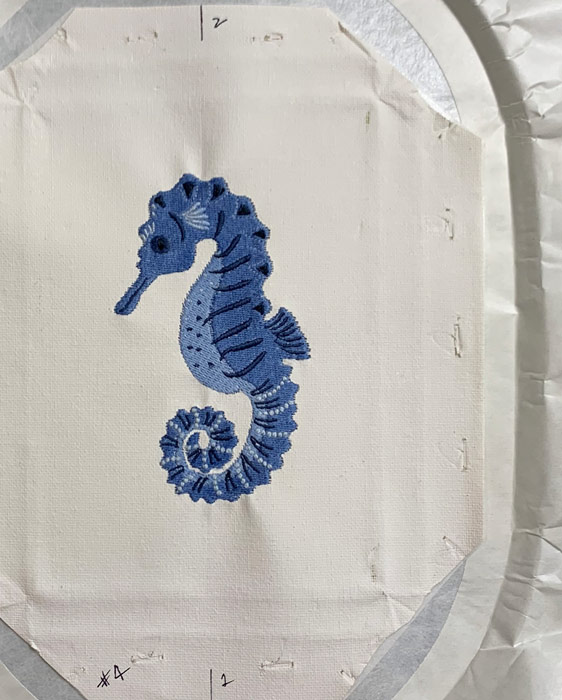
Step 15
The art canvas is completed. Enjoy.
This material is © OESD, LLC and may not be reproduced or published without permission.