
Display your favorite sentiment for all to see with this easy to make wall hanging featuring a design from Lovely Sentiments by Velvet Lime Girls.
Supplies
- OESD’s Lovely Sentiments by Velvet Lime Girls embroidery collection #80128
- OESD Heavy Weight CutAway stabilizer
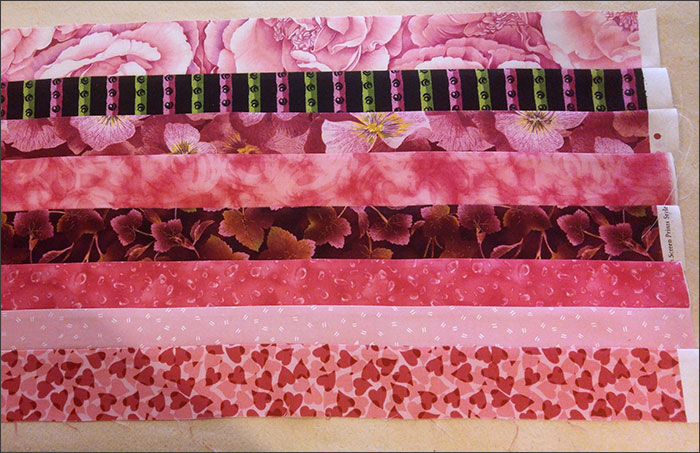
- 8 – 10 1/8 yard pieces of fabric to coordinate with the thread colors of the chosen design
- 3/8 yard of background fabric for stitching out the design
- 1/2 yard of fabric for backing
- 18″ square batting
- Temporary spray adhesive
Embroidery
Spray two hoop-sized pieces of heavy weight cut-away stabilizer with temporary spray adhesive and apply to each other and to the wrong side of a hoop-sized piece of the background fabric. Hoop the background fabric and stabilizer together.
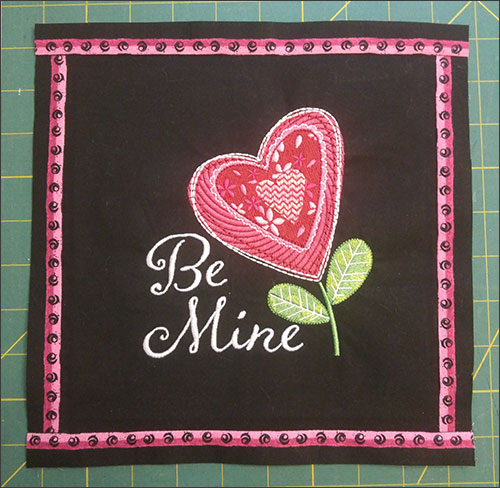
Place the hoop on the machine and stitch the design. For this project, we used design #80128-09.
Remove the hoop from the machine and the fabric from the hoop.
Carefully trim all the jump threads and trim the excess stabilizer.
Preparation of Borders and Central Design
Being careful to center the design, trim the piece to a 9″ square.
From the coordinating fabrics, choose one with a nice contrast to the central design and cut a 1″ strip the width of the fabric. From this strip cut two 9-1/2″ strips and two 10-1/2″ strips.
From the remaining coordinating fabrics, cut strips the width of the fabric in varying widths of 1 1/4″, 1 1/2″, 1 3/4″ and 2″ wide.
Arrange the strips in a pleasing manner and sew the strips together using a 1/4″ seam. Press all the seams in one direction.
Cut the strip set into 4″ widths.

Depending on the widths cut of the original strips, at least six 4″ lengths must be cut. Sew the 6 strip sets together (end to end) and press the joining seams to one side.
For hangers, cut a strip from one of the fabrics 2″ x 12″. Sew the two long edges right sides together with a 1/4″ seam. Finger press the seam open and turn the resulting tube of fabric right side out. Press the tube with the seam centered on one side of the tube. Cut the tube into three 4″ lengths. These will be the hangers for the finished wall hanging.
Assembly Instructions
For all the remaining assembly continue to use a 1/4″ seam allowance.
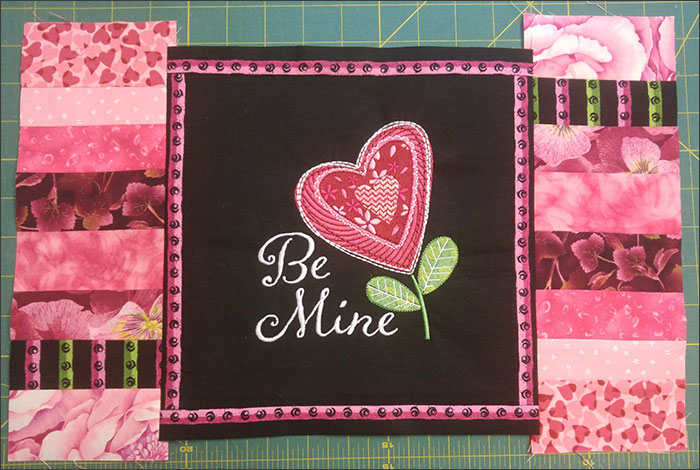
Sew the shorter 1″ strips to the sides of the design square extending the ends past the edges.
Press the seams toward the strip just sewn.

Trim the strip ends even with the design square.
Sew the longer strips to the top and bottom of the design square.
Press the seams and trim the ends as done with the sides.
Place the strip set next to one side of the center square with the beginning end extending past the top edge. Trim the lower edge with the end extending. Repeat on the other side and sew the strip sets to each side.
Press the seam toward the previous border and trim the top and bottom edges of the strip sets evenly with the top and bottom of the design square.
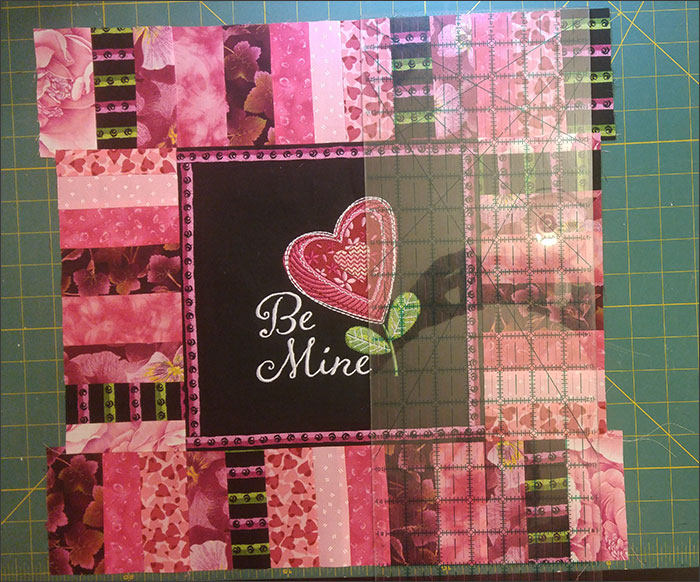
Place the strip set on the top extending edges and trim before sewing to the top of the design square and then repeat with the remaining strip set on the bottom of the design square. Press again toward the top and bottom borders and trim the edges to make an even complete square.
Finishing Assembly and Quilting
Quilt as you desire, but for our sample we simply stitched in the ditch.
Starting with the batting on the bottom, smooth the completed top over the batting with the top centered, right side up. Starting at the inner border edge, stitch in the ditch between the strips from the border to the edge all the way around the border. When finished attaching the top to the batting in the border, you are ready to attach the backing.
Measure the top and trim it down to 15 1/2″ square. Also, cut the backing in a 15 1/2″ square.
Before attaching the backing, the hanging tabs need to be placed. Measure in 3/8″ from the side edges on the top of the design square. Place one hanging strip seam side up with the raw edge even with the top of the design square. The outer finished side of the hanger should be 3/8″ inside the side edges of the design square. Fold the other raw edge of the hanger up even with the raw edge of the top and pin in place. The third hanger will be centered along the top edge in the same manner. Measure between the center tab and the edge tabs to make sure they are placed evenly.
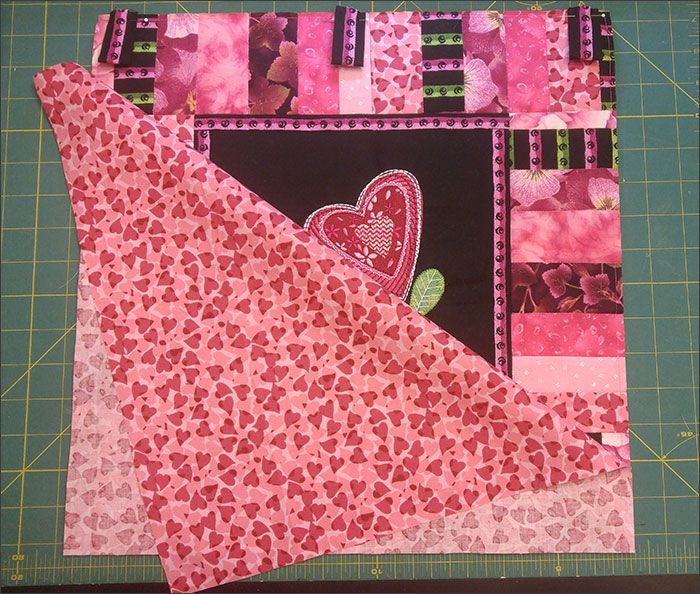
Lay the backing fabric right side down and pin in place before sewing around the outer edge of the entire quilt sandwich. Leave a 6″ opening on the bottom edge to turn the project. After stitching, turn the project right side out and press the edges. Hand stitch the opening shut.
Finally, stitch in the ditch on both edges of the inner border through all 3 layers.
This material is © OESD, LLC and may not be reproduced or published without permission.