Are you looking for a creative way to share baby pictures with friends and family? Our Baby Month Photo Blanket is such a special way to showcase your precious little one’s growth each month! Follow this step-by-step machine embroidery tutorial to learn how to stitch your very own quilt using our Baby Month Applique designs – PK10021. Customize your color palette with coordinating background fabrics and number blocks for each month. With a few simple supplies and easy instructions, this enjoyable embroidered keepsake makes a great baby shower gift and handmade treasure that your family can pass down for generations to come! Once you learn how to make these applique designs, you can also stitch them on adorable baby onesies! The possibilities for adorable embroidered fun are endless.

Supplies:
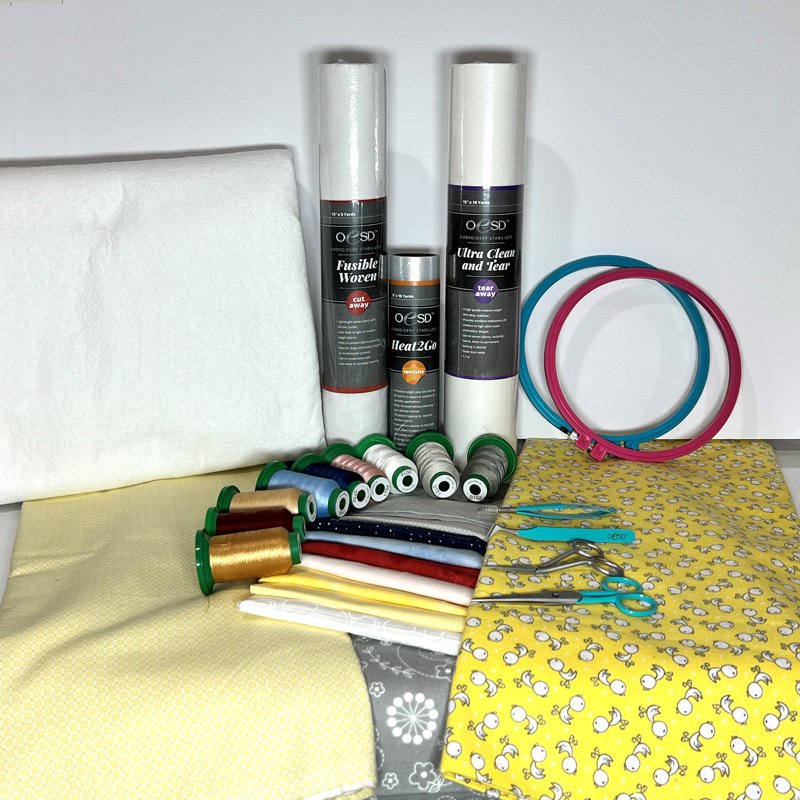
- Baby Month Applique PK10021
- OESD Fusible Woven
- OESD Heat2Go
- OESD Ultra Clean and Tear
- OESD Expert Embroidery Tape TearAway
- OESD Perfect Embroidery Press Cloth
- OESD Grippy Grid
- 1 yard pale flannel for the background (if you choose not to chain hoop, 1 ½ yard)
- 1 yard coordinating flannel
- 1 1/3 yard flannel for backing
- ¼ yard fabric for binding
- Cotton fabric for applique – a great way to use scraps!
- Marker
Instructions:
Step 1
Gather your supplies.
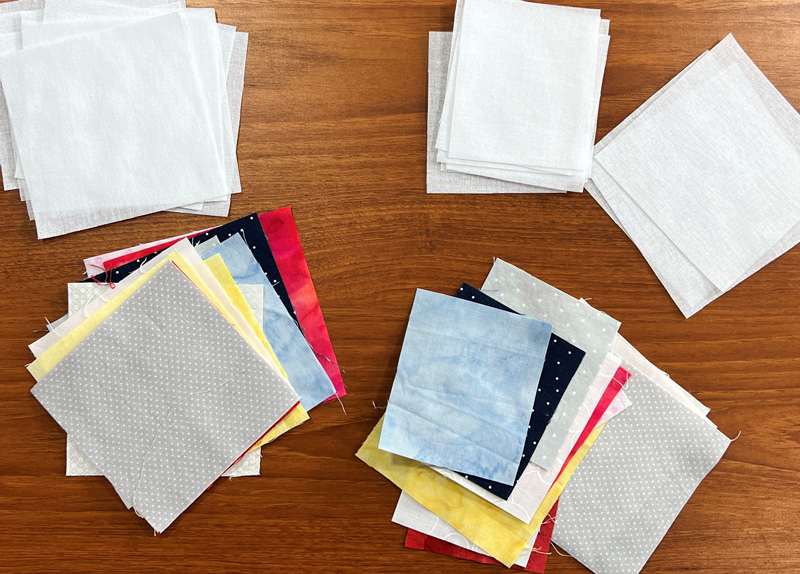
Step 2
Cut the applique pieces out of cotton fabric and Fusible Woven: Background shapes for the circles – 4” x 4” pieces, Numbers 1-9 – 3” x 3 ½”, Numbers 10-12 – 4” x 4”.
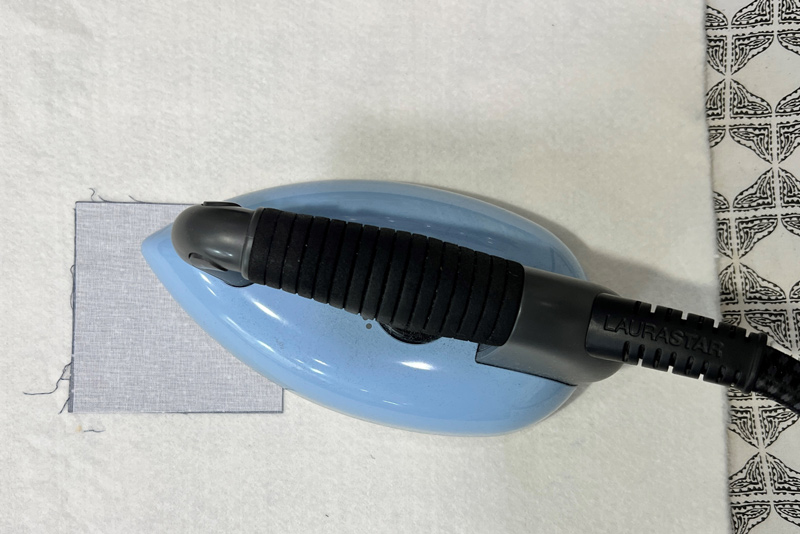
Step 3
Press Fusible Woven to the wrong side of the cotton fabrics.
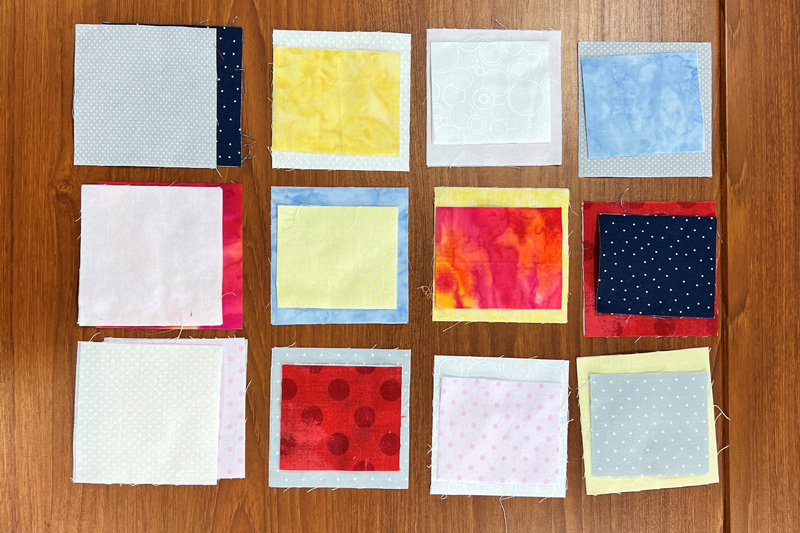
Step 4
Choose which fabric combinations you’d like to use for your quilt. To keep everything in order, put the fabric for the numbers on top of the fabric for the circles. Set them aside.
Step 5
To save supplies, you can chain hoop this project. Cut 2 strips 15” x WOF from the flannel background fabric. You’ll be able to get 6 hoops across a strip.
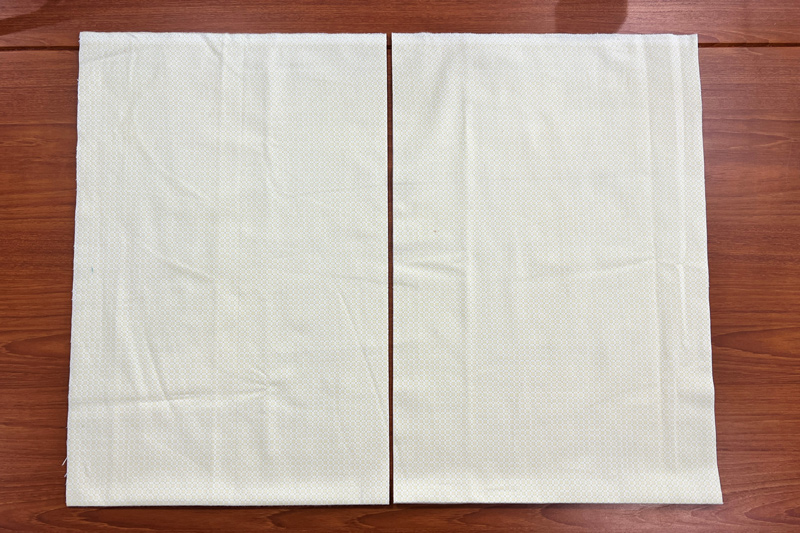
Step 6
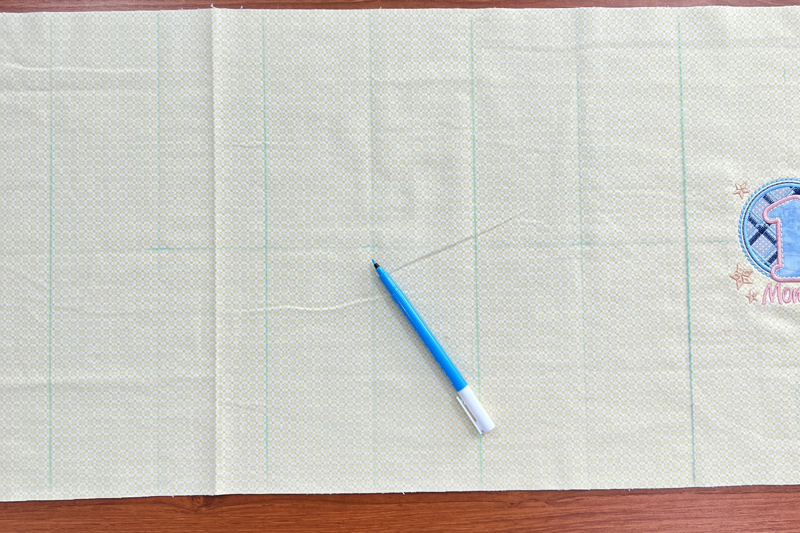
The goal is to get 6 hoops out of the width of the fabric and have enough fabric to cut 6 ½” squares. Using a marker, marked the center across the width of the fabric – 7 ½”.
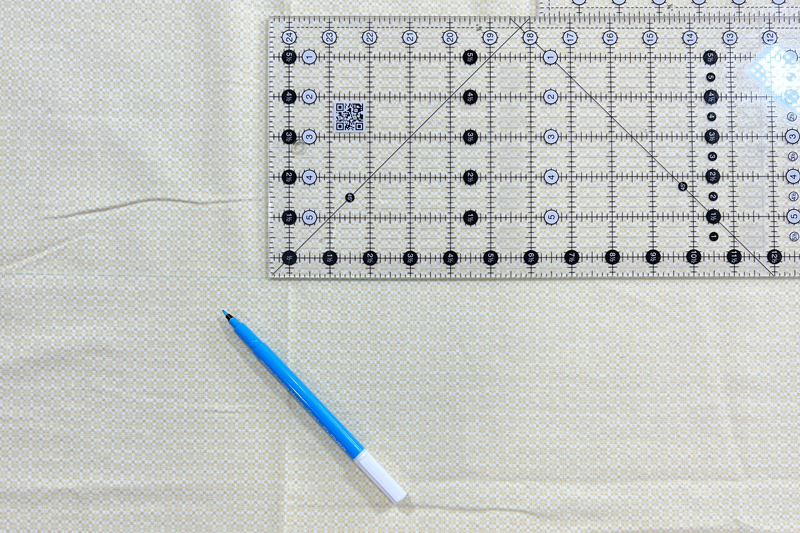
Step 7
Mark a vertical line 4 1/2” from the edge of the fabric. You can mark the others after the first embroidery is finished.

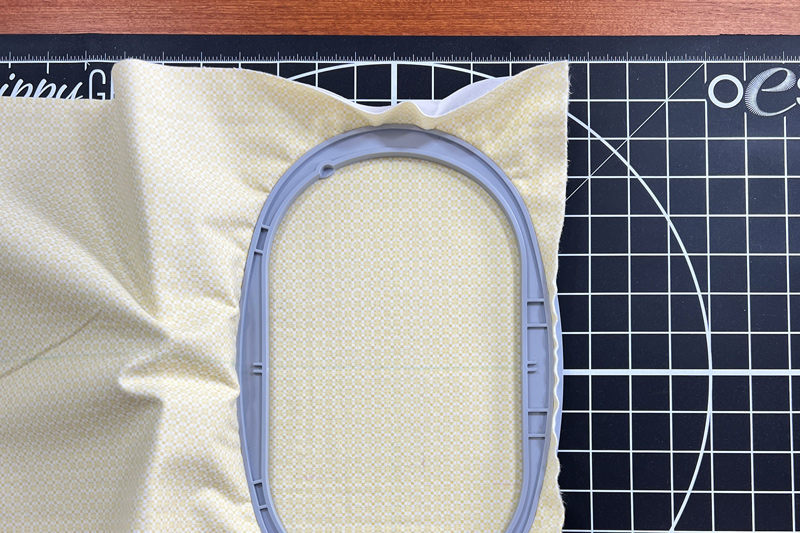
Step 8
Hoop the Ultra Clean and Tear Stabilizer and fabric using the OESD Grippy Grid to keep the hoop from sliding while hooping. (Keep the bulk of the fabric to the left of the embroidery module).
Step 9
Attach the hoop to the embroidery module and use the placement tools on your machine to find the center.

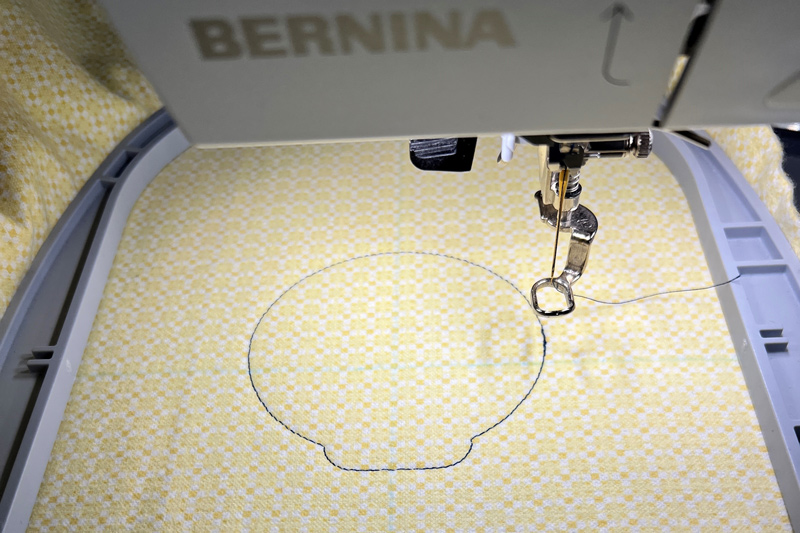
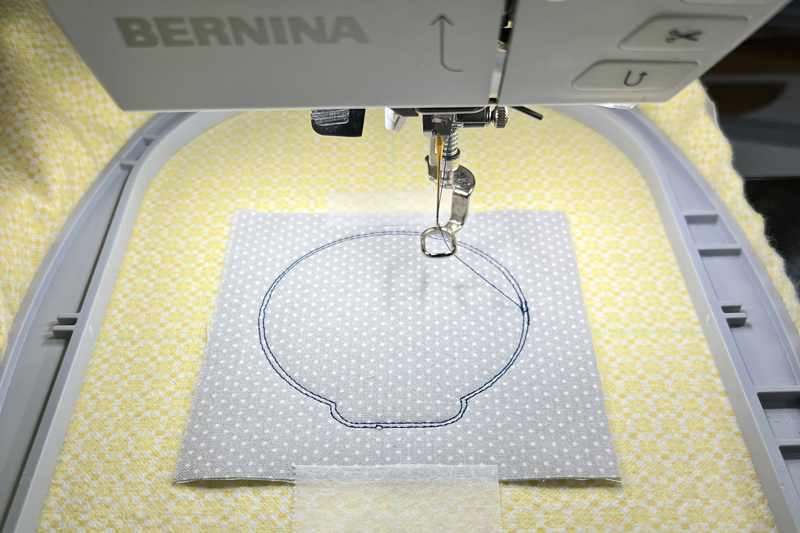
Step 10
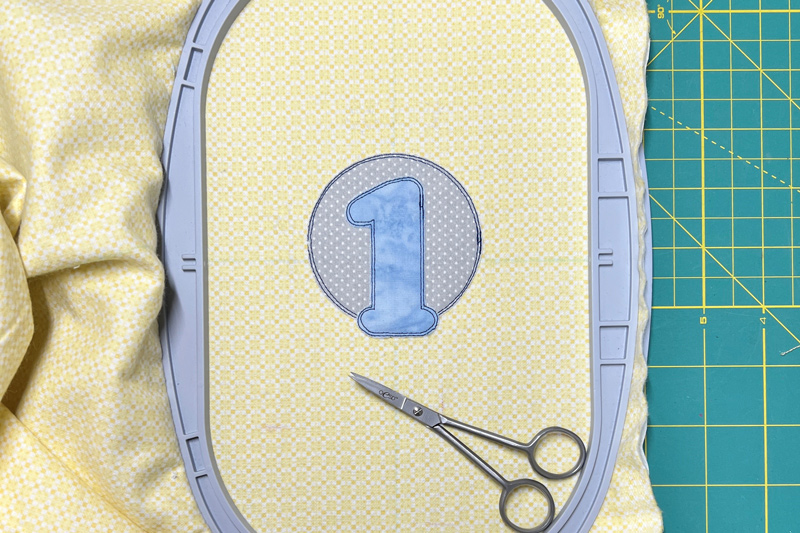
Stitch Machine Step 1, the placement stitch. Using TearAway Tape, place fabric over the placement stitch. Stitch Machine Step 2, the cut line and tackdown stitch.

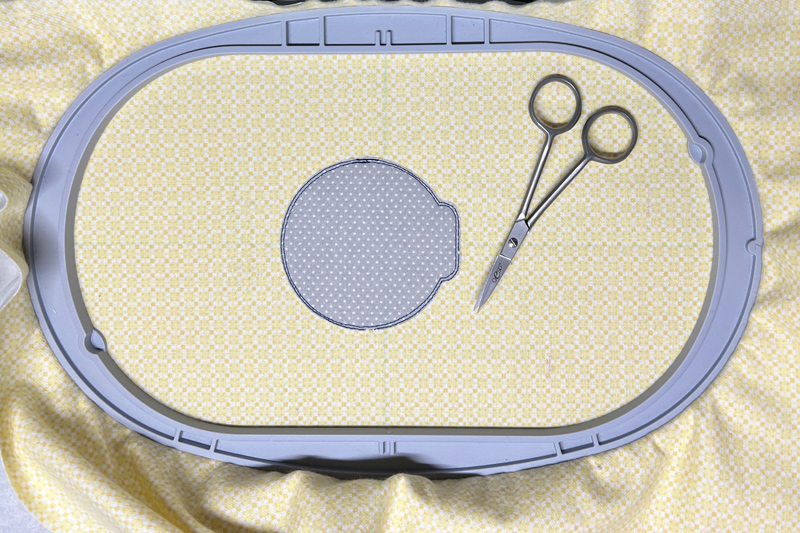
Step 11
Remove the hoop from the embroidery module and trim the fabric close to the cut line and tackdown stich.
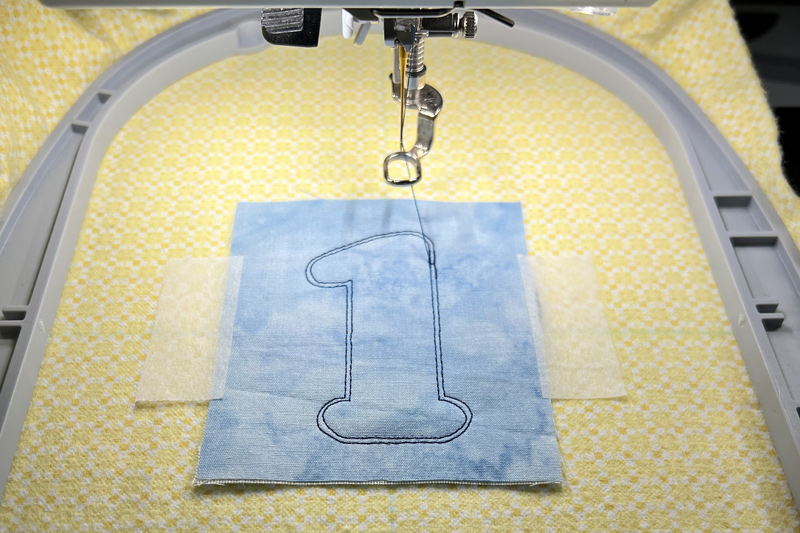
Step 12
Repeat this process for the number applique.

Step 13
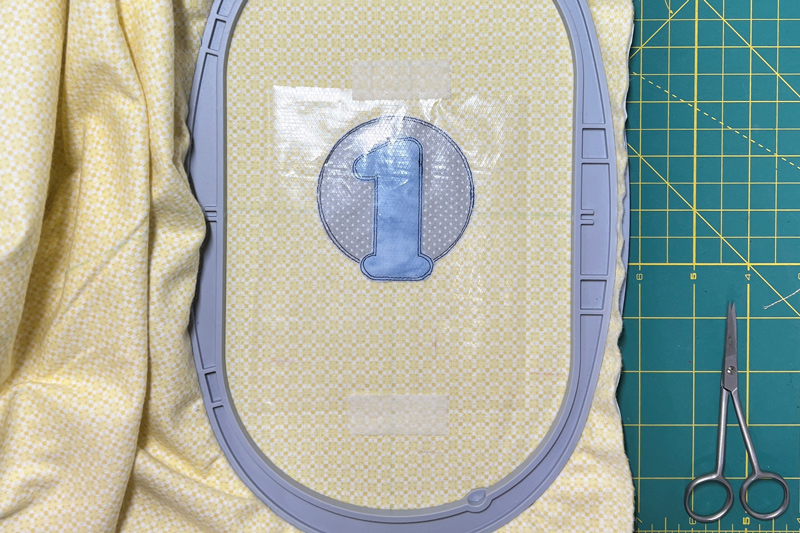
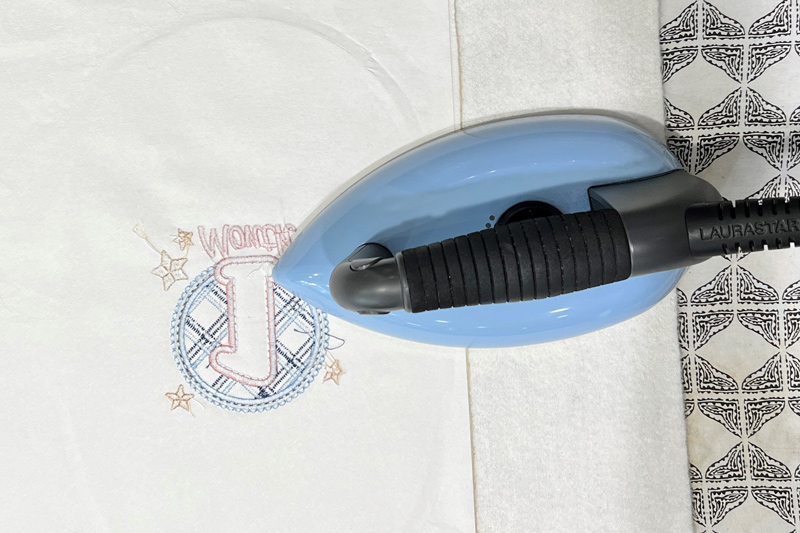
Since this fabric is flannel, place Heat2Go over the entire design to keep the stitching crisp above the flannel texture. Tape in place using TearAway Tape.
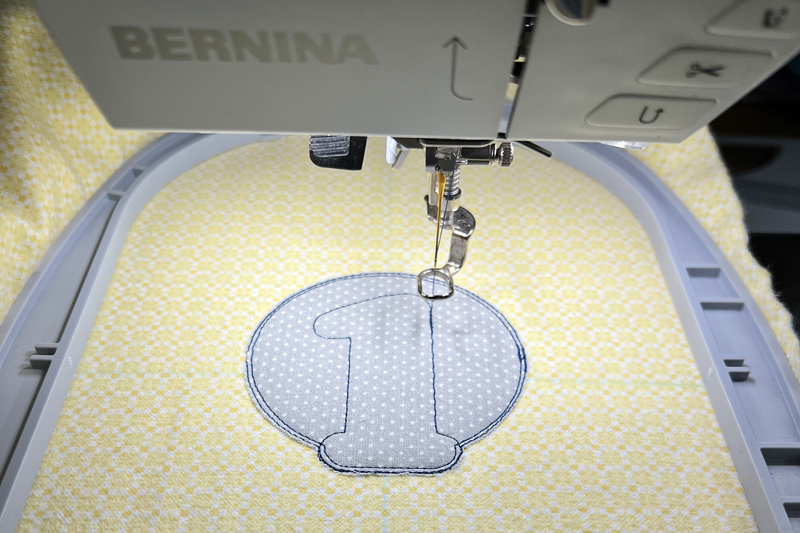
Step 14
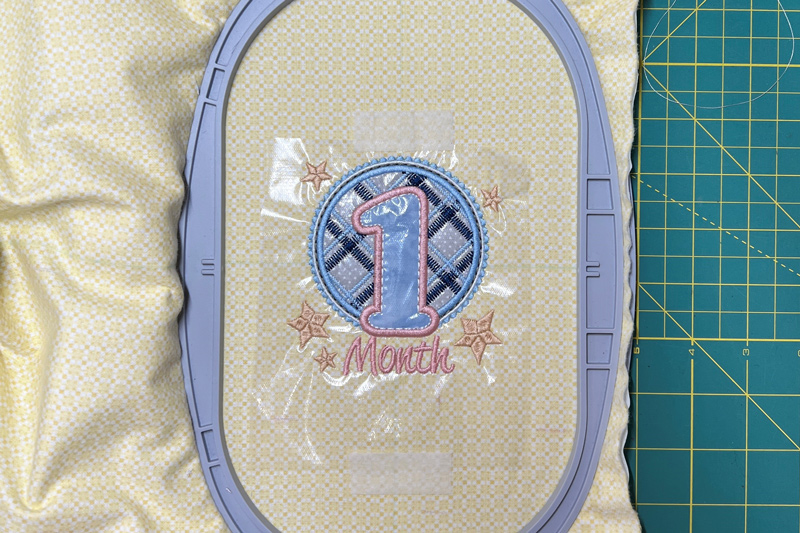
Stitch the remaining embroidery steps on your machine.
Step 15
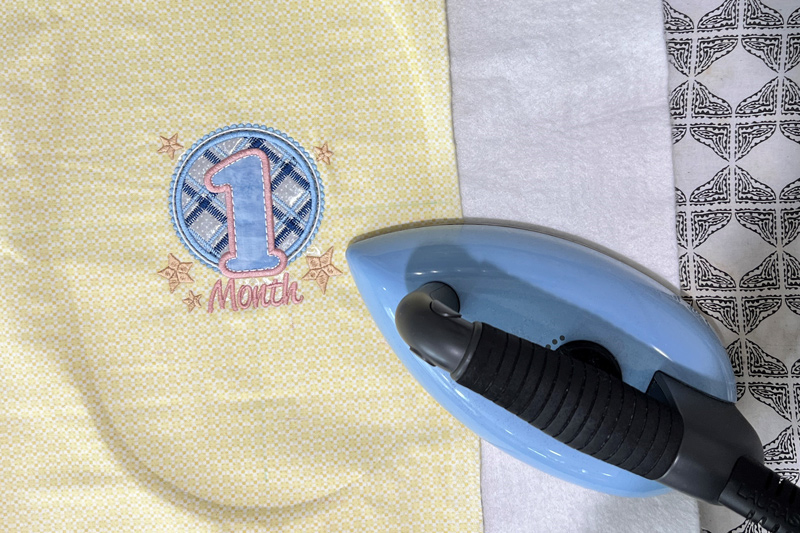
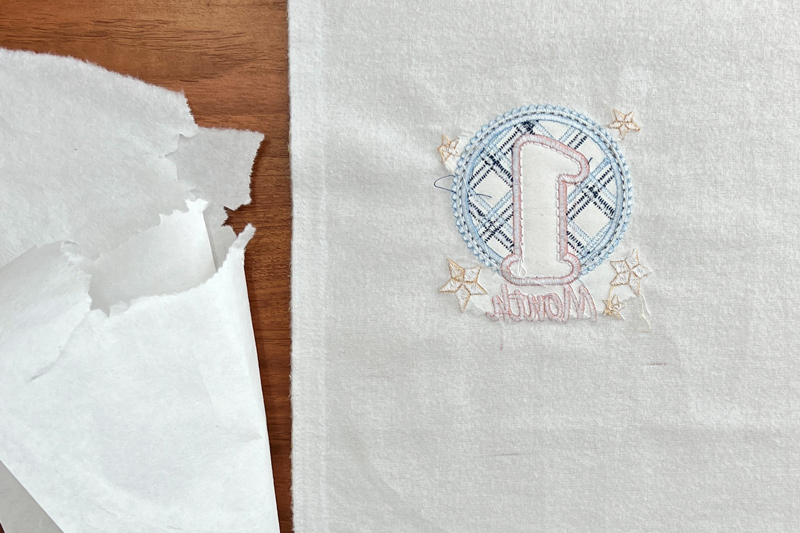
Remove embroidery from the hoop. Remove TearAway Tape and carefully tear larger areas of the Heat2Go. Iron any remaining Heat2Go away.
Step 16
Place the embroidery right side down on the Perfect Embroidery Press Cloth and press.
Step 17
Carefully tear away the excess stabilizer.
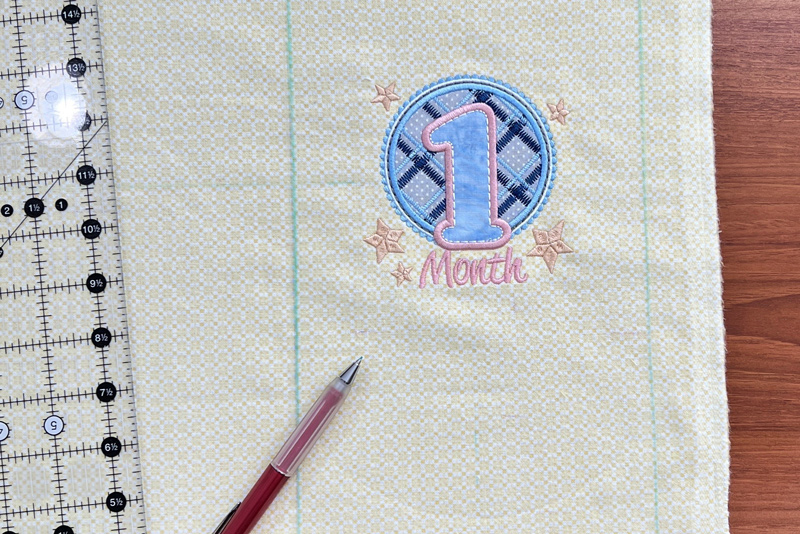
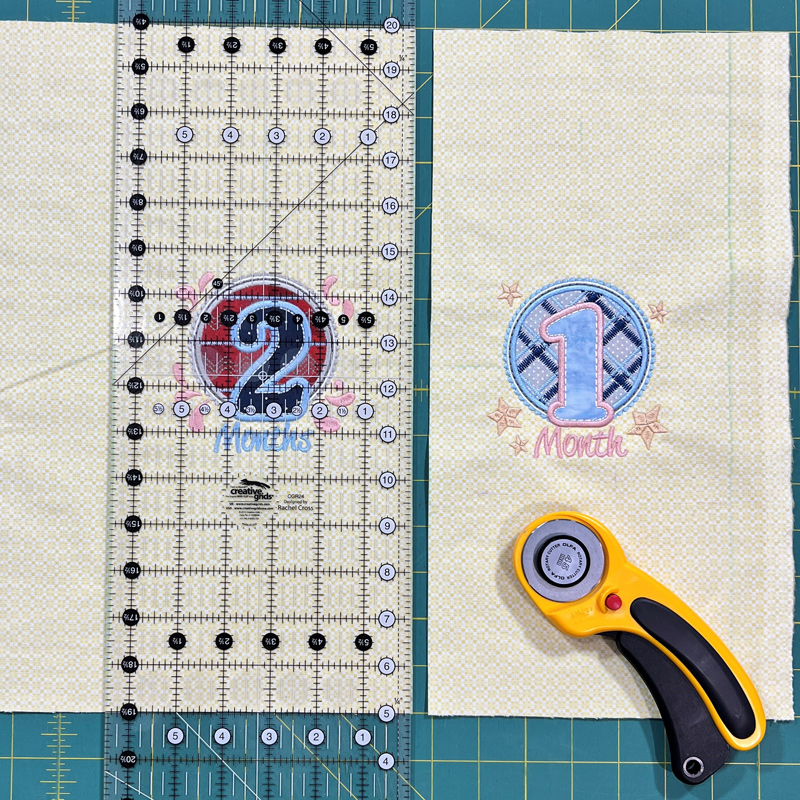
Step 18
Place a 6 ½” ruler over the previous design with the 3 ¼-inch line with the center of the last designs. Use a darker marker and mark the left and right side of the design. (These will be the cut lines). DO NOT CUT YET.
Step 19
Mark the next 5 sets of cutting lines of 6 ½” next to the previous design across the width of the fabric.
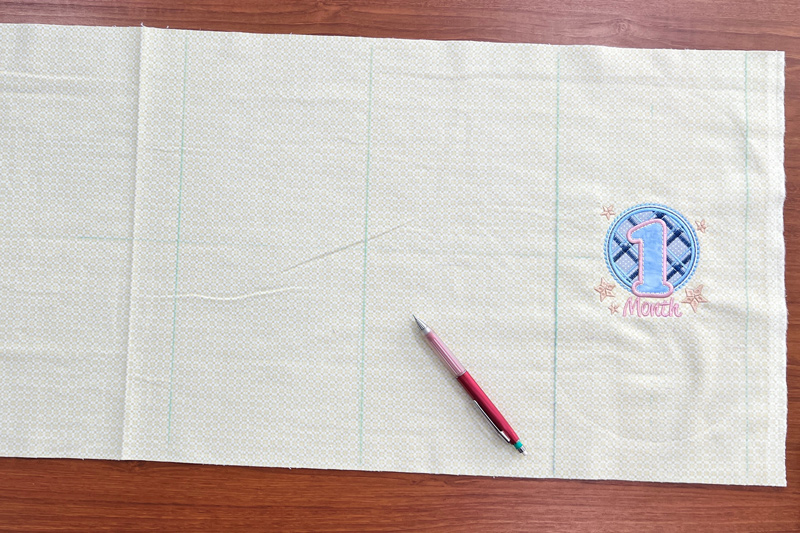
Step 20
Mark the center of the next design which is 3 ½”. Embroider the next design following the steps above.
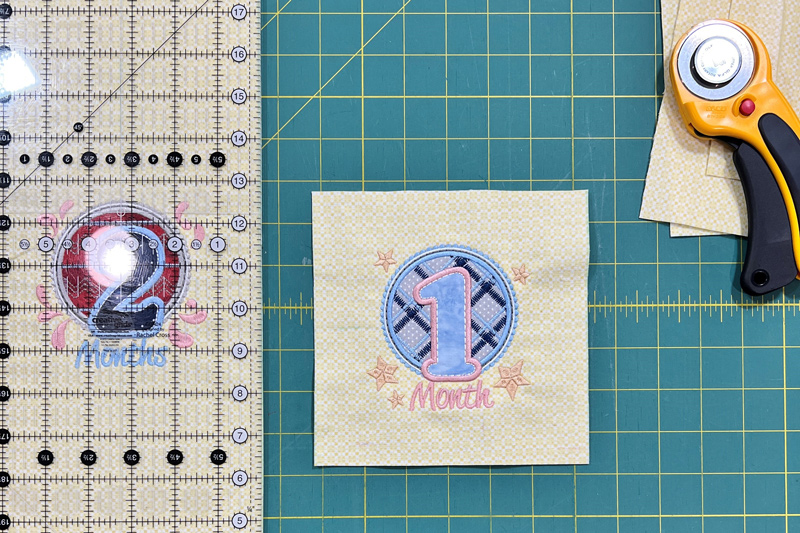
Step 21
Cut the first design away from the main piece of fabric since the second design has been completed.
Step 22
Trim around the design using the markings for the 6½” block and set aside.
Step 23
Follow the instructions above to embroider all 12 blocks.
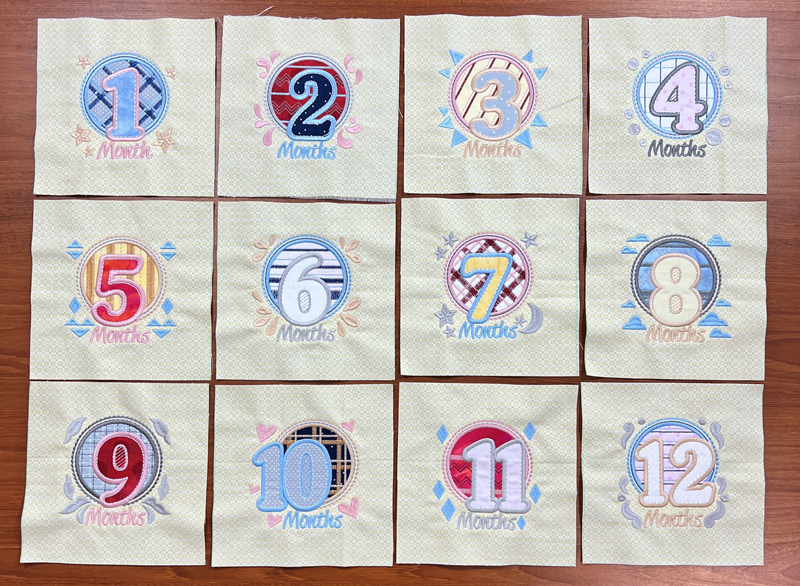
Step 24
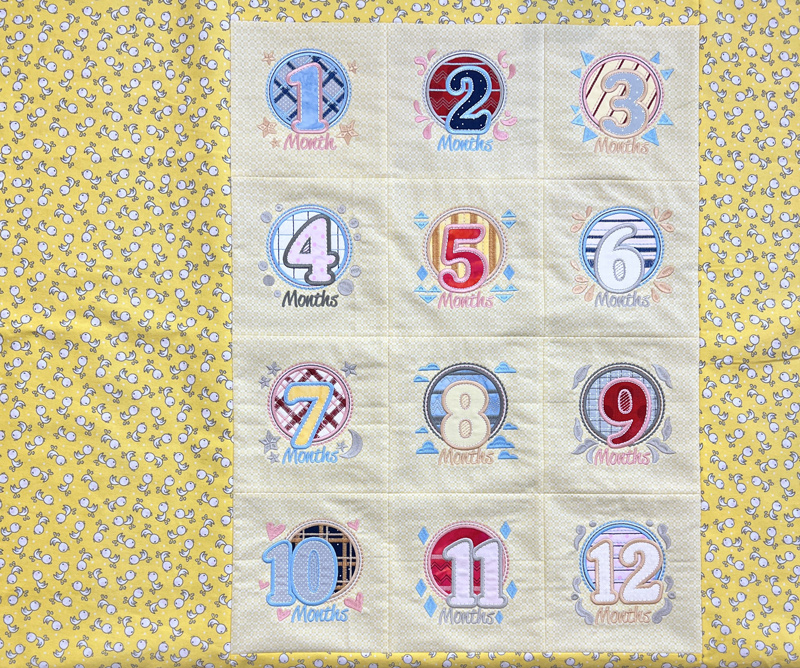
Using ¼” seam allowance, piece the months together. Choose your layout – this example makes the numbered blocks taller rather than wider, pieced together at 3 across and 4 down. The total dimensions of this section come out to be 18 ½” x 24 ½”.
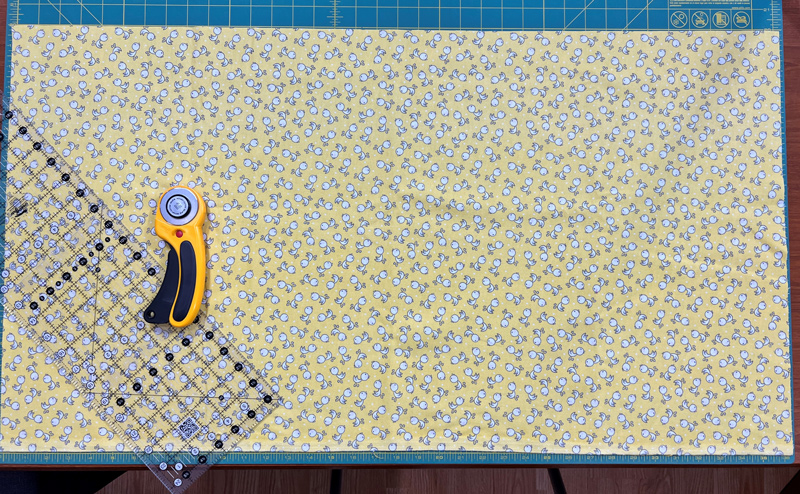
Step 25
Since the average height of a 1 year old is about 29 ½”, it’s necessary to add to the embroidered blocks. With the coordinating 1 yard of fabric, cut a piece 20” W x 36” L.
Step 26
From the remaining piece of the coordinating fabric, cut borders: (1) 6” W x 36” L for the side, (2) 6 ½” W x 18 ½” L for the top and bottom.
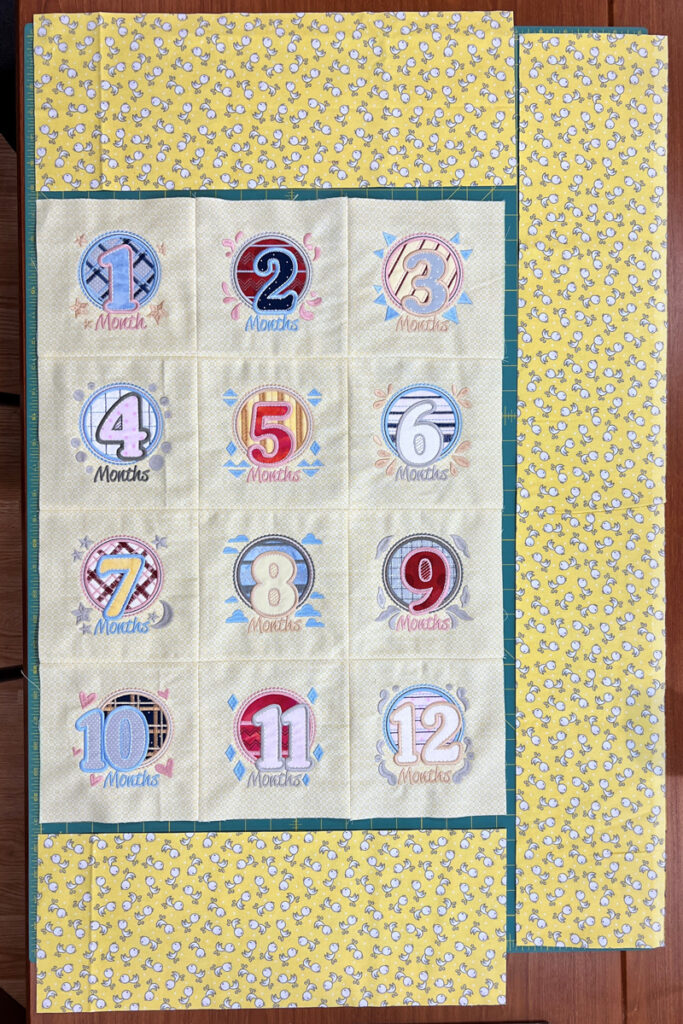
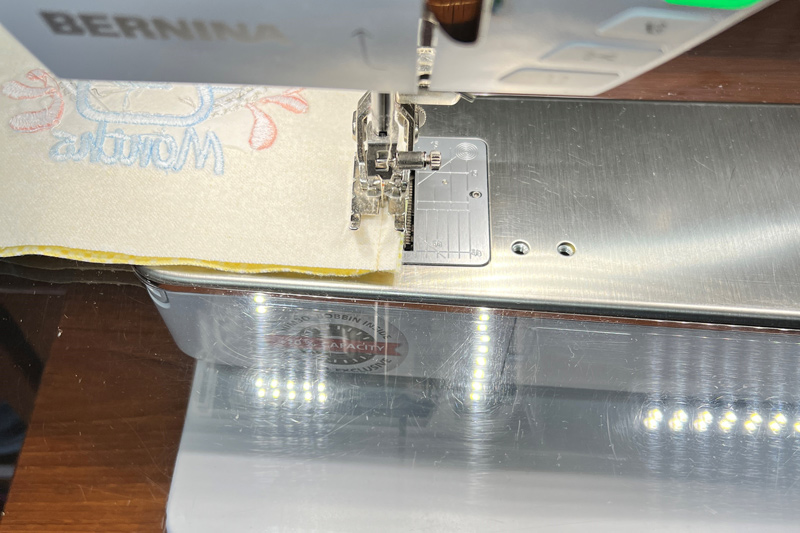
Step 27
With ¼” seam allowance, stitch the top and bottom border to the embroidered piece. Then, stitch the right side to the embroidered piece.
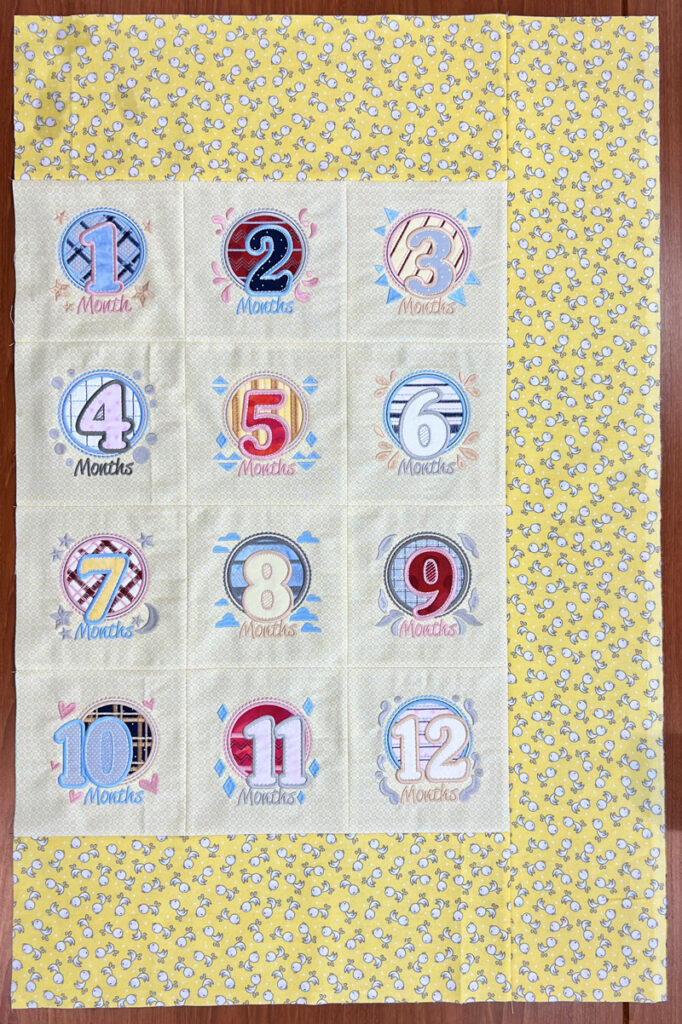
Step 28
With ¼” seam allowance, stitch the left side to the embroidered piece.
Step 29
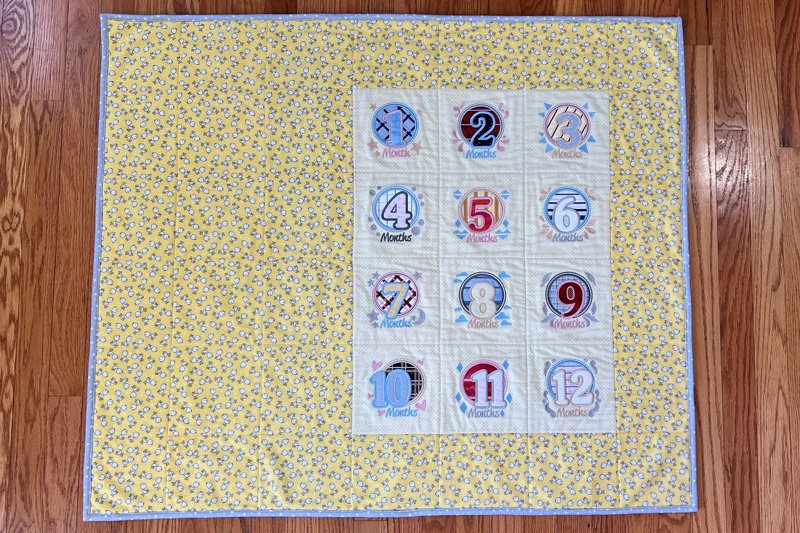
Add backing fabric, quilt as desired, trim to size you want, and then add binding.
Step 30
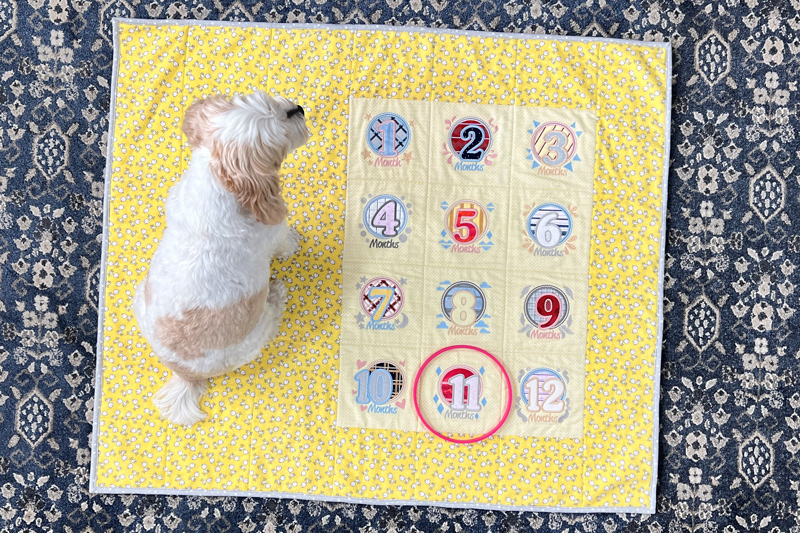
Enjoy your finished photo blanket! Choose something to mark the month and take adorable monthly pictures with your little one… little baby or cute pup!

JOIN US IN THE OESD COMMUNITY!
We hope you enjoyed this machine embroidery tutorial! Have you stitched your own Baby Month Photo Blanket? Come show off your work in our private Facebook group, The Perfect Stitch!