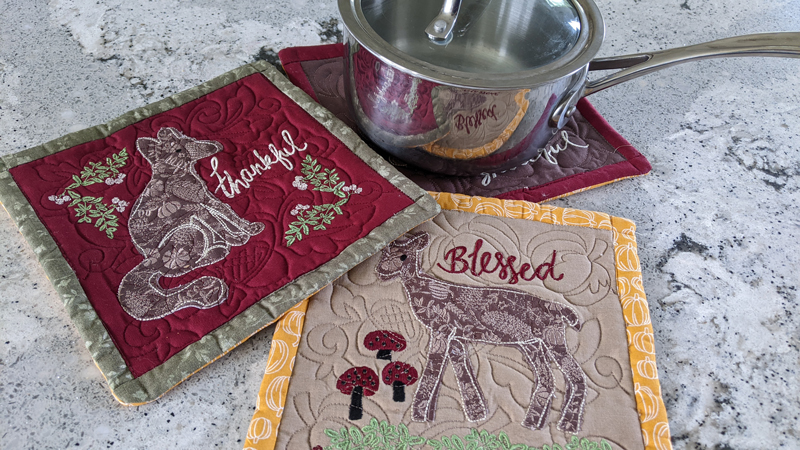
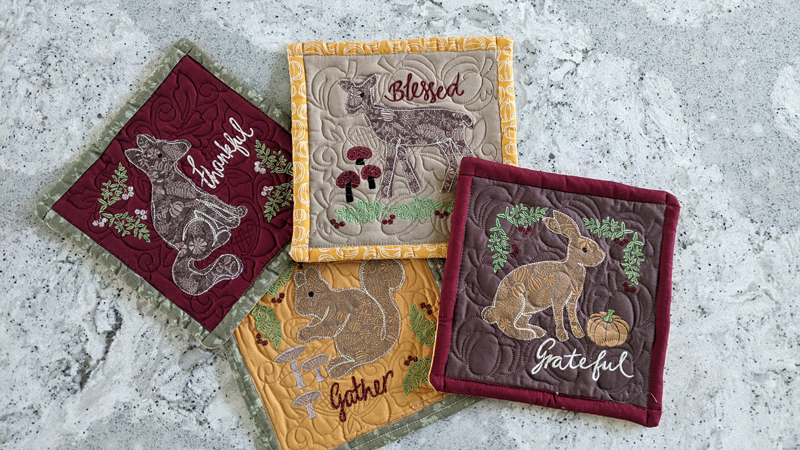
Is your kitchen ready for fall? These machine embroidered Autumn Harvest Hot Pads will spruce up your décor and bring some warm and cozy style into your home this year! In this step-by-step tutorial, we’ll show you how to combine applique and quilting techniques to create a set that’s perfect to display on your kitchen counter or Thanksgiving dinner table. They’re not only beautiful and festive decorations, but they also come in handy when it comes to protecting your countertops and dinner table from hot dishes. Our Abundant Nature machine embroidery collection makes a great autumn set, or you can customize the designs and color palette to match the season and your style!
Supplies:
- Abundant Nature by Vicky Yorke 80364
- Abundant Nature Coordinating Thread
- Harvest Quilting Collection 12926
- OESD AquaMesh WashAway
- OESD Fusible Woven CutAway
- OESD StabilStick TearAway
- OESD Point and Press Tool
- OESD Perfect Pencil
- Fabric of your choice for front of hot pad – 8.5” x 8.5”
- Fabric of your choice for back of hot pad – 9” x 9”
- Fabric of your choice for binding strips – 1.25” x 8” (x2) 1.25” x 9.5” (x2)
- Fabric of your choice for applique
- 100% natural cotton batting or any heat protection batting for inside of hot pad. 9” x 9” (x2)
Instructions:
Stitch the Applique Design
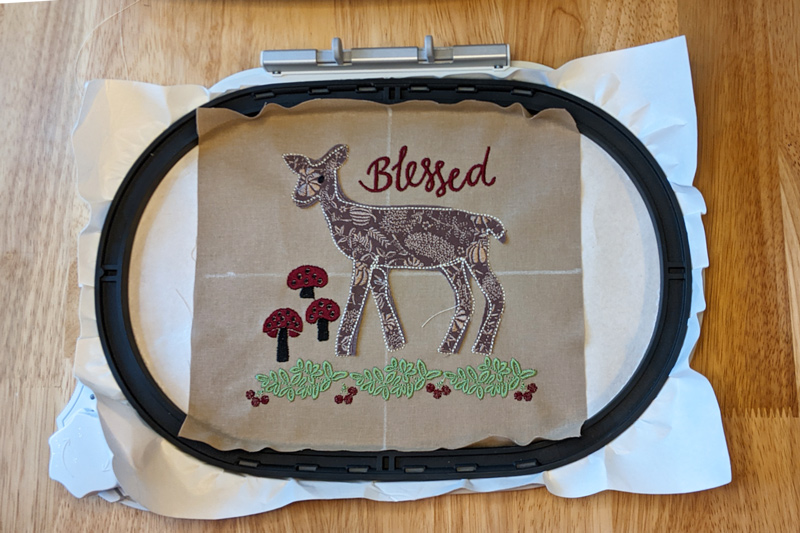
Step 1
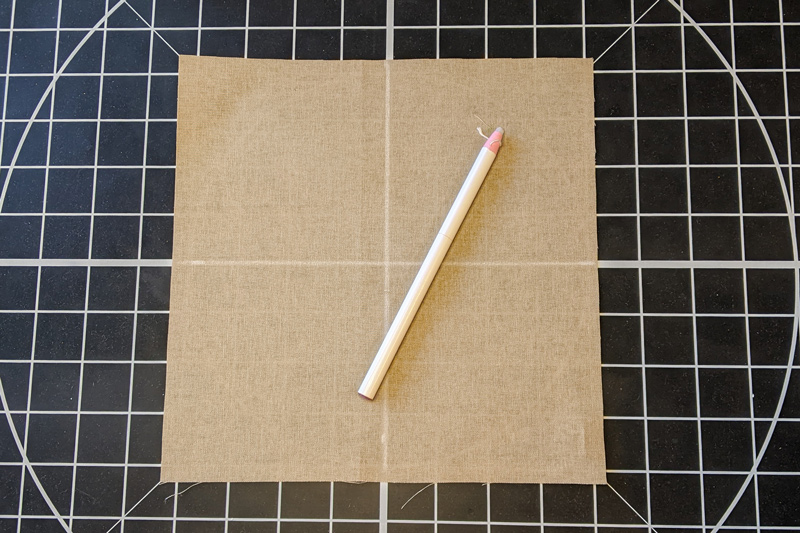
Mark the center of your 8.5″ square fabric using the Perfect Pencil.
Step 2
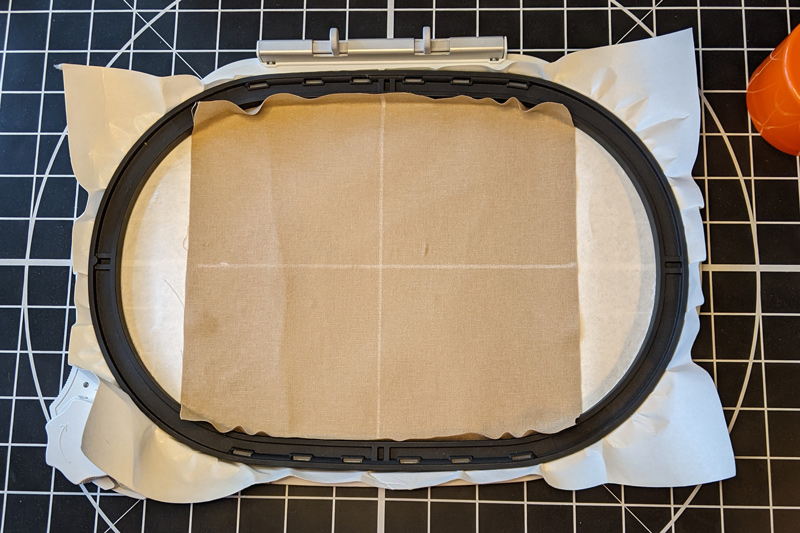
Hoop StabilStick TearAway and your fabric.
Step 3
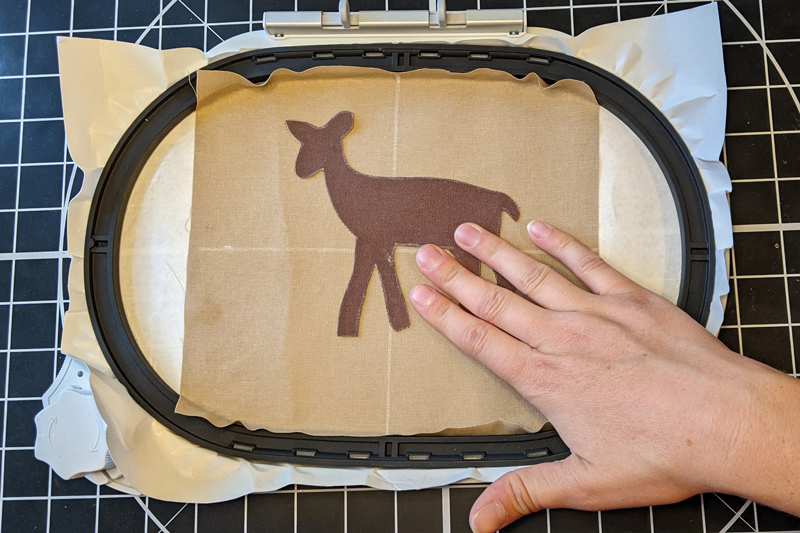
Iron Fusible Woven to the wrong side of your applique fabric. Print out template sheets and pre-cut your applique fabric.
Step 4
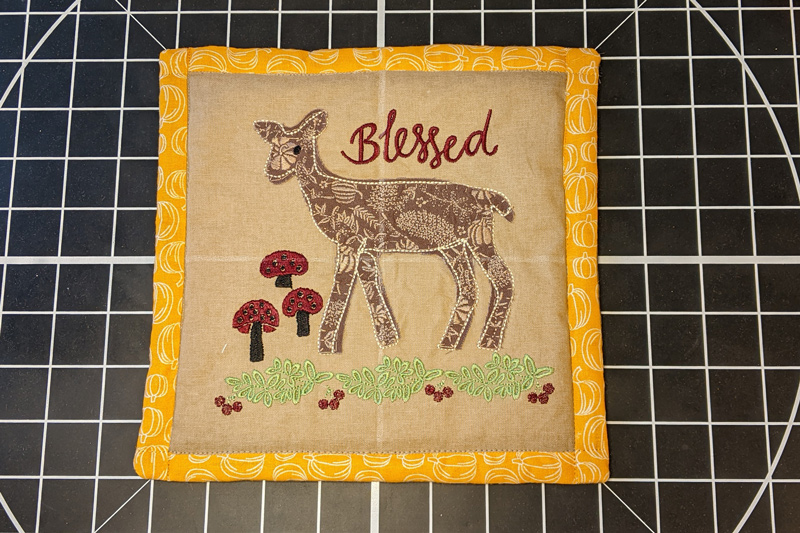
Stitch your chosen design using the raw-edge applique technique, following the collection’s instructions.
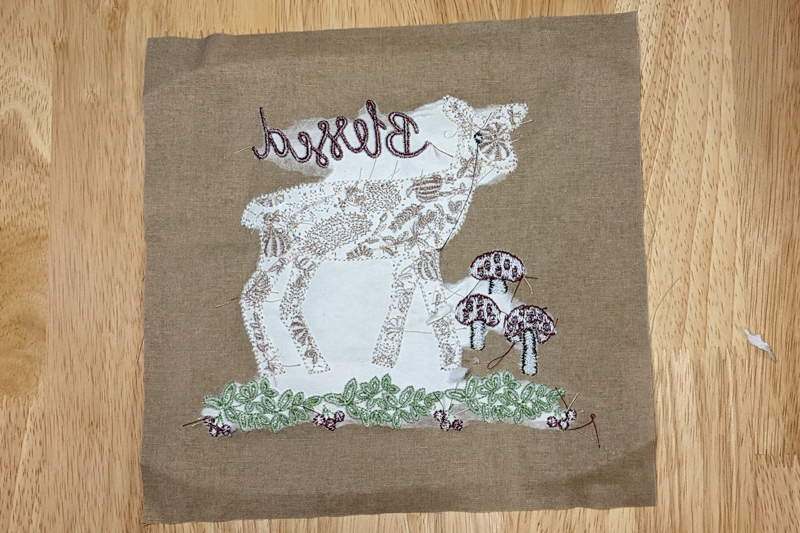
Step 5
Remove the project from the hoop and tear away the stabilizer. Press and trim to 8″ x 8″
Add Binding
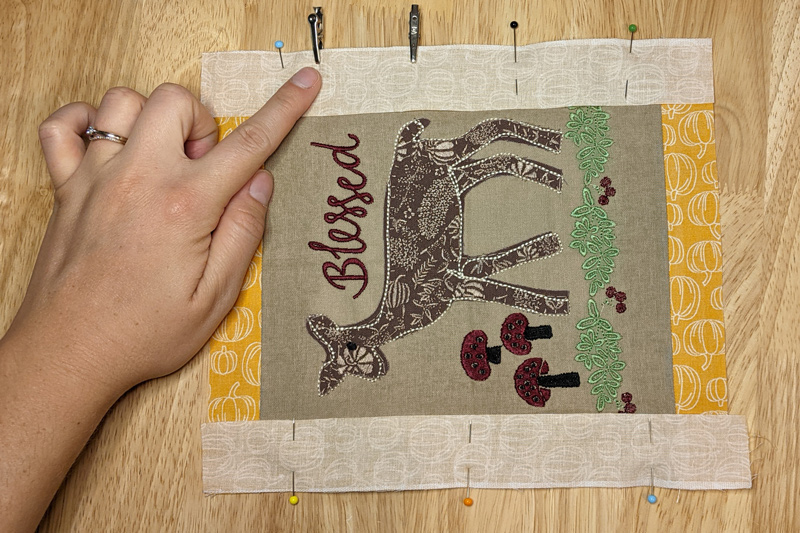
Step 6
Take your two 1.25″ x 8″ strips and sew them to opposite sides of the square with 1/4″ seam allowance, right sides together. Press seams open.
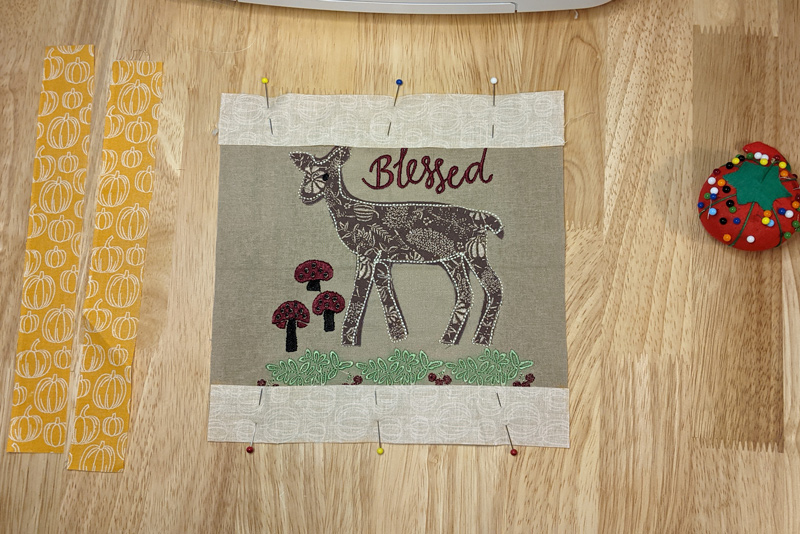
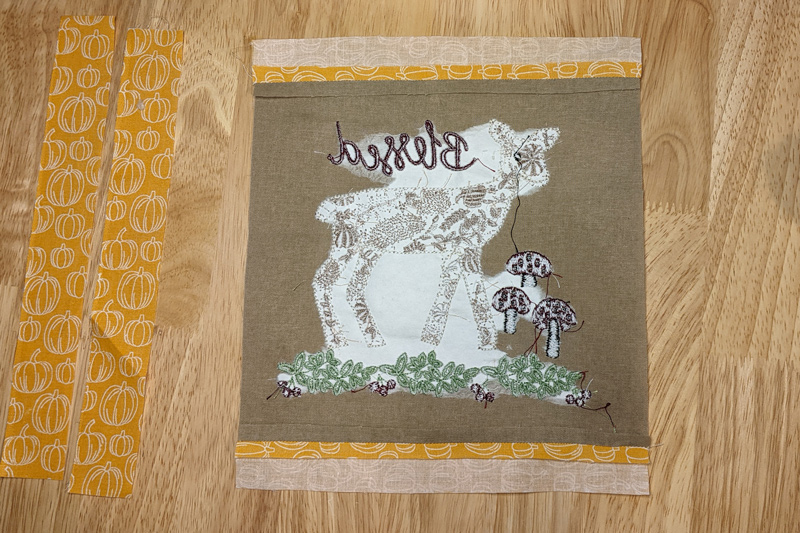
Step 7
Sew one of the 1.25″ x 9.5″ strips to the other sides with 1/4″ seam allowance and press. It may be a little longer than necessary, so you can trim after it is attached. Sew the other 1.25″ x 9.5″ strip, leaving a 3 to 4″ opening. This will be used to turn the hot pad right side out. Press the seams open and square off if necessary.
Assembly
Step 8
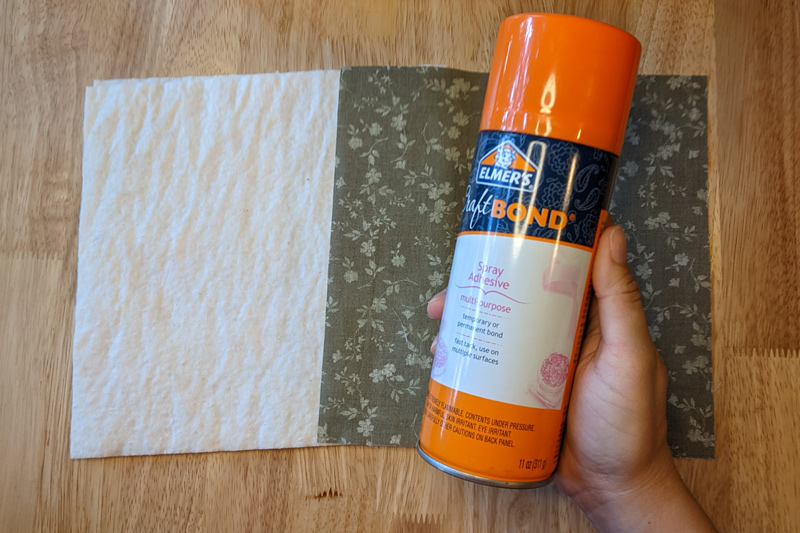
Take your 9″ x 9″ squares of batting and your 9″ x 9″ square of fabric for the back of the hot pad. Layer them together so the backing fabric is on top. Use spray adhesive to fuse the fabric to the top layer of cotton batting for extra security.
Step 9
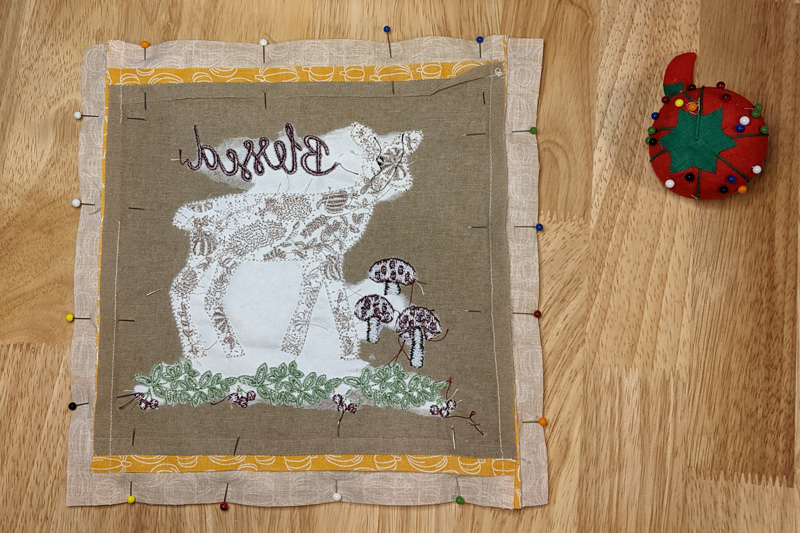
Lay the front of the hot pad right side down on top of the backing fabric, right sides together.
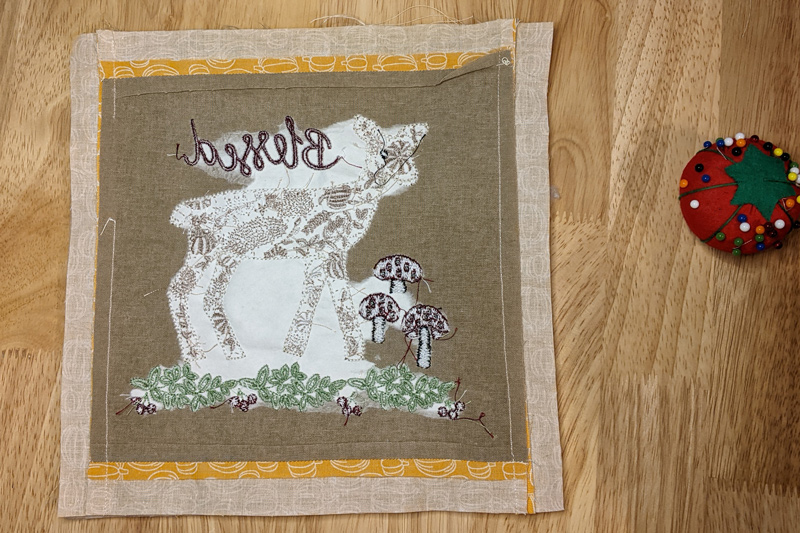
Step 10
Pin in place and sew with a 1/4″ seam allowance along the entirety of the strips, including alongside the area you left the 3-4″ gap.
Step 11
Trim the corners to remove excess bulk.
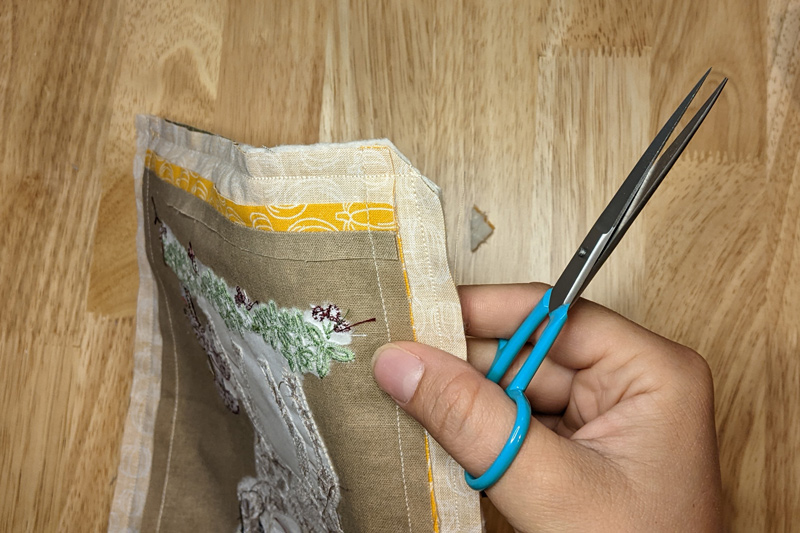
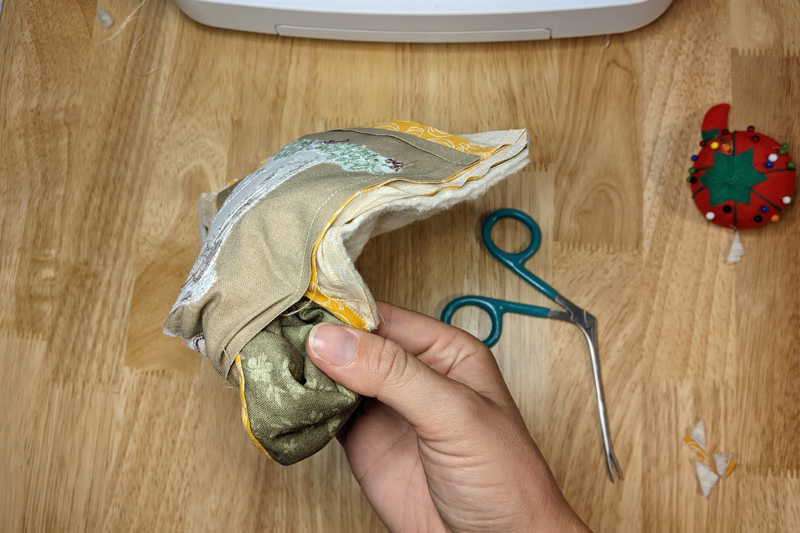
Step 12
Use the opening you left when attaching the bottom binding to flip the hot pad inside out. Use the Point and Press Tool to create sharp corners. Press and make sure everything is laying flat.
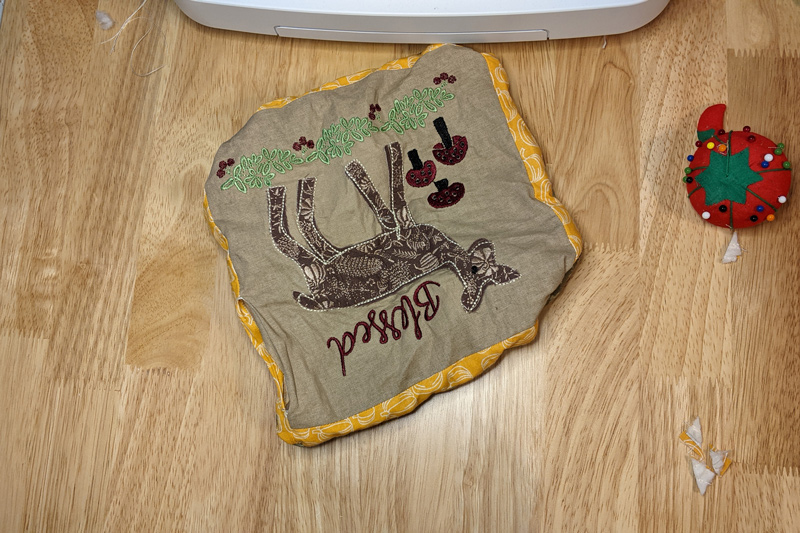
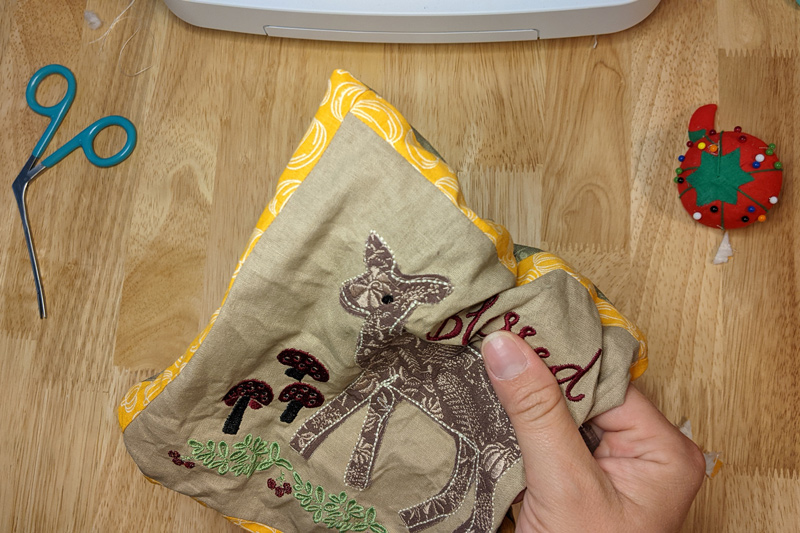
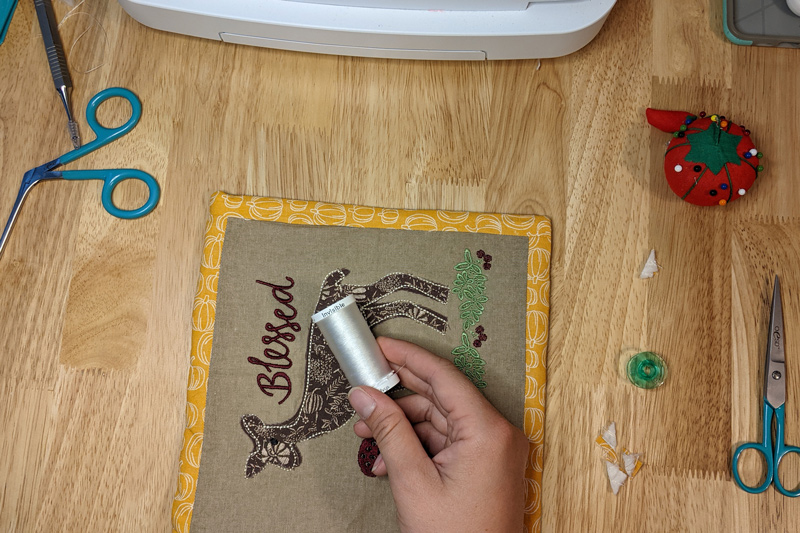
Step 13
Using invisible thread (or a similar color) sew along the seam where the binding and front fabric meet. This will sew the opening closed.
Quilting (optional)
Step 14
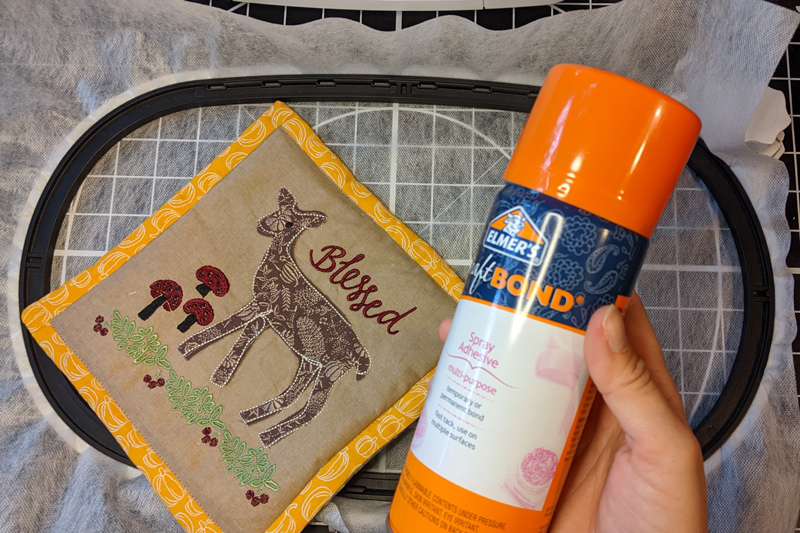
Hoop AquaMesh WashAway.

Step 15
Mark the center of the hot pad with the Perfect Pencil and adhere to stabilizer with spray adhesive.
Step 16
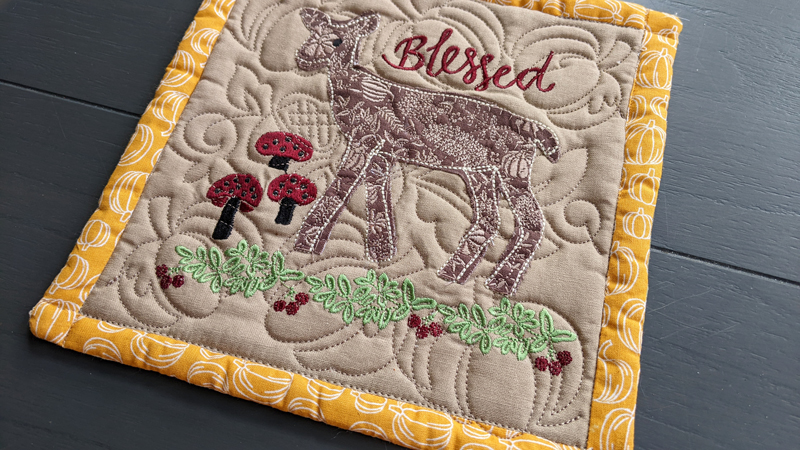
Quilt your chosen design- the square Harvest Quilting design we used fit right inside the hot pad.
Step 17
Remove your project from the hoop and rinse off stabilizer. Leave it to dry, then press to finish.
Step 17
Stitch a full set to decorate your Thanksgiving dinner table!

JOIN US IN THE OESD COMMUNITY!
We hope you enjoyed this machine embroidery tutorial! Have you created your own Autumn Harvest Hot Pads? Come show off your work in our private Facebook group, The Perfect Stitch!