by Jackie Robinson, Animas Quilts
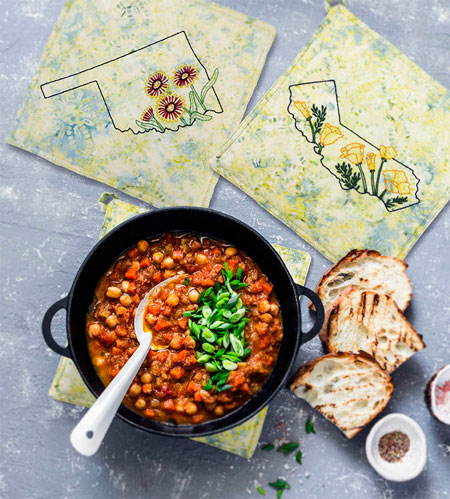
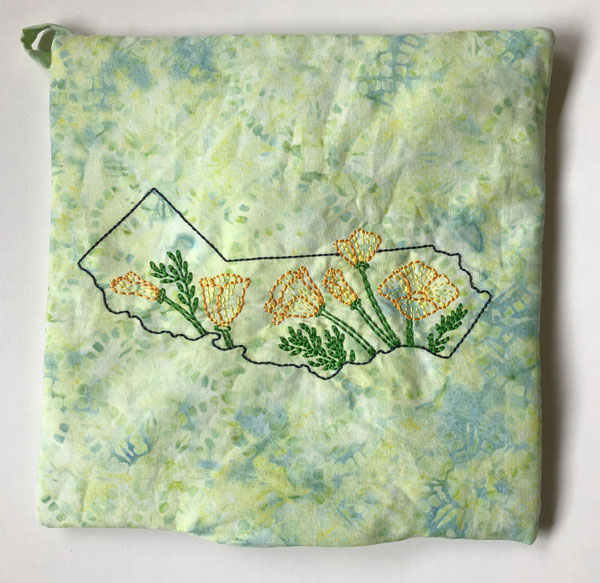
Pick your favorite state and create this easy-to-stitch 8″ turn and topstitch hotpad. This project is a great gift idea, especially for a housewarming.
Supplies
- OESD’s American Meadow #12821 embroidery collection
- 9” square OESD Fuse and Fleece stabilizer
- 10” x 14” OESD Ultra Clean & Tear
- 8” square OESD Fusible Woven CutAway
- 10” square Hotpad face fabric
- 9” square Hotpad backing fabric
- 1-1/4” x 9” Hotpad backing fabric
- 9” square Insulbrite
- 6” x 8” minimum hoop
- Embroidery Threads – per design
- Thread to match Face & Backing fabric
- Erasable Marker
- Point Turner
Instructions
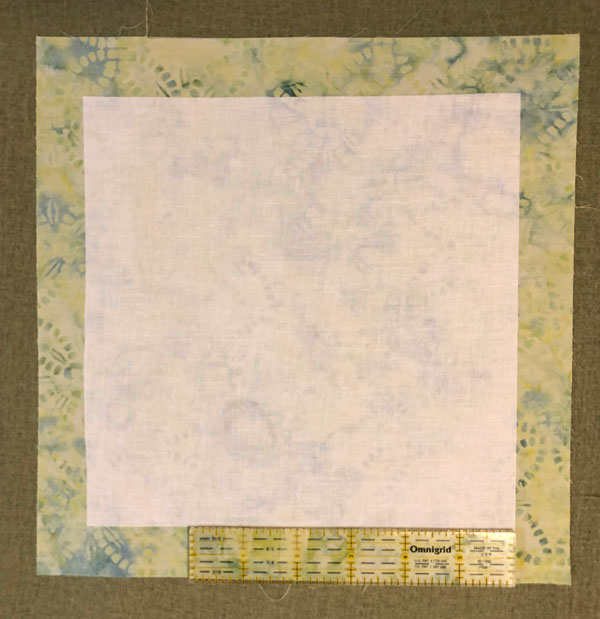
1. Fuse the 8” square of Fusible Woven Cutaway on the back side of the 10” square of Hotpad Face Fabric. A small ruler, as shown, helps to see if it’s centered.
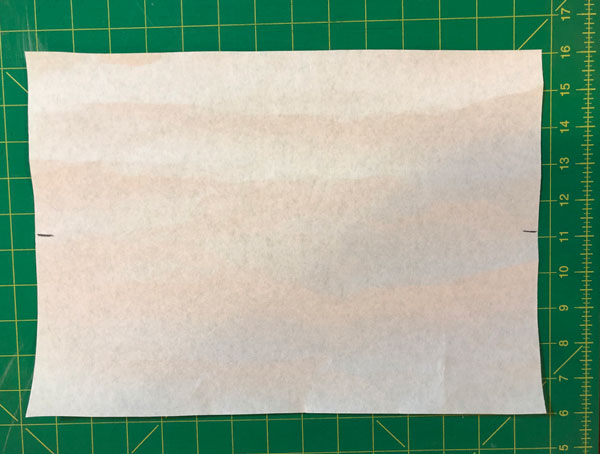
2. Mark the center of the 10” ends of the 10” x 14” Ultra Clean and Tear. These markings will help you place and center the Hotpad Face Fabric on the Stabilizer.
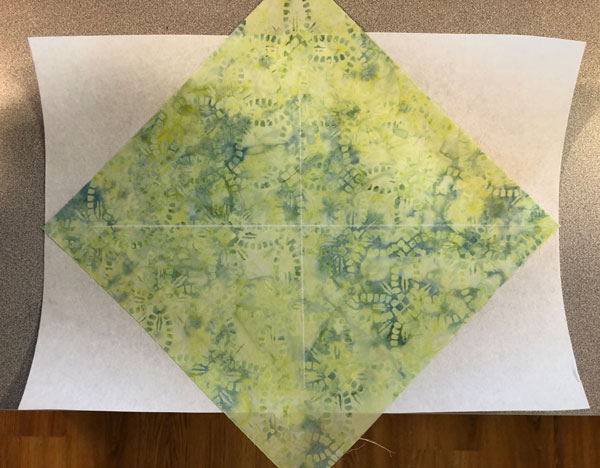
3. Place the Step 1 Hotpad Face fabric right side up on the Ultra Clean & Tear using the top and bottom marks to keep it centered. Draw lines with an erasable marker from corner to corner, marking center.
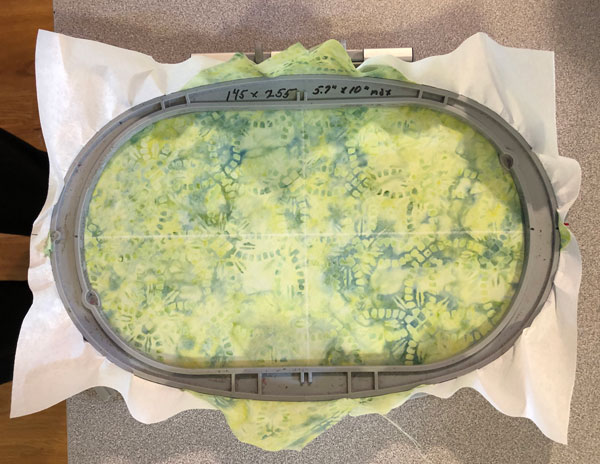
4. Mark the centers on your hoop, and place it on top of the marked fabric and stabilizer.

5. Hoop it, and tighten. Notice the On Point 10” square is totally in the hoop, with the side points hanging out.
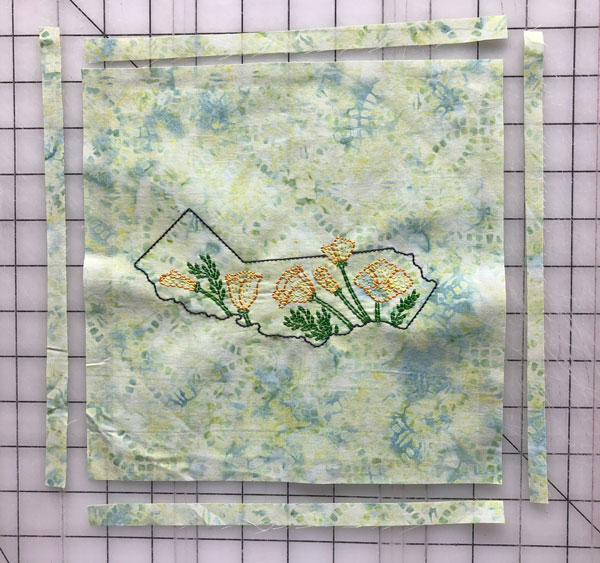
6. Stitch the Design! After stitching, gently remove the Ultra Clean & Tear from around the image. I didn’t remove it from within the image so as to not disturb any stitches. It will eventually just soften.

7. Remove the center markings and trim the embroidered square to 9” square.
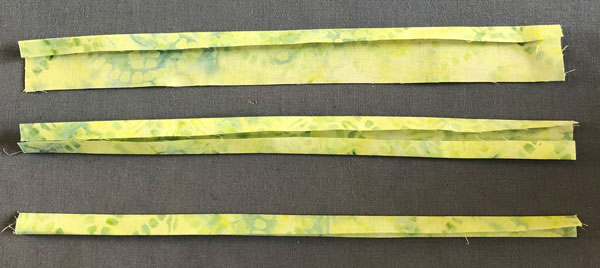
8. Press the 1-1/4” x 9” Hotpad Backing first in half lengthwise, then each edge to that center crease, and finally along the center crease so it is about 5/16” x 9”. Photo shows these steps.
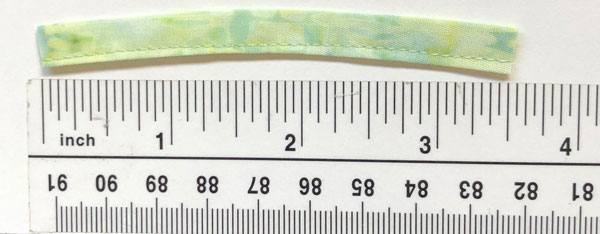
9. With matching thread, stitch along the edge of the above unit to close it. I usually make several hotpads at a time. Each length will make two loops. Cut 3-1/2” lengths.
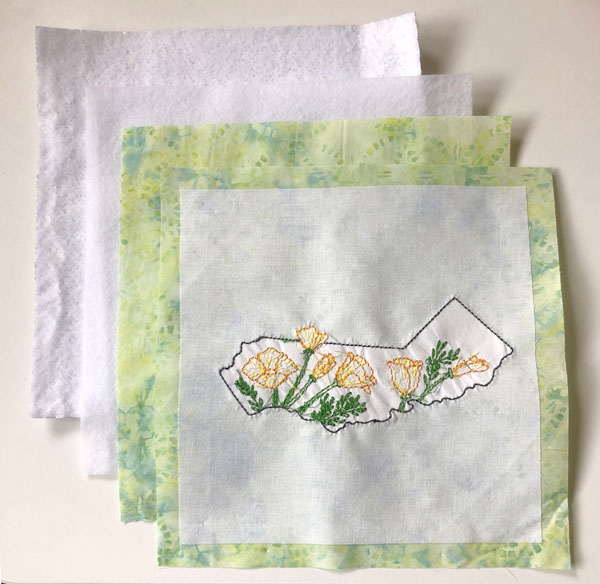
10. Prepare to layer the Hotpad.
• On the bottom is the 9” square of Insulbrite, with the smooth side up (bubbly side down)
• 9” square of Fuse and Fleece, with fusible side up
• 9” square of Hotpad Backing fabric, right side up
• 9” interfaced square of embroidery, right side down
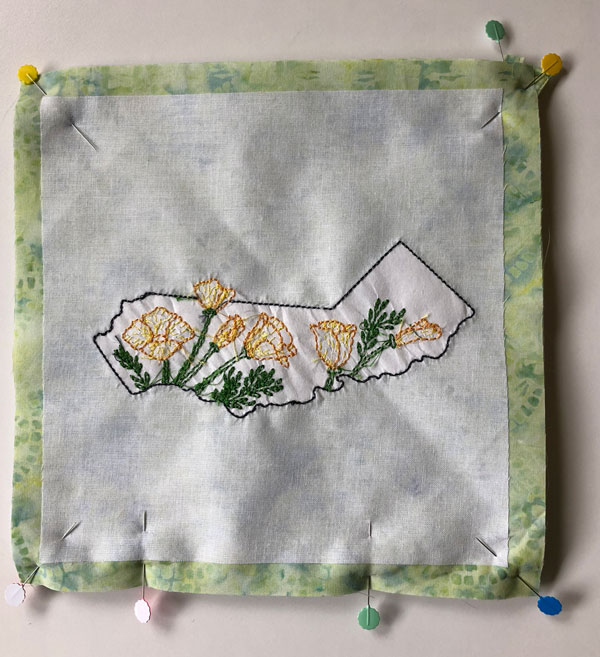
11. Stack them neatly. Place a pin in each of the corners except the one which will be the top. Place two pins on the lower edge, about 4” apart, to show where to begin and end stitching so there is an opening for turning.
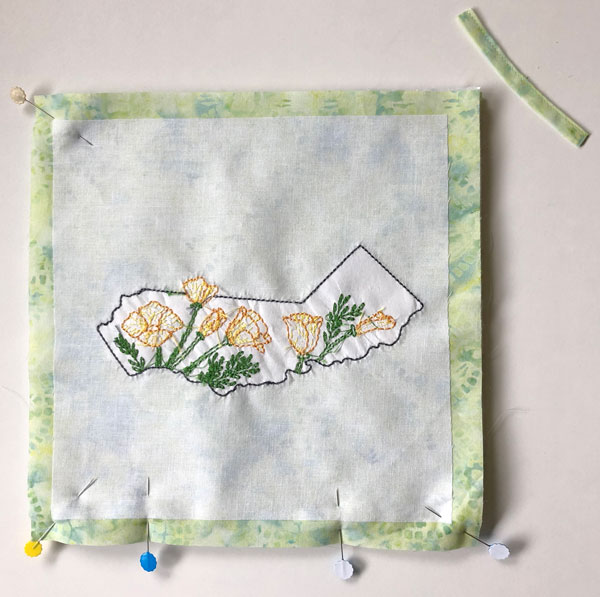
12. Fold the Hanging Tab in half and pin it to the Hotpad Backing in the upper corner. Note: it is folded so the ends are side by side.

13. Fold the Hotpad Face fabric back in place, sandwiching the Hanging Tab, and pin in place.
14. Using a walking or even feed foot, stitch a 1/2” seam around the Hotpad, starting and stopping, with a back stitch, at the pins positioned along the bottom and leaving about a 4” opening. At the corners, stitch a diagonal stitch rather than turning a square corner.
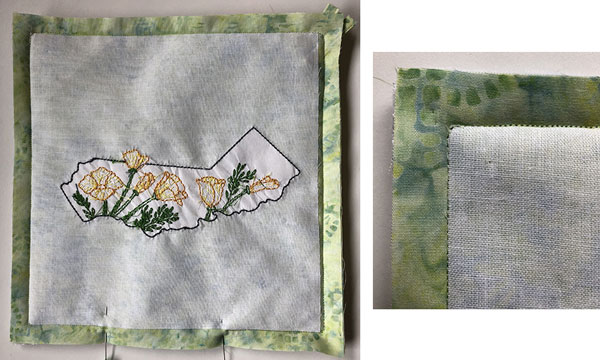
15. Carefully trim the Insulbrite and Fuse & Fleece close to the stitching. Be careful to not snip any stitches. The Hotpad Face and Backing are not trimmed. Then cut diagonally across each of the corners, without cutting your stitches.

16. Through the opening, turn the Hotpad right side out. It’s easiest to go for the corner with the Hanging Tab first. Carefully assist the corners with a point turner. Note: the opening is still there.
17. Press the edges, and press the seam allowances of the opening.
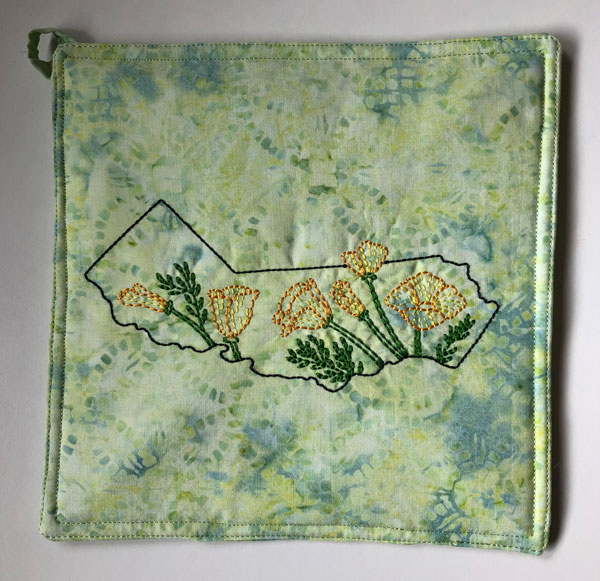
18. Topstitch around the edges at 1/4” and again close to the edge. Press lightly.
This material is © OESD, LLC and may not be reproduced or published without permission.